
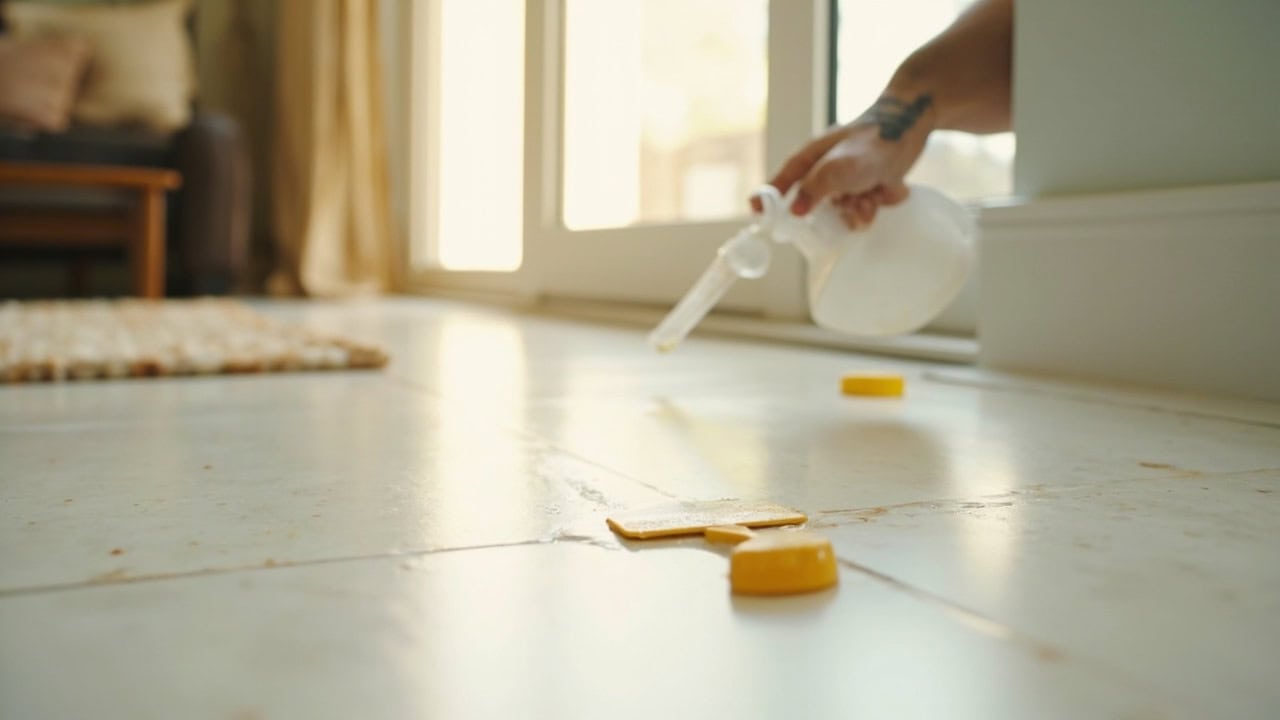
How to Remove Adhesive Residue from Floors

Adhesive residue on floors removes completely with a citrus solvent or warm water with dish soap — apply the solution, allow 5–10 minutes of dwell time for penetration, then scrape with a plastic scraper. The key is matching your floor type to the right solvent: hardwood and laminate require gentle water-based methods while tile and vinyl tolerate stronger citrus-based adhesive removers. Never use metal scrapers or abrasive pads on finished floors as they cause permanent scratching and finish damage.
What Removes Adhesive Residue from Floors — The Direct Answer
Adhesive residue on floors yields to three categories of solutions, ranked by strength and floor compatibility. A citrus-based adhesive remover containing d-limonene — the organic solvent extracted from citrus peel oil — is the most effective primary solution for cured adhesive bonds. d-limonene (C₁₀H₁₆) is a cyclic monoterpene that functions as a hydrocarbon solvent, breaking the Van der Waals forces holding adhesive polymers to floor surfaces. Commercial citrus adhesive removers typically contain 5–15% d-limonene concentration, which is strong enough to dissolve cured rubber-based and latex-based adhesives without the harsh fumes of mineral spirits or acetone.
Warm soapy water — dish soap diluted at a 1:10 ratio (approximately 1 fluid ounce per gallon of warm water) — serves as the secondary solution and is safe for all floor types. The surfactants in dish soap reduce water’s surface tension from 72 mN/m to roughly 30–35 mN/m, allowing the solution to wet and penetrate adhesive residue more effectively. This method works best on fresh adhesive (under 24 hours old) where the polymerization process has not fully completed. For mildly cured residue, a white vinegar solution mixed 1:1 with water provides mild acetic acid (pH approximately 2.5–3) that breaks down adhesive polymer bonds through acid hydrolysis — effective for latex-based adhesives but insufficient for rubber-based formulations that have fully cured.
Adhesive age directly determines removal difficulty. Fresh adhesive residue (under 24 hours) responds to warm soapy water because the polymerization chain reaction is still incomplete — adhesive monomers continue cross-linking for 24–72 hours after initial application, with bond strength increasing roughly 40–60% in the first six hours alone. Cured adhesive older than 24 hours requires chemical solvent intervention because the three-dimensional polymer network has fully formed, creating a stable molecular structure that mechanical water alone cannot penetrate.
Why Adhesive Residue Bonds to Floors — The Chemistry
Understanding why adhesive residue bonds to floors requires examining both adhesive chemistry and floor surface physics. Adhesives achieve bonding through two primary mechanisms: mechanical interlocking and Van der Waals dispersion forces. In mechanical interlocking, pressure-sensitive adhesives flow into microscopic surface textures — grooves, pores, and scratches — on the floor substrate. When the adhesive cures, it forms a physical interlock with these surface features, much like mortar gripping the pores of brickwork.
Van der Waals dispersion forces — also called London dispersion forces — are weak electromagnetic attractions that occur between all molecules. These forces become significant in adhesion because the adhesive polymer chains develop temporary dipoles that induce complementary dipoles in the floor surface, creating momentary electrostatic attraction. The combined effect of mechanical interlocking and Van der Waals forces explains why the same adhesive bonds differently to different surfaces: a sealed hardwood floor with a smooth urethane finish offers fewer mechanical grip points than unsealed concrete or rough ceramic tile.
Floor surface porosity is the critical variable determining bond strength. Porous surfaces — unsealed hardwood, raw concrete, and unsealed grout — allow adhesive to penetrate deep into the substrate, creating bonds that are 3–5× stronger than surface-level bonds on non-porous materials. Non-porous surfaces like glazed ceramic tile, vinyl sheet flooring, and laminate with aluminum oxide coating bond primarily at the surface, where Van der Waals forces dominate and mechanical interlocking is minimal. This porosity differential explains why the same adhesive removal method produces dramatically different results across floor types.
Adhesive curing is not instantaneous — it is an ongoing polymerization process that continues for 24–72 hours after application. Pressure-sensitive adhesives use acrylic or rubber-based polymers suspended in a tacky resin matrix. Upon exposure to air, the solvent carrier evaporates, and the polymer chains begin cross-linking into a three-dimensional network. The glass transition temperature (Tg) of the adhesive determines how quickly this curing progresses: adhesives with a lower Tg remain mobile longer and cure more slowly, while those with higher Tg solidify faster but may become more brittle once fully cured. This is why acting quickly on fresh spills matters — you are intercepting the polymerization process before the network fully forms.
Temperature profoundly affects adhesive bond strength and removal difficulty. Heat softens cured adhesive by raising the polymer network above its Tg, transitioning it from a rigid glassy state to a more pliable rubbery state. This is why applying heat via a hair dryer set to medium heat (approximately 110–130°F / 43–54°C) before solvent application accelerates removal — the softened polymer matrix allows the solvent to penetrate more rapidly. Conversely, cold temperatures below 40°F (4°C) slow solvent evaporation and reduce chemical reactivity, making adhesive removal significantly more difficult in unheated spaces.
What NOT to Use on Floors — Damage Prevention
| Method | Why to Avoid | Floor Types at Risk |
|---|---|---|
| Metal scrapers | Permanently scratches finish, removes protective coatings, creates deep grooves that trap future dirt | All finished floors — hardwood, laminate, vinyl, tile with glaze |
| Abrasive pads / Scotch-Brite | Creates micro-scratches invisible to the naked eye that accumulate dirt and dull the finish over time | Hardwood, laminate, vinyl, polyurethane-coated surfaces |
| Acetone or nail polish remover | Dissolves urethane finishes, causes clouding and finish delamination on wood and laminate, damages vinyl pattern layers | Hardwood, laminate, vinyl, any floor with a factory finish |
| Bleach-based cleaners | Does not dissolve adhesive polymers — chemistry is incompatible; risk of floor discoloration and grout bleaching | All floors, especially wood and colored grout |
| Pressure washing | Forces dissolved adhesive deeper into porous surfaces and grout lines, creating stains that are harder to remove | Sealed floors, grout lines, any floor near walls or trim |
The most common irreversible floor damage occurs from using metal scrapers — even a single pass across a polyurethane-finished hardwood floor with a putty knife can leave scratches visible from several feet away. Once the finish is compromised, water infiltration leads to wood swelling, finish flaking, and potentially structural damage requiring refinishing. The micro-abrasions left by Scotch-Brite pads are subtler but equally damaging over time: they create a scratched pattern that catches light differently, creating a dull haze that cannot be polished out without refinishing.
Step-by-Step: How to Remove Adhesive Residue from Floors
Successful adhesive residue removal follows a methodical seven-step process. Rushing this sequence — particularly by skipping the test area or insufficient dwell time — is the most common cause of both residual adhesive and floor damage.
- Test a small area first — Apply your chosen solution to an inconspicuous corner or hidden area of the floor. Wait 2 minutes, then check for discoloration, finish softening, or adverse reaction. This 2-minute spot test prevents catastrophic damage to visible floor areas and confirms chemical compatibility with your specific floor finish.
- Apply the solvent — For water-safe floors (tile, vinyl, sealed concrete), spray or pour warm soapy water directly onto the residue, ensuring the area is fully saturated. For hardwood, laminate, or cured adhesive, apply citrus adhesive remover directly to the residue using a spray bottle set to “stream” mode to prevent overspray. Apply enough solvent to keep the area visibly wet throughout the dwell time.
- Allow dwell time — Let the solution penetrate for 5–10 minutes without allowing it to fully evaporate. The solvent must remain wet to dissolve the adhesive polymer network. For stubborn, fully cured adhesive older than 72 hours, extend dwell time to 15 minutes and cover the wet area with a clean damp cloth to slow evaporation. Reapply solvent if evaporation occurs before scraping.
- Scrape gently — Hold a plastic scraper at a 45-degree angle to the floor surface. Apply firm but controlled pressure and push in one direction — never use a sawing or digging motion. The goal is to lift the adhesive in sheets or rolls rather than grinding it. A plastic putty knife, a old credit card with smoothed edges, or a dedicated plastic scraper (available at hardware stores) all work effectively. Replace or flip the scraper edge when it shows wear to avoid scratching.
- Wipe and repeat — Remove loosened residue with a clean microfiber cloth folded into quarters. If residue remains in patches, reapply the solvent and wait another 5 minutes before scraping again. Do not attempt to force stubborn spots — repeated gentle applications are more effective and safer than aggressive single attempts.
- Clean the area — Once all visible residue is removed, clean the bare floor with a pH-neutral cleaner (pH 6.5–7.5) to remove any remaining solvent residue. This neutralizes any trace solvent that could continue softening the floor finish or leave a film that attracts dirt. Apply the pH-neutral cleaner with a spray bottle and wipe with a fresh microfiber cloth.
- Rinse if needed — For water-safe floors (tile, vinyl, sealed concrete), damp-mop with clean water to remove any remaining cleaning solution. For water-sensitive floors (hardwood, laminate), use a barely-damp cloth rather than a mop to avoid moisture infiltration into seams or around baseboards.
How to Prevent Future Adhesive Residue Buildup
Preventing adhesive residue is significantly easier and less time-consuming than removing cured residue. The most effective prevention strategy targets timing: remove masking tape, adhesive-backed protective films, and any adhesive-backed items within 24 hours of installation before the polymerization process advances significantly.
- Act within 24 hours — Remove masking tape and adhesive-backed items from floors immediately after painting, installation, or delivery. Adhesive bond strength increases approximately 40–60% in the first six hours as polymerization progresses, and continues strengthening for up to 72 hours. A tape left on for a weekend (48 hours) is noticeably harder to remove than one removed the same day.
- Use low-tack painter’s tape for floor protection — Standard masking tape develops aggressive bonding within 24–48 hours. Low-tack painter’s tape (such as ScotchBlue Delicate Surface tape) is specifically designed to remain in place for 3–7 days while peeling off cleanly without leaving residue. This is the correct product for protecting floors during painting or construction projects.
- Apply felt pads to furniture legs — Felt-backed furniture pads can transfer adhesive residue to floors over time, especially from chair legs and table bases that shift frequently. Inspect felt pads quarterly and replace those that show signs of adhesive transfer or hardening. Self-adhesive felt pads are particularly problematic — consider non-adhesive felt pads with non-slip grip instead.
- Clean spills immediately — When adhesive products (yoga mats, exercise equipment, rug grippers, temporary floor protection films) are accidentally dropped or spill, clean immediately with warm soapy water before the adhesive cures. A 30-second response prevents hours of remediation effort.
- Use area rugs in high-traffic adhesive zones — In areas where adhesive products are frequently placed — exercise rooms, play areas, workshops — area rugs provide a removable barrier that can be cleaned or replaced rather than risking damage to the underlying floor finish.
Floor-Type Specific Considerations
| Floor Type | Recommended Method | What to Avoid |
|---|---|---|
| Hardwood (sealed) | Warm soapy water first; if ineffective, apply citrus solvent sparingly and wipe immediately. Work in sections. | Acetone, metal tools, excessive water exposure near seams and unfinished edges |
| Laminate | Warm soapy water only — minimal moisture. Damp cloth, never saturated. Citrus solvents may damage the aluminum oxide or melamine finish. | Citrus solvents, acetone, excessive water, steam mops |
| Tile (ceramic / porcelain) | Citrus solvent applied directly to adhesive; plastic scraper for physical removal. Grout-safe when properly applied. | Abrasive pads on grout lines, acidic cleaners on unsealed grout |
| Vinyl (sheet / plank) | Warm soapy water or citrus solvent — both are safe. Avoid saturation under plank seams. | Acetone, excessive scrubbing that creates swirl marks |
| Concrete (sealed) | Citrus solvent or mineral spirits — both penetrate sealed concrete effectively. May require longer dwell time (15 minutes). | Acid-based cleaners that can etch or discolor sealed concrete |
| Grout | Soft brush with warm soapy water to pre-clean; follow with citrus solvent applied only to adhesive. pH-neutral rinse afterward. | Metal brushes, acidic cleaners on unsealed grout, pressure application that forces adhesive deeper |
Hardwood floors demand the most caution because moisture is the enemy of both the wood substrate and the finish. When using citrus solvent on hardwood, apply it to a cloth rather than directly onto the floor to control quantity, and work in sections no larger than 2×2 feet. Immediately wipe each section with a dry microfiber cloth before moving to the next, never allowing solvent to pool or sit for more than 5 minutes. The aluminum oxide finish on laminate flooring is chemically resistant but can be dulled by prolonged exposure to citrus solvents — keep contact under 3 minutes on laminate surfaces.
Ceramic and porcelain tile are the most forgiving surfaces for adhesive removal. The glazed surface is chemically inert, and the body of the tile is non-porous, so solvent exposure poses no risk of staining or damage. However, the grout lines between tiles are porous and vulnerable — always apply solvents carefully to avoid saturating grout, and seal grout lines with a penetrating sealer annually to prevent future adhesive penetration. For concrete floors, both sealed and unsealed varieties tolerate stronger solvents, but unsealed concrete will absorb the adhesive and solvent together, potentially driving the residue deeper — start with the mildest method (warm soapy water) on unsealed concrete before progressing to citrus solvent or mineral spirits.
Frequently Asked Questions
Q: Will warm soapy water remove old adhesive residue from floors?
A: Warm soapy water works best on fresh adhesive residue (under 24 hours old) and on water-safe floors like tile and vinyl. For cured adhesive older than 24 hours, a citrus-based solvent is more effective because it breaks down the polymer bonds that water alone cannot penetrate.
Q: Can I use a plastic scraper on hardwood floors to remove adhesive?
A: Yes, a plastic scraper is safe for hardwood floors when held at a 45-degree angle and pushed in one direction — never use metal scrapers as they permanently scratch the finish. Plastic credit cards or plastic putty knives work as alternatives to dedicated plastic scrapers.
Q: What is the safest adhesive remover for floors with pets?
A: Citrus-based solvents (d-limonene) are the safest option for homes with pets because they are low-VOC and biodegradable. Ensure good ventilation during application and keep pets out of the area until the solvent has fully dried and been wiped away.
Q: How do I remove adhesive residue from floor tiles without damaging the grout?
A: Apply citrus solvent only to the adhesive residue, avoiding contact with grout lines. Let it dwell 5–10 minutes, then use a soft plastic scraper to lift the adhesive without grinding it into the grout. Clean with a pH-neutral cleaner afterward to remove any solvent residue from grout.
References
- American Cleaning Institute. (2025). Cleaning Chemistry Catalog and Surfactant Science Resources. ACI.
- National Sanitation Foundation. (2024). Home Cleaning Product Safety Standards and Guidelines. NSF International.
- adhes.org. (2024). Pressure Sensitive Adhesive Chemistry and Polymer Curing Fundamentals. The Adhesive and Sealant Council.
- ASTM International. (2023). Adhesive Testing Standards and Bond Strength Measurement Methods. ASTM International.
- U.S. Environmental Protection Agency. (2024). Safer Choice Program — Certified Adhesive Removal Products. EPA.


