
How to Clean Vinyl Plank Flooring: Complete Care Guide

Vinyl plank flooring must be cleaned with a pH-neutral cleaner at a 1:20 dilution ratio and a barely-damp microfiber mop to prevent water infiltration at seams that causes edge curling and delamination. Sweep or vacuum with a soft-bristle attachment daily to remove abrasive dirt particles, then damp-mop weekly using the dilution method — standing water left for more than 5 minutes penetrates the click-lock joints and compromises the core structure.
Luxury vinyl plank (LVP) flooring combines realistic wood-grain aesthetics with water-resistant performance, making it a popular choice for kitchens, bathrooms, and high-traffic areas. Unlike tile or hardwood, vinyl plank’s click-lock construction and urethane wear layer require specific cleaning protocols. Using the wrong products or techniques — particularly excessive water, acidic cleaners, or steam — causes irreversible damage to both the surface finish and the structural joints. This guide covers every aspect of vinyl plank care, from daily dry cleaning to weekly deep cleaning, with precise measurements and dwell times backed by flooring industry standards.
What You Need Before You Start
Gather the right tools and cleaning solutions before you begin to avoid mid-process compromises that lead to surface damage or water infiltration:
- Soft-bristle broom or vacuum with hard-floor attachment — removes dry debris without scratching the wear layer; never use a vacuum with a beater bar engaged on hard floors
- pH-neutral cleaner specifically formulated for vinyl surfaces — pH 6.0–8.0; avoid acidic (vinegar, lemon juice) or alkaline (bleach, ammonia) formulas that degrade urethane finishes
- Microfiber mop with removable, washable pads — microfiber’s capillary structure traps fine particles; string mops push water into seams and must never be used on vinyl plank
- Spray bottle — for targeted solution application; allows controlled dispersal without flooding the surface
- Clean, soft towels or chamois — for hand-drying edges, corners, and seam areas where water pools after mopping
- Soft scrub brush — for grout lines between planks or spot treatment of adhesive residue and scuff marks; use only soft bristles, never steel wool or stiff synthetics
Step-by-Step Cleaning Process
Follow these steps in sequence for optimal vinyl plank flooring care. Each step builds on the previous one — skipping steps or altering the order reduces cleaning effectiveness and increases the risk of water-related damage:
- Remove dry debris — Sweep thoroughly with a soft-bristle broom or vacuum using the hard-floor setting. Move in the direction of the plank joints to prevent debris from settling in seams. Sand, grit, and fine particles act as abrasives that micro-scratch the urethane wear layer under foot traffic. In high-traffic households, this step should be performed daily.
- Prepare cleaning solution — Dilute pH-neutral cleaner at a 1:20 ratio with warm water in a bucket or spray bottle. Warm water (not hot — see temperature warnings below) improves cleaning efficacy without softening vinyl’s adhesive backing. Test on an inconspicuous area first, such as inside a closet or beneath an appliance, to verify no discoloration or finish etching occurs before proceeding across the full floor.
- Apply solution sparingly — Spray or mist the diluted solution directly onto the floor surface. Do not flood the surface. For spray application, hold the nozzle 6–8 inches above the floor to produce a fine mist rather than a concentrated stream. Flooding the floor increases the probability of water pooling in click-lock joints, where it sits undisturbed and penetrates the core material.
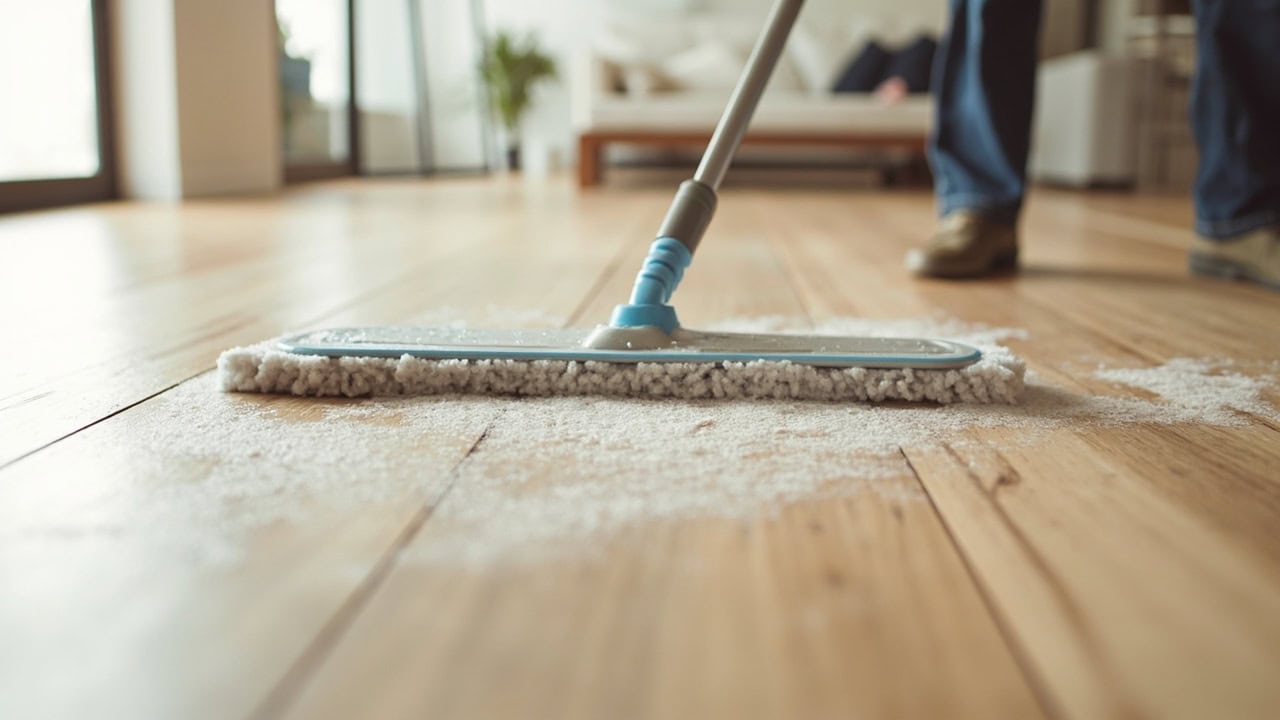
- Mop in overlapping strokes — Use a barely-damp microfiber mop, moving parallel to the longest wall. Overlap each stroke by 2–3 inches to prevent streaking and ensure uniform coverage. Change the mop pad when it becomes visibly dirty — a soiled pad redistributes grime rather than removing it. Ring out excess solution from the pad until no dripping occurs when the pad is squeezed.
- Address stubborn spots — For adhesive residue, scuff marks, or ground-in dirt, apply a small amount of undiluted pH-neutral cleaner directly to the spot. Let dwell for 30–60 seconds — this allows the surfactant system to break the bond between the contaminant and the wear layer without prolonged chemical contact that could affect the finish. Scrub gently with a soft scrub brush using small circular motions, then wipe clean with a damp microfiber cloth.
- Rinse if necessary — If cleaner residue remains after the initial wipe, dampen a fresh microfiber pad with plain warm water and wipe the area once. Avoid over-rinsing, which reintroduces moisture to the seams. The goal is a single-pass removal of residue, not a thorough water wash.
- Dry immediately — Use a clean, dry microfiber cloth or chamois to hand-dry edges, corners, and areas around baseboards where water pools after mopping. Inspect all seams — if water is visible in any click-lock joint, dab it dry immediately with an absorbent cloth. Allow 5–10 minutes for the floor to air-dry completely before walking on it or replacing furniture. Do not walk on the floor until it is fully dry, as foot impressions can compress cleaning solution residue into the finish.
Vinyl Plank Flooring-Specific Considerations
Vinyl plank differs fundamentally from hardwood, laminate, and tile in its water sensitivity, surface composition, and finish system. Understanding these differences clarifies why standard floor-cleaning approaches fail or cause damage:
- Water is the primary threat — Unlike ceramic tile, vinyl plank has click-lock seams that are not waterproof barriers. Water left on the surface for more than 5 minutes can seep into the joints through capillary action, reaching the adhesive layer and core material. Prolonged moisture exposure causes edge curling (the plank corners lift as the core swells), joint separation (click-lock bonds weaken and disengage), and subfloor mold growth in severe cases. Always use the barely-damp technique: mop pads should leave the floor visibly damp but not generate any pooling or runoff.
- Abrasive tools cause permanent wear — Steel wool, stiff-bristle brushes, abrasive scrub pads, and rotating brush vacuum attachments scratch the urethane wear layer. These micro-scratches are invisible individually but accumulate over repeated cleanings, creating a network of fine grooves that scatter light and produce a permanently dulled appearance. Once the wear layer is compromised, the floor cannot be refinished — unlike hardwood, vinyl plank must be replaced.
- pH sensitivity is critical — Vinyl’s factory-applied urethane finish is sensitive to both acidic and alkaline chemistry. Acidic cleaners such as vinegar (pH 2.5–3.5), lemon juice (pH 2.0–2.5), and acidic commercial tile cleaners cause surface etching — a dulling chemical reaction that permanently degrades the gloss layer. Alkaline cleaners including bleach (pH 11.0–13.0), ammonia (pH 10.0–12.0), and strong detergents cause similar degradation and can leave cloudy residue on the finish. The safe pH window for vinyl is 6.0–8.0 (neutral to slightly alkaline).
- Temperature constraints protect the adhesive — Very hot water (above 85°F / 29°C) softens the hot-melt adhesive used in many vinyl plank constructions, particularly in direct-glue installations. Use lukewarm water between 60–75°F (15–24°C) for cleaning. This temperature range maintains adhesive integrity while providing adequate cleaning solution efficacy.
- Wax and polish are contraindicated — Vinyl plank with a factory-applied urethane finish should never be waxed, polished, or treated with acrylic or polymer floor finishes. These products create a film that bonds to the urethane surface, producing a slippery layer that is difficult to remove and accumulates dirt. The factory finish is designed to be the only protective layer — adding products voids the manufacturer’s warranty on most vinyl plank products and creates cleaning maintenance burdens.
Drying and Finishing Vinyl Plank Flooring
Proper drying is as critical as proper cleaning — residual moisture is the leading cause of long-term vinyl plank failure. Even the gentlest cleaning method causes damage if the floor is not thoroughly dried afterward:
- Allow the floor to air-dry completely for 5–10 minutes after damp-mopping, depending on room humidity and ventilation
- Use a clean, dry microfiber cloth or chamois to hand-dry corners, edges, and areas around baseboards where water naturally pools after mopping
- Inspect seams and joints — if water is visible in any joint, dab it dry immediately with an absorbent cloth; do not allow water to stand in click-lock seams
- Place a floor fan on low speed in rooms with poor ventilation (interior bathrooms, basements) to reduce drying time by up to 50%
- Do not walk on the floor until it is completely dry to prevent foot impression marks — residual cleaning solution compressed underfoot leaves uneven discoloration that is difficult to correct
Common Mistakes When Cleaning Vinyl Plank Flooring
These errors are the most frequent causes of vinyl plank flooring damage in residential settings. Each is preventable with proper technique and product selection:
- Using too much water — Saturated mop pads and standing puddles are the leading cause of vinyl plank failure. Ring out mop pads until no dripping occurs — the pad should feel barely damp to the touch. If puddles form, they indicate the mop is overloaded, not that the floor needs more solution.
- Vacuuming with a beater bar engaged — The rotating brush bar in upright vacuums is designed for carpet extraction, not hard-floor protection. On vinyl plank, it generates micro-scratches in the wear layer and can dislodge debris into seams. Always disengage the beater bar or activate a hard-floor/suction-only mode before vacuuming vinyl surfaces.
- Using steam mops — Steam mops generate temperatures exceeding 200°F (93°C) at the floor contact point. This heat softens vinyl’s polymer composition and breaks down the thermal-set adhesive in click-lock joints. The combination of heat, pressure, and moisture causes planks to expand unevenly, leading to joint separation, warping, and bubbling. Steam cleaning voids the warranty on virtually all vinyl plank products.
- Applying too much cleaner — Concentrated cleaner leaves residue that dulls the urethane finish and creates sticky surfaces that attract and trap dirt. More cleaner does not mean cleaner floors — it means more residue and more cleaning work. Dilute properly at the 1:20 ratio and apply sparingly.
- Skipping regular dry cleaning — Sand, silica grit, and fine debris tracked indoors act as 3–5 Mohs hardness abrasives underfoot. Without daily dry cleaning (sweeping or vacuuming), foot traffic grinds these particles into the floor surface. After approximately 30 days of tracked grit, micro-scratch accumulation becomes visibly apparent as premature finish wear in high-traffic pathways.
- Ignoring manufacturer guidelines — Flooring manufacturers publish specific care instructions that account for the particular finish system, core composition, and adhesive type used in their products. Always consult the care documentation for your specific brand and product line, as cleaning requirements vary between manufacturers and product tiers (basic vinyl vs. luxury vinyl plank vs. rigid core vinyl).
Frequently Asked Questions
Q: Can I use vinegar to clean vinyl plank flooring?
A: No — vinegar is acidic (pH 2.5–3.5) and causes permanent etching on vinyl’s urethane finish. Use a pH-neutral cleaner specifically formulated for vinyl surfaces instead. If vinegar is the only option available, dilute it to pH 5.0–6.0 with water and spot-test on an inconspicuous area first.
Q: How often should I clean vinyl plank flooring?
A: Sweep or vacuum dry debris daily in high-traffic areas, or every 2–3 days in low-traffic rooms. Perform a damp-mop deep clean with pH-neutral cleaner once weekly or when footprints and soil are visible. High-traffic households may require twice-weekly damp mopping.
Q: Can I use a steam mop on vinyl plank flooring?
A: No — steam mops generate temperatures exceeding 200°F (93°C), which softens vinyl’s core material and degrades the click-lock adhesive. The pressure and heat also cause planks to expand and contract unevenly, leading to joint separation and warping over time.
Q: What is the best cleaner for vinyl plank flooring?
A: A pH-neutral cleaner (pH 6.0–8.0) specifically designed for vinyl is optimal. Dilute at a 1:20 ratio with lukewarm water. Avoid cleaners containing bleach, ammonia, abrasive particles, or citrus extracts, as these damage the wear layer and finish.
References
- ASTM International. (2024). ASTM F3261-23: Standard Specification for Rigid Polyvinyl Chloride (PVC) Building Products Used for Flooring. ASTM International.
- Floor Covering Technical Council. (2019). Installation Guidelines for Luxury Vinyl Tile (LVT) and Luxury Vinyl Plank (LVP). RFCI.
- NSF International. (2023). NSF/ANSI 40-2023: Residential Wastewater Treatment Systems. NSF International.


