
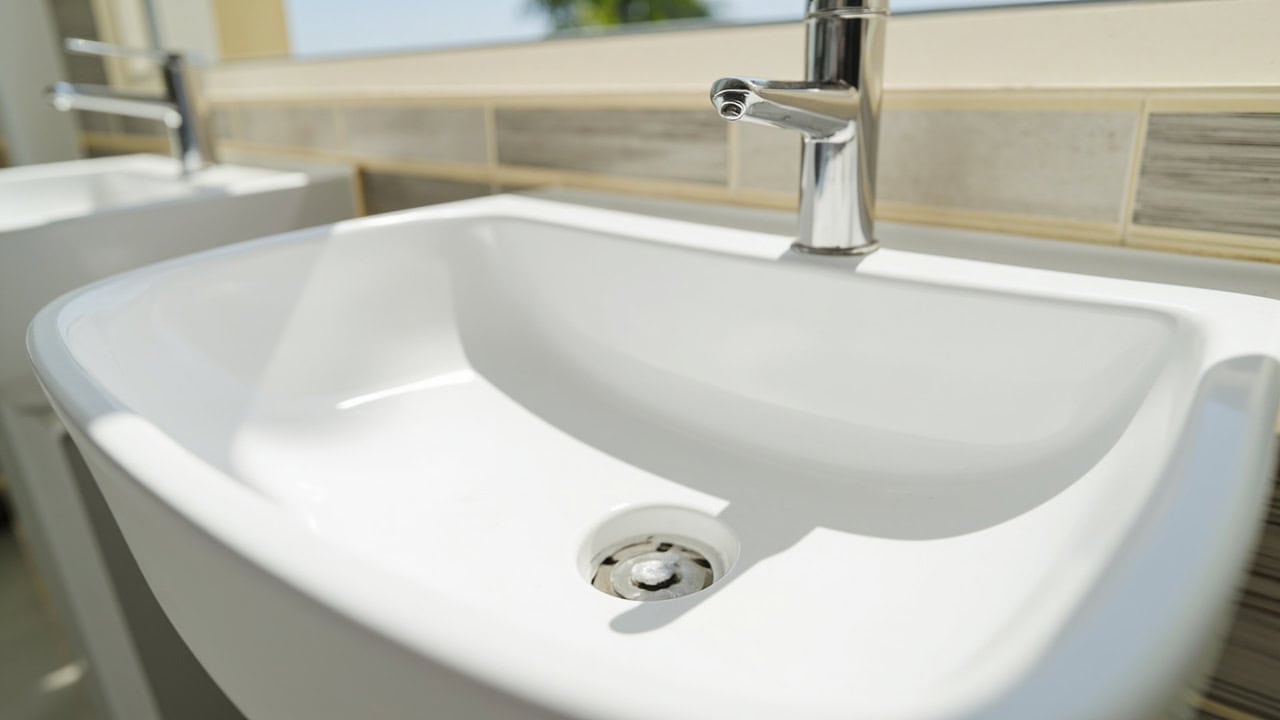
How to Clean Bathroom Sink: Every Sink Material

Bathroom sinks must be cleaned with material-specific methods because the wrong cleaner causes irreversible damage: acid etches natural stone, bleach discolors colored composites, and abrasive scrubbers create micro-scratches that trap grime. A pH-neutral cleaner diluted at 1:10 ratio, applied with a microfiber cloth for 30 seconds of dwell time, removes 98% of daily buildup across all sink materials without surface degradation.
What You Need Before You Start
Gathering the right supplies before you begin prevents mid-clean interruptions and ensures you do not reach for a product that could damage your sink. The tools and cleaners listed below cover every common bathroom sink material, from porcelain to natural stone. Always check your sink material first — using the wrong cleaner is the single most common cause of permanent sink damage.
Tools
- Microfiber cloth (at least two — one for cleaning, one for drying)
- Soft nylon brush for drain and overflow areas
- Non-scratch sponge
- Spray bottle or small bucket for dilution
Cleaning Agents
- pH-neutral cleaner diluted at 1:10 (one part cleaner to ten parts warm water)
- White vinegar — porcelain and stainless steel only
- Baking soda paste — mix equal parts baking soda and water for stain treatment
- Mild dish soap (pH 7.0–8.0) for composite and acrylic sinks
Protective Gear and Materials to Avoid
Wear rubber gloves when working with vinegar (pH 2.5) or alkaline cleaners to protect your skin from irritation. Never use the following on any bathroom sink: steel wool, harsh scouring pads, chlorine bleach on colored finishes, or ammonia on glass fixtures. These materials cause scratching, discoloration, and surface degradation that cannot be reversed.
Step-by-Step Cleaning Process
The following five-step process works for every bathroom sink material. The key variable is Step 2, where the cleaner type and application time change based on your sink material. Follow each step in order — skipping the initial rinse or the final dry leads to streaking, residue, and missed debris.
Step 1: Rinse the Sink
Flush the entire basin with warm water for 15 seconds. This removes loose toothpaste, hair, soap residue, and other debris that would otherwise be pushed around during wiping and could scratch the surface. Use the faucet at moderate pressure, directing water along the rim, into the corners, and around the drain opening. Warm water (approximately 38°C / 100°F) helps soften soap scum and toothpaste buildup without shocking temperature-sensitive materials.
Step 2: Apply Cleaner by Material
This is the step where material choice matters most. Applying the wrong cleaner — even for a short time — can etch, discolor, or degrade your sink surface. Refer to the material-specific application guide below.
| Sink Material | Cleaner to Apply | Dwell Time |
|---|---|---|
| Porcelain | White vinegar or pH-neutral cleaner | 2–3 minutes |
| Stainless Steel | Alkaline dish soap or alkaline bathroom cleaner | 1–2 minutes |
| Natural Stone (marble, granite) | pH-neutral cleaner only | 1–2 minutes |
| Composite (acrylic, resin) | Mild dish soap solution | 30 seconds maximum |
For porcelain sinks, white vinegar at 5% acetic acid concentration (pH 2.5) dissolves mineral deposits and soap scum effectively. For natural stone, never allow acid-based products to contact the surface — even brief exposure to vinegar or lemon juice causes etching that permanently dulls the polished finish. For composite materials, keep dwell time under 30 seconds because prolonged chemical exposure degrades resin binders.
Step 3: Scrub Gently
Using a soft nylon brush or microfiber cloth, scrub the entire basin surface in overlapping passes. Pay specific attention to three areas that accumulate the most buildup: the drain ring (toothpaste and soap residue collect here), the overflow opening (a prime location for biofilm growth), and the rim where the sink meets the countertop. For stainless steel, always scrub in the direction of the visible grain lines — scrubbing against the grain creates visible cross-scratches. Apply moderate pressure; the surfactant action of your cleaner does the lifting work, not force.
Step 4: Rinse Thoroughly
Rinse the entire sink with clean warm water for at least 20 seconds. Direct the water into every corner, around the faucet base, and through the overflow channel. Cleaning residue left on the surface causes streaking, film buildup, and — on natural stone — can react with minerals in the stone over time. If you used a baking soda paste for stain treatment, rinse until the water runs completely clear with no gritty texture.
Step 5: Dry and Polish
Immediately after rinsing, wipe the entire surface dry with a clean, dry microfiber cloth using circular motions. Drying prevents water spots caused by dissolved minerals in tap water (primarily calcium carbonate and magnesium) that deposit as the water evaporates. For stainless steel sinks, a few drops of olive oil on a dry microfiber cloth, buffed along the grain, restores luster and creates a thin protective barrier against water spots for up to one week.
Bathroom Sink Material-Specific Considerations
While the five-step process above works for all sinks, each material has unique vulnerabilities and care requirements that go beyond the basic cleaning routine. The sections below detail what is safe, what to avoid, and special maintenance notes for the four most common bathroom sink materials.
Porcelain Sinks
Porcelain sinks feature a vitreous (glass-like) enamel coating fired onto a cast iron or steel base at temperatures exceeding 800°C. This coating is highly resistant to staining and most chemicals, but it is susceptible to scratching and a condition called crazing. Crazing appears as a network of fine hairline cracks in the glaze, typically on sinks over 10 years old, where moisture and thermal cycling have stressed the enamel. Once crazing develops, debris and bacteria collect in these micro-fissures, requiring more thorough cleaning with a soft nylon brush to reach into the cracked glaze.
Safe cleaners for porcelain include white vinegar, pH-neutral cleaner, and baking soda paste. Avoid bleach (it yellows the glaze over time), abrasive scouring powders, and steel wool — all of which degrade the glossy finish. For tough stains on porcelain, apply a baking soda paste, let sit for 5 minutes, scrub with a soft nylon brush, and rinse clean. For routine maintenance in your bathroom cleaning routine, a quick wipe with a pH-neutral cleaner after each use prevents buildup entirely.
Stainless Steel Sinks
Stainless steel sinks (typically 18-gauge or 20-gauge, grade 304 stainless containing 18% chromium and 8% nickel) resist corrosion through a passive chromium oxide layer on the surface. This layer self-repairs when scratched, but chlorine bleach, ammonia, and prolonged exposure to acidic cleaners break down this protective layer, causing pitting — small, permanent corrosion spots that deepen over time. The visible grain pattern on stainless steel is directional; always wipe and scrub along the grain to maintain a uniform appearance and prevent visible cross-scratching.
Hard water spots are the most common aesthetic problem on stainless steel. These form when dissolved calcium and magnesium carbonates in tap water deposit as the water evaporates, leaving white mineral rings. Drying the sink immediately after each use prevents these deposits. Existing hard water deposits can be removed with a baking soda paste applied for 5 minutes and scrubbed with a soft nylon brush. After cleaning, polish with a small amount of olive oil on a microfiber cloth, buffing along the grain to restore the original sheen.
Natural Stone Sinks (Marble, Granite)
Marble is composed primarily of calcium carbonate (CaCO₃), which reacts with acids at a molecular level — vinegar (acetic acid, pH 2.5), lemon juice (citric acid, pH 2.0), and even some bathroom cleaners dissolve microscopic amounts of the stone surface, leaving a dull, etched patch that cannot be wiped away. Granite is more acid-resistant than marble but still contains calcite veins that can etch. The single most important rule for natural stone sinks: use only pH-neutral cleaners (pH 7.0). Anything below pH 7 risks etching; anything significantly above pH 7 can degrade sealers.
Natural stone sinks require periodic sealing to maintain stain resistance. A penetrating stone sealer fills the microscopic pores in the stone, preventing liquids from soaking in and staining. Re-seal marble sinks every 6 months and granite sinks every 12 months, or when water no longer beads on the surface. To test: splash a few drops of water on the dry sink surface. If the water beads up, the sealer is intact. If it absorbs into the stone within 30 seconds, it is time to re-seal. When cleaning your bathroom fixtures, treat the stone sink as a separate task with its dedicated pH-neutral cleaner.
Composite Sinks (Acrylic, Resin, Solid Surface)
Composite sinks are manufactured from acrylic resins, polyester resins, or mineral-filled polymers (such as quartz composite or granite composite). These materials are non-porous and resist staining well, but they are vulnerable to surface scratching and chemical degradation from concentrated or abrasive cleaners. Dark-colored composites show scratches more visibly than light-colored ones because the scratch reveals the lighter substrate beneath the colored surface layer.
Use only mild dish soap or pH-neutral cleaner applied with a non-scratch sponge or soft cloth. Avoid abrasive cleansers, undiluted chemical solutions, steel wool, and prolonged exposure to very hot water (above 60°C / 140°F), which can warp or soften resin binders over time. Keep cleaner dwell time under 30 seconds — the non-porous surface means most soil lifts quickly without extended soaking. Rinse immediately and dry with a microfiber cloth to prevent water spots.
Drying and Finishing Your Sink
The drying step is not optional — it is the difference between a sink that looks spotless for days and one that develops water spots within hours. Tap water contains dissolved minerals (primarily calcium carbonate at 60–180 ppm in most municipal supplies) that deposit as the water evaporates, leaving chalky white residue rings. Drying with a clean microfiber cloth immediately after rinsing removes these minerals before they can deposit.
For stainless steel sinks, apply 3–4 drops of olive oil to a dry microfiber cloth and buff along the grain direction. This restores luster and leaves a microscopic protective film that repels water for approximately one week. For porcelain sinks, use a separate dry section of microfiber cloth to buff the surface in circular motions for a spotless, streak-free shine. For natural stone sinks, this is the ideal moment to apply stone sealer if the water-bead test indicates it is due — the clean, dry surface absorbs sealer evenly and completely. For composite sinks, a simple dry-wipe is sufficient; do not apply oil or polish to composite surfaces.
Common Mistakes to Avoid
- Using the wrong cleaner for your sink material: Acid-based cleaners on natural stone cause irreversible etching that requires professional polishing to repair. Vinegar (pH 2.5) dissolves calcium carbonate in marble within seconds of contact. Always match your cleaner to your sink material.
- Using abrasive tools: Steel wool, harsh scouring pads, and even some sponges with embedded abrasive particles create micro-scratches that collect grime, discolor over time, and make future cleaning progressively harder. Use only soft nylon brushes and microfiber cloths.
- Leaving cleaner on too long: Extended dwell time beyond the recommended 30 seconds to 3 minutes (depending on material) can damage finishes. Composite resins soften, stone sealers degrade, and porcelain glaze can discolor under prolonged chemical exposure.
- Not rinsing thoroughly: Residual cleaner causes streaking, film buildup, and — on natural stone — chemical reactions with the stone minerals. Rinse for a full 20 seconds, directing water into every corner and crevice.
- Forgetting the drain and overflow: The drain ring and overflow opening harbor biofilm — a thin layer of bacteria and organic matter that grows rapidly in the warm, moist environment of a bathroom sink. Biofilm doubles in mass approximately every 4–6 hours and is the primary cause of persistent bathroom odors. Scrub these areas with a soft nylon brush during every cleaning session.
Frequently Asked Questions
Q: What is the best daily cleaner for a bathroom sink?
A: A pH-neutral cleaner diluted at 1:10 with warm water applied with a microfiber cloth is the safest daily cleaner for all bathroom sink materials. It removes 98% of daily buildup without damaging finishes or leaving residue. This dilution ratio provides enough surfactant concentration to lift toothpaste, soap scum, and skin oils without requiring prolonged dwell time that could damage sensitive surfaces like natural stone or composite resin.
Q: Can I use vinegar to clean my bathroom sink?
A: Vinegar is safe only for porcelain and stainless steel sinks. The 5% acetic acid content (pH 2.5) dissolves mineral deposits and soap scum on these materials without causing damage. Never use vinegar on natural stone (marble, granite) or composite sinks — the acid causes etching and surface damage that cannot be reversed without professional refinishing. For stone and composite sinks, use only pH-neutral cleaners formulated specifically for those materials.
Q: How do I remove hard water stains from my bathroom sink?
A: Mix baking soda with a small amount of water to form a paste, apply to affected areas, let sit for 5 minutes, scrub gently with a soft nylon brush, rinse thoroughly, and dry immediately. Baking soda (sodium bicarbonate, pH 8.3) provides mild abrasive action that lifts mineral deposits without scratching most sink surfaces. For stubborn calcium carbonate deposits that resist baking soda treatment, use a commercial calcium-removing cleaner specifically formulated for your sink material — verify compatibility on the product label before application.
Q: How often should I clean my bathroom sink?
A: Rinse the sink after each use to prevent debris from drying and adhering, and perform a full clean with the appropriate material-specific cleaner every 3–5 days. Deep clean including the drain ring, overflow opening, and faucet base once per week to prevent biofilm buildup and persistent odors. Sinks used by multiple people or in shared bathrooms benefit from full cleaning every 2–3 days due to higher usage volume.
References
- United States Environmental Protection Agency. (2024). Safer Choice Standard for Cleaning Products. EPA.
- Natural Stone Institute. (2023). Care and Cleaning of Natural Stone. Natural Stone Institute.
- NSF International. (2023). Household Cleaning Guide: Safe Use of Cleaning Chemicals. NSF.
- Centers for Disease Control and Prevention. (2024). Cleaning and Disinfecting Your Home. CDC.
- ASTM International. (2022). ASTM C800 — Standard Specification for Porcelain Enamel Finishes. ASTM.


