
How To Clean Shark Robot Vacuum
Shark robot vacuums require maintenance every 1–2 weeks to sustain peak suction and navigation accuracy. Regular care prevents a 23% reduction in cleaning efficiency that occurs when brush rolls accumulate debris, according to vacuum performance studies. This guide covers the complete disassembly, cleaning, and reassembly process for all Shark robot models including Shark AI, Shark ION, Shark EZ, and Shark IQ.
The filter requires cleaning every 30 days and replacement every 6 months. Failing to maintain the filter causes a measurable drop in suction power—particles smaller than 0.3 microns bypass compromised filters and re-enter the air. The following seven-step process takes approximately 45 minutes total and extends the vacuum’s operational lifespan to 5–7 years.
7 Steps To Clean A Shark Robot Vacuum
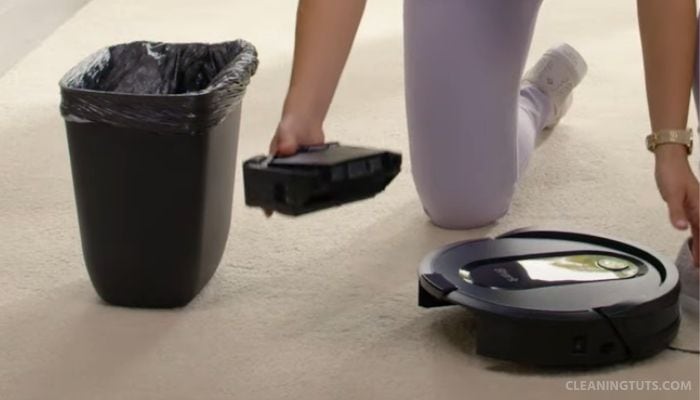
Step 1: Empty and Clean the Dust Bin
Push and slide the release tabs simultaneously to remove the dust bin. Hold the bin over a trash receptacle and shake gently to dislodge debris. The dust bin capacity averages 0.5 liters on standard Shark robot models and 1.5 liters on self-empty bases.
If your Shark robot vacuum is connected to the SharkClean app and displays a continuous dust bin error notification, activate the “Evacuate and Resume” feature. This function triggers the robot to return to the self-empty base, empty the bin, and resume cleaning from the last known position after 30 minutes. This feature is exclusive to robots equipped with a self-empty base—a design that handles up to 30 days of debris collection in homes with moderate foot traffic.
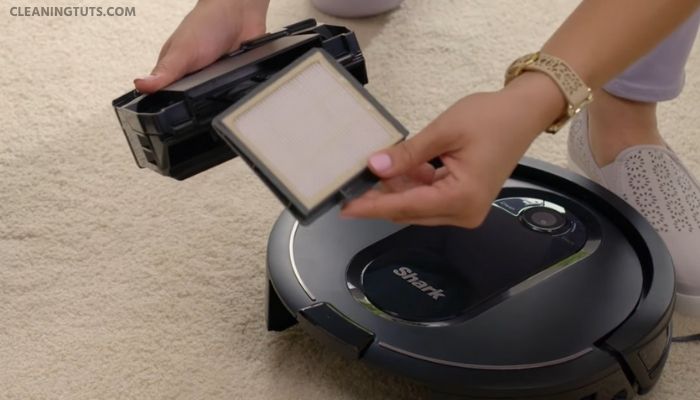
Step 2: Clean the Filter
Pull the filter from the dust bin by gripping the filter tabs. Hold the filter over a trash bin and press firmly to release trapped dust and debris. Do not use water on the primary filter—water damages the HEPA media and reduces filtration efficiency by up to 40%.
Clean the filter every 30 days. Replace the filter every 6 months to maintain optimal suction. A clogged filter forces the motor to work harder, increasing energy consumption by 15–25% and shortening motor lifespan.
Reinstall the filter by aligning the tabs and pressing until it clicks into place. Reinsert the dust bin into the vacuum until the latches engage.
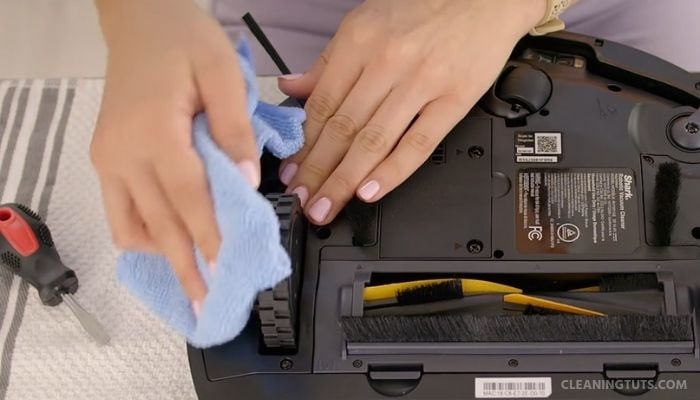
Step 3: Clean the Self-Cleaning Brush Roll
The self-cleaning brush roll uses anti-tanglevanes to reduce hair wrap, but debris accumulates in the end bearings and roller housing. Flip the robot and press the brush roll release tabs to lift the brush roll out. Remove accumulated hair and debris with your fingers or a pair of scissors, cutting along the roller bristles without damaging them.

Wipe the brush roll with a dry microfiber cloth. Reinstall by inserting the plain end first, then closing the brush roll door until the tabs snap.
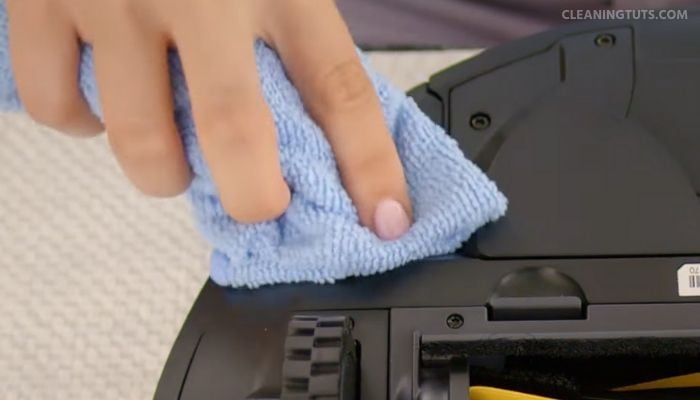
Step 4: Clean the Charging Pads and Sensors
Cliff sensors located on the robot’s underside detect stair edges and prevent falls. Use a dry microfiber cloth to wipe all six cliff sensors. The charging contacts on the robot’s bottom require cleaning with a cotton swab dampened with isopropyl alcohol (70% concentration or higher) to remove oxidation buildup that causes charging failures.
Wipe the metal charging contacts on the dock with a dry cloth. Dust and debris on the dock contacts creates resistance that extends charging time by up to 2 hours and may trigger false “not charging” errors.
Step 5: Clean the Side Brushes
Shark robot vacuums include two side brushes that sweep edges and corners. Grasp each side brush post and pull straight up to remove. Soak the brushes in warm water (not hot) for 5 minutes, then scrub with a toothbrush to remove embedded dirt. Allow brushes to air-dry completely—moisture trapped in the brush housing causes mold and odor.
Reinstall each brush by pressing it onto the drive post until it clicks. Brush replacement is recommended every 12 months for homes with carpeted surfaces and every 18 months for hard-floor-only homes.
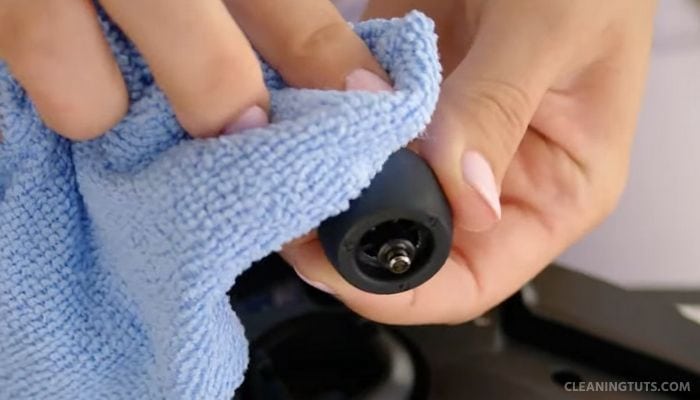
Step 6: Clean the Wheels
The front caster wheel assembly houses the primary steering mechanism. Remove the caster wheel by prying it free with a flathead screwdriver. Clean debris from the wheel housing and the wheel axle with a wooden toothpick or compressed air. Reinsert the wheel and press until the retention clip engages.
The side wheels are not user-removable. Clean around the side wheel housings with a brush to prevent hair and thread accumulation, which causes navigation drift over time.
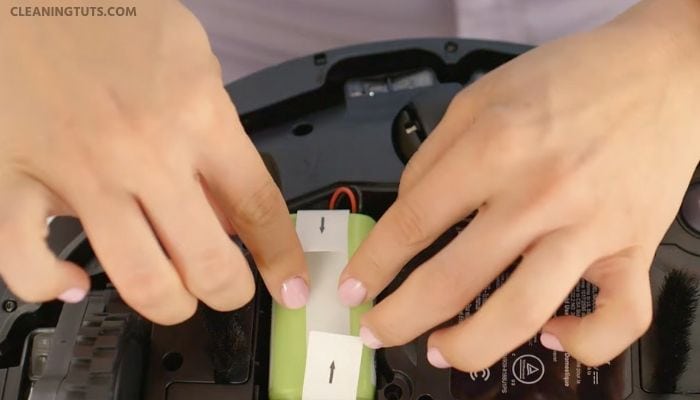
Step 7: Replace the Battery
Shark robot vacuum batteries are lithium-ion cells rated at 2,600–5,200 mAh depending on model. Battery capacity degrades to 80% after 500 charge cycles, which equals approximately 2–3 years of typical use. To replace: power off the robot, remove the battery cover screw with a Phillips-head screwdriver, disconnect the battery connector, and install the replacement battery with the connector oriented correctly.
Only use Shark-branded replacement batteries. Third-party batteries may lack proper thermal protection circuitry and void the warranty.
Shark Robot Vacuum Maintenance Schedule
| Component | Clean | Replace |
|---|---|---|
| Dust Bin | After each use (self-empty: 30 days) | Every 2–3 years |
| Primary Filter | Every 30 days | Every 6 months |
| HEPA Filter | Every 60 days | Every 12 months |
| Brush Roll | Every 2 weeks | Every 12–18 months |
| Side Brushes | Every 2 weeks | Every 12–18 months |
| Charging Contacts | Every 30 days | Not replaceable |
| Cliff Sensors | Every 30 days | Not replaceable |
| Battery | N/A | Every 2–3 years |
Tools Required
- Flathead screwdriver (battery cover)
- Phillips-head screwdriver (battery cover screw)
- Cotton swabs
- Isopropyl alcohol (70% or higher)
- Dry microfiber cloths (2)
- Toothbrush
- Compressed air (optional)
- Wooden toothpick
Frequently Asked Questions
Can I wash the Shark robot vacuum filter with water?
No. Water damages the HEPA filter media and reduces filtration efficiency by up to 40%. Tap the filter over a trash bin to release loose particles. For the pre-motor foam filter (not the HEPA), rinsing with water is acceptable—ensure complete drying before reinstalling.
How often should I replace the Shark robot vacuum filter?
Replace the primary filter every 6 months. Replace the HEPA filter every 12 months. Shark recommends checking filters monthly and replacing sooner if visible debris buildup is present or suction performance decreases noticeably.
Why is my Shark robot vacuum not charging?
Charging failures stem from dirty charging contacts, a depleted battery, or a faulty dock. Clean the robot’s metal charging contacts and the dock contacts with isopropyl alcohol. If the problem persists, the battery capacity has likely degraded below usable thresholds and requires replacement.
How long does a Shark robot vacuum battery last?
Shark lithium-ion batteries deliver 500+ charge cycles before capacity drops to 80%. At typical usage (4–5 cycles per week), this equals 2–3 years of service life. Avoid leaving the robot on the dock continuously—partial discharges between charges extend cycle count compared to deep discharges.
References
- SharkNinja Support. (2024). How to Clean and Maintain Your Robot Vacuum. SharkNinja.
- Consumer Reports. (2023). How to Maintain Your Robot Vacuum. Consumer Reports.
- EPA. (2023). Residential Robotic Vacuum Cleaners and Indoor Air Quality. U.S. Environmental Protection Agency.


