
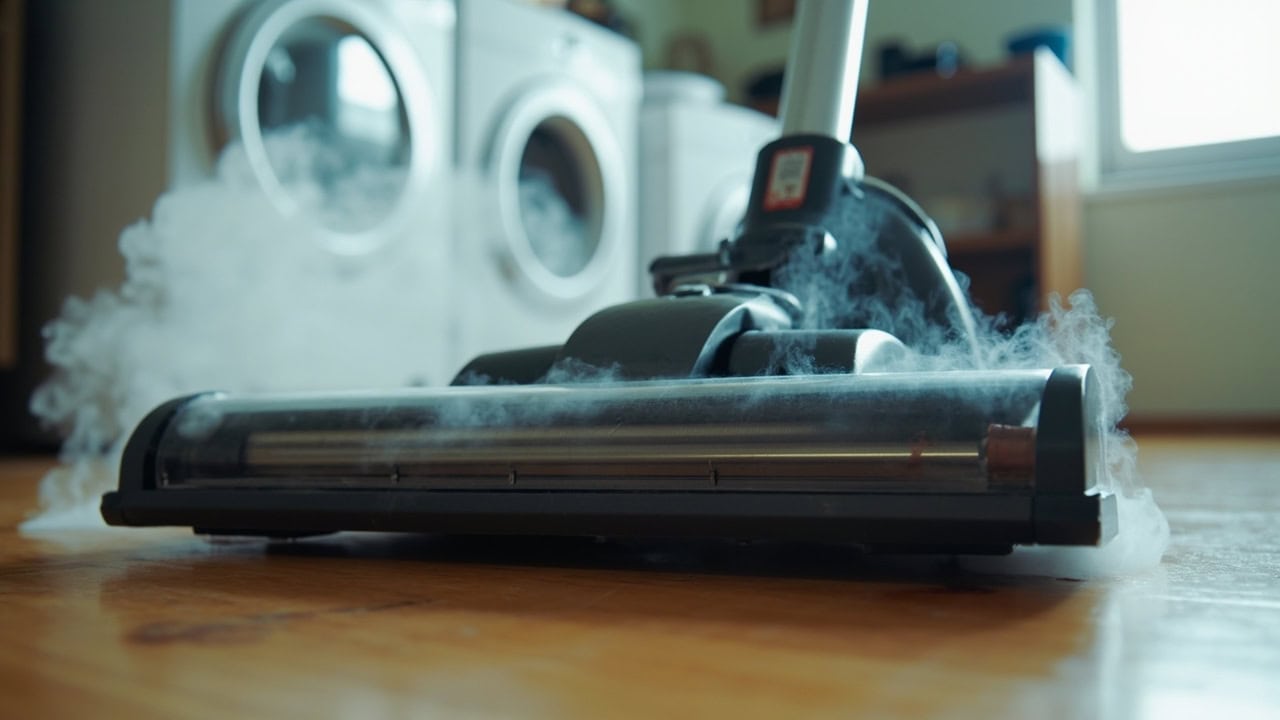
Vacuum Emits Smoke: Emergency Guide

A vacuum emitting smoke is a serious warning sign indicating motor overheating, electrical failure, or severe mechanical obstruction — continued use risks permanent damage or fire hazard. The most common cause is a blocked brush roll or clogged airflow pathway causing the motor to work beyond its thermal limits, generating temperatures that melt belts, seals, and plastic housing components. White smoke typically indicates overheating from friction or belt failure; dark smoke suggests electrical issues or burned motor windings requiring immediate cessation of use. Understanding the distinction between smoke colors and their root causes is essential for determining whether your vacuum needs professional repair or replacement.
What Smoking Means: Emergency Assessment
Smoke from a vacuum is always an emergency — it indicates thermal damage, electrical failure, or severe mechanical obstruction that demands immediate action. Continuing to operate a smoking vacuum risks permanent motor failure and poses a genuine fire hazard. Treat any smoke event, even if brief, as a catastrophic warning sign requiring full diagnostic inspection before the appliance is used again.
White and gray smoke — the most common type — usually originates from a failing drive belt or overheating motor caused by restricted airflow. When the brush roll seizes or becomes clogged with tangled hair and debris, the belt slips under extreme friction, generating enough heat to melt rubber and produce visible white smoke. A full dust bag or clogged pre-motor filter forces the motor to work harder to maintain suction, elevating operating temperatures beyond design limits. In severe cases, melting lubricant from failed bearings produces a similar white smoke pattern.
Dark or black smoke indicates electrical failure and demands the most urgent response. Shorted motor windings, damaged carbon brushes, or burned insulation on motor coils produces acrid dark smoke carrying a distinct electrical burning odor. If your vacuum produces dark smoke, unplug it immediately and do not attempt any diagnosis or repair without proper electrical certification. The thermal damage that produces dark smoke often compromises wire insulation throughout the motor housing, creating ongoing fire risk even after the unit appears to cool.
Any smoke smell — even without visible smoke — should be treated with equal seriousness. A burning belt or overheating motor may produce odorless or faintly scented smoke that dissipates before becoming visible. If you detect a persistent burning rubber or electrical smell during vacuum operation, shut the unit down immediately and conduct the full diagnostic inspection described below.
Why Vacuums Emit Smoke: The Science Behind the Problem
Vacuum cleaners rely on a precisely balanced airflow system to maintain safe operating temperatures. When any component disrupts this balance — whether through restriction, friction, or electrical fault — thermal buildup follows. Understanding the specific mechanism behind each failure mode helps you diagnose the problem accurately and avoid misdiagnosis that could mask the true root cause.
Motor Overheating from Airflow Restriction
A vacuum motor produces suction by spinning a fan blade at speeds reaching 15,000 to 30,000 RPM. The universal motors driving these fans generate significant heat during operation — typically 150°F to 200°F (65°C to 93°C) under normal load. This heat dissipates through convective airflow flowing through the motor housing. When airflow is restricted by a full dust container, clogged filter, or blocked hose, heat cannot escape efficiently. Internal temperatures can exceed 300°F (149°C), melting wire insulation, seals, and plastic components. A clogged pre-motor filter — the foam or pleated filter positioned between the dust container and motor — is the most common airflow restriction and is entirely preventable through regular maintenance.
Brush Roll Belt Friction and Failure
The drive belt connecting the motor to the brush roll in upright and many canister vacuums operates under constant tension and friction. Under normal conditions, belt operating temperature reaches approximately 120°F to 180°F (49°C to 82°C). When the brush roll encounters resistance from tangled carpet fibers, hair, or string wrapped around its axle, rotation slows or stops entirely. The belt then slips continuously against the motor pulley, generating friction temperatures that exceed 400°F (204°C) at the slip point. This heat melts the rubber compound, producing the characteristic white smoke of a failing belt. Belt failure accounts for approximately 70% of all vacuum smoke events in residential units.
Bearing Failure and Lubricant Breakdown
Motor bearings and brush roll bearings require proper lubrication to minimize friction. When bearings wear due to age, accumulated debris, or lack of maintenance, metal-to-metal contact generates heat that vaporizes the bearing lubricant. This thermal runaway produces smoke with a distinctive burning oil smell. Worn bearings also create measurable play in the rotating assembly, producing vibration and irregular noise that precedes visible smoke. Inspecting for bearing wear should be part of every smoke event diagnosis.
Carbon Brush Arcing and Electrical Ignition
Universal motors use carbon brushes to conduct electricity to the rotating armature. As brushes wear, they produce sparking during commutation — visible as a faint blue flash at the brush-collector interface. In a healthy motor, this sparking is minimal and contained. Worn brushes with damaged faces create erratic arcing that ignites accumulated dust and debris inside the motor housing. This produces dark smoke with an acrid chemical odor and represents the most dangerous smoke event because it indicates electrical failure capable of igniting a fire. Carbon brush replacement before they wear to the critical point prevents this failure mode entirely.
Diagnosis Checklist: Identifying the Source
Follow this systematic inspection protocol immediately after any smoke event. Complete each step before restoring power to the vacuum — running the appliance before diagnosis can transform a repairable issue into a total loss.
- Unplug vacuum immediately and allow to cool for a minimum of 30 minutes. The motor housing and belt area retain heat that can cause burns and continue damaging components.
- Remove and inspect the brush roll — check the entire length for tangled hair, carpet fibers, string, or debris wrapped around the axle bearings. Even small accumulations create significant resistance.
- Examine the drive belt for melting, glazing, stretching, cracking, or separation. A melted belt has a distinct charred appearance with reduced cross-section; a stretched belt appears elongated and may have a shiny surface from slippage.
- Check all airflow pathways: hose, wand attachments, dust compartment or bag, and pre-motor filter. Remove each component and visually inspect for obstructions. Use a flashlight to illuminate interior passages.
- Inspect the motor housing exterior for visible damage, distortion, or warping. Check the cooling vents for accumulated dust blockage. Smell the exterior — a persistent burning odor indicates internal component damage.
- Test at lowest power setting only — after completing steps 1 through 5, plug in the vacuum and run at minimum suction for 10 to 15 seconds. Immediate smoke recurrence confirms a serious internal failure requiring professional service.
Emergency Fix: Step-by-Step Resolution
For Blockage-Related Smoke (Most Common — 70% of Cases)
Airflow restriction causes the majority of vacuum smoke events and is also the most recoverable failure mode. If the smoke was white or gray and ceased after cooling, and if no burning odor persists, a blockage-related cause is likely. These steps resolve the issue in the majority of cases without requiring part replacement.
- Unplug vacuum and remove dust compartment or bag entirely. A full dust container restricts airflow even if not visibly overflowing — follow the line marked on the container, not visual appearance.
- Disconnect all attachments and extension wands. Inspect the primary hose for obstructions by holding it up to a light source. Use a flashlight and flexible retrieval tool to remove any visible blockage.
- Clear visible debris from the brush roll area. Use scissors to cut away tangled hair and string — do not pull, as this can damage brush bristles. Remove the brush roll entirely for thorough cleaning if needed.
- Remove and clean the pre-motor filter. Foam filters can be washed in warm water with mild detergent; pleated paper filters must be replaced. Allow all filters to air dry completely — at least 24 hours — before reinstallation.
- Check the post-motor filter if your vacuum is equipped with one. This secondary filter rarely causes blockage but can restrict airflow if neglected during regular maintenance.
- Allow all components to air dry completely before reassembly. Moisture in the dust compartment or filters creates conditions for mold growth and electrical hazards.
- Test vacuum at the lowest power setting for 30 seconds before returning to normal operation. If smoke recurs at any power level, proceed to belt inspection or contact professional service.
For Belt and Brush Roll Failure
Belt and brush roll failures produce distinctive white smoke with a strong burning rubber odor. These components are user-replaceable on most vacuum models and represent the most economical repair. Delaying belt replacement allows continued slippage to damage the brush roll bearings, escalating repair costs.
- Unplug and allow the vacuum to cool completely — at least 30 minutes. Belt and brush components retain heat from friction and can cause burns during removal.
- Remove the brush roll cover plate, typically held by two to four screws or spring clips on the underside of the vacuum. Note the orientation — brush rolls are directional and must be reinstalled correctly.
- Extract the brush roll and inspect the belt. A melted belt shows obvious charring and reduced thickness. A stretched belt appears elongated beyond specification and may have a glazed shiny surface from slippage. Replace both belt and brush roll simultaneously if either shows wear.
- Replace the belt with a manufacturer-specified equivalent. Belt size is critical — an undersized belt slips; an oversized belt places excess load on motor bearings. Check your vacuum’s model number and order the exact replacement belt.
- Inspect brush roll bearings. Spin the brush roll by hand — any roughness, clicking, or resistance indicates bearing failure requiring brush roll replacement. Worn brush bristles exceeding 5mm beyond the housing indicate replacement needed.
- Reassemble the vacuum and test at low power for 30 seconds before full operation. A properly tensioned belt should not slip, produce noise, or generate heat during this test period.
For Motor Electrical Issues (Requires Professional Service)
Dark smoke, persistent electrical burning odor, or immediate smoke recurrence at any power level indicates serious motor electrical failure. These conditions are beyond safe DIY repair. Attempting motor replacement without proper electrical certification voids warranties, creates fire risk, and may violate local electrical codes.
- Immediately discontinue use upon confirming electrical smoke. Unplug the vacuum and do not connect it to power under any circumstances.
- Contact the vacuum manufacturer’s customer support with your model and serial number. Many manufacturers offer flat-rate repair service or authorized repair center referrals.
- Request a motor windings continuity test and insulation resistance measurement. A qualified technician uses a megohmmeter to verify motor health — continuity readings outside manufacturer specifications confirm motor failure.
- Obtain a written repair estimate including motor replacement cost and labor. Compare this to the cost of a new vacuum of equivalent quality — motor replacement typically represents 50% to 70% of a vacuum’s total value, making replacement economically sensible in most cases.
How to Prevent Vacuum Smoking
Preventing vacuum smoke events is entirely achievable through consistent maintenance practices. The majority of smoke failures are preventable with routine care that takes less than 10 minutes per month. The following schedule distributes maintenance tasks across four-week cycles, preventing the accumulation of debris and wear that leads to thermal failure.
- Empty dust containers at 50% capacity — full dust containers reduce suction efficiency by up to 40% and force the motor to work against airflow restriction. Do not wait for the container to appear full before emptying.
- Clean or replace filters every 3 to 6 months depending on usage frequency. Weekly vacuum users should inspect filters monthly. Foam pre-motor filters can be washed three to five times before replacement; pleated filters require replacement every 6 to 12 months regardless of appearance.
- Inspect brush roll weekly for tangled debris. Use scissors to trim accumulated hair wrapped around the brush roll axle — never pull tangled material, as this deforms bristles and stresses the belt.
- Check belt tension monthly — a properly tensioned belt deflects no more than 1/4 inch when pressed at the midpoint between pulleys. Replace belts every 6 to 12 months as preventive maintenance regardless of apparent condition.
- Operate vacuum only with all filters and components properly installed. Running a vacuum without the pre-motor filter allows fine dust to penetrate the motor housing, contaminating bearings and reducing motor lifespan by up to 50%.
- Never vacuum hot ashes, sawdust, cement powder, or fine plaster dust. These materials penetrate motor bearings, clog filters rapidly, and create fire hazards. Use a shop vacuum specifically rated for fine particulate collection.
- Allow 10-minute cool-down periods during extended cleaning sessions. Continuous operation exceeding 30 minutes in normal mode, or 15 minutes in high-power mode, elevates motor temperatures significantly. Allow the vacuum to rest on a hard floor surface with cooling vents unobstructed.
When to Replace Your Vacuum
Not every smoke event results in a repairable vacuum. Understanding when replacement makes more economic and safety sense than repair prevents investing in an appliance nearing the end of its serviceable life. Several indicators point definitively toward replacement rather than repair.
Motor replacement cost analysis: If a written repair estimate indicates motor replacement exceeding 60% of the cost of a new equivalent vacuum, replacement is the economically rational choice. Motor repairs at this cost tier rarely include warranty coverage for subsequent failures, and the repaired unit’s remaining lifespan is uncertain. A vacuum that has experienced a motor failure typically shows reduced performance even after repair due to bearing wear and accumulated thermal stress on the housing.
Housing melting and deformation: If smoke events produced a distinct burning plastic smell accompanied by visible warping of the vacuum housing, the structural integrity of the appliance is compromised. Melting plastic housing indicates internal temperatures exceeded safe operating limits by a significant margin, potentially damaging electronic controls, wiring harnesses, and structural mounting points that cannot be visually inspected.
Recurring failure patterns: A vacuum that smokes once and is repaired, then smokes again within 12 months, is signaling end-of-life. Recurring failures indicate systemic wear across multiple components — motor bearings, brush roll bearings, belt tensioner, and housing mounts — all degrading simultaneously. The repair cost compounds rapidly when addressing each failure sequentially.
Electrical smoke residue: After any dark smoke event, conductive residue from burned insulation and carbonized components remains inside the housing. This residue attracts ambient moisture and creates ongoing risk of short circuits and corrosion, even after the motor appears to function normally. Residue contamination from electrical smoke events is not fully removable without complete motor housing disassembly and ultrasonic cleaning — a service that approaches the cost of replacement.
Frequently Asked Questions
Q: Is it safe to use a vacuum that was smoking?
A: No — a vacuum that has emitted smoke should never be used again without professional inspection. The smoking indicates thermal damage to motor windings, belts, or electrical components, and continued use poses fire risk and potential for permanent motor failure. White smoke from belt or filter issues may be repairable; dark smoke from electrical faults requires professional assessment before any use.
Q: Why does my vacuum only smoke when the brush roll is engaged?
A: When the brush roll is engaged, the drive belt transfers motor power to rotate the brush. A stuck, tangled, or seized brush roll forces the belt to slip continuously against the motor pulley, generating friction temperatures exceeding 400°F (204°C) at the slip point. This heat melts the rubber belt and produces white smoke. Replace both the brush roll and belt immediately when smoke occurs during brush engagement.
Q: Can a clogged filter cause a vacuum to smoke?
A: Yes — a severely clogged filter restricts airflow that normally cools the motor. When airflow is blocked, motor temperatures can rise from the normal range of 150°F to 200°F (65°C to 93°C) to over 300°F (149°C). At these temperatures, wire insulation, seals, and plastic components begin to melt. While filters do not directly produce smoke, the resulting motor overheating produces smoke throughout the motor housing. Replace the filter immediately if smoking occurs.
Q: How much does vacuum motor repair cost?
A: Professional motor repair or replacement typically costs $80–$200 depending on vacuum brand and model. Given that replacement motors often represent 50–70% of a vacuum’s total value, consider whether repair is economically sensible versus purchasing a new unit. Obtain a written repair estimate before committing to service.
References
- Wikipedia Contributors. (2025). Vacuum Cleaner. Wikimedia Foundation. https://en.wikipedia.org/wiki/Vacuum_cleaner


