
Vacuum Smells Like Dust: Causes & Solutions

A vacuum smells like dust when accumulated debris breaks down inside the machine, releasing particulate matter into the airflow. The primary causes are clogged filters trapping fine particles, overfilled dust bags allowing decomposition, and brush rolls harboring organic matter that decomposes over time. Each of these issues creates ideal conditions for bacterial growth and odor production within 2–4 weeks of normal use. Regular maintenance eliminates odor and restores suction power.
What Causes the Dusty Vacuum Smell?
The dusty smell from a vacuum is not just re-circulated dust — it is a signal that biological and particulate contamination has accumulated to a detectable level inside the machine. When air passes through a clogged filter, the reduced airflow causes fine particles to settle in the hose and chamber instead of being expelled. Over time, these trapped particles decompose, creating an environment where bacteria and mold thrive, particularly in damp conditions or when vacuuming moisture-laden debris.
The three primary sources of vacuum odor include:
- Clogged or saturated filter — Traps fine dust particles that decompose and harbor bacteria
- Overfilled dust bag or canister — Organic matter in debris begins anaerobic decomposition
- Brush roll accumulation — Hair, fiber, and pet dander wrap around the roller and rot
Using the vacuum on damp surfaces or high-humidity environments accelerates biological growth inside all three components. The combination of moisture, organic matter, and warmth creates conditions where bacteria multiply rapidly — colonies can double in size every 20–30 minutes in optimal conditions. Within two to four weeks of regular use, contamination levels reach the threshold where odor becomes noticeable to most people.
Diagnosis: Confirming the Source of Your Vacuum Smell
Before addressing the odor, identify which component is the primary source. Follow this checklist to isolate the problem:
- Run the vacuum for 30 seconds on a bare floor — if the smell intensifies immediately, the filter is likely the primary source
- Remove and inspect the dust bag or empty the canister — foul odor upon opening indicates bag/canister as the source
- Pull out the brush roll and check for wrapped debris — a musty smell when the brush roll is exposed points to brush roll contamination
- Inspect the hose by temporarily detaching it — shake or blow through it to check for trapped debris
Each diagnostic step takes under one minute and narrows the target for cleaning. Attempting to clean all three components simultaneously wastes time and cleaning solution when the actual source may be only one component.
How to Eliminate Vacuum Smell: Step-by-Step Solutions
Step 1: Replace or Clean the Filter
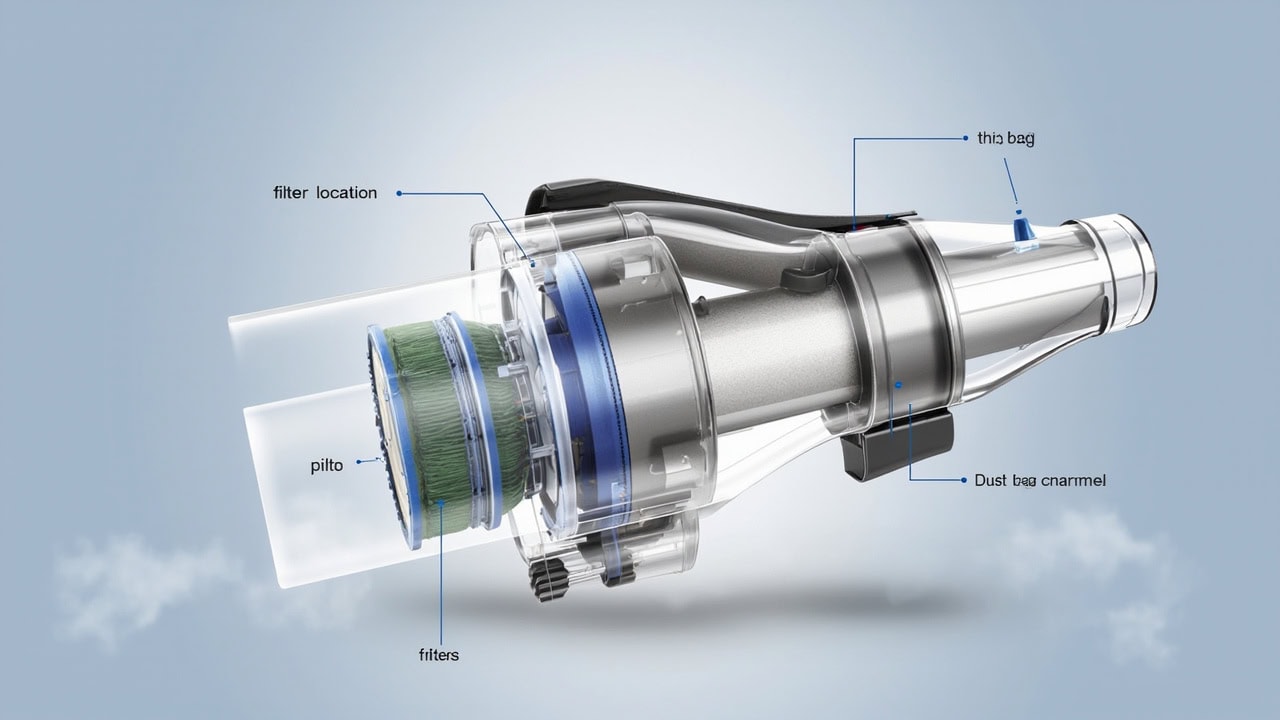
A clogged filter is the most common cause of vacuum odor. Most HEPA (High Efficiency Particulate Air) filters cannot be washed and must be replaced every 6–12 months, while washable foam filters should be rinsed in cold water, dried completely for 24 hours, and reinstalled. Never use soap on HEPA filters — residues cause additional odor and reduce filtration efficiency by up to 40%.
HEPA filters capture particles as small as 0.3 microns with 99.97% efficiency. When the media becomes saturated with fine dust, airflow restriction causes particles to bypass the filter media through seal gaps, reducing effective filtration and allowing odor-producing debris to accumulate downstream in the machine.
Step 2: Empty or Replace the Dust Bag
For bagged vacuums, replace the bag when it reaches 50–75% capacity — waiting until full causes compression of debris that accelerates decomposition. Anaerobic bacteria thrive in compacted organic matter with limited oxygen, producing hydrogen sulfide and other odoriferous compounds within 48–72 hours of compression. For bagless models, empty the canister after every use and rinse with warm water monthly to remove embedded fine particles that don’t empty through shaking alone.
Step 3: Clean the Brush Roll
Remove hair and fiber wrapped around the brush roll using scissors or a seam ripper, cutting parallel to the brush bristles to avoid damaging them. Soak the brush roll in a solution of 1 tablespoon enzyme-based cleaner per cup of warm water (approximately 38°C / 100°F) for 15 minutes. Enzyme-based cleaners break down the organic proteins in hair oils and skin cells that feed bacterial growth. Rinse thoroughly under running water, then air dry completely for 24 hours before reinstallation. Replace brush roll bristles if they appear frayed or flattened — damaged bristles flex improperly during rotation and collect debris 3–5 times faster than intact bristles.
Step 4: Deodorize the Hose and Internal Chambers
Baking soda (sodium bicarbonate) neutralizes organic odors through acid-base reactions with volatile fatty acids produced during decomposition. Sprinkle 2 tablespoons of baking soda into the dust chamber, run the vacuum for 30 seconds to distribute the powder through the airflow path, then let it sit for 1 hour before vacuuming up the residue. For persistent odors, wipe internal surfaces with a cloth dampened with diluted white vinegar (1:1 with water, pH approximately 2.5) and allow to dry completely — the acetic acid in vinegar kills surface bacteria on contact, though it should never be used on HEPA filter media or foam rubber seals.
How to Prevent Vacuum Smell from Returning
Prevention requires establishing a regular maintenance schedule that addresses each odor source before contamination reaches problematic levels. Replace filters on schedule rather than waiting for odor — by the time smell is detectable, bacterial colonies have typically exceeded 10,000 CFU (colony-forming units) per gram of accumulated debris. Empty bags and canisters after each vacuuming session to prevent anaerobic conditions. Clean the brush roll weekly in high-use households (defined as vacuuming more than five times per week) or biweekly in moderate-use homes.
Store the vacuum with the dust compartment open to allow air circulation, which prevents moisture buildup that fuels bacterial growth. A closed compartment retains humidity above 60% relative humidity — the threshold at which mold spores activate — within 24 hours in most indoor environments. Adding a dryer sheet or a small sachet of activated charcoal inside the dust compartment between uses provides additional odor absorption; activated charcoal adsorbs volatile organic compounds (VOCs) with a surface area of 500–1,500 m² per gram.
When to Replace Vacuum Parts vs. the Entire Machine
If cleaning all components does not eliminate the smell, the contamination may have reached internal hoses or motor bearings — in these cases, the vacuum should be evaluated for repair versus replacement. Filters, bags, and brush rolls are inexpensive replaceable components costing $5–$50 total, but persistent odor after component replacement indicates deeper mechanical issues that may not be cost-effective to repair. A general rule: if repair costs exceed 50% of replacement cost (typically $150–$400 for mid-range canister or upright models), replacement is more economical.
Motor bearing contamination produces a distinct burning or hot plastic smell that persists even after thorough cleaning, distinguishing it from simple biological odor. If the motor itself is the source, no amount of filter or brush roll maintenance will resolve the issue.
Vacuum Filter Types and Maintenance Schedule
| Filter Type | Cleanable? | Replacement Interval | Wash Method |
|---|---|---|---|
| HEPA (pleated paper) | No | 6–12 months | N/A |
| Foam/washable | Yes | 12–18 months | Rinse in cold water, air dry 24 hours |
| Pre-motor foam | Yes | 6–12 months | Rinse in warm water, fully dry |
| Exhaust HEPA | No | 12–24 months | N/A |
Post-motor (exhaust) HEPA filters capture the finest particles that pass through the motor and are the last line of defense before air exits into the living space. Because they handle clean air, they require replacement less frequently than pre-motor filters, which face the full debris load. Never operate a vacuum without a properly seated post-motor filter — unfiltered exhaust can redeposit fine particles directly into indoor air at concentrations that aggravate respiratory conditions.
Frequently Asked Questions
Q: Why does my vacuum smell like dust even after cleaning?
A: If your vacuum still smells like dust after cleaning the filter and bag, the brush roll, hose, or internal chamber likely harbors residual debris. Detach and inspect the hose for blockages, clean the brush roll thoroughly, and wipe the interior walls of the dust compartment with a damp cloth.
Q: Can I use vinegar to clean my vacuum filter?
A: Vinegar is not recommended for most vacuum filters — the acidity can degrade foam rubber seals and leave residues that cause odor. Use only water for washable foam filters, and replace paper HEPA filters entirely rather than attempting to clean them.
Q: How often should I replace my vacuum filter?
A: HEPA filters should be replaced every 6–12 months depending on usage frequency and the presence of pets or dust-generating conditions. Washable foam pre-filters should be rinsed monthly and replaced every 12–18 months.
Q: Is a dusty vacuum smell harmful to breathe?
A: Vacuumed dust that has decomposed and harboring bacteria can release allergens and mild respiratory irritants into the air. While not acutely dangerous in a clean home environment, the particles can aggravate allergies and asthma — regular filter maintenance eliminates this risk.
References
- U.S. Environmental Protection Agency. (2024). Indoor Air Quality (IAQ). EPA.
- American Lung Association. (2023). Healthy Air in Your Home. ALA.
- ASHRAE. (2022). Ventilation for Acceptable Indoor Air Quality (Standard 62.1). American Society of Heating, Refrigerating and Air-Conditioning Engineers.
- Mayo Clinic. (2023). Allergy Overview. Mayo Foundation for Medical Education and Research.
- Consumer Reports. (2024). Vacuum Cleaner Maintenance Tips. Consumer Reports.


