
How to Clean Shower Grout: Complete Guide

How to Clean Shower Grout: Complete Guide
Shower grout must be cleaned with a baking soda paste (pH 8.3) followed by white vinegar treatment (5% acetic acid, pH 2.4), scrubbed with a nylon grout brush for 30–60 seconds per section. This two-step process dissolves soap scum’s alkaline residue and kills surface mildew without damaging the Portland cement binder inside the grout. For deep-set stains, 3% hydrogen peroxide applied as a spot treatment for 10–15 minutes lifts embedded discoloration through oxygen bleaching without acid etching.
The reaction between sodium bicarbonate and acetic acid produces sodium acetate, water, and carbon dioxide gas — the visible foaming action physically lifts grime from grout pores. Never use hydrochloric acid or phosphoric acid cleaners on grout; acids below pH 4 dissolve the calcium silicate compounds in Portland cement, causing irreversible pitting and accelerated restaining. This guide covers the complete cleaning method from supplies through drying, sealing, and common mistakes to avoid.
What You Need Before You Start
Gather all supplies before starting — grout cleaning requires working in sections before cleaning solutions dry, so having everything within reach prevents interruptions. Each item serves a specific chemical or mechanical role in the cleaning process.
- Baking soda (sodium bicarbonate, NaHCO₃) — mild alkali at pH 8.3 that dissolves soap scum through gentle abrasive action and alkaline hydrolysis of fats
- White distilled vinegar (5% acetic acid, CH₃COOH, pH 2.4) — reacts with baking soda to produce CO₂ foaming that lifts embedded grime from grout pores
- 3% hydrogen peroxide (H₂O₂) — oxygen bleach that breaks down organic stain molecules through oxidative decomposition without damaging colored grout pigments
- Nylon grout brush — stiff synthetic bristles clean grout recesses without scratching; avoid metal wire brushes that create micro-abrasions trapping future dirt
- Small bowl or container — for mixing the baking soda paste to a spreadable consistency
- Spray bottle — for applying vinegar evenly across treated grout lines
- Microfiber cloth or sponge — for rinsing and wiping grout lines clean after scrubbing
- Grout sealer (optional, for re-sealing after deep clean) — penetrating silicone or fluoropolymer sealer that protects grout from future staining
Before starting, also review our guide on how to clean ceramic tile and grout — cleaning the tile surface first prevents loose debris from re-depositing into freshly cleaned grout lines during the scrubbing process.
Step-by-Step Cleaning Process
Follow these eight steps in order, working on one wall or section of the shower at a time. The total active cleaning time for a standard shower (approximately 40–60 linear feet of grout) is 35–45 minutes.
- Pre-rinse the shower. Run warm water (100–110°F / 38–43°C) over all grout lines to wet the surface and loosen surface debris. Warm water softens soap scum more effectively than cold water by reducing the viscosity of residual oils trapped in the grout. This pre-rinse prevents dry scrubbing, which can scratch the grout surface.
- Make the baking soda paste. Mix 3 parts baking soda to 1 part water in a small bowl. For a standard shower, ¾ cup baking soda plus ¼ cup water produces enough paste. Stir until the mixture reaches a thick toothpaste consistency — too thin and it runs off vertical grout lines; too thick and it cannot penetrate grout pores.
- Apply paste to grout lines. Using a gloved finger or a small putty knife, press the baking soda paste directly into the grout joints. Coat all grout lines generously, paying extra attention to the shower floor and lower wall sections where soap scum and mineral deposits concentrate. The paste should fill the grout recess slightly above the tile surface.
- Spray with white vinegar. Fill a spray bottle with undiluted white distilled vinegar (5% acetic acid, pH approximately 2.4). Spray the vinegar directly onto the baking soda paste. The chemical reaction — NaHCO₃ + CH₃COOH → CH₃COONa + H₂O + CO₂ — produces immediate foaming as carbon dioxide gas is released. This effervescence physically lifts soap scum and debris from within the grout’s porous structure.
- Let dwell for 5–10 minutes. Allow the active foam to work on the grout without disturbance. The dwell time gives the acid-base reaction time to break down alkaline soap scum while the mechanical bubbling action lifts embedded particles. Do not let the paste dry completely — dried sodium acetate residue leaves a white film on grout that requires additional rinsing to remove.
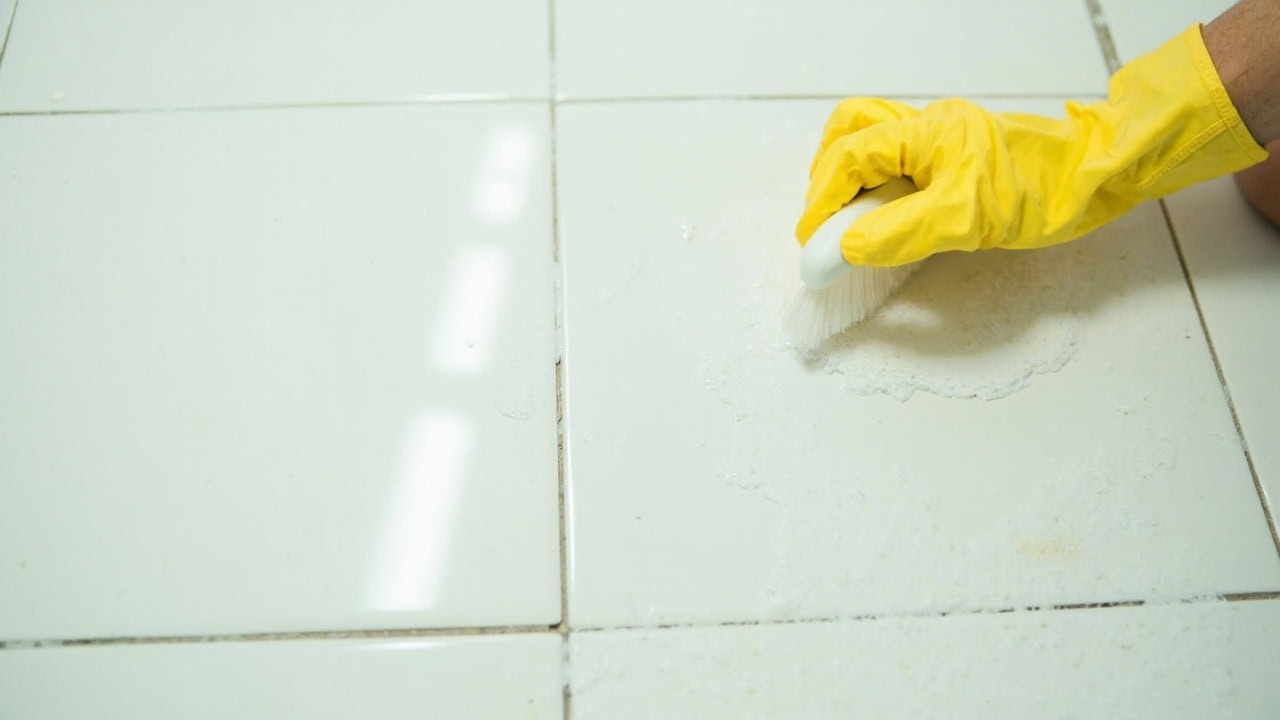
- Scrub with nylon grout brush. Using firm but controlled pressure, scrub each grout line in small circular motions for 30–60 seconds per 12-inch section. Work from top to bottom on walls to prevent re-soiling already-cleaned sections below. The nylon bristles reach into the grout’s recessed surface without scoring the material. For floor grout, scrub along the grout lines (parallel) rather than across them — cross-scrubbing spreads loosened debris into adjacent clean sections.
- Rinse thoroughly. Use a clean damp microfiber cloth or run the shower at warm temperature to rinse all residue from grout lines and tile surfaces. Leftover baking soda or sodium acetate residue causes white filming. Change rinse water or flip the cloth frequently — a saturated cloth re-deposits dissolved soils back onto the grout.
- Spot-treat stubborn stains. For persistent discoloration that remains after the vinegar-baking soda treatment, apply 3% hydrogen peroxide directly to the stain using a cotton swab or small brush. Let the peroxide sit for 10–15 minutes — the oxidative decomposition reaction breaks down organic chromophores in the stain. Scrub the treated area with the nylon brush and rinse clean. Hydrogen peroxide is safe for white and light-colored grout; test on an inconspicuous area of colored grout before full application.
Shower Grout-Specific Considerations
Grout in shower environments faces conditions that differ from grout on kitchen backsplashes or floors — constant moisture exposure, soap scum buildup, and warm temperatures create an environment where mildew thrives and mineral deposits accumulate rapidly. Understanding these factors prevents damage during cleaning and extends the time between deep-cleaning sessions.
- Never use hydrochloric acid or phosphoric acid cleaners on grout. Shower grout is typically Portland cement-based (composed of calcium silicates — tricalcium silicate and dicalcium silicate). Acid cleaners with pH below 4 dissolve these calcium compounds through an acid-base reaction that produces soluble calcium salts, water, and silica gel. The result is irreversible surface pitting that creates microscopic pockets trapping dirt and stains at an accelerated rate. For more on this chemical process, see our guide to cleaning chemistry and the etching entry in the cleaning glossary.
- Avoid bleach gel pens on colored grout. The thick gel formula sits on the grout surface and may lighten colored grout pigments unevenly. Sodium hypochlorite (the active ingredient in household bleach, typically 5–6% concentration) oxidizes the iron oxide and titanium dioxide pigments used in colored grout, causing irreversible lightening that requires grout replacement or re-coloring to fix.
- Grout sealing matters. Unsealed grout is porous — cement-based grout has a water absorption rate of 5–7% by weight, meaning it soaks up staining agents readily. If your grout was never sealed or the sealer has worn away (common after 12–18 months in high-moisture shower environments), cleaning effectiveness drops significantly as stains penetrate deeper than the surface layer. Consider re-sealing after every deep cleaning session using a penetrating silicone or fluoropolymer-based grout sealer.
- Mold vs. mildew distinction. Surface mildew (gray or black discoloration sitting on top of the grout) responds to the vinegar treatment described above — acetic acid at pH 2.4 kills approximately 82% of surface mold species on contact. True mold growth (green, blue, or fuzzy texture that has penetrated into the grout body) may indicate moisture intrusion behind the tile and can require professional remediation. If you suspect mold has spread behind the tile surface, see our guide on how to remove mold from shower caulk for identification and treatment protocols.
Drying and Finishing Shower Grout
Proper drying after grout cleaning is just as important as the cleaning itself. Residual moisture trapped in grout lines reactivates remaining organic material, promotes mildew regrowth, and prevents grout sealer from bonding correctly. Follow these finishing steps to maximize the longevity of your clean grout.
- Run the bathroom exhaust fan during and after cleaning. Maintain airflow for at least 30 minutes after completing the final rinse. Proper ventilation reduces the relative humidity in the shower enclosure from near 100% to below 60%, preventing moisture reabsorption into grout pores. If your bathroom lacks an exhaust fan, open a window and run a portable fan directed at the shower area.
- Wipe standing water from grout lines. Use a squeegee or dry microfiber cloth to remove pooled water from the grout surface after the final rinse. Standing water re-deposits dissolved minerals (calcium and magnesium carbonates) back into the grout as it evaporates, creating a chalky white residue known as efflorescence. This mineral salt deposit appears as a white, powdery film on the grout surface.
- Air dry for 24 hours before sealing. If re-applying grout sealer, the grout substrate must be completely dry throughout its full depth. Moisture trapped under sealer causes bond failure, peeling, and can promote mold growth beneath the sealer layer. Test for dryness by taping a square of plastic wrap over a grout line — if condensation forms under the plastic within 4 hours, the grout needs more drying time.
- Apply grout sealer correctly. Use a small foam brush or sealer applicator wheel to apply penetrating grout sealer in thin, even coats along each grout line. Two thin coats applied 30 minutes apart produce better penetration than one thick coat. Wipe excess sealer from tile surfaces immediately — dried sealer leaves a hazy film on tile glaze. Most penetrating sealers reach full water-repellent effectiveness within 24–48 hours of application.
Common Mistakes When Cleaning Shower Grout
Even with the right supplies, incorrect technique can worsen grout staining or cause permanent damage. The table below identifies the most frequent errors and explains the mechanism behind each problem.
| Mistake | Why It Causes Problems |
|---|---|
| Using a metal wire brush | Metal bristles are harder than cement-based grout (Mohs hardness ~3). Wire brushes create micro-abrasions and gouges in the grout surface that trap dirt, soap scum, and mildew spores at an accelerated rate compared to smooth grout. |
| Leaving vinegar-baking soda mixture to dry | When the sodium acetate byproduct dries on grout, it crystallizes into a white calcium film that bonds to the porous grout surface. Removing this film requires a second acid wash, doubling your cleaning effort and increasing chemical exposure to the grout. |
| Using undiluted bleach at full strength | Concentrated sodium hypochlorite (5–6%) oxidizes the color pigments in colored grout and weakens the cement matrix over repeated exposures. Bleach also produces toxic chloramine gas when it contacts residual ammonia or vinegar on the grout surface. |
| Over-wetting grout during cleaning | Excessive water saturation in unsealed grout dissolves soluble salts within the cement, which migrate to the surface as the water evaporates. This process, called efflorescence, leaves white mineral salt deposits that are difficult to remove without acid cleaning — creating a damaging cycle. |
| Scrubbing side-to-side across tiles | Scrubbing perpendicular to grout lines pushes loosened debris from one grout joint across the tile surface and into the adjacent joint. Always scrub along grout lines in a parallel motion to direct debris out of the joint rather than redistributing it. |
Frequently Asked Questions
Q: Does baking soda damage grout?
A: No, baking soda is pH 8.3 (mildly alkaline) and is safe for all grout types including sanded, unsanded, epoxy, and colored grout. Unlike acid cleaners, it dissolves soap scum without etching the Portland cement binder. The mild alkalinity actually helps neutralize acidic soap scum residue. Rinse thoroughly after cleaning to prevent white sodium bicarbonate residue from accumulating on the grout surface.
Q: How do I clean dark or black grout in my shower?
A: Dark grout requires oxygen bleach treatment rather than vinegar, which can lighten dark pigments over repeated use. Make a paste of oxygen bleach powder (sodium percarbonate) and water, apply to grout lines, let sit 15–20 minutes, then scrub and rinse. Avoid hydrogen peroxide on dark grout as its bleaching action may lighten the color. Test any cleaning solution on an inconspicuous area of dark grout before treating the full shower.
Q: Why does my grout still look dirty after cleaning?
A: Persistent grout staining after cleaning usually indicates one of three issues: the grout sealer has failed and allowed stains to penetrate below the surface cleaning threshold, the stain has built up over years and requires professional-grade alkaline cleaners or mechanical restoration, or you are dealing with mold growth embedded below the surface that requires professional remediation rather than surface cleaning.
Q: Can I use a steam cleaner on shower grout?
A: Yes, steam cleaning is effective for maintaining clean grout between deep chemical cleanings. A steam cleaner produces vapor at 200–300°F (93–149°C), which kills surface bacteria and loosens debris through thermal shock and moisture penetration. Use a small detail nozzle attachment and hold it 1–2 inches from the grout line for 5–10 seconds per section. Always wear protective gloves and ensure ventilation. Steam cleaning does not replace periodic chemical deep cleaning with baking soda and vinegar.
Related Cleaning Guides
For comprehensive bathroom maintenance, our Bathroom Cleaning Hub: Complete Guide to a Clean Bathroom covers every surface in the bathroom from tubs to toilets. If you are also dealing with tile surfaces surrounding the grout, see our guide to cleaning ceramic tile and grout for tile-safe cleaning methods. Mold growth on shower caulk often accompanies grout mildew — our mold removal guide for shower caulk addresses this related problem. Many of the grout cleaning techniques in this article also apply to floor applications; the Floor Cleaning Hub covers tile and grout cleaning in that context.
References
- National Center for Biotechnology Information. (2024). Sodium Bicarbonate Compound Summary. PubChem, National Library of Medicine.
- National Center for Biotechnology Information. (2024). Acetic Acid Compound Summary. PubChem, National Library of Medicine.
- National Center for Biotechnology Information. (2024). Hydrogen Peroxide Compound Summary. PubChem, National Library of Medicine.
- Tile Council of North America. (2023). TCNA Handbook for Ceramic, Glass, and Stone Tile Installation. TCNA.
- U.S. Environmental Protection Agency. (2024). A Brief Guide to Mold, Moisture, and Your Home. EPA.


