
How to Clean Varnish Out of Gas Tank

Gas tanks accumulate varnish deposits when fuel sits unused for extended periods, causing clogged fuel lines, reduced fuel efficiency, and poor engine performance. Cleaning varnish from a gas tank requires a chemical cleaning process using muriatic acid (hydrochloric acid at pH 0-1) that neutralizes alkaline varnish residues within 8-12 hours of exposure. This guide covers step-by-step gas tank varnish removal for both metal and plastic fuel tanks.
Cleaning a gas tank to remove varnish takes 24-48 hours total, but the process is straightforward: drain the tank, apply a lime-and-muriatic-acid treatment, allow the acid to dissolve varnish deposits at pH 1-2, rinse thoroughly, and reinstall.
How to Clean Varnish Out of a Gas Tank: Complete Procedure
Follow this five-step process to fully dissolve varnish, gum, and sludge from your fuel tank. Work in a well-ventilated area wearing chemical-resistant gloves, safety goggles, and a face mask per NIOSH safety guidelines.
Step 1: Remove the Tank
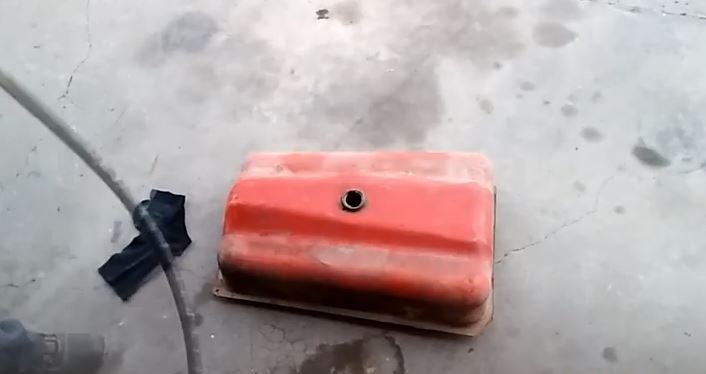
Disconnect the tank by loosening the mounting straps and disconnecting the fuel lines and hoses. Place the tank in a well-lit, ventilated workspace. Place a collection basin beneath the drain opening to catch fuel residuals.
Step 2: Drain and Pre-Rinse
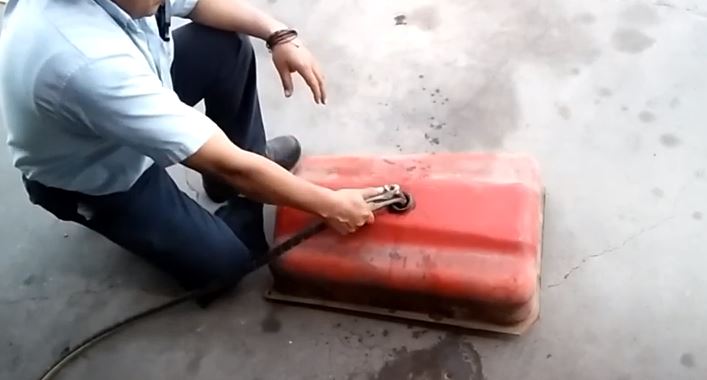
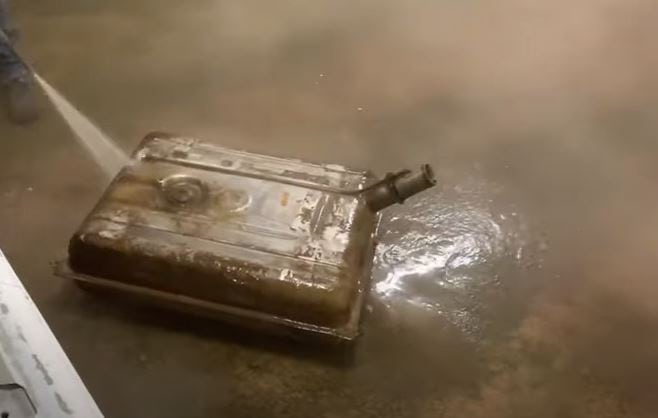
Use a siphon or pressure pump to remove all remaining fuel. Spray the interior with water to dislodge loose sediment, then drain completely. The tank must be empty before applying any acid treatment.
Step 3: Clean Nuts and Bolts
Place all tank fasteners (nuts, bolts, clamps) in a container. Submerge in warm water at 120°F (49°C) with a phosphate-free detergent. Agitate for 10 minutes, then rinse and set aside for reinstallation.
Step 4: Acid Treatment — Dissolve Varnish
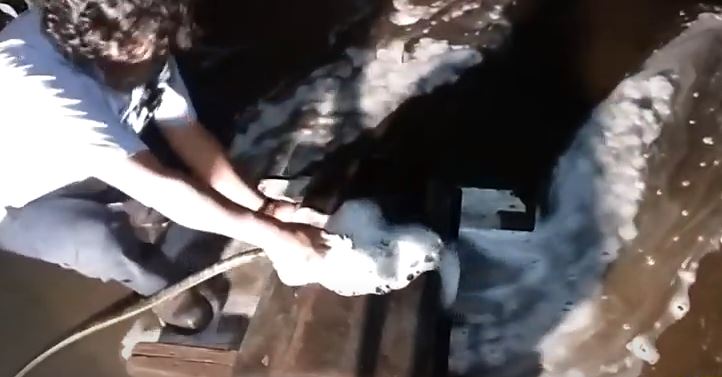
Pour a solution of water and agricultural lime (calcium hydroxide) into the tank until the interior surfaces are fully coated. Slowly add muriatic acid (20° Baumé, approximately 31.5% hydrochloric acid) to neutralize the lime — the fizzing reaction indicates neutralization at pH 7. If fizzing continues after 5 minutes, add more lime until the reaction stops. Drain and dispose of the solution according to local regulations.
Step 5: Secondary Acid Rinse and Dry
Fill the tank with water, then add muriatic acid at a ratio of 1 gallon of acid per 5 gallons of tank capacity. Agitate the tank for 3-5 minutes to ensure full contact with all interior surfaces. Seal the tank and allow it to rest for 8-12 hours (overnight). Drain, rinse three times with clean water, and air-dry completely before reinstallation.
Step 6: Reinstall the Tank
Reconnect fuel lines and hoses, secure the mounting straps, and verify all connections are tight. Refill with fresh fuel and monitor for leaks before resuming normal operation.
Seafoam for Varnish Removal: Does It Work?
Seafoam is a petroleum-based fuel additive (composed of hydrotreated light distillates and isopropyl alcohol) that dissolves varnish at a rate of 70-80% effectiveness per application when used at a ratio of 1 oz per 3 gallons of fuel. It works through fuel injectors to penetrate and break down carbon deposits and varnish films without corroding tank internals.
Seafoam reacts with varnish through slow chemical penetration rather than vigorous acid reaction, making it safer for rubber seals and plastic components. For complete varnish removal in heavily coated tanks, multiple treatments over 2-3 fill-up cycles are necessary.
How to Clean a Gummed Gas Tank: Step-by-Step
Gummed gas tanks require the same acid treatment process as varnish removal, with an additional fuel filter replacement to prevent recontamination.
Step 1: Safety Preparations
Wear chemical-resistant gloves (nitrile or neoprene), safety goggles, and a half-face respirator with organic vapor cartridges. Work outdoors or in a space with cross-ventilation achieving a minimum of 6 air changes per hour.
Step 2: Remove and Drain
Open the tank straps and disconnect all hoses. Drain existing fuel into an approved ANSI/UL-certified fuel container. Set the tank on a stable work surface with adequate clearance on all sides.
Step 3: Acid Wash
Apply the lime-and-muriatic-acid treatment described above. Allow 15-20 minutes of contact time for gum deposits to dissolve. Remove the solution and inspect interior surfaces for remaining residue.
Step 4: Replace Fuel Filter
Install a new fuel filter — most vehicles require replacement every 15,000-20,000 miles or sooner if contaminated fuel is suspected. A clogged filter is the most common cause of persistent gummed-tank symptoms after cleaning.
Step 5: Dry and Reassemble
Allow the tank to air-dry for a minimum of 2 hours or blow-dry with compressed air at 30-40 PSI. Reinstall the tank, connect all lines, and pressure-test for leaks before adding fresh fuel.
Removing Varnish from a Plastic Gas Tank
Plastic (polyethylene) fuel tanks resist acid corrosion but require lower acid concentrations to avoid surface degradation. Use muriatic acid diluted 1:10 with water for plastic tanks — full-strength acid damages polyethylene at exposure times exceeding 30 minutes.
Step 1: Safety Gear
Wear nitrile gloves (not latex — acid degrades latex within minutes), safety goggles, and a respirator. Ensure the workspace has a fire extinguisher rated Class B within 10 feet.
Step 2: Drain Completely
Remove all fuel using a hand pump or battery-powered transfer pump. Rinse with cool water (below 80°F/27°C) to prevent thermal expansion stress in plastic.
Step 3: Acid Wash at Reduced Concentration
Fill the tank with a 1:10 diluted muriatic acid solution. Rock the tank gently for 5 minutes, then seal and let stand for 30 minutes maximum. Drain, rinse three times, and dry completely.
Step 4: Final Rinse and Reinstall
Spray the interior with a high-pressure garden hose (40-60 PSI). Invert the tank to air-dry in direct sunlight for 2-3 hours, or use a blotter method with clean shop towels. Reinstall per vehicle manufacturer’s specifications.
Vinegar vs. Acetone for Gas Tank Cleaning
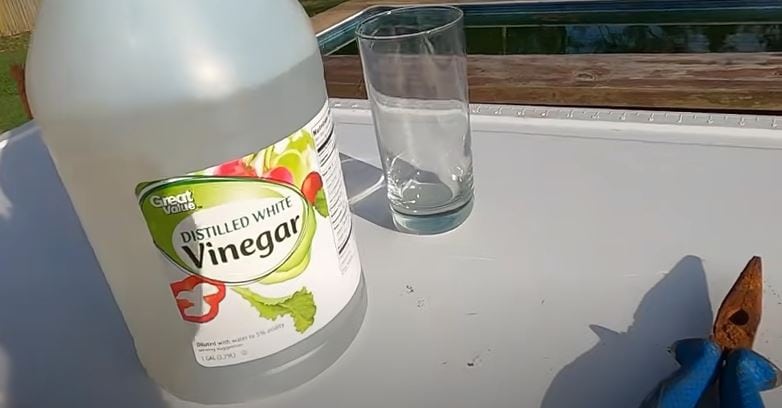
Vinegar (5-8% acetic acid, pH 2.4-3) dissolves light surface rust but requires 24 hours of contact time to achieve modest results. It removes approximately 40-50% of light varnish deposits but is ineffective against hardened carbonized varnish. Acetone (C3H6O) at full strength dissolves lacquer-type deposits within 15-20 minutes but leaves no protective residual and evaporates quickly, requiring multiple applications.
Neither vinegar nor acetone approaches the effectiveness of muriatic acid (pH 0-1), which dissolves 95%+ of varnish deposits in a single 8-12 hour treatment. Use vinegar or acetone only as a pre-treatment for very light contamination or when muriatic acid is unavailable.
Can You Use Acetone to Clean a Gas Tank?
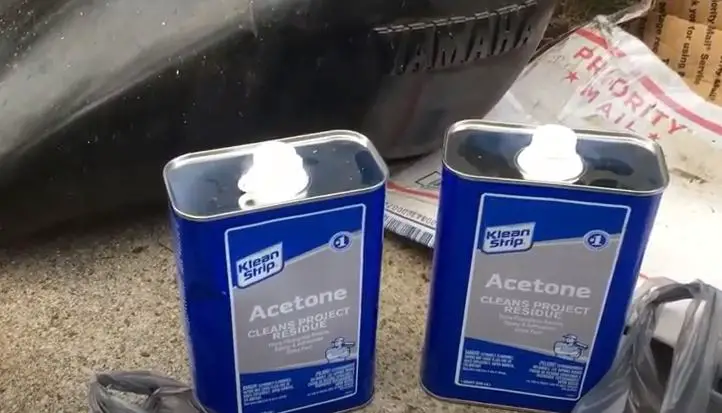
Acetone may be used to clean a gas tank under specific conditions: drain and ventilate the tank completely, add acetone at a ratio of 1:5 (acetone to tank capacity), seal and shake for 2 minutes, then drain and dispose of the solvent properly per EPA hazardous waste guidelines.
Acetone effectiveness for varnish removal rates approximately 60-70% in a single application — lower than muriatic acid but higher than vinegar. It is not recommended as a standalone treatment for heavily varnished tanks.
Quick-Reference: Cleaning Methods Compared
| Method | Effectiveness | Contact Time | Safety Level | Best For |
|---|---|---|---|---|
| Muriatic Acid (metal tank) | 95%+ varnish removal | 8-12 hours | Requires PPE; corrosive | Heavy varnish, all metal tanks |
| Muriatic Acid (plastic tank) | 90%+ varnish removal | 30 minutes max | Requires PPE; use diluted | Heavy varnish, plastic tanks |
| Seafoam | 70-80% per treatment | 2-3 fill-up cycles | Low hazard | Preventive maintenance, light deposits |
| Vinegar (5-8% acetic acid) | 40-50% light varnish | 24 hours | Low hazard | Light surface rust only |
| Acetone | 60-70% per application | 15-20 minutes | Flammable; requires ventilation | Light lacquer deposits |
How Much Does Professional Gas Tank Cleaning Cost?
Professional mechanic costs for gas tank cleaning range from $150-$400 depending on tank accessibility, geographic location, and labor rates. Metal tank acid treatments at a professional shop typically cost $200-$350; plastic tank cleaning runs $150-$300. Full tank removal and reinstallation adds $100-$200 in labor. AAA certified repair shops provide written warranties on professional fuel system cleaning.
References
- NIOSH. (2024). NIOSH Pocket Guide to Chemical Hazards. National Institute for Occupational Safety and Health.
- EPA. (2024). Hazardous Waste Management Guidelines. U.S. Environmental Protection Agency.
- NSF International. (2023). NSF Water Treatment and Certification Programs. NSF International.
- AAA. (2024). AAA Approved Auto Repair Program. American Automobile Association.

