
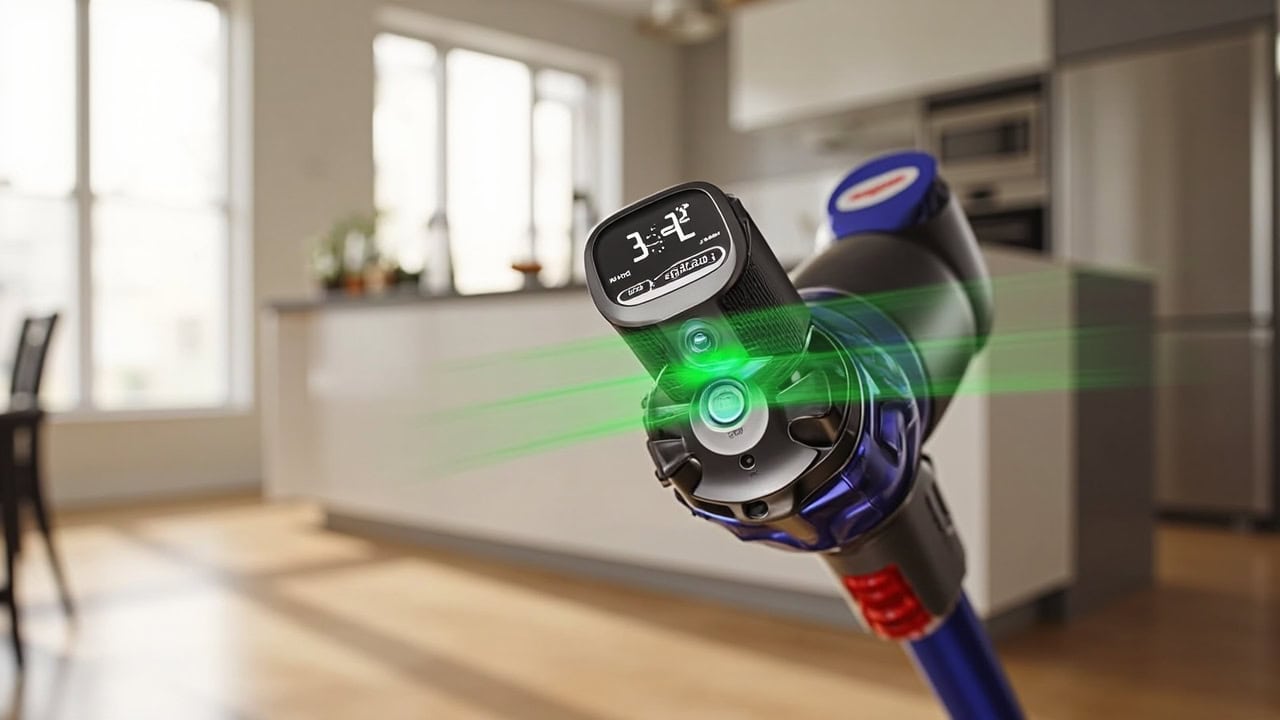
Dyson V15 Detect Problems: Complete Troubleshooting Guide

The Dyson V15 Detect problems stem from three root causes: brush roll entanglement from debris, filter obstruction reducing suction by up to 40%, and laser sensor contamination causing inaccurate particle readings. Most issues can be resolved in under 15 minutes without professional service.
Common Dyson V15 Detect Problems Overview
The Dyson V15 Detect is one of the most technically advanced cordless vacuums on the market, featuring a laser particle counter, piezo acoustic sensor, and an LCD screen that displays real-time particle counts. Despite its engineering pedigree, owners regularly encounter a predictable set of malfunctions that trace back to a handful of mechanical and electronic failure points.
- Brush roll stops spinning during use — usually caused by hair or fiber entanglement around the roller axle
- Suction power suddenly decreases — most often a saturated HEPA filter or overfilled dust canister
- Laser particle counter gives erratic readings — sensor lens contaminated with dust or residue
- Vacuum shuts off unexpectedly — motor thermal shutoff triggered by restricted airflow
- Battery drains faster than specified runtime — cell degradation or voltage sag under load
- Unusual high-pitched whine or vibration noise — motor straining against a blockage in the cyclone assembly
- LCD screen displays error codes or freezes — software malfunction or sensor communication fault
These issues are not unique to the V15 Detect, but its laser detection system and piezo sensor add complexity that earlier Dyson models like the V11 Torque Drive do not have. For a broader look at vacuum diagnostics across brands and models, the Vacuum Troubleshooting Hub covers error codes, diagnosis workflows, and repair strategies.
Error Code Reference Table
When the Dyson V15 Detect encounters a fault, the LCD screen displays an error code. Each code maps to a specific subsystem and requires a different corrective action. The table below covers every known error code, its meaning, severity level, and the immediate action required to clear it.
| Error Code | Meaning | Severity | Immediate Action |
|---|---|---|---|
| E1 | Brush roll obstruction | Medium | Remove debris entanglement from the roller |
| E2 | Filter airflow blocked | High | Clean or replace the HEPA filter |
| E3 | Laser sensor fault | Medium | Check sensor lens for blockage or residue |
| E4 | Battery communication error | High | Remove and reinsert the battery pack |
| E5 | Motor thermal shutoff | Medium | Allow 30 minutes cooling before restarting |
| E9 | Software malfunction | Low | Perform a hard reset by holding the power button for 10 seconds |
Error codes E2 and E4 are the most critical. E2 indicates the post-motor HEPA filter has become so saturated that suction airflow is severely restricted, which can cause permanent motor damage if the vacuum continues running. E4 points to a battery communication failure between the battery management system and the motor controller — continuing to use the vacuum with this error risks cell damage. For related battery and runtime issues across cordless models, see our guide on why cordless vacuums lose power.
The Mechanism Behind Suction Loss
Suction loss is the single most reported Dyson V15 Detect problem, and understanding why it happens requires a look at how the vacuum’s internal systems interact. The V15 uses a centrifugal force cyclone separation system that generates over 79,000g of force to pull particles out of the airstream. This system works efficiently only when air velocity through the cyclone remains high.
When the post-motor HEPA filter becomes saturated with fine dust, the airway narrows and velocity drops. Reduced velocity means the cyclone can no longer separate particles efficiently, which causes even more dust to pass through to the filter — accelerating the clogging cycle. The HEPA filter relies on an electrostatic charge to capture particles below 1 micron. When the filter media is saturated, this charge degrades and filtration efficiency drops from 99.99% to as low as 85% for particles under 0.3 microns. Fine dust then reaches the motor, increasing wear and triggering thermal shutoff.
This feedback loop explains why suction loss often feels sudden rather than gradual. The system operates near its threshold, and once the filter crosses a critical saturation point, performance collapses rapidly. Regular filter maintenance is the only reliable way to prevent this cascade. For detailed filter options, see our HEPA filter replacement guide for the Dyson V15.
Diagnosis Checklist: Identifying the Root Cause
Before attempting any repair, run through this diagnostic sequence to pinpoint the actual problem rather than guessing. The Dyson V15 Detect has enough subsystems that multiple issues can produce similar symptoms, and the correct fix depends on identifying which component has failed.
- Run the vacuum on bare floor mode — if the brush roll spins freely without noise, the motor and electronics are functional
- Check the LCD display for particle count readings — zero or erratic counts on any surface indicate a sensor issue
- Remove and inspect the filter: a compressed appearance or visible dust saturation confirms a filter problem
- Examine the brush roll housing for hair wrap, string, or large debris entanglement around the axle
- Listen for air escaping from seal points when the vacuum is applied to a flat surface — leaking seals reduce suction
- Verify the battery indicator shows a full charge — voltage sag under load indicates cell degradation
If the diagnostics point to more than one issue — for example, both a clogged filter and brush roll entanglement — address the filter first. Airflow restriction causes more damage to the motor than brush roll drag, and clearing the filter often resolves related symptoms like thermal shutoff and whine noise.
Step-by-Step Fix Procedures
Fix 1: Clearing Brush Roll Entanglement
Brush roll clogs are the most frequent mechanical issue on the V15 Detect, especially in households with pets or long hair. The brush roll spins at high RPM and wraps hair tightly around the axle, eventually creating enough friction to stop rotation entirely and trigger the E1 error code.
- Power off the vacuum and flip it to expose the brush roll head underside
- Press the red brush roll removal tab and pull the brush roll straight out of the housing
- Use scissors to cut away all hair, fiber, and string wrapped around the axle — cut along the groove, not across the bristles
- Remove the brush roll end cap by twisting counterclockwise to access hidden debris behind the bearing
- Clear all debris from the brush roll housing cavity using your fingers or a blunt tool
- Reinsert the brush roll, ensuring it clicks firmly into the retention mechanism
- Test operation on a small rug to confirm smooth, even rotation with no vibration
Fix 2: Restoring Filter Suction Performance
Filter maintenance is the single most impactful routine for preventing Dyson V15 Detect problems. The post-motor HEPA filter traps particles as small as 0.3 microns at 99.99% efficiency when clean, but its performance degrades rapidly once the media becomes saturated. Washing the filter with cold water restores porosity and re-establishes the electrostatic charge that captures sub-micron particles.
- Turn off the vacuum and remove the main dust canister by pressing the release button
- Locate the filter housing — the post-motor filter sits behind the cyclone assembly
- Grip the filter and twist counterclockwise to unlock it from the housing
- Tap the filter firmly against a trash bin edge to dislodge loose debris and surface dust
- Rinse under cold running water without soap — detergents degrade the electrostatic charge on the filter media
- Squeeze the filter gently to remove excess water — never wring or twist, which tears the delicate pleats
- Allow the filter to air dry completely for 24 hours in a well-ventilated area — residual moisture causes mold and motor corrosion
- Reinstall only when the filter is bone-dry to the touch — any moisture risks permanent motor damage
Fix 3: Calibrating the Laser Particle Sensor
The V15 Detect’s laser dust detection system uses a green laser diode and a piezo acoustic particle counter to classify dust particles by size in real time. When dust or oily residue coats the sensor lens, the laser scatters unpredictably and the LCD particle count becomes unreliable. Cleaning the sensor restores accurate readings in under five minutes.
- Power off the vacuum and locate the laser sensor housing on the brush head underside
- Use a can of compressed air to blow dust from the sensor lens aperture at a distance of 10–15 cm
- Wipe the sensor lens gently with a clean, dry microfiber cloth in a single direction
- Apply a single drop of isopropyl alcohol (99% concentration) to the cloth if smearing persists, then wipe again
- Allow 60 seconds for any alcohol residue to evaporate completely before reassembly
- Reassemble the brush head and perform a calibration run: operate on a clean bare floor for 30 seconds
- Verify the LCD particle count drops to near-zero on the clean surface — if it does not, repeat the cleaning process
How to Prevent Problems from Recurring
Preventive maintenance is far more effective than reactive repair. The Dyson V15 Detect operates under high mechanical and thermal stress — the motor spins at up to 125,000 RPM and the cyclone generates extreme centrifugal force. Consistent upkeep prevents the cumulative degradation that leads to most failures.
- Clean the brush roll after every 3–5 uses, especially in pet-owning households where hair accumulation is rapid
- Wash the HEPA filter every 1–2 months with cold water only — never use cleaning chemicals, solvents, or hot water
- Run the laser sensor calibration process monthly to maintain accurate particle count readings
- Store the vacuum in a climate-controlled space — temperatures below 5°C (41°F) or above 35°C (95°F) degrade lithium-ion battery cells
- Empty the dust canister when it reaches the maximum fill line, not when it overflows — overfilling forces debris into the cyclone
- Replace the HEPA filter every 12–18 months depending on usage frequency and the types of debris you vacuum
- Check brush roll bearings for wear every 6 months — replace the entire roller if rotation is rough or uneven
Proper vacuuming technique also extends component life. Running the V15 on the wrong surface mode — for example, using the high-torque brush setting on delicate hard floors — forces the motor to work harder than necessary and accelerates brush roll wear. For guidance on matching vacuum settings to surface types, the Floor Cleaning Hub covers best practices for every flooring material.
When to Replace Parts vs. Replace the Vacuum
Not every Dyson V15 Detect problem warrants a repair. Some component replacements are cost-effective and straightforward, while others approach or exceed the cost of a new machine. The decision matrix below helps you determine when a replacement part solves the problem and when it makes more sense to invest in a new vacuum.
- Battery replacement — recommended at 30–40% capacity loss or after 3–4 years of regular use. A genuine Dyson replacement battery costs approximately $100–$150 and restores full runtime
- Brush roll replacement — necessary when bristles are worn below 5mm in length or when bearings feel rough during hand-spinning. Replacement rollers cost $40–$60
- Filter replacement — filters are consumable items and should be replaced every 12–18 months regardless of visual appearance. Genuine HEPA filters cost $30–$50
- Motor replacement — motor replacement cost typically exceeds 50% of a new vacuum’s retail price. At this point, replacement is the better financial decision
- Laser sensor module — the laser and piezo sensor assembly is not user-replaceable. Contact Dyson service directly for this repair, which is covered under warranty for the first two years
If your V15 Detect is still within Dyson’s two-year warranty period, contact Dyson support before purchasing any replacement parts. The warranty covers motor failures, battery defects, and sensor malfunctions at no charge. For issues outside warranty, the Dyson Vacuum Troubleshooting Hub has model-specific repair guides and part compatibility charts.
Frequently Asked Questions
Q: Why is my Dyson V15 Detect losing suction after only a few minutes of use?
A: The most common cause of rapid suction loss is a clogged post-motor HEPA filter trapping fine particles and restricting airflow. The filter becomes saturated when it hasn’t been cleaned in over a month or when vacuuming large amounts of fine dust like drywall compound or flour. Remove and rinse the filter with cold water only, then allow 24 hours to dry completely before reinstalling.
Q: How do I know if the laser sensor on my Dyson V15 Detect is broken?
A: The laser sensor is malfunctioning if the LCD particle count display shows zero on any surface, displays random fluctuating numbers that don’t correlate with floor debris, or if the green laser beam is not visible when operating in darkness. Check the sensor lens for dust buildup first — this is the most frequent cause of false readings. Clean with compressed air before assuming the sensor itself is defective.
Q: Why does my Dyson V15 Detect make a high-pitched whine noise during operation?
A: High-pitched whine indicates the motor is straining against restricted airflow, typically from a near-clogged filter, overfilled dust canister, or debris blockage in the cyclone assembly. The whine pitch increases with the severity of the obstruction. Empty the dust canister first, then clean the filter — if the sound persists, examine the cyclone for compacted debris that may require manual disassembly to clear.
Q: Can I use generic replacement filters instead of genuine Dyson filters for my V15 Detect?
A: Genuine Dyson filters are constructed with proprietary electrostatic media rated at 99.99% filtration for particles down to 0.3 microns. Generic HEPA-style filters typically achieve only 99.7% efficiency at the same particle size, allowing more fine particles to pass through and potentially damage the motor. For optimal performance and to maintain your warranty coverage, genuine Dyson filters are strongly recommended.
References
- Dyson Ltd. (2023). Dyson Cordless Vacuum Troubleshooting Guide. Dyson.com.
- U.S. Environmental Protection Agency. (2024). Air Cleaners and Air Filters in the Home. EPA.gov.
- ASTM International. (2019). ASTM F2299 — Standard Test Method for Determining Airborne Particle Filtration Efficiency of Materials. ASTM.org.
- Consumer Reports. (2024). Cordless Vacuum Cleaner Buying Guide. ConsumerReports.org.


