How to Clean Toilet: Complete Step-by-Step Guide
To clean a toilet effectively, apply a pH-neutral cleaner to the bowl, let it dwell for 5–10 minutes while scrubbing with a toilet brush, then flush and wipe the exterior with a disinfectant solution. The process takes 10–15 minutes total and should be repeated weekly to prevent limescale accumulation and bacterial growth that causes odor and staining.
What You Need Before You Start
Gathering the right supplies before you begin prevents mid-task interruptions and ensures every surface gets the correct treatment. A toilet cleaning session requires a pH-neutral cleaner or a homemade white vinegar solution mixed at a 1:1 dilution with water, a toilet brush with sturdy nylon bristles, a microfiber cloth, and disposable rubber gloves.
For stubborn stains, keep baking soda on hand — its mild abrasive action lifts discoloration without scratching glazed porcelain. Bleach is useful for occasional deep disinfection but should be limited to a maximum of ½ cup per gallon of water. If you use bleach, wear eye protection and ensure the bathroom is well-ventilated to avoid inhaling fumes.
- Cleaning agents: pH-neutral toilet cleaner or white vinegar solution (1:1 dilution with water)
- Tools: Toilet brush with sturdy bristles, microfiber cloth, disposable gloves
- Optional: Baking soda for stubborn stains, bleach for deep disinfection (max ½ cup per gallon of water)
- Protective equipment: Rubber gloves (essential), eye protection if using bleach
Step-by-Step Toilet Cleaning Process
- Put on gloves. Rubber household gloves prevent direct contact with bacteria and harsh cleaning agents. Toilet bowls harbor approximately 3.2 million bacteria per square centimeter on average, including E. coli and other coliform organisms, so skin protection is non-negotiable.
- Flush the toilet to wet the bowl interior and soften any loose debris. A pre-cleanse flush also lowers the concentration of waste material, making your cleaner more effective.
- Apply cleaner to the bowl. Squirt pH-neutral cleaner under the rim and down the sides, covering the entire inner surface. Apply enough product so the solution coats the bowl walls and pools at the water line where mineral deposits and urine scale accumulate most heavily.
- Let dwell for 5–10 minutes. This dwell time allows the surfactants and chelating agents in the cleaner to break down urine scale, mineral deposits, and the biofilm that coats the porcelain. Skipping this step is the single most common mistake — without adequate contact time, even the best cleaner cannot dissolve bonded deposits.
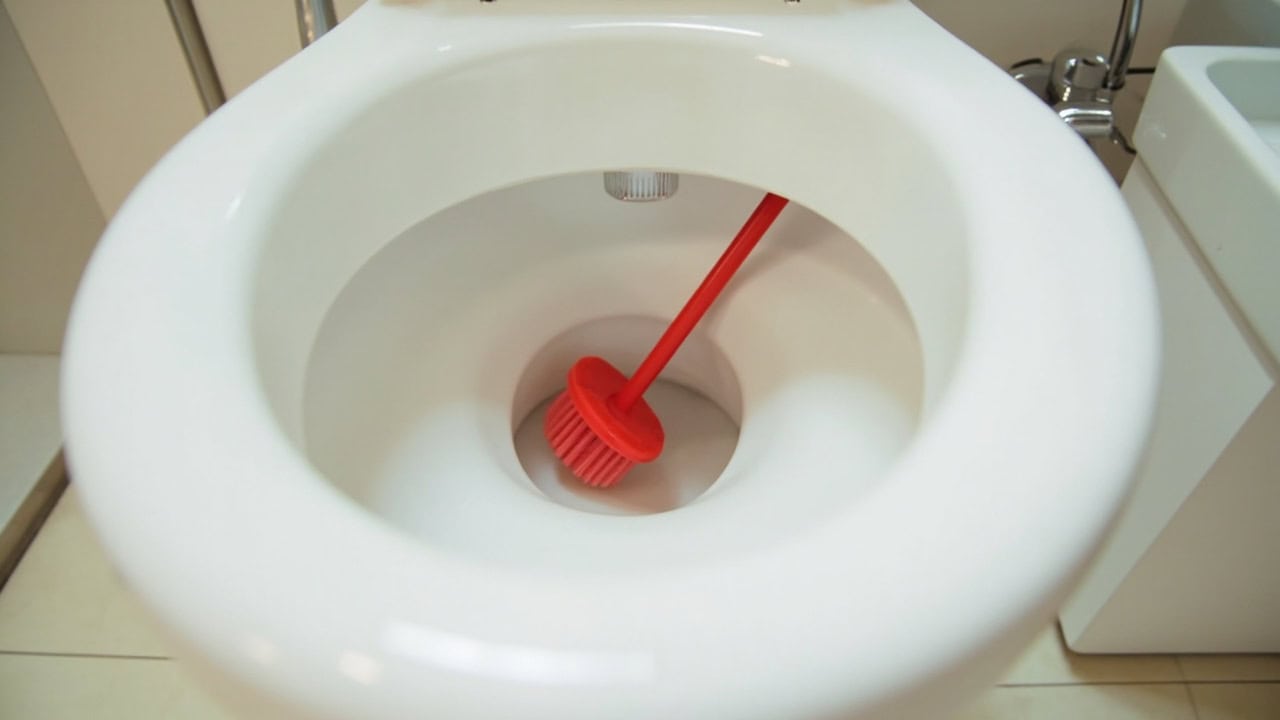
- Scrub the entire bowl. Use the toilet brush to scrub under the rim, along the water line, and down all sides. Apply extra pressure on stained areas, working the bristles into any visible discoloration. The mechanical action of scrubbing combined with the chemical action of the cleaner is what removes tenacious deposits.
- Scrub the flush edge and jets. Small jets around the rim can clog with mineral deposits over time, reducing flush efficiency. Use an old toothbrush to reach these narrow openings and clear any buildup that could obstruct water flow.
- Flush and rinse. Hold the flush handle down for a full flush cycle to rinse all cleaner and loosened debris from the bowl. The force of the water carries away dissolved deposits and residual cleaning solution.
- Clean the exterior. Spray a disinfectant solution onto a cloth or use a pre-moistened disinfectant wipe, then wipe the seat top and bottom, the flush handle, the tank exterior, and the outer base. The EPA requires registered disinfectants to specify a contact time on the product label — typically 3–10 minutes — so allow the solution to remain wet on the surface for the full duration before wiping dry.
Toilet-Specific Considerations
Glazed porcelain is the standard material for toilet bowls, and its glossy fired surface resists staining when properly maintained. However, using abrasive scouring pads on this glaze creates micro-scratches that trap bacteria and accelerate future staining. Always use non-abrasive tools — a toilet brush, a soft cloth, or an old toothbrush for detail areas.
Never mix bleach with ammonia or vinegar. Combining sodium hypochlorite (the active ingredient in household bleach) with acids or ammonia produces toxic chloramine gas, which causes respiratory irritation at low concentrations and can be life-threatening in enclosed, poorly ventilated spaces. Always use bleach alone, diluted in water, and rinse thoroughly before introducing any other cleaning product.
pH-neutral cleaners (pH 6–8) are the safest choice for weekly maintenance. They dissolve light urine scale and organic film without corroding the rubber flapper valve inside the tank or degrading the wax ring seal at the base. Reserve acid-based limescale removers — typically formulated with citric acid or hydrochloric acid at pH 1–3 — for monthly deep cleans only, since repeated acid exposure can etch the porcelain glaze over time.
In hard water areas, dissolved calcium and magnesium minerals precipitate onto the bowl surface as the water evaporates, forming a stubborn ring at the water line. A vinegar pre-soak of 30 minutes before applying regular cleaner dissolves the calcium carbonate matrix, making the subsequent scrub far more effective. For a deeper approach to mineral deposit removal across all bathroom surfaces, see our guide on how to remove limescale from bathroom surfaces.
Drying and Finishing the Toilet
After cleaning and flushing, wipe the seat and lid with a dry microfiber cloth. Drying removes residual water that would otherwise evaporate and leave mineral spots, and it denies moisture to any surviving microorganisms. Buff the flush handle specifically — this high-touch point harbors the highest bacterial load on the exterior, and drying it ensures the disinfectant has fully done its job.
Dispose of single-use wipes in the trash, never in the toilet — even products labeled “flushable” do not break down fast enough to prevent pipe blockages. Rinse the toilet brush in the clean post-flush water, then shake off excess moisture and store it upright in its holder to air dry. A damp brush stored in a closed holder becomes a breeding ground for bacteria.
Do a final visual inspection. Check under the rim and around the flush jets for any remaining debris or discoloration. If you spot residual staining, apply a small amount of cleaner directly to the area, let it dwell for another 5 minutes, and scrub again before a final rinse.
Common Mistakes When Cleaning Toilets
Skipping the Dwell Time
Applying cleaner and scrubbing immediately is the most frequent error. Without 5–10 minutes of contact time, the active ingredients cannot break the chemical bonds holding mineral deposits and organic film to the porcelain. The result is a surface that looks clean but retains microscopic residue that re-accumulates faster with each use.
Using the Wrong Cleaner on Colored or Older Porcelain
Some acidic and abrasive cleaners can fade colored enamel or etch older porcelain that has lost part of its glaze. If your toilet is a non-white color or is more than 15–20 years old, test any new cleaner on an inconspicuous area first, such as the interior of the tank lid, and wait 24 hours to check for discoloration before using it on the bowl.
Forgetting the Base and Behind the Toilet
Dust, hair, and splashed liquids accumulate behind the toilet and around the base where it meets the floor. Wipe the base with a disinfectant cloth monthly, and vacuum or sweep behind the unit to prevent dust buildup that can attract moisture and promote mold growth at the floor seal.
Neglecting the Toilet Brush Itself
A dirty toilet brush redistributes bacteria rather than removing it. Disinfect the brush monthly by soaking it in a bleach solution (½ cup bleach per gallon of water) for 10 minutes, then rinsing thoroughly. Replace the brush every 3–6 months, or sooner if the bristles are splayed, flattened, or discolored. The same hygiene principle applies to all bathroom cleaning tools — for more on this, see our complete bathroom cleaning guide.
Frequently Asked Questions
Q: How often should you clean a toilet?
A: Clean the toilet bowl at least once per week with a toilet brush and pH-neutral cleaner. High-traffic households or those with children and pets may benefit from twice-weekly cleaning to control bacterial load and prevent stubborn staining.
Q: Does bleach damage toilet bowls?
A: Diluted bleach (maximum ½ cup per gallon of water) is safe for occasional deep disinfection of porcelain toilet bowls. However, frequent bleach use can corrode metal components in the tank, damage the flush valve rubber, and cause yellowing of older porcelain over time.
Q: How do you remove hard water stains from a toilet bowl?
A: To remove hard water stains, apply undiluted white vinegar to the stained area and let it soak for 30 minutes to 2 hours depending on severity. For severe limescale buildup, use a commercial limescale remover containing citric acid or phosphoric acid, following product dwell time instructions carefully, then scrub and flush.
Q: What is the best toilet cleaner for daily use?
A: pH-neutral cleaners (pH 6–8) are best for daily or weekly toilet cleaning because they effectively remove urine scale and light grime without damaging porcelain or releasing harsh fumes. Look for enzymatic cleaners if odor control is a priority — they break down urea and eliminate odor-causing bacteria at the source.
References
- U.S. Environmental Protection Agency. (2024). Selected EPA-Registered Disinfectants. EPA.
- Centers for Disease Control and Prevention. (2024). Personal Hygiene: Toilet Use and Cleaning. CDC.
- NSF International. (2023). The Germiest Places in Your Home. NSF.


