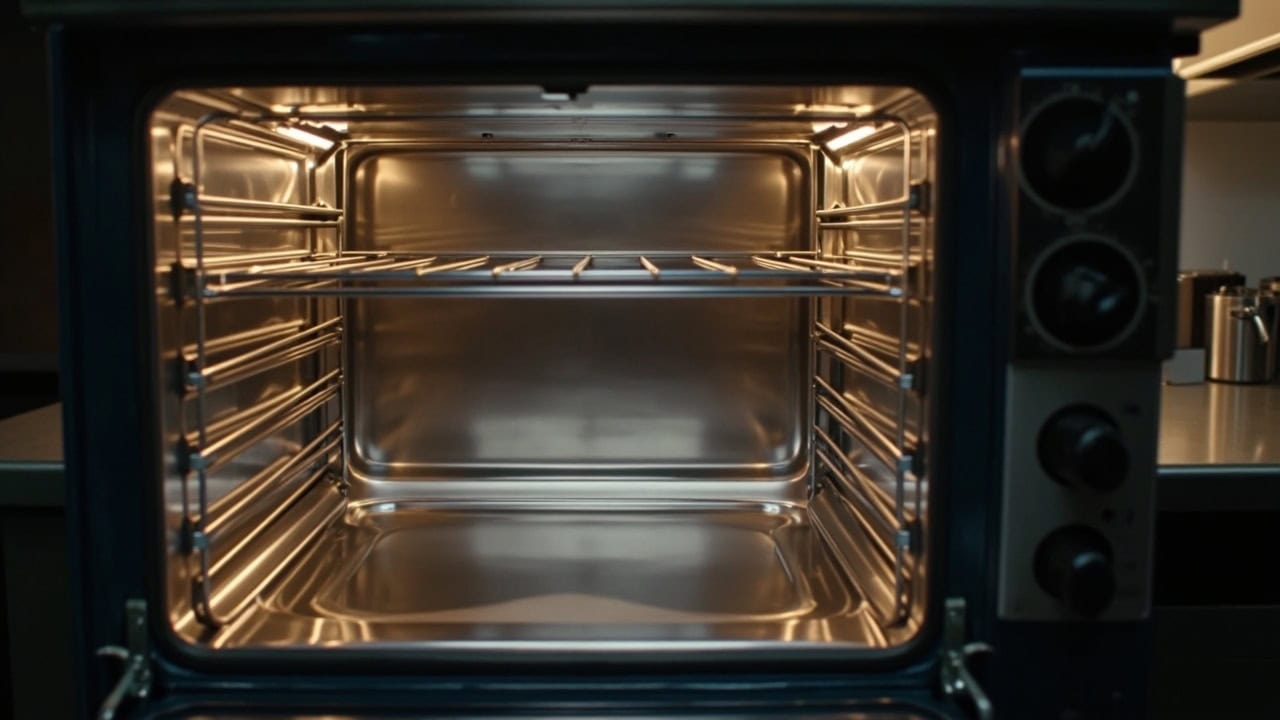
How to Clean Oven: Complete Self-Cleaning and Manual Guide
A clean oven operates more efficiently, cooks food more evenly, and eliminates fire hazards from accumulated grease buildup. The self-cleaning function uses sustained temperatures of 800°F (427°C) to incinerate food residue into ash, while the manual method relies on a baking soda paste to break down grease at room temperature. Choose the self-cleaning cycle for heavily soiled ovens or the manual method for regular maintenance between deep cleans.
What You Need Before You Start
Gather your supplies before beginning any oven cleaning project. The manual baking soda method requires ½ cup of baking soda mixed with 3 tablespoons of water to form a spreadable paste, plus ½ cup of white vinegar diluted 1:1 with water in a spray bottle. You will also need a soft sponge, a non-abrasive scrub pad, a microfiber cloth, dish soap, and rubber gloves to protect your hands from prolonged contact with cleaning agents.
The baking soda paste ratio of 3 parts baking soda to 1 part water creates a thick, spreadable consistency that adheres to vertical oven walls without dripping. The vinegar spray at equal parts vinegar and water provides the acidic reaction needed to lift loosened grease after the paste has done its work. Baking soda sits at pH 8.3 on the alkaline scale, making it effective at breaking down fatty acid deposits, while white vinegar at approximately 5% acetic acid (pH 2.5) cuts through alkaline residue.
Plan your time accordingly: the manual method requires roughly 30 minutes of active cleaning plus a 12- to 24-hour dwell period for the paste to penetrate baked-on grease. The self-cleaning cycle takes 2–4 hours of locked cycle time, followed by 1–2 hours of cooling. Remove oven racks before starting the manual method — they should be cleaned separately to prevent damage to their finish. If you are using the self-clean cycle, consult your manufacturer’s instructions regarding whether racks should remain inside or be removed, as some models allow both approaches.
Optional upgrades include an oven cleaning kit with an extendable brush for reaching the back of the cavity, and a steam cleaning attachment for models that support it. For more on how cleaning chemistry works at the molecular level, see our cleaning chemistry guide covering pH mechanics and surfactant action.
Step-by-Step: Manual Baking Soda Method
The manual baking soda method is the safest approach for routine oven maintenance and works on all interior surface types, including porcelain enamel and stainless steel. This method avoids harsh chemical fumes entirely and relies on the dwell time of the paste to do the heavy lifting. Follow each step in sequence for the best results.
- Prepare the paste — Mix ½ cup baking soda with 3 tablespoons water in a bowl. Stir until you achieve a thick, spreadable paste. Add water one teaspoon at a time if the mixture is too dry. The paste should cling to vertical surfaces without sliding.
- Apply to interior surfaces — Using your gloved hands or a sponge, spread the paste over all interior oven surfaces including the walls, floor, ceiling, and door interior. Avoid direct contact with heating elements, fan blades, and any exposed wiring. Coat problem areas with a thicker layer.
- Allow overnight dwell — Let the paste sit for 12 to 24 hours. During this time, the alkaline baking soda breaks down carbonized grease and food deposits by saponifying fats. Longer dwell times produce better results on heavily soiled ovens.
- Initial wipe-down — After the dwell period, use a damp microfiber cloth to remove the dried paste. Work in gentle circular motions to lift loosened debris. A plastic spatula can help scrape away thick paste deposits without scratching enamel.
- Apply vinegar spray — Spray the 1:1 vinegar-water solution onto any remaining baking soda residue. The acetic acid (pH 2.5) reacts with the alkaline baking soda (pH 8.3) to produce a foaming action that lifts trapped grease particles from the surface.
- Scrub stubborn spots — For burned-on food that resists the paste treatment, use a non-abrasive scrub pad. Never use steel wool on enamel surfaces — it creates micro-scratches that become permanent bonding sites for future food residue. Apply gentle pressure and work in small circles. Rinse thoroughly — Wipe all interior surfaces with a cloth dampened in clean warm water. Change the rinse water frequently to avoid redepositing grease. Any remaining baking soda or vinegar residue can produce smoke during the next bake cycle.
- Dry completely — Buff the interior dry with a clean, dry microfiber cloth. Leaving moisture inside the oven can promote rust on uncoated metal components and create steam during the first use after cleaning.
Step-by-Step: Self-Cleaning Cycle Method
The self-cleaning cycle, also known as pyrolytic cleaning, incinerates food residue at temperatures reaching 800°F (427°C). This method converts baked-on grease and food particles into a light grey ash that wipes away easily. According to the Consumer Product Safety Commission, self-cleaning ovens are designed with heavy-duty insulation and automatic door locks to contain these extreme temperatures safely. The cycle typically offers 2-hour, 3-hour, and 4-hour duration options — choose the shorter cycle for light soil and the longer cycle for heavy buildup.
- Prepare the oven — Remove all loose items including oven racks, thermometers, foil liners, and any stored cookware. Wipe out large food debris manually — the self-clean cycle is designed for baked-on residue, not loose chunks of food that could catch fire during the high-heat phase.
- Close and lock the door — On most models, the door locks automatically once the cycle begins. Some older models require manual locking. The lock prevents accidental opening during the 800°F cycle and will not disengage until the oven cools below a safe threshold.
- Select the cycle duration — Use your oven’s control panel to select the self-clean option. Most ovens offer 2-hour, 3-hour, and 4-hour settings. A 2-hour cycle handles light residue; 4 hours is appropriate for heavily soiled interiors with thick carbonized deposits.
- Ensure ventilation — Open kitchen windows and turn on the range hood exhaust fan before the cycle begins. The incineration process produces smoke and fumes from burning grease that must be vented outside. Pets and people with respiratory conditions should leave the area during the cycle.
- Wait for full completion — Do not attempt to interrupt or cancel the self-cleaning cycle once it has started. Interrupting the cycle leaves the oven at an unsafe intermediate temperature and may prevent the door from unlocking. Allow the full incineration period to complete.
- Cool and unlock — After the cycle ends, the oven requires 1–2 hours to cool before the automatic lock disengages. The door will remain locked until the internal temperature drops to a safe level. Never force the door open during this cooling period.
- Remove the ash residue — Once the oven is completely cool, use a damp cloth or a vacuum with a brush attachment to remove the grey ash left behind. The ash consists of mineral residue from incinerated food and grease — it wipes away easily with minimal effort.
- Replace oven racks — Return the clean oven racks to their original positions only after the interior is fully cool and free of ash. If the racks were left inside during self-clean, inspect them for discoloration before reinstalling. For detailed rack cleaning guidance, see our guide on how to clean oven racks and grates.
Oven-Specific Considerations
Not all ovens should be cleaned the same way. Different interior surfaces and oven types require specific cleaning approaches to avoid damage. Using the wrong cleaner on a self-cleaning pyrolytic oven, for example, can void the manufacturer warranty. The table below summarizes safe and unsafe cleaning methods by surface type.
| Surface Type | Safe Cleaners | Avoid |
|---|---|---|
| Porcelain enamel | Baking soda paste, dish soap, vinegar spray | Abrasive brushes, bleach, ammonia-based cleaners |
| Stainless steel | Commercial stainless cleaner, dish soap and water | Abrasive scrubbers, chlorine bleach, steel wool |
| Self-cleaning pyrolytic | Self-clean cycle only, damp cloth for ash removal | Chemical oven cleaners — void warranty |
| Gas oven surfaces | Dish soap and water, baking soda paste | Water near gas igniter or burner ports |
| Continuous-clean catalytic | Dry cloth, mild soap only | Wet cleaning — destroys the catalytic coating |
The oven door glass requires special attention — use only non-abrasive cleaners such as the baking soda paste method or a dedicated glass cleaner rated for oven temperatures. The glass panel often accumulates baked-on splatter that obscures visibility, and abrasive cleaners will permanently scratch the tempered surface.
Oven racks should be cleaned separately from the oven cavity. The most effective method is a bathtub soak: lay old towels in the tub to protect the finish, place the racks on the towels, fill with enough hot water to submerge them, add ½ cup dish soap and ½ cup baking soda, and let them soak for 8–12 hours. Scrub with a non-abrasive pad after soaking, then rinse and dry. Never put oven racks in the dishwasher unless they are specifically labeled as dishwasher-safe with an enamel coating.
Some oven models offer a steam-cleaning cycle that uses distilled water for a 30-minute low-heat steam cycle. This is gentler than the pyrolytic self-clean and works well for light soil. Avoid scented commercial oven cleaners — chemical residues from these products can produce toxic smoke and fumes during your next baking cycle.
Drying and Finishing Your Oven
After cleaning, allow all interior surfaces to air dry for a minimum of 30 minutes before using the oven. Use a dry microfiber cloth to buff interior surfaces to a streak-free finish, paying particular attention to corners and seams where moisture can collect. Check the door seal integrity — clean the rubber gasket with a damp cloth only, as harsh chemicals degrade the seal over time and allow heat to escape during cooking.
Reinsert oven racks only when the interior is completely dry. Trapped moisture between the rack and the metal support rails can cause rust on older models with worn rack coatings. After reassembling the oven, run a short 200°F bake cycle for 15 minutes to burn off any residual cleaning product odors before cooking food. This step ensures that no baking soda or vinegar residue remains to affect the taste or smell of your next meal.
Common Oven Cleaning Mistakes
- Using steel wool or abrasive scouring pads — These scratch the enamel coating on oven interiors, creating microscopic grooves where food particles bond more aggressively during future cooking. Once enamel is scratched, it cannot be repaired and the oven becomes progressively harder to clean.
- Spraying cleaner directly on heating elements — Liquid cleaners that contact the exposed heating element bake on during the next use, creating permanent residue that smokes and produces unpleasant odors. Cover heating elements with aluminum foil during manual cleaning to protect them.
- Neglecting the oven door glass — The glass panel is often the most visibly soiled part of the oven but gets skipped during cleaning. Use a 50/50 vinegar-water spray on the glass, let it dwell for 10 minutes, then wipe clean. Baked-on residue on the glass is a reliable indicator that the interior needs attention too.
- Running self-clean with racks inside (on non-approved models) — Leaving racks inside during a self-clean cycle can cause discoloration and surface damage on chrome-plated or nickel-plated racks. Check your owner’s manual — some modern porcelain-coated racks are rated for self-clean, but most older racks are not.
- Cleaning a gas oven igniter with water — Moisture on the igniter causes misfiring or complete failure to light. Clean the gas igniter only with a dry toothbrush to remove food debris, and never spray any liquid near the burner ports.
- Mixing ammonia with bleach-based cleaners — Combining these chemicals produces chloramine gas, which is toxic and causes immediate respiratory distress. Never mix cleaning products inside an enclosed oven cavity where fumes concentrate. For guidance on dealing with stubborn burned-on deposits, see our article on how to remove burned-on food from your oven.
How to Prevent Future Oven Buildup
Prevention is always faster and easier than remediation. These habits reduce the frequency and intensity of deep cleaning sessions.
- Use a drip tray or oven liner — Place a heat-resistant liner or disposable drip tray on the oven floor to catch spills before they bake onto the enamel surface. If you use the self-clean cycle, verify that the liner is rated for 800°F temperatures or remove it before running the cycle.
- Wipe spills immediately — Fresh spills clean up easily with a damp cloth if addressed within 5 minutes. Once sugar and fat deposits carbonize at cooking temperatures above 350°F, they bond to the enamel and require chemical or mechanical removal.
- Cover dishes during cooking — Use lids or foil covers on casseroles, pies, and roasting meats to prevent splatter from reaching oven walls and the cavity floor. This single habit dramatically reduces the rate of interior soil accumulation.
- Establish a monthly wipe-down routine — A quick 5-minute wipe with a damp microfiber cloth after the oven cools from normal cooking removes light grease film before it builds into baked-on residue. This monthly maintenance can extend the time between deep cleans to 6 months or more.
- Avoid aerosol sprays near the broiler — Propellant chemicals in aerosol cooking sprays ignite at high broiler temperatures and leave a polymerized film that is extremely difficult to remove. Apply cooking oil with a brush or pour directly onto cookware instead.
- Use ventilation during and after cooking — Always run the range hood exhaust fan while the oven is in use and for 10 minutes after. Proper ventilation reduces grease vapor condensation on oven surfaces and surrounding cabinetry. For more kitchen cleaning strategies, visit our kitchen cleaning guide.
Frequently Asked Questions
Q: How often should you clean an oven?
A: Light use (1–2 times per week) requires cleaning every 3 months; heavy use (daily cooking) requires monthly cleaning. Spills should be wiped immediately to prevent baked-on residue that becomes harder to remove over time.
Q: Can you use baking soda and vinegar together to clean an oven?
A: Yes, but separately and sequentially — apply baking soda paste first and let it dwell overnight, then spray vinegar to activate the foaming reaction that lifts loosened debris. Mixing them in the same container neutralizes the cleaning action before application.
Q: Is the self-cleaning oven feature safe to use?
A: Self-cleaning is safe when properly used — lock the door, open windows for ventilation, and never interrupt the cycle. However, it produces intense heat (800°F), smoke, and fumes that some users find concerning; remove kitchen items stored near the oven and never use self-clean on a gas oven’s interior broiler drawer.
Q: What is the fastest way to clean a lightly soiled oven?
A: The fastest method for light soil is a 50/50 water and white vinegar spray with a 15-minute dwell time, followed by wiping — this works on fresh food deposits but is ineffective on baked-on carbonized residue older than 24 hours.
References
- U.S. Consumer Product Safety Commission. (2023). Kitchen Safety Tips. CPSC.gov.
- Bob Vila. (2024). How to Clean an Oven: The Best Way to Clean Inside Your Oven. BobVila.com.
- National Fire Protection Association. (2023). Cooking Fire Safety. NFPA.org.
- Environmental Protection Agency. (2023). Safer Choice Standard for Cleaning Products. EPA.gov.


