
How to Clean Floors Without Streaking: Streak-Free Guide

Floors must be cleaned with a pH-neutral cleaner diluted at a 1:128 ratio and a barely-damp microfiber mop using overlapping S-pattern strokes — improper technique causes surfactant residue to dry unevenly, creating visible streaks. The key to streak-free results is using minimal moisture and working from the far corner toward the exit to avoid re-walking cleaned areas. Always finish with a dry microfiber pad in rapid circular motions to absorb any remaining residue and pull the floor surface to a uniform shine.
What You Need Before You Start
Gathering the correct supplies before you begin is the single most important step toward streak-free floors. Using improper tools or solutions directly causes the streaking you are trying to avoid.
- pH-neutral floor cleaner (pH 7, not alkaline or acid-based) — acid-based cleaners react with mineral deposits on floors, leaving hazy residue; alkaline cleaners break down floor finishes and leave waxy deposits that streak under light
- Clean microfiber mop head — ideally a dual-compartment system where one chamber holds cleaning solution and the other holds rinse water, preventing cross-contamination
- Spray bottle for controlled product application — allows you to apply measured amounts of solution directly to the floor or mop head rather than flooding the surface
- Second dry microfiber pad for buffing — follows the damp mop to pick up residual moisture and surfactant film before it dries
- Bucket with wringer or squeeze mechanism — enables precise moisture control; hand-wringing produces inconsistent dampness levels
- Soft-bristled broom or vacuum with bare floor attachment — removes loose particulate before mopping to prevent micro-scratch abrasion during the cleaning process
Dilution Ratio Reference
Using the correct dilution ratio is essential. Too much cleaner leaves surfactant residue that dries unevenly; too little reduces cleaning efficacy. The standard professional dilution for pH-neutral floor cleaners is 1:128, which means 1 fluid ounce of concentrate per gallon of warm water (approximately 7.8 mL per liter).
| Cleaner Type | Dilution Ratio | Best For |
|---|---|---|
| pH-neutral concentrate | 1:128 (1 oz per gallon) | All sealed hard floors |
| Ready-to-use spray | No dilution needed | Quick touch-ups |
| Natural plant-based | 1:64 | Eco-conscious cleaning |
| pH-neutral wipes | Use as-is | Small areas only |
Step-by-Step Streak-Free Cleaning Process
Follow each step in sequence. Skipping steps or changing the order directly causes streaking — the sequence matters because each action sets up the next.
- Remove loose debris — Sweep or vacuum the entire floor surface to eliminate grit, dust, and pet hair that cause micro-scratches during mopping. Any particulate left on the floor acts as an abrasive barrier between the mop and floor surface, creating uneven pressure distribution that results in patchy cleaning and streaking.
- Prepare your solution — Mix pH-neutral cleaner with warm water (not hot) at a 1:128 dilution ratio in a clean bucket. Cold water reduces surfactant activation — the cleaning agents remain in larger micelle structures that do not penetrate soils effectively; hot water causes rapid evaporation leading to residue buildup before the solution can be fully wiped away. Warm water at 75–85°F (24–29°C) optimizes surfactant performance.
- Load the mop correctly — Dip the microfiber head into the solution and wring until barely damp. The material should feel almost dry to the touch but retain enough moisture to clean — approximately 20–25% of the mop’s saturation capacity. A properly loaded microfiber mop weighing 0.5–0.7 lbs (230–320 g) provides optimal moisture for a 100 sq ft area.
- Mop using overlapping S-patterns — Starting from the far corner of the room, work in overlapping horizontal strokes, repositioning the mop without lifting it from the floor surface. Each pass should overlap the previous by 2–3 inches (5–8 cm) to ensure complete coverage without gaps or double-coating zones. Lifting the mop breaks the moisture seal and causes edge marks where the mop was set down.
- Rinse the mop frequently — Change the rinse water after every 200–300 square feet to prevent redistributing dirty solution that leaves mineral deposits and streaks. A standard 5-gallon bucket holds enough solution to clean approximately 400–500 sq ft when properly diluted; exceeding this concentration causes the water to become saturated with dissolved minerals from the floor surface that precipitate as streaks upon evaporation.
- Buff dry immediately — Follow behind the damp mop with a dry microfiber pad in rapid circular motions to absorb excess moisture and eliminate any surfactant residue. The dry pad should pass over the same areas within 30–60 seconds of the damp mop pass — any longer delay allows the surfactant film to begin drying in an uneven pattern. Use figure-eight or tight circular motions; the mechanical action draws moisture from the surface via capillary action in the microfibers.
- Allow proper air drying — Keep foot traffic to a minimum for 15–20 minutes while the floor finishes drying to a uniform shine. At room temperatures of 65–75°F (18–24°C) and relative humidity below 60%, sealed hard floors reach full dryness within this window. Premature foot traffic transfers skin oils and disrupts the final leveling of the floor finish, creating the “footprint streak” effect.
Floor-Specific Streak-Free Considerations
Different floor surfaces have different chemical sensitivities and physical properties. Using the same technique on every surface is a primary cause of streaking.
Hardwood (Sealed)
Sealed hardwood floors have a polyurethane or acrylic finish that creates a non-porous barrier. This finish is pH-sensitive — alkaline builders ( cleaners with pH above 9 ) progressively break down the cross-linking polymers in the finish, causing it to become brittle and lose clarity. Oil-based cleaners and furniture polishes leave wax residue that pools in low areas and reflects light inconsistently, creating the appearance of streaks. Always check manufacturer specifications for approved cleaners, and never use anything below pH 7 or above pH 9 on sealed hardwood.
Tile (Ceramic and Porcelain)
Ceramic and porcelain tiles themselves are streak-resistant, but the grout lines between them are highly porous and hold water like a sponge. When you mop over grout, the joints retain dirty water that migrates back to the tile surface as the grout dries, leaving a hazy deposit on the tile edges. For large-format tiles (larger than 12×12 inches), use a squeegee to pull water away from grout lines before it settles. Never oversaturate the mop near grout lines — excess moisture dilutes any existing grout sealer and causes efflorescence (white mineral deposits) to form as the water evaporates.
Luxury Vinyl Plank (LVP)
LVP floors have a urethane or polyurea coating that provides water resistance but is sensitive to high-pH chemicals. Alkaline strippers (pH 10+) penetrate the seam between planks and react with the PVC core, causing edge swelling and adhesive failure — this is often visible as dark lines along plank edges that look like streaks but are actually moisture damage. Microfiber mops are preferred over string mops because string mop heads push water into the seams between planks; microfiber’s flat surface maintains contact with the top of the planks only. Never use abrasive scrubbers or high-pH tile cleaners on LVP.
Natural Stone (Marble, Slate, Travertine)
Natural stone is calcareous — it reacts with acids even at low concentration — so acid-based streak removers permanently etch the surface and destroy the polish. Marble, the most common natural stone flooring, has a Mohs hardness of 3–5 (compared to steel at 4–5), making it susceptible to scratching from grit that evades even careful pre-sweeping. The safe pH range for most natural stone is 7.0–8.0; consult your stone supplier for specific recommendations for your stone type. Sealed stone repels water and resists streaking significantly better than unsealed stone — test this by dripping water on an inconspicuous area. If the water beads, the seal is intact; if it darkens the stone within 30 seconds, the seal has degraded and resealing should be considered.
Drying and Finishing for a Flawless Shine
The drying and buffing phase is where streak-free results are finalized. Even a perfectly mopped floor can streak during drying if this step is neglected.
Work in sections no larger than 6×6 feet (36 sq ft) to ensure the floor does not begin drying before you complete the buffing pass. As water evaporates from a cleaning solution, the dissolved surfactants become increasingly concentrated at the air interface. When the concentration exceeds the surfactant’s cloud point (typically 30–50% of the original dilution), the surfactant precipitates as a visible film — this is what you see as a streak. Smaller sections dry more uniformly, keeping surfactant concentration below the cloud point throughout the drying window.
Use a second dry microfiber mop or pad for the final buffing pass — this catches any remaining surfactant film that the damp mop left behind. The dry pad should be freshly laundered with no fabric softener (fabric softeners coat microfiber filaments and destroy their absorbency). For high-gloss floors, a fresh dry buffer pad with zero product improves reflectivity by 15–20% compared to a pad that has been used but not freshly laundered, because the microfibers have maximum void space for capillary moisture uptake when new.
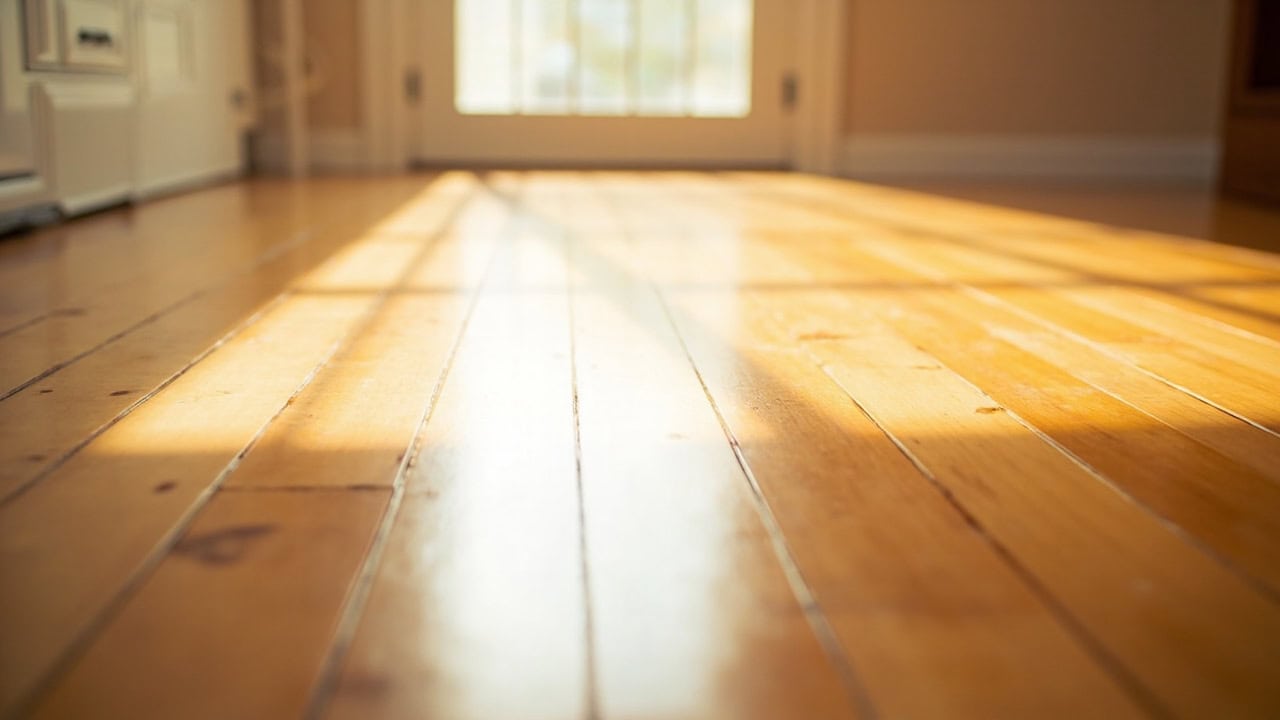
Check for streaking by viewing the floor at a low angle (15–25 degrees from horizontal) under direct light — this oblique viewing angle exaggerates the optical difference between clean and contaminated areas by creating reflection asymmetry. Move around the room to see the floor from multiple angles; a reflection that appears uniform from one direction but streaked from another indicates uneven drying rather than uneven cleaning.
Common Streaking Mistakes to Avoid
Every streak has a specific cause. These are the most frequent errors and exactly how they create visible marks on your floor.
| Mistake | Why It Causes Streaking | The Fix |
|---|---|---|
| Using too much cleaner | Excess surfactant leaves residue as water evaporates — the surfactant’s solubility limit is reached as the droplet shrinks, and the precipitate forms a visible film | Reduce dilution to 1:128 or use less product per pass; a correctly diluted 1:128 solution should leave no visible residue when dry |
| Using the wrong pH | Alkaline or acid cleaners react with floor surface minerals and leave deposits — alkaline builders form soap scum on calcium-based stone; acids etch and brighten some surfaces unevenly | Switch to pH-neutral (pH 7) cleaners only; test on a 1 sq ft inconspicuous area before full application |
| Mop is too wet | Water pools in low spots (between planks, in grout recesses, in floor texture) and evaporates unevenly — areas with deeper pooling take longer to dry and concentrate more surfactant | Wring until barely damp — the mop should leave no pooled water and should not leave a visible wet trail behind |
| Not rinsing mop often enough | Dirty water redeposits minerals and grime — once the rinse water becomes saturated with dissolved solids, the mop becomes a streaking tool rather than a cleaning tool | Change rinse water every 200–300 sq ft; use separate rinse and solution buckets in a two-bucket system |
| Using dirty mop head | The pad itself becomes a streak source — accumulated soil in the microfibers reduces absorbency and redeposits contaminants onto the floor surface | Start with a freshly laundered microfiber pad; launder without fabric softener and dry on low heat |
| Mopping in circles or random patterns | Overlapped areas receive double product and create zones of higher surfactant concentration that dry at a different rate than single-coat zones | Use strict S-pattern or back-and-forth parallel lines; always overlap by no more than 2–3 inches |
| Walking on damp floor | Footprints transfer skin oils (a mixture of triglycerides, fatty acids, and dead skin cells) onto the damp floor surface, disrupting the drying finish and leaving an uneven film | Wait 15–20 minutes before foot traffic; use entry mats to reduce the need for immediate access |
How to Prevent Future Streaking
Prevention is more efficient than correction. These ongoing habits maintain streak-free results between deep cleans.
- Establish a regular cleaning schedule — Built-up grime requires more cleaning product to remove, which directly increases the concentration of surfactant left behind and raises streaking risk. Daily dry dust mopping or vacuuming prevents abrasive particulate accumulation and reduces the amount of cleaning solution needed during wet mopping.
- Switch to a misting spray system — Instead of bucket dipping, use a pump sprayer or spray mop that applies solution as a fine mist. Misting delivers a more consistent product distribution and uses 40–60% less solution per square foot compared to flood application with a soaked mop, keeping surfactant concentration well below the cloud point during drying.
- Keep microfiber pads clean and replace when worn — Microfiber loses approximately 20% of its absorbency after 50 wash cycles and 40% after 75 cycles due to progressive fiber degradation and softening of the wedge-shaped cross-section that creates capillary action. Replace or retire worn pads to a general-purpose role (dusting only) when they no longer perform for wet cleaning.
- Test any new cleaner before full application — Apply the cleaner to a 1 sq ft test area in an inconspicuous location (such as inside a closet threshold or under a piece of furniture). Allow it to dry fully and inspect for streaking, hazing, or discoloration before using on the main floor area.
- Maintain consistent room temperature during cleaning — Keep room temperature between 65–75°F (18–24°C) for predictable drying times. Colder air holds less moisture vapor capacity, extending drying time beyond expected windows and allowing surfactant precipitation before the floor is dry. Above 75°F, rapid evaporation concentrates surfactant before the mop or buffing pad can remove it.
Frequently Asked Questions
Q: Why do my floors streak even after using a proper floor cleaner?
A: Streaking occurs when excess surfactant residue dries unevenly on the floor surface — typically from using too much cleaning solution, a mop that’s too wet, or failing to buff dry after mopping. Switch to a barely-damp mopping technique and always follow with a dry microfiber pad in circular motions.
Q: Can I use vinegar to clean floors without streaking?
A: Never use undiluted vinegar on sealed floors — its acetic acid breaks down floor finishes and leaves mineral residue that streaks under light. If you must use vinegar, dilute it to pH 7 with water and test on a small area first, but a pH-neutral cleaner is always the safer choice for streak-free results.
Q: What’s the best type of mop to prevent streaking?
A: A microfiber twist mop with a wringer system provides the best control over moisture levels. Avoid string mops which hold excessive water and spread dirty solution. For small areas, a spray mop with a disposable or washable microfiber pad offers streak-free precision.
Q: How often should I replace my microfiber mop pad to avoid streaking?
A: Replace or launder microfiber pads when they become visibly gray or soiled, or after approximately 50–75 wash cycles. Worn microfiber loses its absorbency and scrubbing power, causing it to push residue rather than pick it up — a primary cause of streaking on smooth floor surfaces.
References
- NSF International. (2024). Floor Cleaning Guide: Best Practices for Commercial and Residential Floors. NSF International.
- International Sanitary Supply Association (ISSA). (2023). Cleaning Industry Standards and Best Practices. ISSA.
- U.S. Environmental Protection Agency (EPA). (2024). EPA Registered Disinfectants and Cleaning Chemical Guidelines. EPA.
- Mayo Clinic Health System. (2023). Floor Cleaning and Indoor Air Quality: Reducing Allergens and Pathogens in the Home. Mayo Clinic Health System.
- American Cleaning Institute (ACI). (2024). Dilution Ratio Guidelines for Professional and Residential Cleaning Products. American Cleaning Institute.
- MAPEI Technical Department. (2023). Surface Preparation and Maintenance Guidelines for Ceramic Tile, Stone, and Elastic Floor Coverings. MAPEI Corporation.


