How to Fix Scratched Hardwood Floors: Complete Guide
Scratched hardwood floors are repaired by matching the scratch depth to the appropriate fix method — surface scratches buff out with hardwood polish, moderate scratches fill with wood stain marker or putty, and deep scratches require sanding and refinishing. The repair method must correspond to whether the wood finish only is damaged or if the wood grain itself is penetrated.
What You Need Before You Start
Before repairing scratched hardwood floors, gather the right materials matched to your scratch type. Using the wrong product for your scratch depth wastes time and can worsen the damage.
- Wood stain markers or pencils (for color-matched moderate scratches)
- Wood filler putty or wax sticks (for deep scratches)
- Fine-grit sandpaper (220-320 grit for surface scratches, 120-150 grit for deep scratches)
- Hardwood floor cleaner and microfiber cloth
- Polyurethane finish or hardwood floor polish
- Soft clean rags and painter’s tape
- Electric buffer or handheld sander (for large areas)
Step-by-Step: How to Fix Scratched Hardwood Floors
The repair approach depends entirely on scratch depth. Run your fingernail across the scratch — if it catches, the scratch is deep and penetrates the wood grain; if it glides smoothly, the scratch is surface-level only and requires no sanding.
For Surface Scratches (Finish Only)
Surface scratches damage only the polyurethane or other factory finish, not the wood itself. These scratches are the easiest to repair and require no sanding.
- Clean the scratched area with hardwood floor cleaner and let dry completely
- Apply hardwood floor polish or scratches remover product directly onto the scratch
- Buff gently with a soft microfiber cloth in the direction of the wood grain
- Allow polish to cure for 30-60 minutes before walking on the area
- Assess if a second application is needed for full coverage
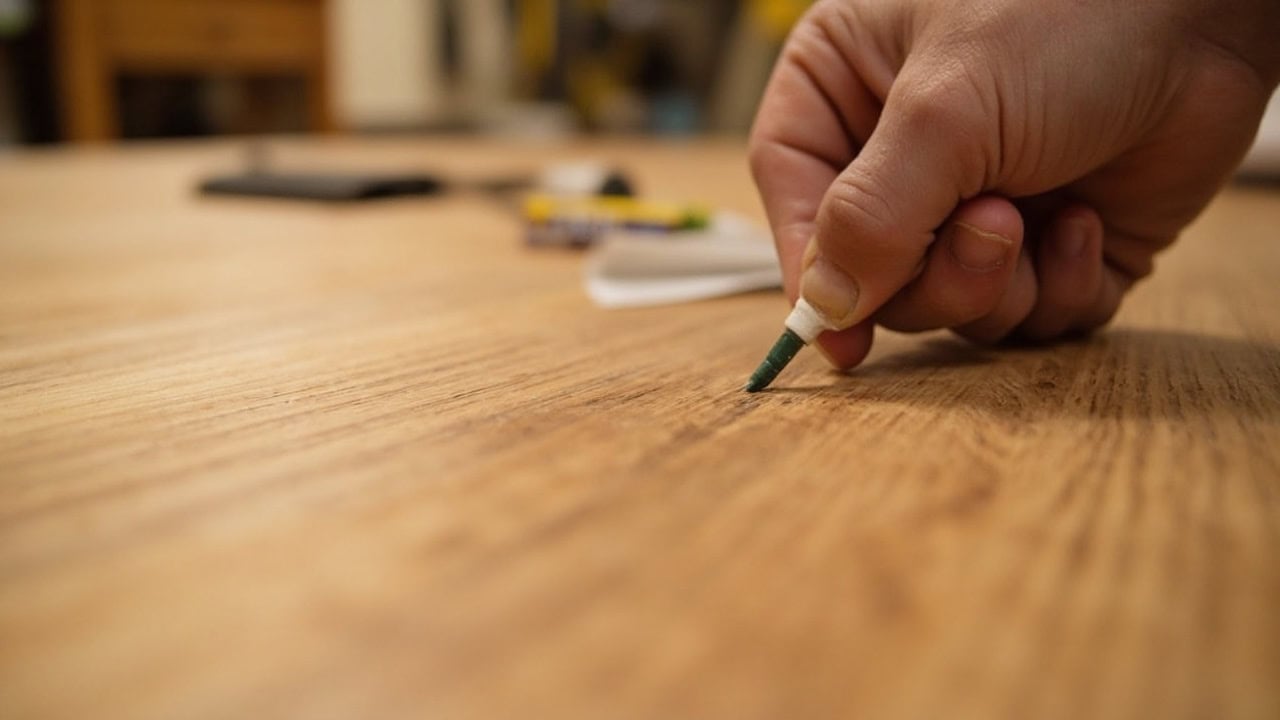
For Moderate Scratches (Color Fill)
Moderate scratches have penetrated the color/ stain layer but not the bare wood grain. Wood stain markers and wax filler sticks work by depositing color into the scratch without requiring sanding. Water-based urethane finishes, introduced around 1942, are harder than oil-modified polyurethane and provide superior scratch resistance for repairs.
- Clean and dry the scratched area thoroughly
- Select a wood stain marker or wax stick that matches your floor color
- Apply the stain product along the scratch, working into the grain
- Wipe excess with a clean rag before it dries
- Apply a thin coat of polyurethane finish to seal the repair
- Allow 2-4 hours drying time before foot traffic
For Deep Scratches (Wood Grain Damage)
Deep scratches that catch your fingernail have penetrated the wood grain itself. These require the most involved repair process, including sanding, filling, staining, and refinishing. Only 1/32-inch of wood surface is typically removed during full refinishing, making this a viable DIY option even on older floors.
- Sand the scratched area gently with 120-150 grit sandpaper, staying within scratch boundaries only
- Clean away all dust with vacuum and damp microfiber cloth
- Apply wood filler putty color-matched to your floor, pressing into the scratch
- Let filler dry completely per product instructions (typically 24 hours)
- Sand filled area smooth with 220-grit sandpaper, feathering edges into surrounding floor
- Apply stain to match surrounding floor color, feathering at edges
- Apply 2-3 thin coats of polyurethane finish, allowing dry time between coats
- Allow final coat to cure 24-48 hours before placing furniture
Hardwood Floor Scratch Repair: What to Avoid
These common mistakes cause additional damage instead of fixing scratches. Knowing what not to do is as critical as following the right repair steps.
- Never use abrasive cleaners or scrub brushes on hardwood — they create micro-scratches that compound the problem and dull the finish faster
- Avoid wet mopping scratched areas — water penetrates exposed wood grain and causes swelling, cupping, or additional scratches during drying
- Do not use paste wax on polyurethane-finished floors — it creates a cloudy buildup incompatible with modern floor finishes
- Never skip the primer coat when refinishing — stain without proper priming leads to blotchy, uneven color that highlights rather than hides the repair
- Do not use oil-based products on water-finished floors — they create permanent bonding issues with water-based polyurethane topcoats
Common Mistakes When Repairing Hardwood Floor Scratches
Even when using the right products, execution errors can ruin the repair. These mistakes are among the most frequently encountered by DIY homeowners attempting hardwood floor scratch repair.
- Matching stain color incorrectly — Always test stain on an inconspicuous area or spare board before applying to the scratch. Wood fillers and stain markers settle differently than factory finishes, and the color match that looks right wet often looks wrong dry.
- Rushing the drying process — Foot traffic or furniture placement before full cure causes re-scratching and finish damage. Polyurethane needs 24-48 hours to reach full hardness even when the surface feels dry to the touch.
- Over-sanding the repair area — Aggressive sanding creates a depression that highlights rather than hides the repair. Feather edges by hand rather than power-sanding to blend the repair into the surrounding floor.
- Skipping the topcoat seal — Unsealed wood filler or stain will wear away within weeks of normal foot traffic. Always apply 2-3 thin coats of polyurethane over any filled or stained area.
- Using the wrong grit sandpaper — Starting too coarse (under 120 grit) gouges the wood and removes more material than necessary; finishing too fine (over 320 grit) closes the wood pores and prevents stain absorption, resulting in splotchy color.
Frequently Asked Questions
Q: Can you fix scratched hardwood floors without sanding?
A: Yes, surface scratches and moderate scratches can be repaired without sanding. Surface scratches respond to hardwood floor polish applied with a microfiber cloth. Moderate scratches fill effectively with color-matched wood stain markers or wax filler sticks. Deep scratches that penetrate the wood grain require sanding for proper repair.
Q: How do you fix deep scratches in hardwood floors?
A: Deep scratches in hardwood floors are repaired by first sanding the damaged area with 120-150 grit sandpaper, then cleaning away all dust. Wood filler putty is pressed into the scratch and allowed to dry 24 hours. The area is sanded smooth with 220-grit sandpaper, stained to match, and sealed with 2-3 coats of polyurethane finish.
Q: Do hardwood floor repair kits actually work?
A: Hardwood floor repair kits work well for surface to moderate scratches when the kit color matches the floor. Kits containing stain markers and polish successfully repair light surface scratches and hairline cracks. For deep scratches, kits with wood filler components provide adequate repairs, though professional refinishing produces more seamless results.
Q: How much does it cost to fix scratched hardwood floors?
A: DIY scratch repair costs $15-50 for a complete kit covering multiple scratches. Professional hardwood floor refinishing for deep scratches costs $3-8 per square foot. Full board replacement for severely damaged planks runs $200-500 per board including labor and materials.
References
- National Wood Flooring Association. (2024). Hardwood Floor Maintenance Guidelines. NWFA.
- Bona. (2024). Professional Floor Care Products and Systems. Bona US.
- DAP Products. (2024). Plastic Wood Wood Filler Technical Data Sheet. DAP Products.
- U.S. Forest Products Laboratory. (2023). Wood as a Raw Material for Floor Coverings: Finish Performance Studies. USDA Forest Service.


