
How to Remove Black Stains from Grout

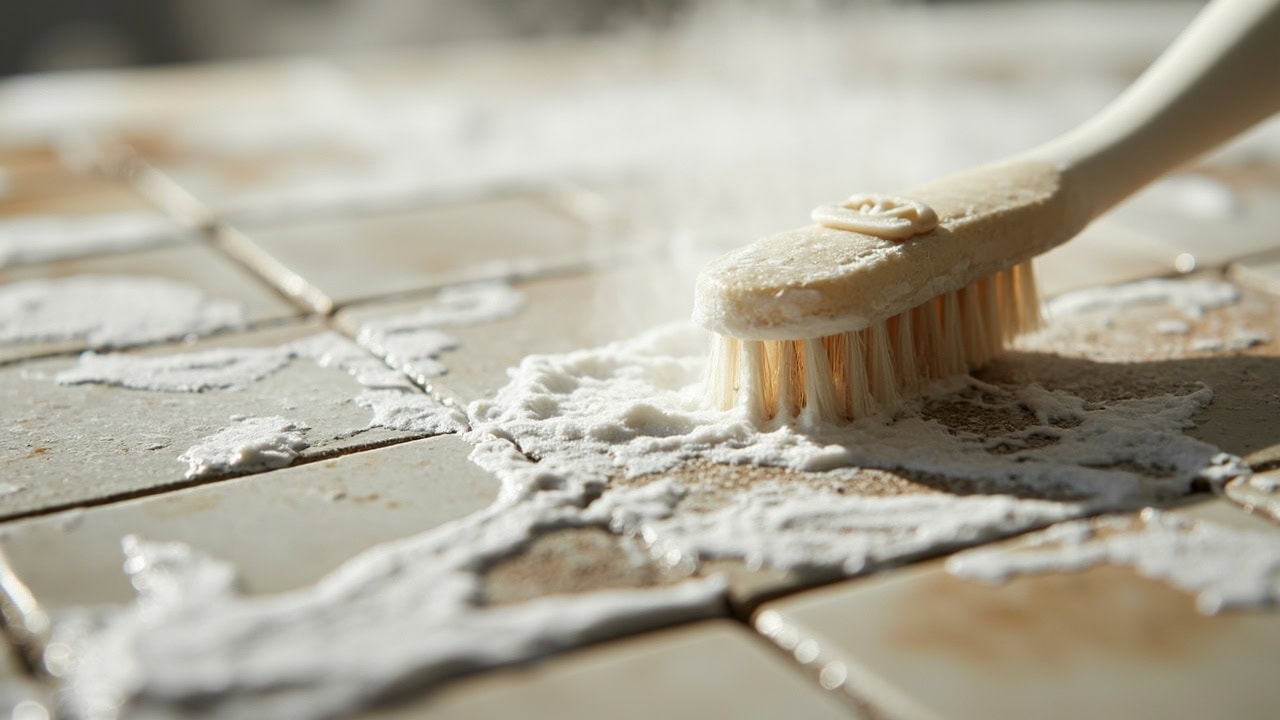
Black stains on grout are most effectively removed using a hydrogen peroxide-based paste combined with baking soda applied with a stiff-bristled brush. The oxidizing action breaks down both organic matter and embedded soil without damaging the grout surface. Hydrogen peroxide (H₂O₂) at 3–5% concentration acts as an oxidizer that destroys the cellular structure of mold and mildew at the molecular level, while the mild abrasiveness of baking soda lifts the stain residue. For severe or penetrating black stains, oxygen-based bleach (sodium percarbonate) dissolved in hot water provides deeper penetration into grout pores to eliminate embedded contaminants.
What Removes Black Stains from Grout
The most effective primary solution for black grout stains is a hydrogen peroxide paste prepared at 3–5% concentration mixed with baking soda. This combination works through a dual mechanism: H₂O₂ provides oxidizing power that destroys organic matter at the molecular level, while baking soda delivers mild mechanical abrasion to lift residual staining from the grout’s textured surface.
For deep or severe stains that have penetrated beyond the surface, oxygen-based bleach — specifically sodium percarbonate — dissolved in hot water (above 140°F / 60°C) delivers superior penetration. Sodium percarbonate releases a higher concentration of H₂O₂ when activated by heat, allowing the solution to reach contaminants lodged deep within the porous grout structure.
Both solutions are pH-neutral to slightly alkaline, which makes them safe for grout surfaces. Acidic cleaners (vinegar, lemon juice) erode grout over time, while these oxidizing agents clean without degrading the material. Application follows a consistent method: apply the paste or solution, allow 10–15 minutes of dwell time, scrub with a stiff-bristled nylon brush, then rinse thoroughly with clean warm water.
Why Black Stains Form on Grout
Black stains on grout are primarily caused by mold and mildew growth in porous grout that absorbs and retains moisture. Unlike glazed tile, grout is a cement-based material with microscopic pores that act like a sponge, drawing in water, soap residue, and organic matter from the environment. Once absorbed, these substances create an ideal nutrient source for mold spores.
The chemical mechanism behind the characteristic black color involves mold spores that germinate in the moist grout and produce dark pigments called melanin as they feed on organic debris. This melanin production is the same process that gives mold its characteristic black appearance and serves as a defense mechanism against UV radiation and cleaning agents. The spores bind tightly to the porous grout surface, making removal difficult without chemical intervention.
Several contributing factors accelerate this process. Poor bathroom ventilation keeps humidity levels elevated long after showers, providing constant moisture. Unsealed grout has no protective barrier, so every shower introduces water, soap, and skin cells deep into the grout pores. Neglected cleaning allows organic matter to accumulate, feeding mold colonies season after season. Secondary staining occurs when embedded dirt and soap scum combine with moisture to create stubborn dark discoloration separate from biological growth.
What NOT to Use on Grout
Understanding which cleaning agents damage grout is as important as knowing which ones work. The following products cause permanent harm and should never be used on tile grout.
- Chlorine bleach (sodium hypochlorite): Causes grout deterioration, bleaches and discolors tile surfaces, and releases harmful fumes. Bleach may lighten the appearance of mold temporarily but does not kill mold roots embedded in porous grout, allowing rapid regrowth.
- Acidic cleaners (vinegar, lemon juice, acid-based cleaners): Vinegar’s 5–8% acetic acid has a pH of 2–3, which gradually erodes the grout surface through a process called etching. This creates pitting, roughness, and eventual crumbling that makes grout far more susceptible to future staining.
- Steel wool or metal brushes: Creates microscopic scratches in grout that trap future stains and provide sites for rust formation. Even stainless steel brushes can leave particles that corrode over time.
- Excessive water pressure: Power washing or steam cleaning forces water deep into grout pores, pushing stains further into the material and potentially driving moisture behind tiles, worsening mold problems and risking tile adhesion failure.
Step-by-Step Removal Method
Follow these eight steps for complete black stain removal from tile grout. Each step is essential — skipping steps or shortening dwell times significantly reduces effectiveness.
- Prepare the area: Remove any loose debris and dry the grout surface completely with a clean towel. This removes surface contamination that would compete with the cleaning paste and ensures maximum contact between the cleaner and the stain.
- Mix the cleaning paste: Combine 3 tablespoons of baking soda with enough 3% hydrogen peroxide to form a thick, spreadable paste. The consistency should hold its shape when applied — add hydrogen peroxide gradually until the paste reaches a toothpaste-like texture.
- Apply to stained grout: Using a small brush or cloth, work the paste directly into the black-stained grout lines. Press firmly to ensure the paste saturates the full depth of the grout joint, not just the surface.
- Allow dwell time: Let the paste sit for 10–15 minutes without drying. Cover with plastic wrap if needed to retain moisture. The H₂O₂ needs this time to complete the oxidation reaction that breaks down mold cellular structure. Do not exceed 30 minutes for a single application.
- Scrub thoroughly: Using a stiff-bristled nylon brush (not metal), scrub each grout line with firm pressure using short, deliberate strokes. Work in sections to avoid missing areas. The bristles must reach the bottom of the grout joint, not just skim the surface.
- Rinse completely: Use clean warm water and a wrung-out microfiber cloth to remove all paste residue. Residue left behind can leave a white powdery film and may attract new mold growth. Rinse the cloth frequently during this step.
- Dry and inspect: Allow grout to air dry completely and evaluate whether any staining remains for spot treatment. Drying time is typically 30–60 minutes depending on bathroom humidity. Stubborn spots can be retreated with a fresh paste application.
- Apply grout sealer: Once dry, apply a quality penetrating grout sealer to the entire grout surface. This step is non-negotiable — cleaning without sealing leaves grout immediately vulnerable to recontamination. Allow the sealer to cure for the manufacturer-specified time (typically 24–72 hours) before exposing the area to moisture.
How to Prevent Black Stain Recurrence
Cleaning black grout stains without addressing the underlying conditions that caused them is an exercise in futility. Prevention is the only durable solution, and it requires addressing moisture, porosity, and maintenance on three fronts.
- Seal grout: Apply a quality penetrating grout sealer every 1–2 years to create a hydrophobic barrier that prevents moisture and mold spores from penetrating the grout matrix. Penetrating sealers (silicone-based or fluorochemical) absorb into the grout rather than coating the surface, maintaining the natural appearance while providing long-lasting protection. Reapplication intervals should be reduced in high-humidity environments.
- Improve ventilation: Use exhaust fans during and for at least 20 minutes after every shower. Open bathroom windows when weather permits. The EPA recommends maintaining indoor relative humidity below 60% (ideally 30–50%) to inhibit mold growth. Running the exhaust fan during the shower is the single most impactful preventive action.
- Clean regularly: Weekly grout cleaning with a pH-neutral cleaner prevents mold spore germination and dirt accumulation before they become established. A quick wipe-down of grout lines after each shower takes under a minute and dramatically reduces the organic food source available to mold.
- Address leaks promptly: Water from leaky pipes, dripping fixtures, or condensation soaks into grout and creates persistent moisture pockets that feed mold growth beneath the surface. Fix any source of chronic water exposure within 24–48 hours to prevent deep mold penetration that cleaning alone cannot resolve.
- Use a squeegee: After showering, squeegee tile surfaces to remove excess water from grout lines and tile faces. This reduces the amount of water that can be absorbed into grout pores by up to 75% compared to air-drying alone. A 30-second squeegee pass after each shower is one of the most effective preventive measures available.
Common Mistakes When Cleaning Grout Stains
Even when using the right products, cleaning errors can undo your efforts or cause permanent grout damage. Avoiding these five common mistakes will dramatically improve your results.
- Using too much water: Excess moisture during cleaning pushes water and contaminants deeper into grout pores rather than extracting them. The goal is controlled, minimal moisture — use a damp cloth for rinsing, not a soaked mop or saturated sponge.
- Not testing products first: Always test cleaning solutions on a small, hidden grout area before full application. Even pH-neutral products can cause unexpected discoloration on dyed or pigmented grout, or interact with previous sealers or cleaning products.
- Scrubbing too aggressively: Excessive pressure damages the grout surface, creating a rough texture that traps future stains and accelerates wear. A firm, consistent scrubbing motion is more effective than maximum pressure. Let the chemical reaction do the heavy lifting.
- Skipping the sealer: Cleaning without sealing leaves grout in the same vulnerable state it was before cleaning. The sealer is not optional — it is the protective barrier that makes all your cleaning work last. Apply sealer within 24 hours of the final rinse.
- Using the wrong brush type: Metal brushes and steel wool leave microscopic metal particles embedded in grout that corrode, rust, and create brown discoloration within weeks. Use only stiff-bristled nylon brushes designated for grout cleaning.
The Chemistry: Hydrogen Peroxide and Grout Stains
Understanding the chemistry behind hydrogen peroxide’s effectiveness helps explain why it outperforms other cleaning agents for this specific application and why application technique matters.
Oxidation reaction: Hydrogen peroxide (H₂O₂) spontaneously decomposes into water (H₂O) and oxygen (O₂) through a reaction catalyzed by light, heat, or contact with organic material. This decomposition releases oxygen radicals — highly reactive single-oxygen atoms — that attack organic molecules in mold cell walls, breaking them apart at the molecular level. The reaction is: 2H₂O₂ → 2H₂O + O₂ + energy (released as heat). This oxidizing power is what makes H₂O₂ effective against mold at concentrations as low as 3%.
Mold destruction: Oxygen radicals penetrate the melanin-laden cell walls of dark mold colonies and destroy internal structures, eliminating both the organism and its characteristic pigmentation. Unlike chlorine bleach, which bleaches by chemical reduction, H₂O₂ destroys the mold through oxidation — meaning it kills the organism rather than just decolorizing it.
Baking soda mechanism: Sodium bicarbonate (baking soda) has mild alkaline properties (pH ~8.3 in solution) that help emulsify grease, body oils, and organic soils that act as the food source for mold. Its physical abrasive properties aid mechanical removal of staining residue from the textured grout surface without scratching or damaging the cement matrix.
Why oxygen bleach is stronger: Sodium percarbonate (Na₂CO₃·1.5H₂O₂) releases approximately 3 times more H₂O₂ per unit weight when dissolved in water compared to the same weight of standard hydrogen peroxide solution. Hot water (140–160°F / 60–71°C) accelerates this release and increases solution penetration into grout pores by reducing surface tension, allowing the active cleaning agents to reach contaminants embedded millimeters below the grout surface.
Safety note: Both hydrogen peroxide and oxygen bleach are significantly safer alternatives to chlorine bleach for grout cleaning. Neither produces toxic chloramine fumes when mixed with ammonia-containing cleaners (a risk exclusive to chlorine bleach), and both break down into harmless byproducts (water and oxygen) without leaving reactive residues.
When to Call a Professional
While most black grout stains respond to the hydrogen peroxide method described above, certain situations require professional intervention. Recognizing these conditions early prevents wasted effort and potential health risks.
- Extensive black mold coverage: If stains cover large areas spanning multiple tiles or have penetrated deeply into grout below the surface, professional-grade fungicides and extraction equipment are needed to eliminate the contamination entirely. Mold remediation professionals use HEPA-filtered air scrubbers and negative air pressure containment to prevent spore dispersal during treatment.
- Grout replacement needed: Severely deteriorated, crumbling, or soft grout cannot be salvaged by cleaning alone. When grout has lost its structural integrity — indicated by crumbling when scrubbed or a chalky texture — the only solution is professional grout removal and replacement. This typically involves grinding out the old grout and re-grouting, a job that requires specialized tools and expertise.
- Health concerns: Individuals with asthma, allergies, compromised immune systems, or respiratory conditions should avoid extended mold cleaning exposure. The EPA recommends that people with these conditions not participate in mold cleanup activities exceeding 10 square feet. Professionals have access to appropriate PPE (N-95 or P-100 respirators, full-body disposable suits, gloves, and eye protection) that homeowners typically do not.
- Persistent staining after treatment: Stains that return within days or weeks of thorough cleaning indicate an underlying moisture problem that surface cleaning cannot resolve. This may involve water penetrating from behind tiles, leaking pipes within walls, or condensation in wall cavities. A professional moisture inspection using thermal imaging cameras can identify hidden water sources that perpetuate the mold problem.
Frequently Asked Questions
Q: Does hydrogen peroxide damage grout?
A: No, hydrogen peroxide at 3–5% concentration is safe for grout. It is pH-neutral to slightly alkaline and will not cause etching or deterioration like acidic cleaners can. However, prolonged exposure to higher concentrations (above 10%) may cause gradual surface softening over time. Stick to standard 3% household hydrogen peroxide for regular grout cleaning applications.
Q: Can I use vinegar to remove black stains from grout?
A: While vinegar has some cleaning properties, it should not be used on grout because its acidity (pH 2–3) gradually erodes the grout surface, causing pitting, roughness, and eventual crumbling. This damage is cumulative and irreversible — each vinegar application removes a microscopic layer of grout surface, progressively exposing the more porous underlying material. Use hydrogen peroxide or oxygen-based cleaners instead for safe and effective grout stain removal.
Q: How long does it take for hydrogen peroxide to work on grout stains?
A: Hydrogen peroxide paste typically requires 10–15 minutes of dwell time to fully oxidize and break down black mold stains. The oxidation reaction is not instantaneous — it requires time for the oxygen radicals to penetrate mold cell walls and destroy the organism’s internal structures. For light surface stains, 5 minutes may suffice. For deep or set-in stains that have been present for months, allow up to 30 minutes before scrubbing. Never let the paste dry completely during dwell time.
Q: Why do black stains keep coming back on my grout?
A: Black stains recur when grout remains unsealed (allowing moisture and mold spores to penetrate), when bathroom ventilation is inadequate creating constant humidity above 60% relative humidity, or when underlying moisture issues from hidden leaks or persistent condensation feed ongoing mold growth beneath the surface. If stains return within weeks of cleaning, an undetected moisture source is perpetuating the problem — this requires investigation rather than repeated cleaning.
References
- Environmental Protection Agency. (2024). Mold Cleanup in Your Home. EPA.
- Mayo Foundation for Medical Education and Research. (2023). Mold Allergy — Symptoms and Causes. Mayo Clinic.
- American College of Allergy, Asthma & Immunology. (2023). Mold Allergy. ACAAI.
- ASTM International. (2020). Standard Guide for Cleaning and Surface Abrasion of Flexible Glass Coatings (ASTM C1897-20). ASTM International.


