This is How To Take Apart Shark Vacuum Parts Right Way!
Once in a while, you have to change components that seem troublesome or need to be taken care of. The same thing goes for the Shark vacuum too.
You might need some screwdrivers and nose pliers to remove some parts like the hose, brush roll motor, and so on.
Basically, you can take apart your Shark Vacuum parts in 7 simple steps.
Let me explain how to take apart a Shark vacuum and cleaning methods so that you can do it yourself in the right way!
Follow This Method To Take Apart Shark Vacuum Parts
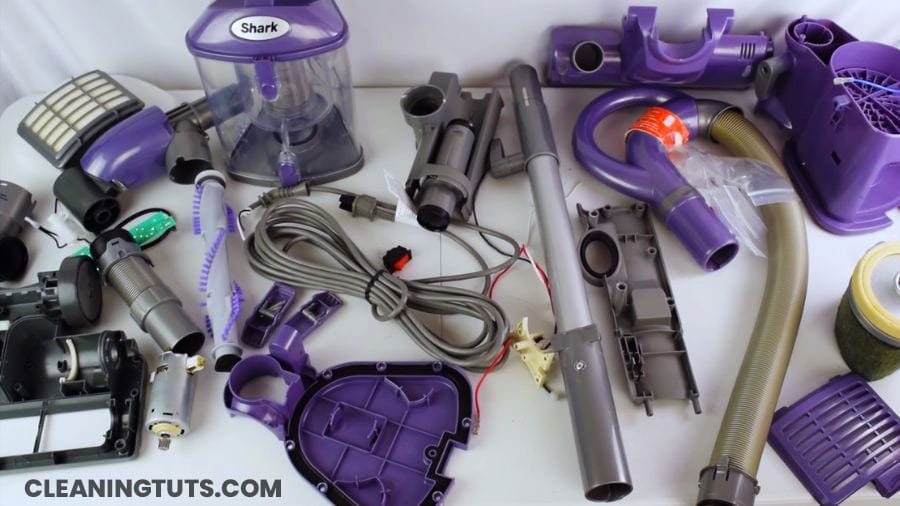
To clean or replace purpose, it becomes necessary to know the safest way to disassemble Shark vacuum parts. In case you are wondering about the directions, here’s how to do it yourself:
Take Apart Shark Vacuum Handle
Take Apart Shark Vacuum Hose
Take Apart Shark Vacuum Accessory Holder & Wand
Take Apart Shark Vacuum Canister
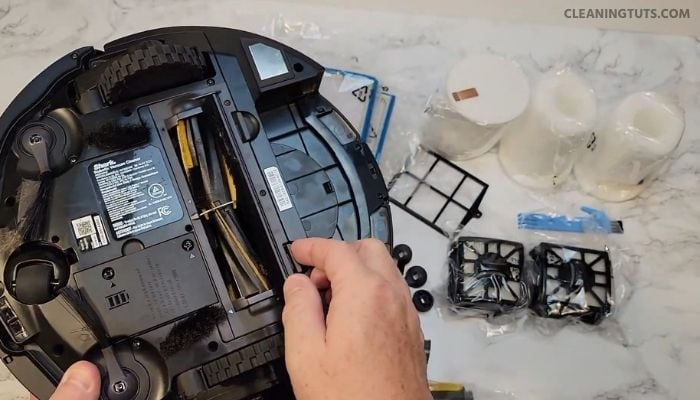
Take Apart Roller Brush & Rotating Brushes From Shark Vacuum
Take Apart Shark Brushroll Motor
Take Apart Shark Circuit Board
After taking out the targeted parts from the Shark vacuum, you can either insert new parts or clean them to reinstall.
This Is How To Clean Shark Vacuum Parts!
If you are prepared for the next thing, then get the gears to start the cleaning journey. Before getting into the directions for each part, look at the table:
| Component | Cleaning Schedule |
|---|---|
| Brushroll & Rotating Brush | Every 1 – 3 Months |
| Pre-motor (Felt & Foam) Filters | Every 3 Months |
| Post-motor HEPA Filter | Every 1 – 2 Years |
| Dust Container | Every Time You Use |
Cleaning The Brushroll & Rotating Brush
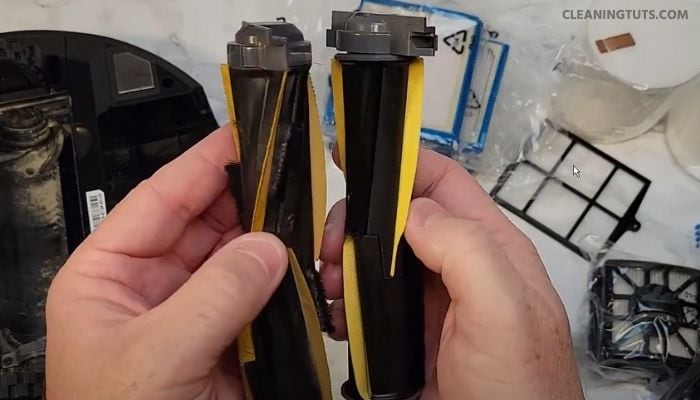
- Take out the roll and rotating brush from the floor nozzle.
- Grab a pair of scissors to remove the dirt and hair from them.
- Make a mixture using water and mild detergent. Dip the roll and rotating brush inside the solution.
- Let it sit there for 1 – 2 minutes.
- Wash them using clean water.
- Air dry them.
- Place the roll and rotating brush back in spots.
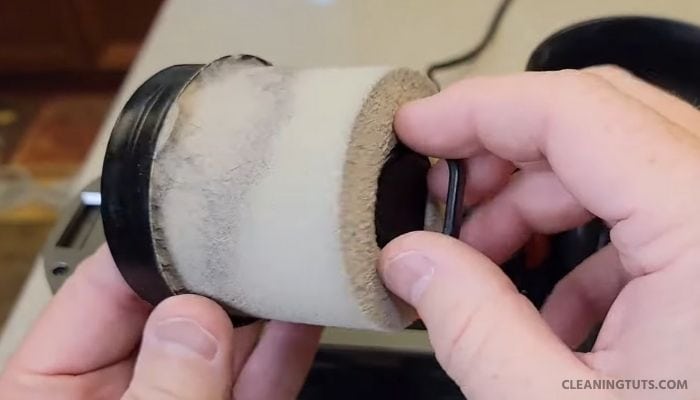
Cleaning The Post-motor & Pre-motor Filters
- Pull out the tap of the filter cover (post-motor filter) and remove it.
- Drag the HEPA filter and turn it over to remove the dirt. Take a brush to clean it properly.
- Dip it into lukewarm water and soap mixture for some while. Pull it out and wash the surface. Dry it naturally and then reinstall it.
- Take out the dust cap and pull out the 2 filters (felt and foam filters) from the top of the canister (pre-motor filter).
- Place them in the lukewarm water and soap solution for 1 minute. Wash using clear water and air dry them for 24 hours.
- Reinstall them and put the dust cap back in place.
Cleaning The Dust Container
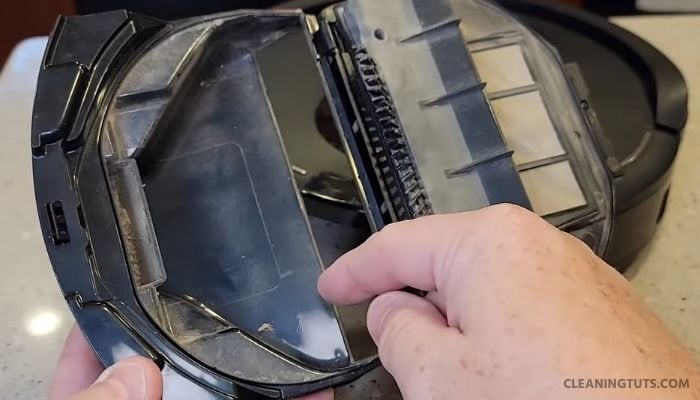
- Lift the side laches to take out the dust cup.
- Hold it over the trash can and press the release button to empty it. Press the door shut again to close it.
- Place it back on the spot.
Ending Note
And that’s how to take apart Shark vacuum parts! It would be wise to do it yourself and save your money from spending it on a professional for the job since the task takes only 5 – 10 minutes. Hope this guide helps!


