This is How To Take Apart Shark Vacuum Parts Right Way!
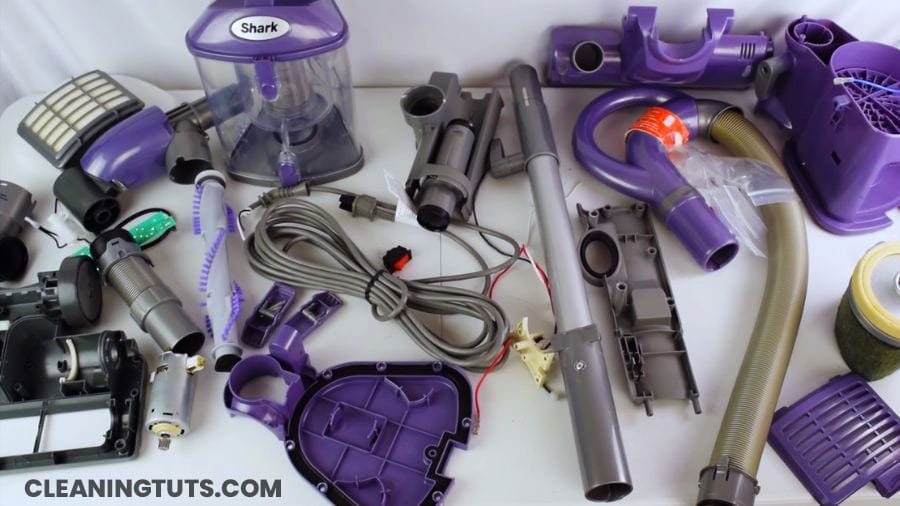
Shark vacuum disassembly requires a Phillips #2 screwdriver, a T15 Torx screwdriver, and needle-nose pliers. The complete process takes 5–10 minutes and involves seven main components: the handle, hose, accessory holder, wand, canister, brushroll, brushroll motor, and circuit board.
Shark vacuum disassembly takes 5–10 minutes using a Phillips #2 and T15 Torx screwdriver.
Shark Vacuum Disassembly: 7-Step Guide
This guide covers safe disassembly of Shark vacuum components for cleaning or replacement. Each step uses specific tools and requires approximately 1–2 minutes to complete.
Disassemble the Shark Vacuum Handle
Remove the Shark Vacuum Hose
Remove the Accessory Holder and Wand
Separate the Canister from the Wand
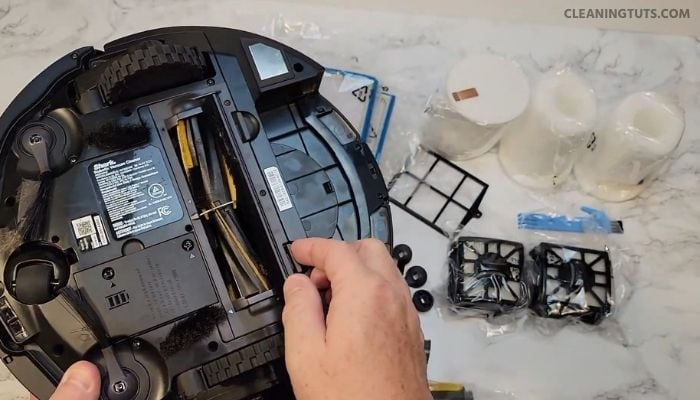
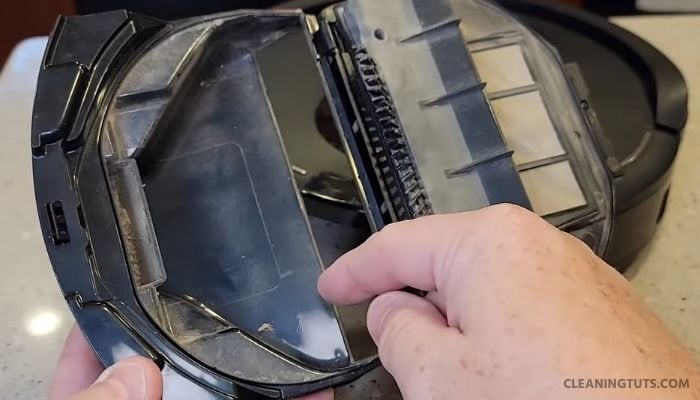
Remove the Roller Brush and Rotating Brushes
Access the Brushroll Motor
Remove the Circuit Board
After removing the targeted components from the Shark vacuum, install replacement parts or clean and reinstall the originals. For related troubleshooting, see our Shark vacuum troubleshooting guide.
Shark Vacuum Component Maintenance Schedule
Regular maintenance extends vacuum life and maintains suction performance. The table below shows recommended service intervals based on typical usage:
| Component | Cleaning Frequency | Replacement Interval |
|---|---|---|
| Brushroll and Rotating Brush | Every 1–3 months | Every 12 months or when bristles show wear |
| Pre-motor Filters (felt and foam) | Every 3 months | Every 12 months |
| Post-motor HEPA Filter | Every 12 months | Every 2–3 years |
| Dust Container | After each use | Only if cracked or damaged |
| Hose (interior) | Every 6 months | Only if cracked or disconnected |
How to Clean Shark Vacuum Components
Clean the Brushroll and Rotating Brush
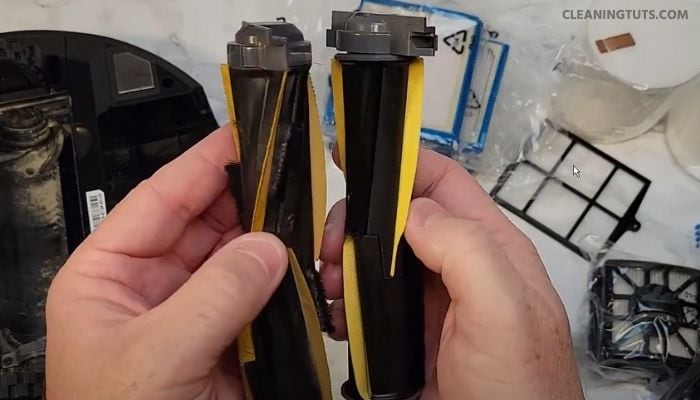
- Remove the brush roll and rotating brush from the floor nozzle assembly.
- Use scissors to cut away tangled hair and thread wrapped around the brush roll bearings.
- Create a solution of 1 teaspoon mild liquid dish soap mixed with 8 ounces of warm water at 100°F (38°C).
- Submerge the brush roll and rotating brush in the solution and allow to soak for 1–2 minutes to dissolve embedded debris.
- Rinse thoroughly with clean water to remove all soap residue.
- Allow components to air dry completely for 2 hours before reinstallation to prevent moisture damage to bearings.
- Reinstall the brush roll and rotating brush in their original orientations.
Clean the Post-motor and Pre-motor Filters
- Pull the filter cover latch and remove the post-motor HEPA filter from its housing.
- Tap the HEPA filter against a hard surface to dislodge loose debris. Use a soft-bristle brush to clean between the pleats.
- Submerge the HEPA filter in a solution of 1 teaspoon mild soap per 8 ounces of lukewarm water at 100–110°F (38–43°C). Rinse by squeezing gently under clean water.
- Allow the HEPA filter to air dry completely for 24 hours before reinstallation to prevent mold growth.
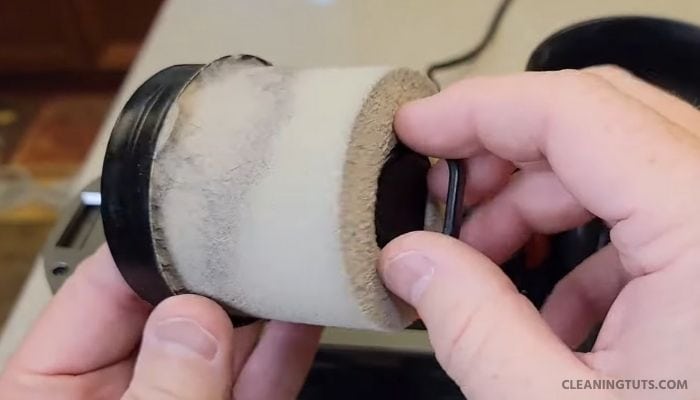
- Remove the dust cap from the top of the canister and extract both the felt and foam pre-motor filters.
- Submerge the felt and foam filters in the same soap solution for 1 minute, then rinse thoroughly with clean water.
- Air dry the pre-motor filters for 24 hours before reinstalling them in the correct orientation.
Clean the Dust Container
- Lift both side latches simultaneously to release the dust cup from the canister body.
- Hold the dust cup over a trash bin and press the bottom release button to empty contents.
- Rinse the dust cup with warm water at 110°F (43°C) and allow it to air dry completely before reinstallation.
- Reattach the dust cup by aligning the top pins with the canister slots and pressing until both latches click into place.
Tools Required for Shark Vacuum Disassembly
| Tool | Purpose | Screw Size |
|---|---|---|
| Phillips #2 Screwdriver | General screws, hose clamp, motor, circuit board | #2 Phillips |
| T15 Torx Screwdriver | Floor nozzle plate, brush roll access | T15 Torx |
| Flat-head Screwdriver or Plastic Spudger | Separating handle halves, prying retaining rings | 1/8 inch |
| Needle-nose Pliers | Removing motor electrical connectors | N/A |
| Magnetic Parts Tray | Organizing and preventing screw loss | N/A |
Conclusion
Shark vacuum disassembly takes 5–10 minutes with the correct tools. The process involves seven sequential steps: removing the handle, hose, accessory holder and wand, separating the canister, extracting the brush roll, accessing the brush roll motor, and finally removing the circuit board. All components can be serviced for cleaning or replacement without professional assistance.
For additional vacuum maintenance guidance, browse our cleaning glossary or explore related guides like our vacuum troubleshooting hub and Shark vacuum troubleshooting guide.


