![Dyson Brush Bar Not Working [FIX]](https://cleaningtuts.com/wp-content/uploads/2023/07/Dyson-Brush-Bar-Not-Working-FIX.webp)
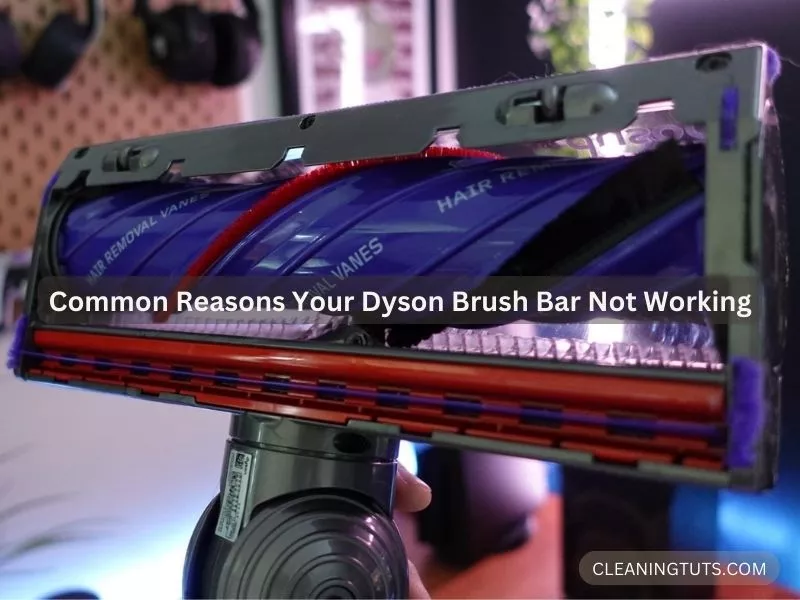
Help! My Dyson Brush Bar Not Working (Here’s How to Fix It)
A Dyson brush bar stops working when hair, pet fur, or debris wraps around the roller and stalls the motor, when dust accumulation on electrical connectors interrupts power transmission, or when a clogged bin inlet restricts airflow. These issues affect all Dyson cordless models—including the V11, V15, and earlier DC-series—and resolving them takes 15–30 minutes with basic tools.
If your Dyson vacuum brush bar has stopped spinning, work through these fixes in order: reset the brush bar, remove tangled hair, clean electrical connectors, clear bin inlet blockages, and check the transmission rod for jams.
To restore Dyson brush bar function, remove tangled hair from the roller, clean electrical connectors with a dry cloth, clear bin inlet blockages, and reset the brush bar via the on-off switch. Most failures resolve after one of these four steps.
If these steps do not resolve the issue, the brush bar motor may be faulty and requires replacement. Contact a Dyson service center for professional repair.
Why Your Dyson Brush Bar Stops Working: Common Causes
A defective brush bar occurs due to:
Regular maintenance prevents these issues. Clean the brush roll at least once per week in households with pets, or every two weeks for standard use. Dyson’s cordless brush bars spin at 60–100+ RPM depending on the model, and reduced spinning speed is often the first sign of motor strain from debris buildup.
If a faulty brush bar has caused irreparable damage, you need a replacement. Contact the Dyson service center for your model.
The Simplest Fix First: Reset the Brush Bar
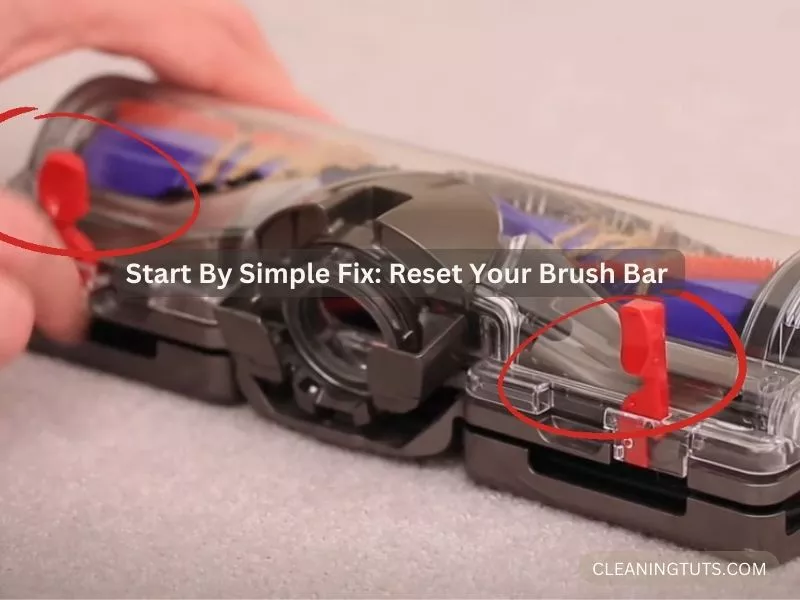
When you discover the brush bar is not spinning, begin with a reset. There is no dedicated brush bar reset button on Dyson models. Instead, use the on-off switch located on top of the handle, slightly above the vacuum body. On some models, this switch is a slot on the head’s side.
Turn the brush bar off using the switch, wait 30 seconds, then turn it back on. This resets the motor’s thermal protection circuit, which trips when the brush bar stalls from debris. If the brush bar still does not spin after resetting, proceed to the other fixes below.
Fix: Hair Tangled in the Brush Roll
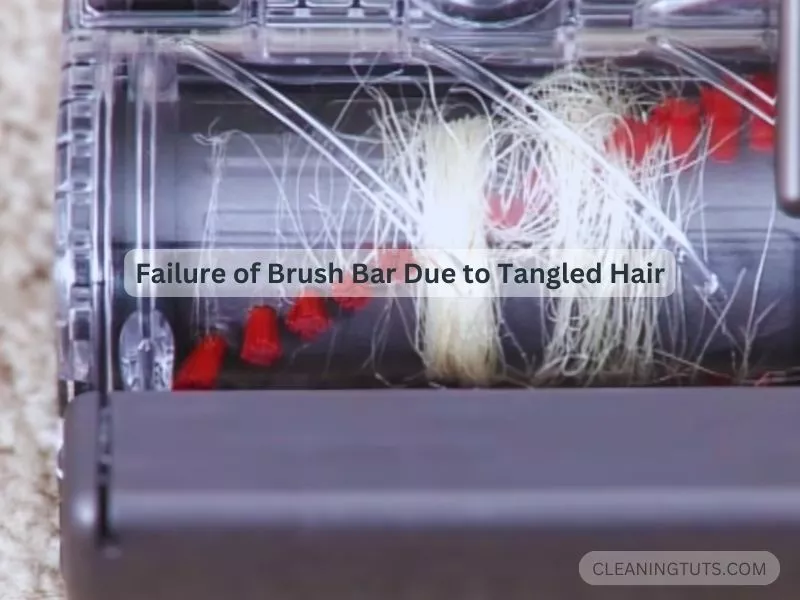
The brush bar is a spinning roller with bristles that agitates dirt and dust from flooring at high speed. The strong suction then collects the dislodged debris. When pet fur, human hair, or long fibers contact the brush roll, they wrap around the bristles and accumulate with each vacuuming session.
This buildup eventually stalls the brush bar motor. The tangled material also reduces contact between bristles and the floor, decreasing cleaning effectiveness by up to 40% according to vacuum service technicians. Regular inspection prevents this degradation.
According to Amy, a vacuum repair specialist:
“Check your brush roll bristles for wear. If the bristles look loose or the roller surface shows uneven wear patterns, it is time to replace the brush roller.”
How to Remove Hair from the Brush Roll
Open the lock on the cleaner head to access the brush bar.
Slide the entire brush bar out of the housing for easier access.
Remove loose hair and debris by hand from the brush roll surface.
Place the cleaning head on a cloth. Use paper towels beneath to catch debris as you work.
Use tweezers to carefully pull out wrapped hair and fibers from between bristles.
For stubborn tangles, use scissors or a razor blade to cut through the wrapped material. Work carefully to avoid damaging bristles.
Clean any dirty attachments on the cleaning head. Remove them and clear dust and debris.
Reassemble all parts. The brush bar resumes normal operation once debris is cleared.
Fix: Dust on Electrical Connectors
The cleaning head houses and spins the brush bar using power transmitted from the battery inside the handle. This power travels through multiple electrical connectors located throughout the vacuum—at the wand connection, the cleaning head junction, and between the motor and handle.
Dust accumulates on these connectors over time. When caked with debris, the connection becomes resistive and power transmission drops. This causes intermittent spinning or complete failure of the brush bar. A battery charge below 20% also reduces brush bar RPM significantly, compounding the problem.
Intermittent brush bar operation—spinning then stopping without warning—is a strong indicator of connector contamination. Clean connectors restore full power flow and stable brush bar operation.
How to Clean Electrical Connectors
Turn off the vacuum and unplug it from the electrical outlet.
Flip the vacuum upside-down on a flat surface with the cleaning head facing you.
Locate the two circular caps on each side of the cleaning head. Twist each cap to the OPEN position to release the bottom plate and access the brush roll.
Use a coin edge to twist the cap slot 90 degrees to the OPEN position. Repeat for the second cap.
Open both caps and remove the cover plate. Extract the brush bar, wand, and bin. Separate the battery handle from the motor if possible.
Wipe each connector with a dry cloth. Use a small brush to remove dust from recessed areas.
Reassemble all parts. The cleaning head receives full power and the brush bar resumes spinning.
Fix: Obstructions in the Bin Inlet or Wand

Dirt travels from the brush bar to the vacuum bin through the wand and bin inlet. The motor generates suction to move this debris along the passage. When the wand or bin inlet becomes clogged, airflow restriction reduces brush bar spinning speed progressively.
Early signs include gradually decreasing brush bar speed and reduced cleaning effectiveness. Clearing the bin inlet and wand restores normal airflow and brush bar performance.
How to Clear Bin Inlet and Wand Blockages
Detach the wand from the cleaning head and bin inlet.
Remove debris from the wand interior using a narrow tool that allows easy access.
Clear buildup from both ends of the wand—these areas collect debris most frequently.
Shine a flashlight into the wand interior to locate deeper blockages.
Clean the bin inlet surroundings to ensure unrestricted airflow into the bin.
Fix: Jam in the Transmission Rod
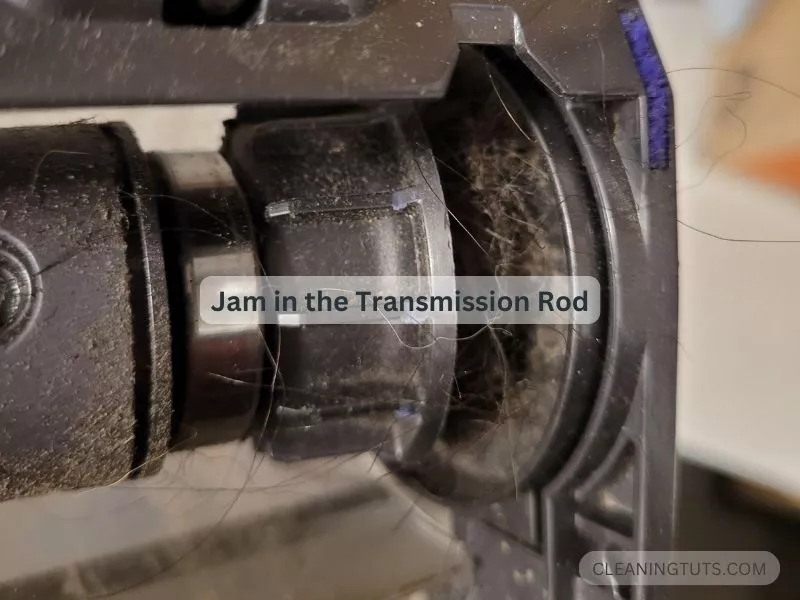
The transmission rod transfers energy from the motor to the brush bar. Grime accumulates in its tight spaces, and hair or pet fur wraps around the rod, preventing rotation. This is the most common cause of brush bar failure in the Dyson DC18 model.
How to Clear a Transmission Rod Jam
Remove the transmission rod using a Torx screwdriver.
Extract hair and debris from the rod using tweezers or your fingers.
Dyson Brush Bar Maintenance Schedule
Preventive maintenance extends brush bar life and maintains cleaning performance. Follow this schedule based on usage level:
| Usage Level | Brush Roll Cleaning | Connector Inspection | Full Inspection |
|---|---|---|---|
| Homes with pets | Weekly | Monthly | Every 3 months |
| Standard household | Every 2 weeks | Every 2 months | Every 6 months |
| Light use | Monthly | Every 3 months | Annually |
When to Replace vs. Repair
If the brush bar does not spin after clearing all debris and cleaning connectors, the motor is likely faulty. Dyson brush bars are not serviceable—replacement is the only repair option. Order genuine Dyson replacement parts for your specific model to ensure compatibility.
For older Dyson models showing repeated brush bar issues, consider whether repair costs approach the price of a new unit. Most cordless Dyson vacuums have a serviceable lifespan of 5–7 years with proper maintenance.
Wrapping Up
These fixes resolve most Dyson brush bar failures in 15–30 minutes. Reset the brush bar first, then remove tangled hair, clean electrical connectors, and clear any bin inlet or wand blockages before assuming the motor is faulty.
For persistent issues after these steps, contact a Dyson service center or consider replacement if your model is over five years old. Regular weekly maintenance prevents most brush bar failures from occurring in the first place.
For more vacuum troubleshooting guides, visit the Vacuum Troubleshooting Master Hub. If you need definitions for cleaning terms, see the Cleaning Glossary. For other Dyson issues, visit the Dyson Vacuum Troubleshooting Guide.


