How to Fix Vacuum Cleaner Cord (5 Easy Steps)
A damaged vacuum cleaner cord halts electrical current transfer to the unit, preventing the vacuum from powering on. Most cord issues—including fraying, exposed wires, plug damage, and chewed sections—are repairable with electrical tape or wire interweaving, though severe damage requires cord replacement.
Vacuum Cleaner Cord Repair: What You Need to Know
Vacuum cleaner power cords fail due to four primary causes: stretching damage from excessive pull radius, splitting from improper tape repairs, pet chewing, and twisting damage from incorrect storage. Each damage type has a specific repair approach.
Diagnose the exact damage type first—then apply the appropriate repair method: electrical tape for minor fraying, wire interweaving for cut cords, or plug replacement for damaged prongs.
Four Common Causes of Vacuum Cord Damage
1. Stretching Damage: When the cord pull radius exceeds the cable’s elastic limit, internal wire strands break while the outer insulation remains intact. This halts electrical current transfer to the motor without visible external damage. The cord appears normal but the vacuum operates intermittently or not at all.
2. Split Cord: Wrapping a damaged cord with standard electrical tape creates a raised bump that the vacuum brush roller runs over continuously, causing additional damage and potential belt wear.
3. Chew Damage: Pets chewing on cords expose live wires, creating shock and fire hazards. Cord sections damaged by chewing typically require full replacement of the affected segment.
4. Twist Damage: Wrapping the cord around the vacuum body after use twists internal wire strands, causing micro-fractures that weaken conductivity over time. The resulting resistance reduces suction power and motor lifespan.
Step-by-Step Vacuum Cord Repair Methods
Select the repair method matching your cord’s damage type from the options below.
Step 1: Inspect the Damage
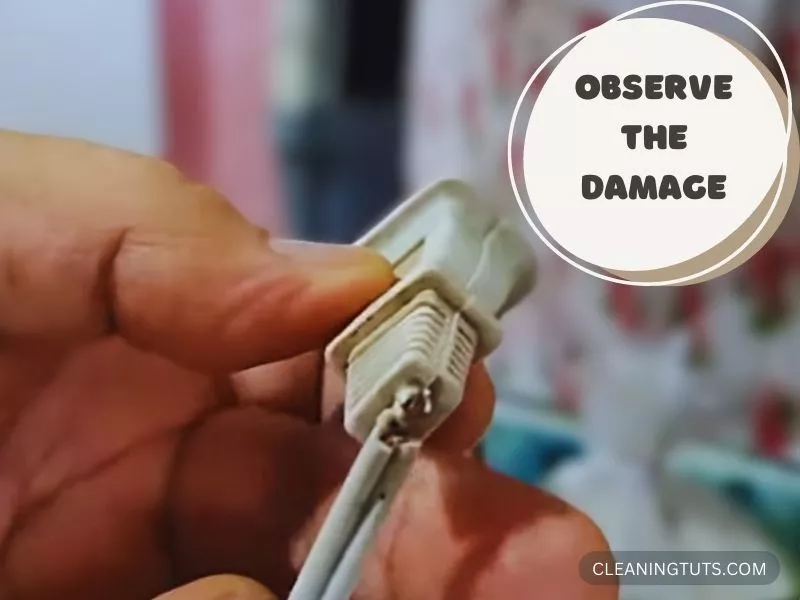
Examine the full cord length to identify damage locations. Check three critical zones: the plug prongs and strain relief at the cord’s end, the switch housing connection point, and the cord’s center section where foot traffic wear occurs most.
Test functionality by plugging in the vacuum—if it doesn’t power on, use a multimeter to check continuity at each section. A reading of infinity (open circuit) confirms a broken wire strand inside the insulation.
Step 2: Repair Minor Damage with Electrical Tape
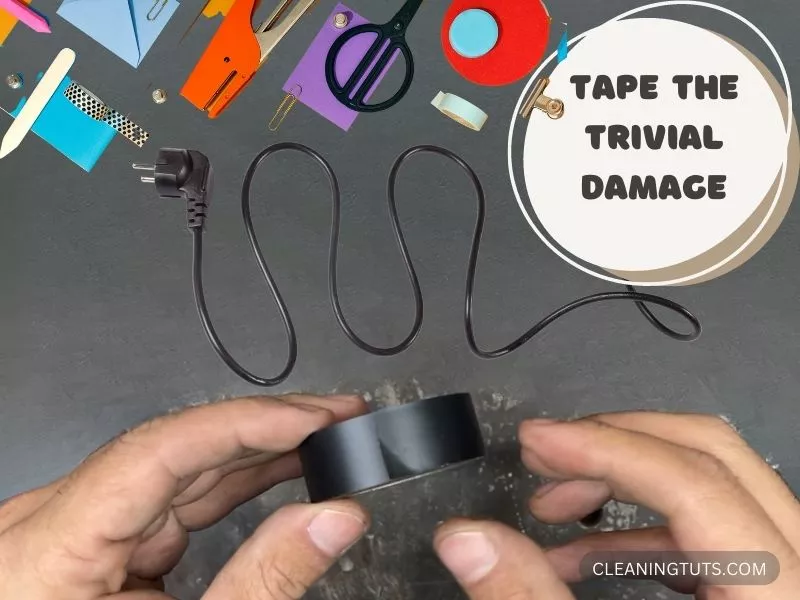
For insulation damage exposing less than 1 inch of wire, use vinyl electrical tape rated for 600V and 176°F (80°C). Standard masking tape and duct tape lack the dielectric properties required for electrical safety.
Apply in two layers: first, stretch the tape to 50% elongation while wrapping at a 45-degree overlap directly over the exposed section. Second, apply a full-coverage outer layer with standard overlap to build thickness to approximately 3/32 inch (2.4mm)—equivalent to original cord insulation.
Allow 30 minutes for the adhesive to cure before testing the vacuum. The repaired section maintains dielectric protection up to 600V and provides adequate shock resistance for household 120V operation.
Step 3: Interweave Severed Wires
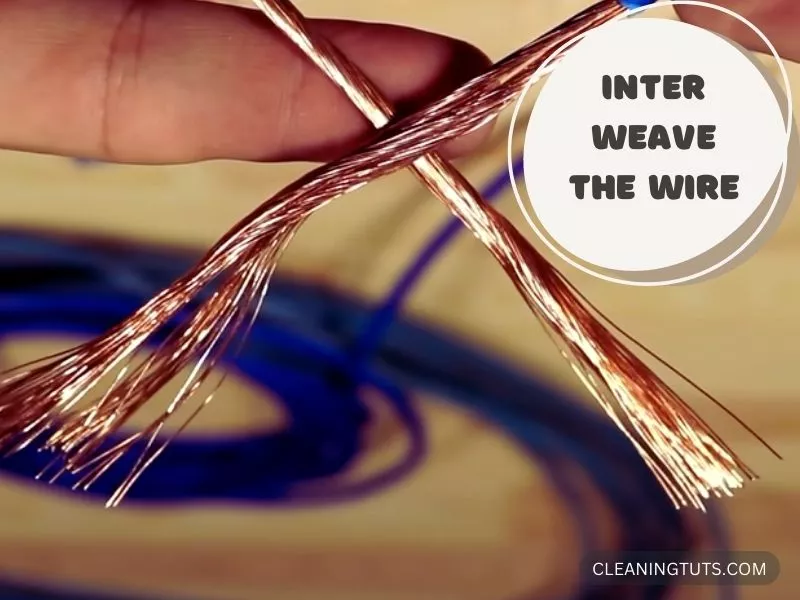
For cords cut completely through or with 2+ inches of visible wire damage, interweaving (splicing) the internal conductors restores conductivity. This method works on two-conductor cords with gauge sizes 18 AWG (common for upright vacuums) or 16 AWG (canister vacuums).
Cut out the damaged section with wire cutters. Strip 1/2 inch (12.7mm) of outer insulation from each cut end using a wire stripper set to the appropriate AWG size. Inside, you’ll find two or three color-coded conductors (typically black/white for hot/neutral, plus green for ground on three-wire cords).
Match each conductor by color, then twist the exposed copper ends together clockwise—join hot to hot, neutral to neutral, and ground to ground. Apply a 600V-rated heat-shrink tube or electrical tape over each splice, then cover the entire repaired section with a final outer layer of electrical tape.
Step 4: Replace a Damaged Plug
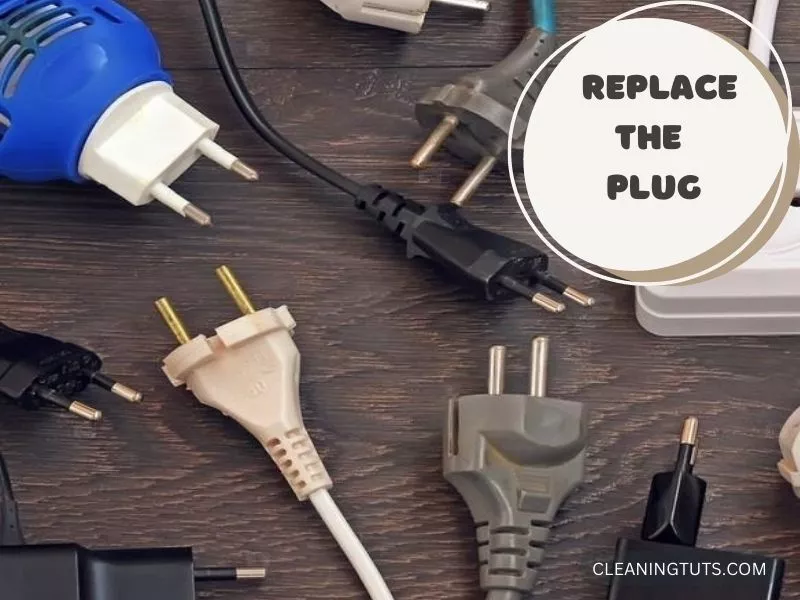
When the plug prongs are bent, broken, melted, or show scorch marks, replacement is the only safe option. Purchase a compatible replacement plug rated for the vacuum’s amperage draw (typically 10A or 12A for household units).
Step 5: Know When to Call a Professional
After completing any cord repair, test the vacuum before reassembling any covers. If the vacuum fails to power on after a confirmed cord repair, the issue lies elsewhere—typically in the motor, switch, or printed circuit board.
Seek professional repair when: the cord shows scorch marks indicating arcing (fire hazard), the damage is within 6 inches of the motor housing connection, the vacuum draws more than 15 amps (commercial-grade unit), or the cord replacement part requires solder connections.
A professional cord replacement typically costs $75–$150 in labor plus parts, compared to $8–$25 for a DIY plug replacement kit. For vacuums older than 8 years, factor repair cost against replacement cost—a new entry-level vacuum costs $80–$150.
How to Prevent Vacuum Cord Damage
Preventing cord damage costs less than repairs and extends vacuum lifespan by 2–3 years on average.
Avoid Stretching Beyond the Cord’s Reach
Vacuum cleaner cords extend 20–35 feet for most residential units. Pulling beyond this radius strains the cord’s elastic limit and breaks internal wire strands. Position extension cords at room boundaries to extend effective reach without stressing the vacuum’s built-in cord.
Store Cords Properly After Each Use
Use the built-in cord reel mechanism for storage—wind the cord in the opposite direction of how it retracts to avoid adding additional twist to wire strands. Never wrap the cord around the vacuum body by hand; this introduces twist damage that accumulates over repeated uses.
Protect Cords from Pets
Apply bitter apple spray or commercial pet cord deterrents to accessible vacuum cords. For persistent chewers, route the cord through a flexible vinyl conduit (split loom tubing) available at hardware stores for $0.50–$1.00 per foot. This adds a secondary insulation layer rated for 300V—well above household requirements.
Vacuum Cord Repair: Quick Reference
| Damage Type | Repair Method | Materials Needed | Difficulty |
|---|---|---|---|
| Minor insulation fraying (<1 inch) | Electrical tape (600V rated) | Vinyl electrical tape | Easy |
| Cut cord (2+ inches) | Wire interweaving/splicing | Wire stripper, heat-shrink or tape | Intermediate |
| Damaged plug prongs | Plug replacement | Replacement plug, screwdriver | Easy |
| Chewed cord (any length) | Segment replacement | Wire cutters, replacement cord section | Advanced |
| Scorch marks or arcing | Professional service | — | — |
Summary
Vacuum cleaner cord damage falls into four categories—stretching, splitting, chewing, and twisting—and each requires a specific repair approach. Minor insulation damage responds to 600V-rated electrical tape applied in two layers. Severed wires call for conductor splicing with heat-shrink or tape insulation. Damaged plugs replace entirely using color-coded terminal connections. Severely damaged or scorched cords require professional service.
Prevent cord damage by positioning extension cords to extend reach, using cord reels for storage, and protecting accessible cords from pets with bitter sprays or conduit covers. Repair costs range from $8–$25 for DIY plug replacement to $75–$150 for professional service, making prevention the most cost-effective strategy.
If your vacuum still doesn’t operate after a confirmed cord repair, the issue lies in another component. Consult the Vacuum Troubleshooting Master Hub for motor, switch, and PCB diagnosis guides, or visit the Cleaning Glossary for terminology definitions.
References
- U.S. Consumer Product Safety Commission. (2023). Electric Cord Safety for Household Appliances. CPSC.
- National Electrical Manufacturers Association (NEMA). (2022). NEMA WD 6 Configuration Guidelines for Detachable Power Supply Cords. NEMA.
- Underwriters Laboratories. (2023). UL 817 Standard for Cord Sets and Power-Supply Cords. UL Solutions.
- American Wire Gauge (AWG) Standard. (2022). Wire Gauge Sizing Reference. National Institute of Standards and Technology.


