
New Carpet Bubbling Up? – 7 Things You Can Do at Home

New carpet bubbling up after installation results from improper acclimation, humidity imbalances between 30-70% relative humidity, inadequate padding, or installation errors. Tackling these problems promptly prevents permanent carpet damage that worsens over time.
What Causes New Carpets to Bubble Up or Ripple?
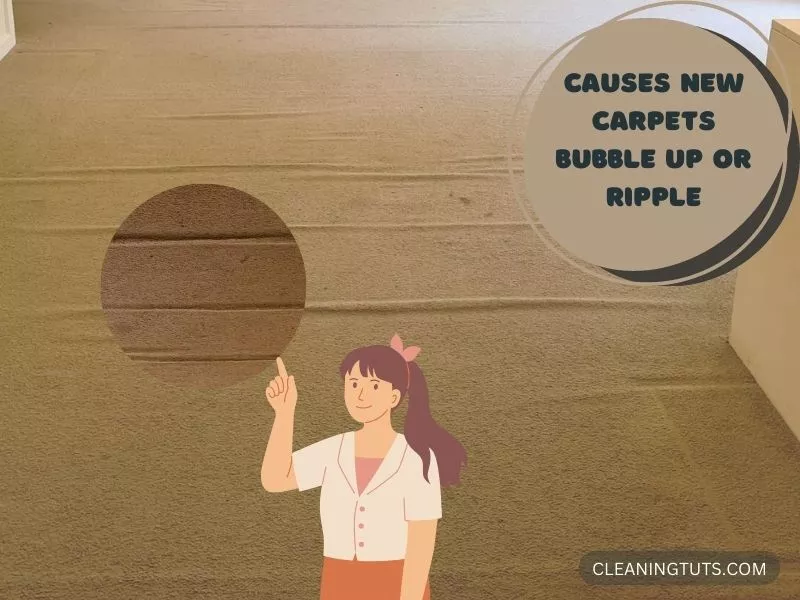
Carpets bubble up or ripple for two primary categories of reasons: environmental factors and human-made errors during installation. Environmental factors such as humidity fluctuations between 30-70% relative humidity and temperature swings cause carpet fibers to expand and contract. Human-made factors include improper installation techniques, insufficient adhesive application, and inadequate carpet stretching. Identifying the specific cause is essential before attempting any corrective action.
Environmental Reasons
Environmental conditions are among the most common triggers for new carpet bubbling. The Carpet and Rug Institute (CRI) recommends maintaining indoor relative humidity between 30-50% during and after carpet installation to prevent fiber movement and swelling.
Humidity
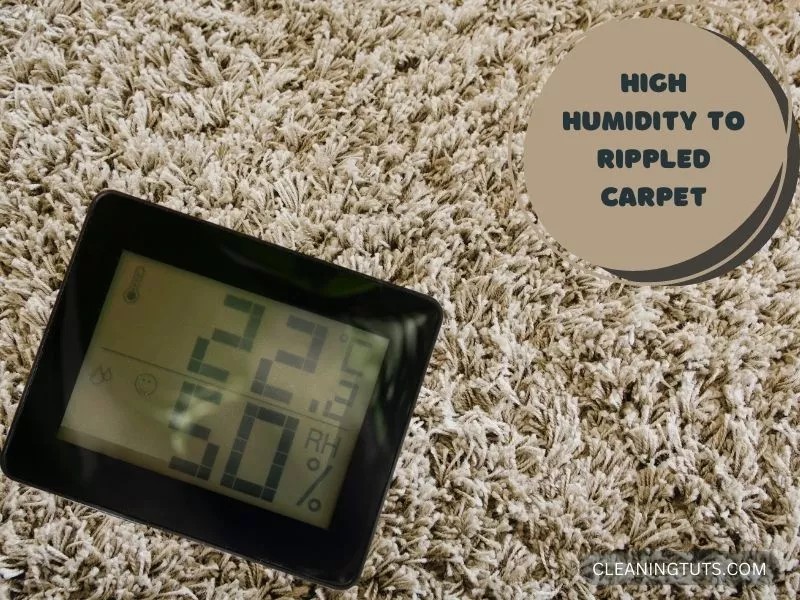
Relative humidity above 65% causes carpet fibers to absorb moisture and swell, creating visible bubbles. Conversely, humidity below 30% causes fibers to contract and pull away from the backing. The carpet requires 24-72 hours to fully acclimate to a new environment before installation begins. Measure humidity with a hygrometer and address imbalances before installation.
Excessive Moisture

Water damage from leaks, flooding, or prolonged spills causes carpet backing to delaminate and swell. When the secondary backing separates from the primary backing, the carpet surface buckles and forms bubbles. A dehumidifier removes excess moisture from the air and prevents fiber saturation. Set dehumidifiers to maintain 30-50% relative humidity for optimal carpet stability.
Poor Ventilation
Rooms with limited airflow trap humidity near the carpet surface, causing localized swelling and bubble formation. Open windows and doors during and after installation to allow moisture to escape. bathrooms and basements are particularly susceptible without proper air circulation. Install exhaust fans in high-moisture rooms to maintain consistent humidity levels.
Moth Larvae
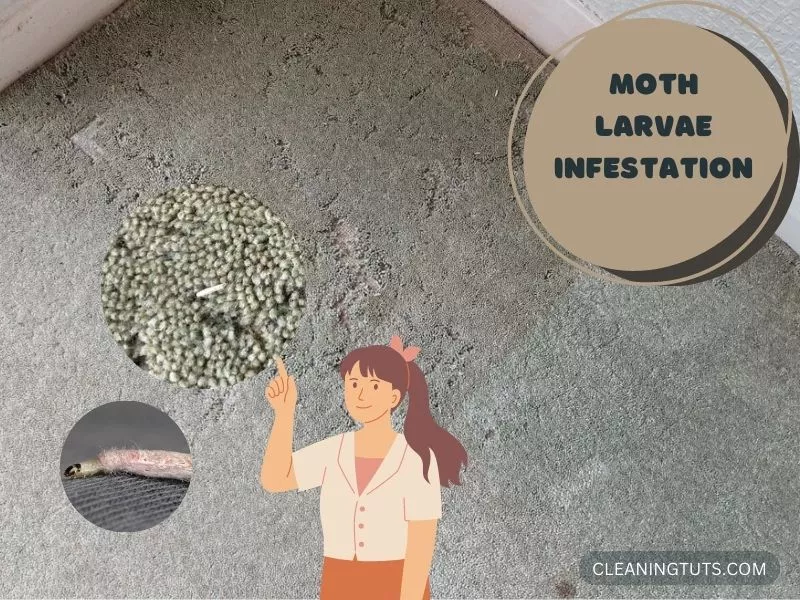
Carpet moth larvae feed on wool and synthetic carpet fibers, creating raised sections as they burrow and spin cocoons. Vacuum thoroughly at least twice weekly in the first month after installation, paying special attention to edges and beneath furniture. Treat affected areas with a carpet-safe insecticide designed for moth larvae within 24 hours of detection to prevent spread.
Exposure to Direct Sunlight
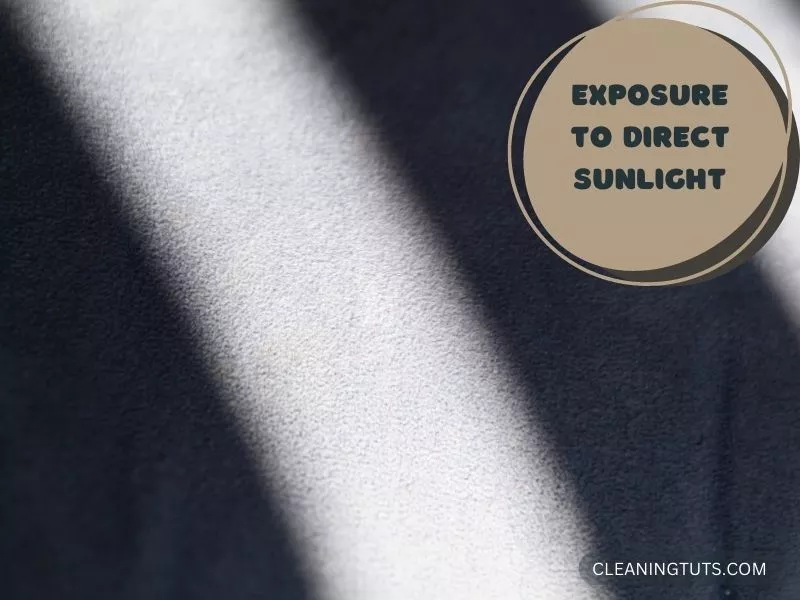
UV radiation breaks down carpet dyes and causes thermal expansion of fibers, leading to ripple patterns in sun-exposed areas. South-facing windows expose carpets to 80-100 BTU per square foot per hour of solar radiation. Use UV-blocking window film or curtains to reduce direct sunlight exposure and maintain consistent surface temperatures.
Human-Made Reasons
Installation errors account for the majority of new carpet bubbling complaints. The CRI 105 Residential Installation Standard specifies exact stretching force, adhesive coverage, and seam sealing requirements that must be met for a warranty-valid installation.
Installation Errors

Three specific installation errors cause immediate carpet bubbling after installation:
- No acclimation period: Carpet stored in warehouses (often below 50°F/10°C) expands when brought into a 65-75°F (18-24°C) interior. Failing to let the carpet rest flat for 24-72 hours causes thermal expansion and buckling.
- Insufficient adhesive: Seams require a minimum adhesive coverage of 25 square feet per gallon. Gaps leave seams unsecured and allow the carpet to lift.
- Inadequate stretching: The Carpet and Rug Institute requires a minimum post-installation stretch of 1/2 inch per linear foot. A power stretcher — not a knee kicker — must be used on installations longer than 10 feet to meet this standard.
Contact a certified floor cleaning professional immediately if bubbling appears within the first week. Delay allows the backing to weaken permanently.
Using Low-Quality Carpet Pads
Carpet pads with a density below 6 pounds per cubic foot compress under foot traffic and fail to anchor the carpet. CRI-certified residential pads must meet a minimum density of 8 lb/ft³ for medium-traffic areas and 10 lb/ft³ for high-traffic zones. Low-density pads allow shearing forces to push carpet sideways, creating ripples at transition points and doorways. Investing in CRI-certified padding extends carpet lifespan by up to 50% compared to standard padding.
Unsealed Seams in the Flooring
Unsealed seams create a gap where two carpet sections meet, allowing each side to shift independently under weight. Seam sealant must cover the full seam width and cure for 24 hours before the area sees foot traffic. Inspect all seams with a straightedge — any gap exceeding 1/16 inch requires resealing. Improperly sealed seams also create entry points for moisture that accelerates delamination.
Spills and Pet Accidents

Liquid spills penetrating to the carpet backing cause localized swelling. Pet urine contains uric acid crystals that degrade the latex backing at pH 4.5-5.0, destroying the bond between primary and secondary backing within 24-48 hours if not treated. Blot — never rub — within 5 minutes of a spill. Use an enzyme-based pet stain remover applied at the pad level, not just the surface fibers.
Heavy Items of Furniture
Furniture weighing more than 100 lbs per leg concentrates load on a small area and compresses padding, creating a depression that pulls surrounding carpet away from the adhesive. Use furniture coasters rated for the item’s weight. Distribute heavy loads across a minimum of 4 contact points to reduce pounds-per-square-inch pressure on the carpet pad.
Delamination
Delamination occurs when the secondary backing separates from the primary backing, destroying the structural bond that keeps carpet flat. This results from moisture infiltration, adhesive failure, or manufacturing defects. Affected areas feel spongy underfoot and form distinct bubbles. Delamination is irreversible — the carpet requires professional replacement or full re-installation rather than repair.
Carpet Bubbling Prevention and Correction Methods
1. Clean Up Spills and Accidents Immediately
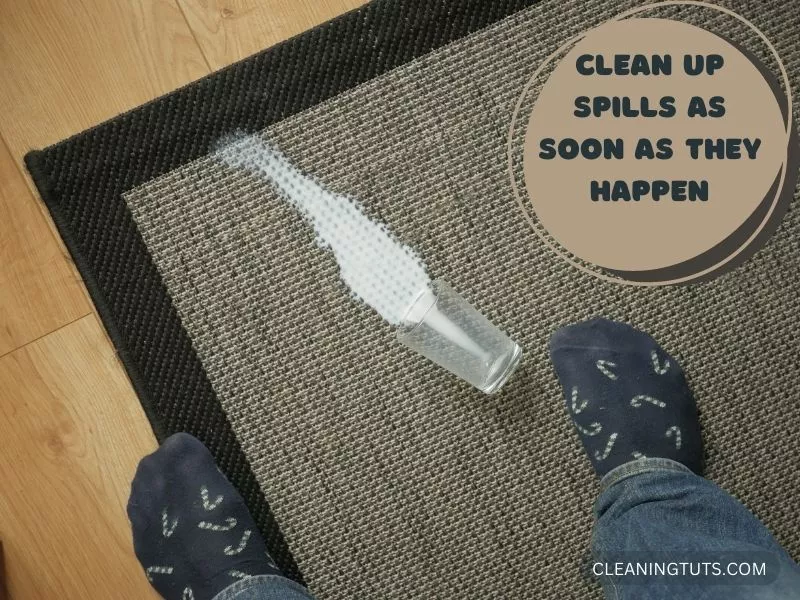
Fast response prevents liquid from reaching the carpet backing. Follow this 3-step protocol for any spill:
- Blot within 5 minutes: Press a clean, dry cloth firmly against the spill — do not rub. Rubbing spreads liquid into adjacent fibers and forces moisture deeper.
- Apply cleaner at fiber base: Use a carpet-safe enzymatic cleaner that reaches the pad level. Surface-only cleaning leaves residue in the backing that attracts dirt.
- Rinse and dry thoroughly: Flush with 8 oz of warm water, blot again, and allow 24-48 hours to air-dry completely before replacing furniture.
For pet urine: mix 1 tablespoon baking soda with 1 cup warm water, apply to the stain, let sit for 10 minutes, then extract with a wet vacuum. Baking soda neutralizes uric acid at pH 8-9, counteracting the acidic urine at pH 4.5-5.0.
2. Use a Good Quality Carpet Pad
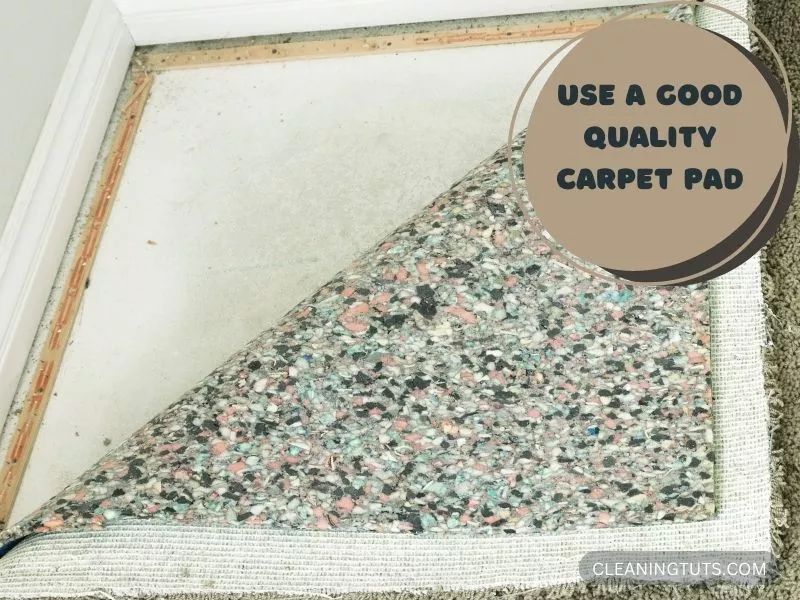
Carpet pad specifications directly affect bubble formation. Use this specification guide when purchasing padding:
| Specification | Minimum Standard | Recommended |
|---|---|---|
| Density (residential) | 6 lb/ft³ | 8-10 lb/ft³ |
| Thickness | 7/16 inch | 1/2 inch |
| Compression (ILD) | 35 lbs | 45-60 lbs |
| CRI Certification | Label present | CRI Green Label Plus |
Higher density pads resist compression and maintain the carpet’s anchored position under foot traffic and furniture weight. CRI Green Label Plus certification confirms the pad emits minimal volatile organic compounds (VOCs) below 0.5 mg/m³.
3. Seal the Seams in the Flooring
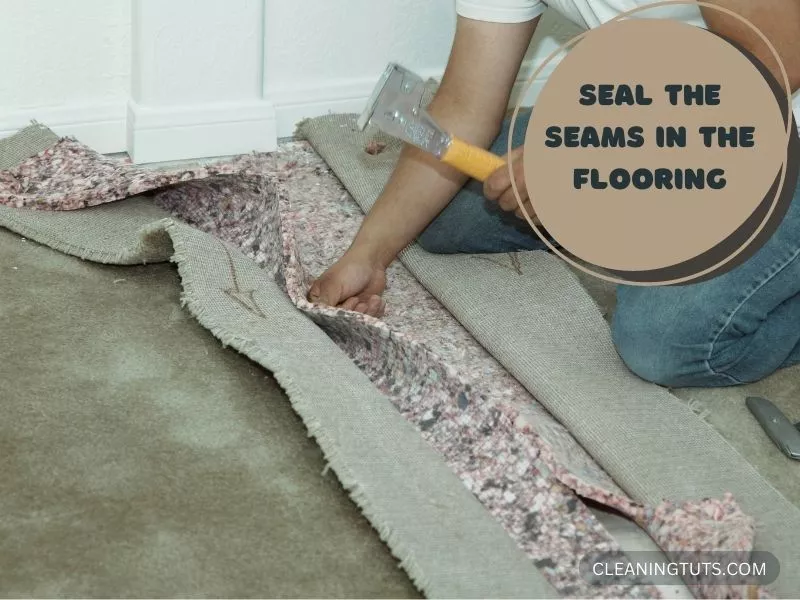
Seam sealing locks carpet edges together and prevents moisture infiltration. Follow these steps for a lasting seal:
- Clean the seam area with a damp cloth and allow it to dry completely — minimum 2 hours.
- Cut the sealant tube nozzle at a 45-degree angle to create a 1/8-inch bead opening.
- Apply a continuous bead along the entire seam, maintaining even pressure on the caulking gun.
- Press the seam together and smooth the sealant flush with a putty knife within 5 minutes of application.
- Allow 24 hours of cure time before any foot traffic or furniture placement.
4. Distribute Heavy Furniture Weight Evenly
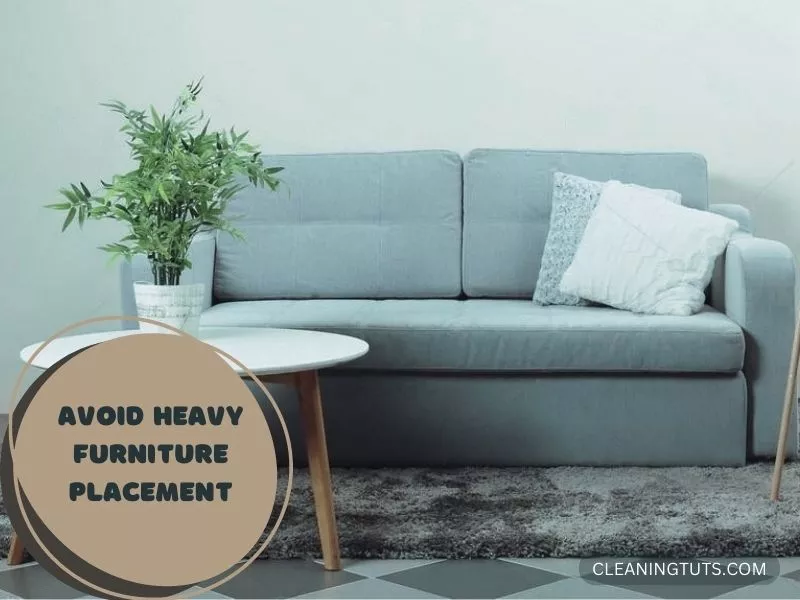
Heavy furniture causes indentations that stress surrounding carpet and create lifting edges. Use furniture coasters with a minimum load rating 3x the furniture weight. Place coasters under all legs of items exceeding 100 lbs. For items exceeding 500 lbs, use roller coasters to distribute load across a wider surface area — a single point of contact concentrates 60-80 PSI that exceeds most residential carpet pad resistance.
Area rugs over high-traffic zones add an extra barrier between furniture feet and the carpet surface, reducing point-load compression by up to 40%.
5. Block Direct Sunlight with Window Treatments
UV-blocking window film reduces solar heat gain by 40-70% and prevents thermal cycling that causes repeated expansion and contraction. Apply films rated at 90% UV blockage or higher. Alternatively, use cellular shades or lined drapes during peak sunlight hours (10 AM – 4 PM) to maintain stable carpet surface temperatures below 85°F (29°C).
6. Use a Dehumidifier to Maintain Proper Humidity
Maintain indoor relative humidity between 30-50% year-round to prevent both fiber swelling (above 65%) and fiber shrinkage (below 30%). For rooms larger than 500 square feet, use a dehumidifier rated for at least 30 pints per day capacity. Place the unit in the center of the room — not against a wall — for optimal airflow. Clean the filter monthly to prevent bacterial growth that can be dispersed into the room.
Pro Tip: Clean your dehumidifier reservoir and filter monthly with a 10% vinegar solution to prevent mold and bacteria buildup. Replace the HEPA filter every 6-12 months per manufacturer specifications.
7. Hire a Certified Professional Installer
The CRI’s Carpet Installation Quality Guidelines mandate that installers use power stretchers (not knee kickers) for areas exceeding 10 feet, apply adhesive at minimum 25 ft²/gal coverage on seams, and allow 24-72 hours of carpet acclimation before installation. Request proof of CRI certification and check references before hiring. Professional installation costs 15-25% more than amateur installation but prevents callback issues that cost 3-5x the difference to repair after bubbling occurs.
Carpet Care and Maintenance Tips
1. Vacuum High-Traffic Areas Twice Weekly
Vacuuming removes abrasive dirt particles from carpet fibers before they grind into the backing and degrade the adhesive bond. Use a vacuum with a beater bar rotating at 3,000-5,000 RPM for cut-pile carpets and a suction-only setting for loop-pile varieties. Focus on entryways and seating areas — spots with 5+ daily crossings accumulate 5x more particulate per square foot than low-traffic zones.
2. Apply Fabric Protector to Stain-Prone Areas
Stain-resistant carpet treatments create a barrier at the fiber level that prevents liquid from penetrating to the backing. Reapply every 12-18 months or after deep cleaning. For households with children or pets, apply a professional-grade protector rated for oil-based stains (stannon) in addition to water-based protectors.
3. Use Furniture Pads Under All Heavy Items
Rubber or felt furniture pads reduce point-load pressure by distributing weight across a wider surface. Replace pads every 12 months as compression reduces their effectiveness. Felt pads are preferred for hardwood or laminate subfloors; rubber pads perform better on concrete and provide superior grip.
4. Schedule Annual Professional Inspections
Professional carpet inspectors assess seam integrity, pad compression, and backing adhesion using specialized tools like delamination detectors and humidity meters. Annual inspections catch early warning signs — minor rippling, localized delamination — before they escalate into full replacement scenarios. Budget $75-150 per inspection for rooms up to 400 square feet.
Frequently Asked Questions
How Do You Fix Transition Frayed Carpet?
First, gently trim the frayed fibers with sharp scissors, cutting flush with the surrounding pile height. Apply a clear carpet sealant or latex adhesive to the exposed edge to prevent further unraveling. For seams longer than 2 inches, use a carpet seam repair kit with heat-activated tape and a household iron set to 250°F (121°C). Replace the affected section if fraying extends beyond the transition strip.
What Is A Matted Carpet?
A matted carpet has fibers that have been compressed and flattened by repeated foot traffic or heavy furniture, losing their original upright orientation. Matted carpet reflects light differently than surrounding areas, creating visible traffic patterns. High-density pads with 8+ lb/ft³ density resist matting more effectively in residential installations.
How to Get Ripples Out of Wall-to-Wall Carpet
For minor ripples (less than 1/2 inch amplitude): place a weighted object such as a stack of books on the ripple for 48-72 hours to re-bond the carpet to the adhesive. For moderate ripples (1/2 to 2 inches): re-stretch using a power stretcher, which applies 250-300 lbs of force compared to a knee kicker’s 50-80 lbs. For severe ripples or delamination: remove the carpet and reinstall with new adhesive and padding after addressing the root cause.
How Long Does New Carpet Take to Fully Settle?
New carpet requires 24-72 hours to acclimate to room temperature and humidity after installation. Light foot traffic is safe after 4-6 hours. Heavy furniture and full use should wait until 24 hours post-installation to allow adhesive to cure fully. The carpet may appear slightly stiff for the first week as the backing adjusts to environmental conditions.
References
- Carpet and Rug Institute. (n.d.). CRI 105 — Residential Carpet Installation Standard. https://www.carpet-rug.org
- U.S. Environmental Protection Agency. (2023). Indoor Air Quality (IAQ) — Home Owners and Renters Guide. https://www.epa.gov/indoor-air-quality-iaq
- Carpet and Rug Institute. (n.d.). CRI Green Label Plus — Indoor Air Quality Testing Program. https://www.carpet-rug.org
- University of Illinois, Housing Research Center. (2018). Carpet Performance and Consumer Satisfaction: Field Survey Results. https://www.housingresearchcenter.net


