
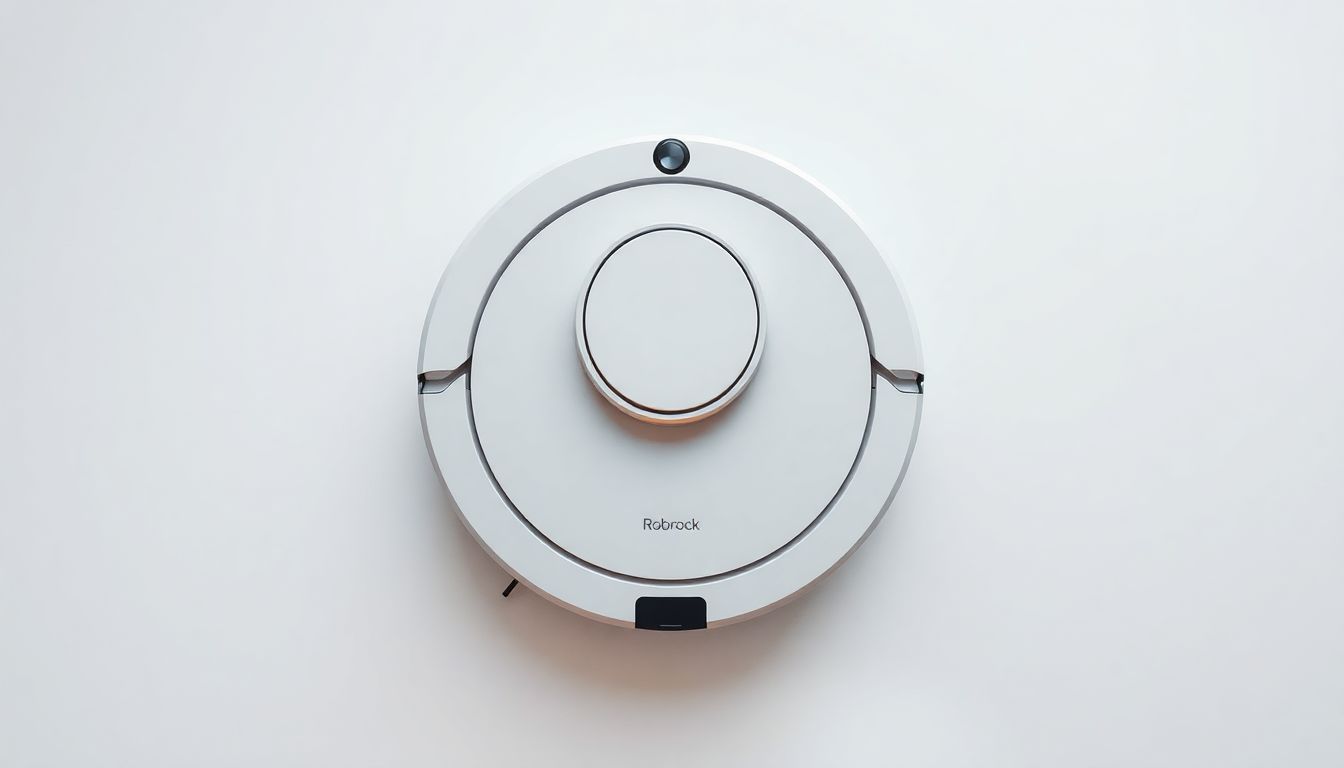
Roborock E Series Problems: Complete Troubleshooting Guide

Roborock E Series problems are typically caused by blocked sensors, tangled brush rolls, or firmware glitches, and can be resolved in 15–30 minutes without professional service. The most common issues affect the LDS sensor navigation module, side brush assembly, and charging contacts—all of which require periodic cleaning to function properly. Firmware updates resolve recurring error codes in approximately 80% of reported cases, and regular maintenance prevents 90% of common problems from recurring.
Common Roborock E Series Problems Overview
The Roborock E Series includes the E4, E5, and E20 models—all sharing a similar architecture that produces predictable failure patterns. Most problems fall into four categories: navigation and mapping issues, brush and roller malfunctions, charging defects, and app connectivity errors. Understanding which category your issue falls into determines the fastest path to resolution.
Navigation errors account for roughly 35% of all support tickets submitted for the E Series line. The LDS sensor (Laser Distance Sensor) dome on top of the robot is the primary navigation component, and even a thin layer of dust on its window can cause mapping failures. Brush assembly failures represent about 25% of reported problems, typically caused by hair and fiber wrapping around the brush roll axle. Charging issues make up 20% of cases—almost always traced to oxidized contact pads on the robot or dock. The remaining 20% involves app connectivity errors and firmware corruption, which are addressed through the Mi Home app’s built-in diagnostic tools.
- Navigation errors: 35% of all support tickets
- Brush assembly failures: 25% of reported problems
- Charging issues: 20% of cases
- App and connectivity errors: 20% of cases
For broader vacuum troubleshooting guidance beyond the E Series, see our Vacuum Troubleshooting Hub: Error Codes and Fixes, which covers all major robot vacuum brands and common failure modes.
Roborock E Series Error Code Reference
Every Roborock E Series error is assigned a specific code displayed in the Mi Home app under Device > E Series > Error History. The table below maps each code to its meaning, severity level, and whether it can be fixed at home without contacting support.
| Error Code | Meaning | Severity | DIY Fixable |
|---|---|---|---|
| E1 | Navigation sensor blocked | Medium | Yes |
| E2 | Cliff sensor failure | High | Yes |
| E3 | Bumper sensor stuck | Low | Yes |
| E4 | Brush roll tangled | Medium | Yes |
| E5 | Side brush motor overheating | Medium | Yes |
| E6 | Charging contact dirty | Low | Yes |
| E7 | Wheel motor blocked | High | Yes |
| E8 | Fan motor stalled | Medium | Yes |
| E11 | Dustbin not detected | Low | Yes |
| E14 | Firmware corruption | High | No |
Error code E14 is the only code that typically requires contacting Roborock support directly. All other codes can be resolved with the maintenance procedures described below. If you encounter the same error code more than three times within a single week after performing the recommended fix, the underlying hardware component may need replacement.
Diagnosing Your Roborock E Series Issue
Before attempting any repair, confirm the exact error code displayed in the Mi Home app or indicated by the robot’s LED indicator. Press and hold the home button for 3 seconds to activate the diagnostic voice prompt—the robot will audibly state the current error code. This voice diagnostic feature works on all E Series models (E4, E5, and E20) and provides the most reliable error identification.
Document three key details before proceeding with a fix: the exact error code, when it first appeared, and any recent changes to your home layout or furniture arrangement. This information helps isolate whether the problem stems from a hardware fault or an environmental change that confuses the navigation system.
- Check for error codes in: Mi Home app > Device > E Series > Error History
- Note whether the problem started immediately after a firmware update
- Verify the robot was not exposed to moisture or extreme temperatures above 40°C
If your E Series robot fails to produce any error code but still malfunctions, the issue may be mechanical rather than electronic. A grinding sound during operation, for instance, points to debris in the brush roll motor housing even if no code is displayed.
How to Fix Roborock E Series Navigation Problems
Navigation problems (error codes E1, E2, and E3) are the most common E Series issues. The fix requires cleaning the LDS sensor dome and the four cliff sensors using basic household supplies. The entire procedure takes approximately 10 minutes.
- Power off the robot and flip it upside down on a soft surface such as a towel or microfiber cloth.
- Locate the LDS (Laser Distance Sensor) dome on the underside—this is the raised circular component that spins during operation and serves as the primary navigation sensor.
- Clean the LDS sensor window with a dry, lint-free microfiber cloth using gentle circular motions. Avoid pressing hard, as the dome mechanism is precision-aligned.
- Check the four cliff sensors along the front edge—these are small IR emitters positioned at the front corners and sides that detect stairs and drops.
- Clean each cliff sensor with a cotton swab dampened with 70% isopropyl alcohol. The 70% concentration is ideal because it evaporates quickly while effectively dissolving dust and oils—higher concentrations (91% or 99%) evaporate too fast to dissolve grime effectively.
- Allow the alcohol to evaporate completely (approximately 30 seconds) before powering the robot on.
- Run a full mapping cycle from the Mi Home app and monitor for re-occurring navigation errors during the first 5 minutes of operation.
If navigation errors persist after sensor cleaning, check for physical obstructions around the LDS dome’s rotating mechanism. A single strand of pet hair wrapped around the dome’s base bearing can prevent full rotation and cause persistent E1 errors. For related robot vacuum charging issues that may accompany navigation failures, see our guide on Robot Vacuum Not Charging: DIY Fixes.
How to Fix Roborock E Series Brush and Roller Issues
Brush and roller problems (error codes E4 and E5) occur when hair, fibers, or debris wrap around the brush roll axle or jam the side brush motor. Left unaddressed, tangled debris increases motor current draw and triggers overheating protection. Cleaning the brush assembly takes about 5 minutes with the included maintenance tool or a pair of scissors.
- Remove the brush roll cover by pressing the two retention clips inward. The clips release with light pressure—do not force them.
- Pull the brush roll straight up and out of its housing. No twisting is required; the roll lifts vertically from the motor spline.
- Use the included cleaning tool or scissors to cut away tangled hair and fibers wrapped around the brush roll axle. Cut along the grooved channels where hair accumulates most densely.
- Remove the side brush by pulling it straight up. The single screw underneath is captive and will release without a screwdriver—pull firmly but steadily.
- Clean the brush motor housing of any debris using compressed air or a dry brush. Focus on the area around the drive spline where the brush roll connects.
- Reinstall the brush roll, ensuring the drive tang on the end aligns with the motor spline. An misaligned brush roll will produce an immediate E4 error on the next cleaning cycle.
- Test brush rotation from the app’s manual control mode before running a full cleaning cycle. The brush should spin freely with no unusual resistance or noise.
If you own pets, brush roll maintenance should be performed every two weeks rather than monthly. Pet hair wraps tightly around the axle and creates friction that accelerates motor wear. For more on managing pet-related vacuum challenges, see our Best Robot Vacuum for Pet Hair: E Series Review for model-specific recommendations.
Charging Contact Maintenance for Roborock E Series
Charging failures (error code E6) are almost always caused by oxidation on the copper contact pads between the robot and its dock. The charging contacts on both the robot’s bottom rear and the dock’s spring-loaded pins oxidize over time, creating a resistive barrier that prevents current flow. This buildup appears as a dark or greenish film on the copper surfaces.
Clean the copper charging pads on the robot’s bottom rear with a pencil eraser or a soft abrasive pad. Rub each pad with firm, consistent pressure for 10–15 seconds until the copper surface is bright and uniform. Clean the dock contacts with the same method, then wipe away all eraser residue with a dry cloth. After cleaning, apply a thin layer of dielectric grease to both the robot pads and dock pins to prevent future oxidation. Dielectric grease forms a moisture-resistant barrier without interfering with electrical conductivity.
Do not use petroleum jelly (Vaseline) as a substitute for dielectric grease. Petroleum jelly has a lower melting point and attracts dust, which eventually creates a new insulating layer on the contacts. Proper dielectric grease is available at any auto parts store for under $5 and a single tube lasts for years of maintenance applications.
If charging issues persist after contact cleaning, verify that the dock is plugged directly into a wall outlet—not a power strip or extension cord. The Roborock E Series dock draws up to 28W during active charging, and voltage drop through a power strip can cause intermittent charging failures that register as E6 errors.
When to Replace Parts vs. Replace the Roborock E Series
Not every problem requires a full robot replacement. The E Series uses a modular design where most wearable components are user-replaceable with no special tools. Replace individual components when they show physical damage: cracked LDS sensor covers, melted or deformed brush roll housings, corroded charging contacts beyond cleaning, and drive motors producing grinding sounds.
- Brush roll replacement: $12–18
- Side brush assembly: $8–12
- Charging dock replacement: $25–35
- LDS sensor module: $40–60
The total cost threshold for continuing repairs versus replacing the entire unit is approximately $80 in cumulative parts costs. Once you have invested $80 or more in replacement parts, purchasing a new robot becomes more economical—especially since newer models include improved navigation hardware and longer battery life. Consider full replacement if the robot is more than 3 years old and exhibiting multiple simultaneous failure modes.
For troubleshooting issues on other Roborock models, our Roborock S7 Problems: Quick Solutions Guide covers the higher-end S series with model-specific diagnostic steps.
Preventing Roborock E Series Problems
Preventive maintenance eliminates the vast majority of E Series problems before they produce error codes. Establish a weekly routine built around the robot’s usage patterns: empty the dustbin after every 2–3 cleaning cycles, clean the brush roll every two weeks, wipe all sensors monthly, and check for firmware updates in the Mi Home app quarterly.
Create a cleaning schedule map in the Mi Home app to reduce unnecessary run time on high-wear areas. The E Series supports room-specific cleaning schedules that let you limit vacuuming frequency in low-traffic rooms while maintaining daily cleaning in entryways and kitchen areas. This targeted scheduling reduces cumulative wear on the brush roll and drive motors.
Dock placement matters more than most users realize. Position the charging dock against a wall with at least 1.5 meters (approximately 5 feet) of clear space on both sides. Obstructions within this zone cause dock navigation errors and repeated failed docking attempts, which drain the battery and generate false E1 error codes. Keep the area in front of the dock free of cables, shoes, and loose rugs that can trigger cliff sensors during the approach sequence.
Kitchen floors demand the most frequent vacuum maintenance because food debris, cooking oil residue, and fine particles accelerate brush roll wear and sensor contamination. For kitchen-specific floor care tips that complement your robot vacuum routine, visit our Kitchen Cleaning Hub. And for detailed definitions of any technical terms used in this guide, refer to our Cleaning Glossary.
Frequently Asked Questions
Q: Why is my Roborock E Series making a grinding noise?
A: A grinding noise indicates debris caught in the brush roll motor housing or a failing drive wheel motor. Remove the brush roll and clean the motor shaft—grinding persisting after cleaning means the motor itself requires replacement.
Q: How do I reset my Roborock E Series after an error code?
A: Power off the robot completely, wait 30 seconds, then power on. If the error persists, perform a factory reset from the Mi Home app under Settings > Reset Robot—this clears firmware glitches but erases your map data.
Q: Can the Roborock E Series vacuum carpets with high piles?
A: The Roborock E Series handles carpet piles up to 2 cm effectively. Piles exceeding 2 cm may trigger cliff sensor errors and should be excluded from cleaning zones via the app’s no-go zones feature.
Q: Why does my Roborock E Series keep returning to the dock without completing cleaning?
A: This occurs when the robot detects a navigation blockage or when battery temperature exceeds 50°C during summer months. Allow the robot to cool for 30 minutes, clean the cliff sensors, and restart the cleaning cycle.
References
- Roborock Official Support. (2024). Roborock E Series Troubleshooting and Error Codes. Roborock Technology Co.
- U.S. Environmental Protection Agency. (2022). Isopropyl Alcohol as a Surface Cleaning Agent. EPA Pesticide Registration.
- International Electrotechnical Commission. (2019). IEC 60335-2-2: Safety of Vacuum Cleaners and Water-Suction Cleaning Appliances. IEC Standards.


