
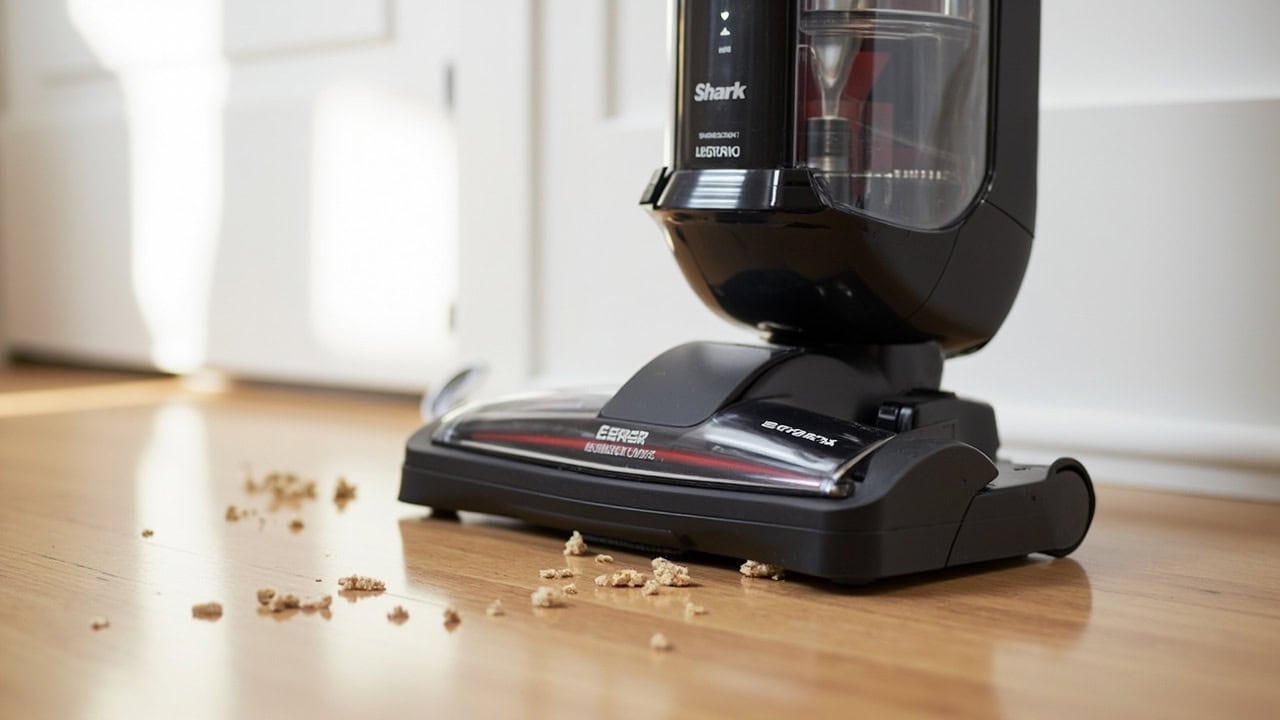
Shark Vacuum Troubleshooting: Error Codes, Problems & Fixes

Shark vacuum troubleshooting resolves common issues including error codes, loss of suction, unusual smells, and brush roll malfunctions through systematic diagnosis and targeted fixes specific to each error code meaning and severity level. This hub covers every Shark vacuum model error code from E1 to E9 with their causes and solutions, plus guidance on when to replace parts versus replace the vacuum entirely.
Shark vacuums—including the Ninja, Apex, Navigator, Rocket, Pet, and Vertex series—are designed with diagnostic error codes that communicate specific failures. When your vacuum displays an error code, it is signaling a precisely defined problem that, when addressed correctly, typically restores full functionality without service center visits.
What This Shark Vacuum Troubleshooting Guide Covers
This hub serves as the comprehensive resource for troubleshooting all Shark vacuum models and their error codes. The guide covers:
- Complete error code reference for all Shark vacuum models (Ninja, Apex, Navigator, Rocket, Pet, Vertex series)
- Systematic diagnosis procedures for suction loss, overheating, and brush roll failures
- Step-by-step repair instructions with part replacement guidance
- Prevention strategies to maintain optimal vacuum performance
- Decision framework: repair vs. replace parts vs. replace vacuum
Whether you are dealing with an E1 brush roll obstruction on your Shark Pet vacuum or an E9 software fault on your Apex model, this guide provides the diagnostic framework and corrective steps to resolve the issue efficiently.
Why Shark Vacuum Troubleshooting Matters
Regular vacuum maintenance prevents reduced cleaning effectiveness that leaves allergens and debris in your home. When a vacuum loses suction even marginally—by as little as 20%—it can leave behind dust mites, pollen, and pet dander that aggravate allergies and asthma, according to the EPA’s indoor air quality guidance.
Shark vacuum error codes are designed diagnostic tools that, when properly interpreted, can identify problems before they cause permanent damage to the vacuum’s motor, brush roll, or filtration system. Ignoring error codes—particularly E2 (suction motor), E8 (battery overheating), and E9 (electronic fault)—can escalate minor issues into motor failures requiring $80–$150 in professional repair or full vacuum replacement at $150–$400.
Premature motor failure from unrecognized warning signs costs significantly more than routine filter replacements or belt changes. A $12 brush roll or $8 belt replacement can extend motor life by 2–3 years, delaying a $300+ replacement purchase indefinitely.
Shark Vacuum Error Code Reference Table
Use this reference table to quickly identify the error code displayed on your Shark vacuum’s LED panel and understand its severity and most common cause.
| Error Code | Meaning | Severity | Common Cause |
|---|---|---|---|
| E1 | Brush Roll Obstruction | Medium | Hair or debris tangled in brush roll |
| E2 | Suction Motor Issue | High | Blocked hose, full dust cup, or motor failure |
| E3 | Thermal Overload | Medium | Clogged filter, dusty environment, long runtime |
| E4 | Battery Communication Error (cordless) | High | Battery connection issue or failure |
| E5 | Brush Roll Sensor Malfunction | Low | Dirty sensor or electrical connection issue |
| E6 | Lid or Dust Cup Sensor Fault | Low | Misaligned dust cup or faulty sensor |
| E7 | Filter Sensor Triggered | Medium | Filter needs cleaning or replacement |
| E8 | Battery Overheating (cordless) | High | Cooling required, battery failure imminent |
| E9 | Software or Electronic Fault | High | Reset required or main board failure |
Common Shark Vacuum Problems and Fixes
Beyond error codes, several recurring problems affect Shark vacuum performance. These issues often correlate with specific error codes but can also occur independently. The following sections provide comprehensive diagnosis checklists and step-by-step corrective procedures.
Loss of Suction Power
Loss of suction is the most frequently reported Shark vacuum issue and accounts for the majority of E2 error code triggers. Suction loss typically stems from four root causes: a full or clogged dust cup, a dirty or worn primary (pre-motor) filter, a blockage in the hose assembly, or a compromised dust cup gasket seal.
Diagnosis Checklist:
- Check dust cup for clogs or overfill (empty if above the max fill line)
- Inspect primary filter for dust buildup—tap clean or wash if washable
- Examine hose for blockages by disconnecting and checking airflow
- Clean brush roll end cap bearings of tangled hair and fibers
- Check for tears or gaps in the dust cup gasket seal
Step-by-Step Fix:
- Remove dust cup and empty completely into a trash bin—do this outdoors or over a surface that can be cleaned afterward to avoid redistributing debris
- Rinse washable primary (pre-motor) filters with cool water only—no soap, no detergent—and allow to air dry completely for 24 hours before reinstallation
- Use a flashlight to visually inspect the hose interior for obstructions; shine the light through from both ends
- Use a broom handle or specialized vacuum hose cleaning tool to dislodge stubborn clogs; do not use metallic objects that can puncture or scratch the hose lining
- Reassemble all components in the correct order and test suction on the bare floor (hardwood or tile) setting before returning to carpeted surfaces
- If suction remains weak after 24 hours of filter drying time, replace the primary filter—filters that appear clean but do not restore suction after proper drying are exhausted and will not recover
Shark’s primary filters use a pleated HEPA-style construction rated to capture particles down to 3 microns. When the filter media becomes saturated with fine dust, airflow restriction occurs even though the filter may appear relatively clean. Replace primary filters every 6–12 months depending on usage frequency and environmental conditions. The secondary (charcoal) filter—responsible for odor reduction—is not washable and must be replaced every 12–18 months.
Brush Roll Not Spinning
A brush roll that has stopped spinning directly causes the E1 error code and reduces carpet cleaning effectiveness by up to 60%, as the brush roll’s agitation is responsible for dislodging debris from carpet fibers before suction can lift it away. On hard floor surfaces, a non-spinning brush roll is less critical, but debris accumulation around the brush roll cavity will still impair suction.
Diagnosis Checklist:
- Remove brush roll cover and inspect for tangled carpet fibers, hair, or string wrapped around the brush roll spindle or bristles
- Check if brush roll spins freely by hand—it should rotate without resistance or wobble; any grinding or binding indicates bearing failure
- Examine brush roll end caps for physical damage, cracking, or wear to the bearing surfaces
- Verify the brush roll sensor (on select models) is clean and free of accumulated dust or debris that could trigger the E5 error code
Step-by-Step Fix:
- Turn off and unplug the vacuum before any brush roll inspection or maintenance—the brush roll motor can start without warning if the vacuum is not fully disconnected
- Press brush roll release buttons or remove securing screws to lift off the brush roll cover; note the orientation of the brush roll as it must be reinstalled in the correct rotational direction
- Cut away tangled hair and debris with scissors rather than pulling, which can stretch or break the brush roll bristles or damage the bristle anchoring system
- Remove the brush roll entirely and clean end cap bearings using isopropyl rubbing alcohol (70% concentration or higher) applied with a cotton swab; this dissolves accumulated body oils and debris that cause bearing seizing
- Reinstall the brush roll ensuring it seats properly in the holder brackets and the drive belt (on models so equipped) is correctly routed around the brush roll spindle and motor pulley
- Replace the brush roll if it does not spin freely after thorough cleaning or shows signs of uneven bristle wear, cracked end caps, or a wobbly rotation indicating internal bearing damage; Shark brush rolls typically last 12–18 months under normal use
On Shark vacuum models equipped with a belt-driven brush roll system—common in the Navigator and Rocket series—the rubber belt connecting the motor pulley to the brush roll spindle stretches and cracks over time. A stretched belt slips on the pulleys, reducing brush roll speed without fully stopping it. Replace the belt every 6–12 months as part of preventive maintenance; a cracked belt will eventually break entirely and leave the brush roll completely motionless.
Shark Vacuum Making Unusual Smells
Unusual odors from a Shark vacuum are diagnostic signals that, when correctly identified, point directly to the failing component. Four distinct smell profiles indicate four different root causes:
- Burning rubber smell: brush roll belt failure (stretching, melting, or snapping) or motor bearing seizure
- Musty odor: mold or bacterial growth inside the dust cup or on the primary filter from moisture exposure
- Burning plastic smell: a physical obstruction (debris, string, carpet fibers) caught in the brush roll cavity and straining the motor
- Hot motor smell: extended runtime without proper cooling, or filters so clogged that airflow is reduced below the thermal dissipation threshold
Step-by-Step Fix:
- Immediately turn off and unplug the vacuum if any burning smell is detected—continuing to operate under these conditions can permanently damage the motor windings, which are not user-serviceable
- Empty and clean the dust cup thoroughly with warm water and a mild dish soap (pH 7–8), scrubbing the interior walls to remove the biofilm where mold and bacteria accumulate; rinse completely and allow to air dry
- Replace the charcoal secondary filter—do not attempt to wash or clean the secondary filter as the activated charcoal media is permanently damaged by water and will not recover
- Remove the brush roll and inspect the belt for signs of heat damage: melting (shiny, glazed surface), cracking across the belt width, or permanent stretching beyond the original length
- Allow the vacuum to cool for a minimum of 30 minutes before restarting; a motor that has reached thermal saturation needs this cooldown period to allow the windings to return to safe operating temperature below 80°C (176°F)
- Replace any components showing heat damage—belt, brush roll, or filter—before continued use; a belt that has begun to melt will fail completely within days to weeks
Vacuum Overheating and Shutting Off
The E3 error code indicates thermal overload, which is the vacuum’s protective response to excessive heat buildup in the motor windings. Shark vacuum motors are rated for continuous duty at temperatures up to 130°C (266°F); when internal temperatures exceed this threshold, a thermal cutoff switch interrupts power to prevent permanent winding damage. The motor will restart automatically once it cools below the cutoff threshold, but repeated thermal cycling significantly accelerates motor wear.
Prevention Strategy:
- Clean filters every 2–4 weeks depending on usage frequency; in homes with pets or construction dust, clean filters weekly
- Empty the dust cup when it reaches 75% capacity to maintain consistent airflow through the cyclone assembly
- Avoid vacuuming very fine particulate matter such as drywall joint compound dust, sand, fireplace ash, or cement dust without using a pre-motor filter specifically rated for fine particulate—standard filters clog rapidly with these materials
- Allow 30-minute cool-down periods after every 45 minutes of continuous use, particularly when cleaning large areas or thick carpet
Step-by-Step Fix:
- Turn the vacuum off immediately and disconnect from the power source; do not attempt to cool the vacuum faster by placing it in a freezer or refrigerator as thermal shock to plastic components can cause cracking
- Allow the motor to cool for 30–60 minutes minimum; the thermal mass of the motor assembly means cooling is not instantaneous and rushing this step risks burns or incomplete cooling
- Remove and clean or replace all filters per model specifications; check both the primary (pre-motor) filter behind the dust cup and the secondary filter near the motor exhaust
- Check all airflow pathways for obstructions: the hose, the dust cup inlet, the cyclone assembly, and the brush roll cavity; use a flashlight for visual inspection and a broom handle to dislodge any compacted debris
- Reassemble all components and test on the lowest suction setting for 5 minutes before returning to normal suction power; this allows the motor to stabilize under minimal load and confirms airflow is restored
When to Replace Parts vs. Replace Your Shark Vacuum
Making the correct repair vs. replace decision requires evaluating the vacuum’s age, the cost and frequency of repairs, and whether the vacuum’s core performance meets your cleaning needs.
Replace Individual Parts When:
- Filters are clogged beyond cleaning—typically after 6–12 months of regular use; a filter that has turned visibly gray or caked with fine dust is exhausted regardless of how thoroughly it is cleaned
- Brush roll shows uneven wear or does not spin freely after proper cleaning and lubrication; brush rolls last 12–18 months under normal use
- Dust cup has cracks or broken latches—replace immediately as a compromised dust cup seal directly causes suction loss and allows debris to enter the motor housing
- Belt shows cracking, stretching, or melting—replace every 6–12 months as preventive maintenance; a visibly damaged belt will fail within days
- Battery no longer holds charge on cordless models—consider replacement cost (typically $40–$80 for genuine Shark batteries) versus the cost of a new vacuum
Replace the Entire Vacuum When:
- Motor failure occurs—motor repair costs $80–$150, which approaches the cost of a replacement vacuum in the $150–$400 range; consider the vacuum’s age and overall condition
- Multiple error codes appear simultaneously indicating cascading electrical system failure rather than a single component issue
- Vacuum is older than 7 years and showing multiple component failures in the same period; beyond 7 years, multiple systems are approaching end-of-life simultaneously
- Repair costs exceed 50% of replacement vacuum cost—the 50% threshold is the widely accepted economic break-even point for repair vs. replace decisions in appliance economics
- Suction improvement is negligible after thorough cleaning, new filters, and belt replacement, indicating the motor itself has worn beyond acceptable performance
Getting Started: Shark Vacuum Maintenance Schedule
Consistent maintenance is the single most effective way to prevent Shark vacuum error codes, extend the vacuum’s service life, and maintain the indoor air quality benefits that justify vacuum use in the first place.
Daily Maintenance (after each use):
- Empty the dust cup after each use or when it reaches 75% full; a dust cup above the max fill line disrupts cyclone airflow and directly causes E2 suction motor errors
- Perform a quick brush roll check and remove any hair, string, or carpet fibers tangled around the brush roll spindle; 30 seconds of daily attention prevents E1 obstructions
Weekly Maintenance:
- Clean the pre-motor filter by tapping it firmly against a hard surface outdoors to dislodge loose dust; do not rinse the filter more than once monthly as repeated washing degrades the media
- Wipe the vacuum exterior with a damp cloth to prevent dust accumulation around the vents and LED display, which can cause false sensor readings
- Check that the brush roll spins freely by turning the vacuum upside down and giving the brush roll a manual spin; it should rotate smoothly for at least 3 full rotations before stopping
Monthly Maintenance:
- Deep clean filters per manufacturer instructions: washable primary filters should be rinsed in cool water (no soap), squeezed gently to remove excess water, and air dried for 24 hours
- Clean brush roll bearings and end caps with isopropyl alcohol on a cotton swab; accumulated body oils from skin contact and debris from cleaning various floor surfaces cause bearing degradation
- Inspect the hose for any sign of blockage or internal debris accumulation by holding it up to a light source and looking through from both ends
- Check all seals and gaskets for wear, cracking, or compression set that could allow air leaks and reduce suction efficiency
Annual Maintenance:
- Replace all filters (pre-motor primary and secondary charcoal filter) regardless of apparent condition; filter media degradation is not always visible
- Replace the brush roll if it shows any bristle wear, uneven rotation, or wobble—the cost of a replacement brush roll ($15–$25) is far less than the motor strain caused by a failing brush roll
- Replace the belt on belt-driven models if it shows any signs of cracking, glazing, or stretching beyond normal tension
- Consider professional motor inspection if the vacuum has exhibited any E2, E3, or E9 errors during the year; catching motor bearing wear early can prevent complete motor failure
Frequently Asked Questions
Q: What does the E2 error code mean on a Shark vacuum?
A: The E2 error code on a Shark vacuum indicates a suction motor issue, typically caused by a clogged hose, an overfilled dust cup, or a failing motor. First check for blockages in the hose and dust cup, then clean or replace the filters. If the error persists after these steps, the motor may be failing and professional repair or vacuum replacement should be considered.
Q: Why does my Shark vacuum smell like burning?
A: A burning smell from your Shark vacuum is most commonly caused by a tangled brush roll straining the motor, a damaged or stretched belt, or debris wrapped around the motor fan inside the canister. Stop using the vacuum immediately, remove the brush roll and check the belt, and clean any debris from the brush roll cavity. A persistent burning smell after cleaning indicates motor damage requiring professional repair.
Q: How do I reset my Shark vacuum after an error code?
A: To reset a Shark vacuum after an error code, turn off the vacuum, unplug it from the power source, remove the dust cup and filters, and allow it to cool for 30 minutes. Reassemble all components properly, plug in, and turn on. If the error code persists after a proper reset, the specific component triggering the code requires cleaning, repair, or replacement per the error code meaning.
Q: Why is my Shark vacuum losing suction even after cleaning the filters?
A: Shark vacuum suction loss despite clean filters is typically caused by a clogged hose, a torn dust cup gasket seal, debris caught in the brush roll cavity, or a blockage in the primary cyclone assembly. Disconnect and inspect the hose thoroughly, check the dust cup seal for tears or gaps, remove the brush roll and clean the cavity beneath it, and tap the cyclone assembly to dislodge any compacted debris.
References
- U.S. Environmental Protection Agency. (n.d.). Indoor Air Quality (IAQ). EPA.
- SharkNinja Operating LLC. (n.d.). Shark Vacuum Support and Troubleshooting. SharkClean.com.
- American Society of Heating, Refrigerating and Air-Conditioning Engineers. (2022). ANSI/ASHRAE Standard 62.1-2022: Ventilation for Acceptable Indoor Air Quality. ASHRAE.
- Consumer Product Safety Commission. (n.d.). Vacuum Cleaner Safety. CPSC.


