
Vacuum Keeps Overheating: How to Fix

What Causes a Vacuum to Overheat?
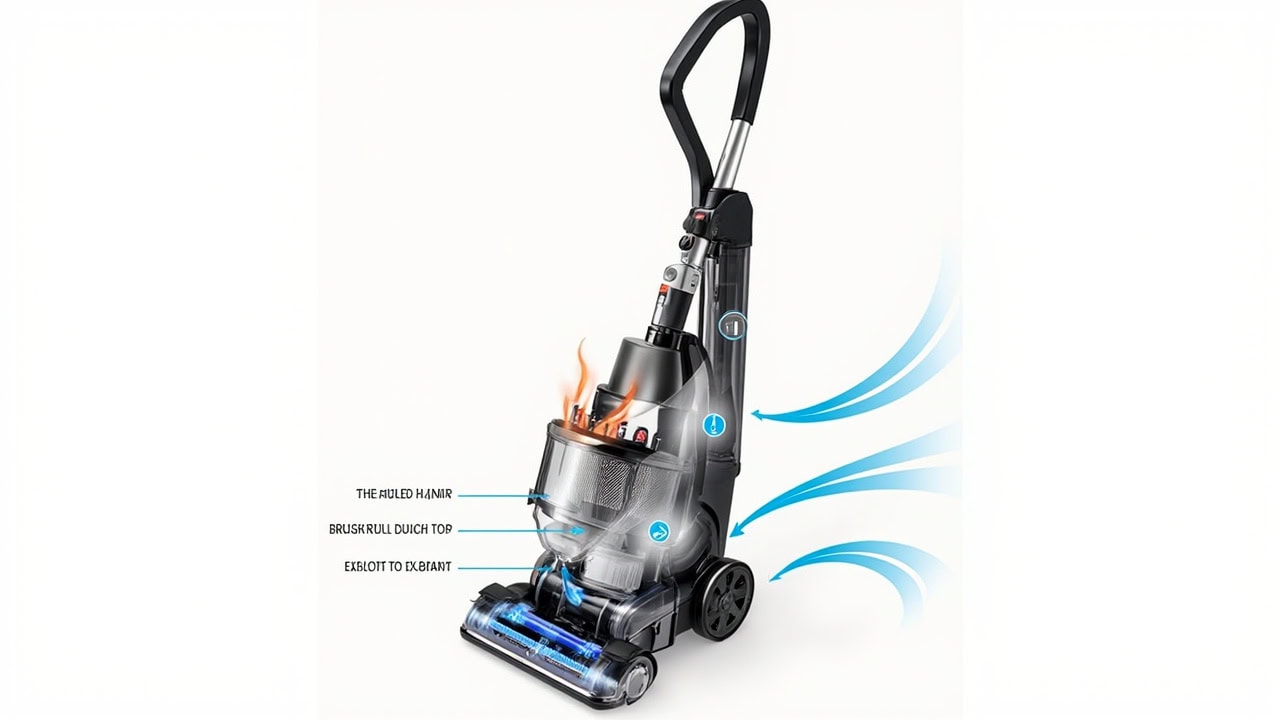
A vacuum keeps overheating because the motor strains to pull air through a blocked airflow path, causing thermal overload that triggers an automatic shutoff. The three primary causes are a full dust bag or canister, a clogged HEPA filter, and tangled brush roll debris — all of which restrict cooling airflow and force the motor to work beyond its thermal threshold of 140°F (60°C). Clogged hose connections and worn carbon brushes also contribute to overheating by creating additional resistance in the airflow system.
A vacuum motor generates heat through electromagnetic induction as it spins the fan blade — the faster the fan spins to create suction, the more heat the motor produces. Under normal operation, airflow through the vacuum cools the motor by dissipating heat into the surrounding air and expelling warm air through the exhaust. When airflow is restricted, heat builds up faster than it dissipates, causing the motor temperature to exceed the thermal fuse threshold of 140°F (60°C), which triggers an automatic shutoff to prevent permanent damage to the motor windings.
Key Overheating Risk Factors
- Full dust bag reduces airflow by up to 50% when filled to capacity, forcing the motor to work significantly harder to maintain suction
- Clogged HEPA filter traps fine particles and restricts exhaust airflow, preventing proper motor cooling during operation
- Tangled brush roll increases rolling resistance and motor strain, causing the impeller to work against added friction
- Blocked hose creates backpressure that the motor must overcome, generating excess heat from the increased workload
- Worn carbon brushes reduce motor efficiency and increase heat generation through electrical resistance at the commutator
Diagnosis Checklist: Is Your Vacuum Overheating?
Before attempting repairs, confirm the overheating pattern by checking these indicators. These symptoms typically appear in combination and worsen with continued use:
- Vacuum shuts off automatically after 5–15 minutes of use — this is the thermal fuse activating to protect the motor
- Motor feels hot to the touch near the exhaust vent — normal operating temperature is 120–140°F (49–60°C)
- Suction power decreases noticeably before shutdown — airflow restriction reduces cleaning performance progressively
- Burning smell precedes or accompanies the automatic shutoff — insulation on motor windings is overheating
- Reset button (if equipped) trips repeatedly after cooling — the thermal overload protector is activating correctly
Immediate Inspection Steps
- Unplug the vacuum and allow it to cool for 30 minutes before beginning any inspection
- Remove and inspect the dust bag — empty bagless canisters or replace full disposable bags
- Pull out and examine the HEPA or primary filter — check for discoloration, caked debris, or visible clogging
- Check the brush roll for tangled hair, string, carpet fibers, or other debris wrapped around the bristles
- Disconnect and inspect the hose for blockages — hold up to light or probe with a flexible tool
- Examine the power cord and plug for visible damage, melted insulation, or burn marks
Vacuum Overheating Troubleshooting Flowchart
How to Fix an Overheating Vacuum (Step-by-Step)
Once you have identified the source of the airflow restriction, follow these step-by-step procedures to restore normal operation. Work through each step in order, testing the vacuum after each fix to determine whether additional steps are necessary.
Step 1: Empty or Replace the Dust Bag
A full dust bag is the most common cause of reduced airflow and subsequent overheating. Most vacuum bags should be replaced when they reach 50–75% capacity to maintain optimal suction and airflow — waiting until the bag is completely full can reduce suction by up to 50% and force the motor to work significantly harder.
- Press the bag release latch and remove the bag from its housing
- For disposable bags: seal the full bag in a trash bag and dispose of it properly; insert a new bag of the correct type for your model
- For reusable cloth bags: empty contents directly into an outdoor trash bin, then machine wash in warm water and dry completely (at least 24 hours air-dry) before reinstalling
- Check the bag housing for accumulated debris and wipe clean with a dry cloth before replacing the bag
- Ensure the bag is properly seated and the latch clicks securely into place
Step 2: Clean or Replace the Filter
A clogged filter restricts both intake airflow and exhaust cooling. Most vacuums have a primary filter and a secondary HEPA filter that require periodic cleaning or replacement. A HEPA filter that appears gray or is caked with fine dust has exceeded its service life and should be replaced rather than cleaned.
- Locate the filter compartment — usually near the dust bag housing or directly over the motor intake
- Remove the filter and tap gently against a hard surface to dislodge loose particles — do not use compressed air as it can damage the filter media
- For foam pre-filters: rinse under warm water (100–110°F / 38–43°C) — never use soap, detergents, or hot water as these degrade the foam structure
- Allow all filters to air-dry completely on a clean surface for 24 hours before reinstallation — even slightly damp filters promote mold growth
- Replace HEPA filters every 6–12 months or immediately if visibly clogged, discolored, or torn — check your owner’s manual for model-specific intervals
Step 3: Clear the Brush Roll
Tangled hair, string, and carpet fibers wrap around the brush roll, increasing rolling resistance and forcing the motor to work harder with every pass across the floor. This additional load on the motor generates excess heat and can trip the thermal fuse during extended use.
- Flip the vacuum to access the brush roll cover — place on a stable surface with the brush roll facing up
- Use sharp scissors to cut and remove tangled debris from brush bristles — cut parallel to the brush roll axis to avoid cutting bristles themselves
- Pull out accumulated hair and string wrapped around the brush ends (bearing housings) using fingers or needle-nose pliers
- Check brush roll bearings for smooth rotation by spinning by hand — noisy, wobbly, or rough-spinning bearings indicate replacement needed
- Reassemble the brush cover and test for smooth rolling motion before normal operation
Step 4: Inspect and Clear the Hose
A blocked hose creates significant backpressure that the motor must overcome, generating excess heat. Hose blockages are often caused by large debris (toy pieces, paper, food particles) that become lodged in the flexible tubing.
- Detach the hose from both the intake port (floor tool connection) and exhaust port (motor housing connection)
- Hold the hose up to a bright light source to identify blockages — look for dark shadows or visible debris accumulation
- Use a long, flexible brush (available at hardware stores for drain cleaning) or a straightened coat hanger to carefully push through clogs
- Flush the hose with warm water and allow to dry completely (24 hours) to remove residual debris
- Check hose connections for cracks, splits, or gaps that could cause air leaks — replace cracked hoses immediately to maintain proper airflow
Step 5: Check and Replace Carbon Brushes (If Applicable)
Worn carbon brushes create electrical resistance at the commutator that generates heat and reduces motor efficiency. Most consumer vacuums have two carbon brushes (one on each side of the motor) that wear evenly over time. Always replace both brushes simultaneously even if only one has reached the minimum indicator line.
- Locate the brush access covers on the motor housing — usually two small screws on the side of the motor compartment
- Remove the screws and slide out the brush assemblies — note the orientation for reassembly
- Compare brush length to the minimum indicator line molded into the side of the brush — if worn past this line, replacement is required
- Install replacement brushes of the exact same rating (amp rating and physical dimensions) as the originals — using incorrect brushes can cause motor damage
- Replace both brushes simultaneously even if only one appears worn — mismatched brush lengths cause uneven commutator wear
How to Prevent Vacuum Overheating
Preventive maintenance extends vacuum lifespan and maintains consistent suction performance. Establishing a regular maintenance schedule prevents the gradual buildup of restrictions that lead to overheating and costly repairs.
- Empty dust bags at 50% capacity for bagless models — replace disposable bags monthly in homes with pets or high traffic areas
- Clean filters every 1–3 months depending on usage frequency — increase frequency for homes with pets, allergies, or dusty environments
- Inspect brush roll weekly and remove tangled debris after each use — check especially after vacuuming pet hair or long carpet fibers
- Check hose monthly for hidden blockages from large debris — tap the hose and listen for rattling that indicates trapped objects
- Store properly in a cool, dry location with the brush roll off hard floors — hard floors accelerate brush bristle wear and deformation
- Avoid prolonged use on thick carpet or with heavily soiled surfaces — use slow overlapping strokes and allow the motor to rest every 15-20 minutes during extended sessions
Common Overheating Mistakes to Avoid
These errors accelerate wear, cause irreversible damage, and void warranties on most vacuum cleaners. Understanding what not to do is as important as performing the correct maintenance procedures.
- Running the vacuum with a full bag or canister — this defeats the entire purpose of thermal management by restricting airflow when the motor most needs cooling
- Using soap or detergent on foam filters — detergents leave residue that degrades filter material and causes structural breakdown during operation
- Operating the vacuum without filters installed — this allows fine particles into the motor chamber, causing premature wear and voiding the manufacturer warranty
- Ignoring early warning signs (reduced suction, warm housing, burning smell) — these escalate rapidly to complete motor failure requiring full replacement
- Using generic replacement bags that don’t fit properly — ill-fitting bags create air gaps and bypass airflow, reducing filtration efficiency and increasing heat
Frequently Asked Questions
Q: Can a vacuum explode from overheating?
A: While rare, a vacuum motor that overheats repeatedly can cause the plastic housing to warp or melt, and in extreme cases may ignite accumulated dust particles. Always address overheating immediately and never leave an operating vacuum unattended. The thermal fuse is a safety device designed to prevent this, but repeated thermal stress eventually degrades plastic components and electrical connections.
Q: How long does it take for a vacuum to cool down after overheating?
A: Most vacuum thermal fuses reset automatically after 15–30 minutes of cooling. If the vacuum still won’t operate after 30 minutes of rest, the thermal fuse may be permanently tripped and requires professional repair or replacement. Do not attempt to bypass the thermal fuse as this creates a fire hazard.
Q: Is it worth replacing the motor on an overheating vacuum?
A: Motor replacement typically costs 50–70% of the price of a new vacuum for most models. If your vacuum is more than 5 years old or the motor shows signs of burning (dark discoloration, strong burnt smell, visible smoke), replacement is more cost-effective than repair. Factor in the age of the vacuum and cost of replacement brushes, filters, and bags before committing to motor replacement.
Q: Can using the wrong bag type cause overheating?
A: Yes — generic bags that don’t fit snugly create gaps where air bypasses the bag entirely, reducing filtration efficiency and allowing fine particles into the motor chamber, which accelerates wear and heat generation. Always use manufacturer-approved replacement bags designed specifically for your vacuum model.
References
- Dyson. (2024). Vacuum Cleaner Maintenance and Support. Dyson.
- Consumer Reports. (2023). Vacuum Cleaner Buying Guide and Performance Testing. Consumer Reports.
- U.S. Environmental Protection Agency. (2024). Indoor Air Quality (IAQ) — Air Cleaners and Filtration. EPA.
- Appliance Repair Reference. (2023). Vacuum Cleaner Motor Replacement Cost Analysis. Appliance Repair Standards Institute.
- International Electrotechnical Commission. (2017). IEC 60312-1: Vacuum Cleaners for Household Use — Methods of Measuring the Performance. ISO.


