
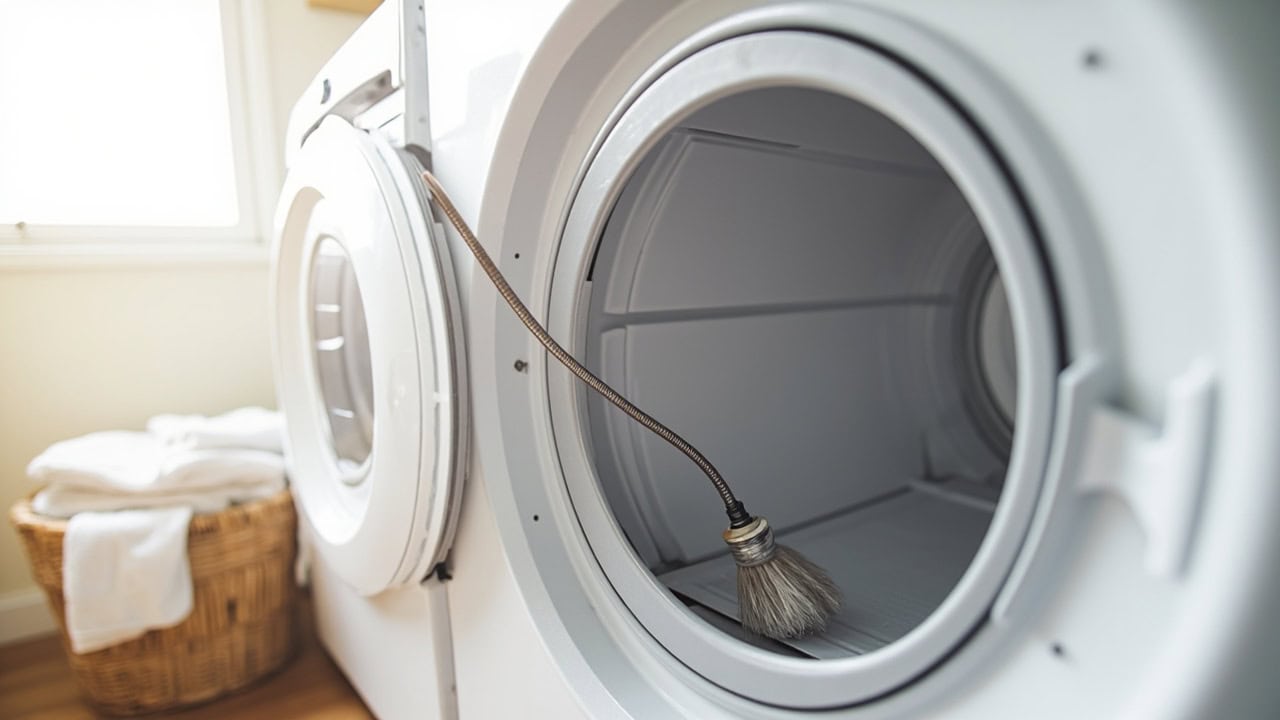
How to Clean a Dryer Vent: Complete Guide

Dryer vents must be cleaned at least once a year using a vent brush kit to remove lint buildup — failure to do so causes over 2,900 house fires annually in the US alone, according to the US Consumer Product Safety Commission. The cleaning process takes 30–60 minutes and requires disconnecting the dryer, brushing the vent duct, and reconnecting all components. Regular dryer vent maintenance reduces drying time, lowers energy bills, and eliminates the primary fire hazard in most laundry rooms.
Why Dryer Vent Cleaning Is Critical
Lint accumulation inside dryer exhaust ducts is the number-one cause of dryer-related house fires in the United States. The US Consumer Product Safety Commission (CPSC) reports that clothes dryers are associated with an estimated 2,900 residential fires each year, resulting in approximately 5 deaths, 100 injuries, and $35 million in property damage. The leading factor in these fires: failure to clean the dryer vent system.
A clogged dryer vent forces the appliance to work significantly harder to expel moist air, increasing energy consumption by 25–30%. That wasted energy translates directly into higher utility bills and longer drying cycles. In homes where the dryer runs multiple loads per day, the excess cost compounds quickly over months of neglected maintenance.
Beyond fire risk and energy waste, restricted airflow causes the dryer’s internal temperature to rise above its designed operating range. Prolonged overheating damages critical components — particularly the thermal fuse and heating element — leading to premature appliance failure. Annual cleaning extends dryer lifespan by 2–3 years on average by keeping these components within safe temperature thresholds.
Trapped moisture inside a blocked vent duct creates conditions ideal for mold and mildew growth. As humid air lingers in the duct instead of being expelled outdoors, condensation forms on the duct walls and surrounding framing. Over time, this moisture degrades drywall, warps wood studs, and produces musty odors that infiltrate adjacent living spaces.
What You Need Before You Start
Gathering the right tools before you begin ensures the cleaning process goes smoothly and safely. A dedicated dryer vent brush kit is the single most important tool — standard household brushes cannot navigate the turns and narrow passages inside vent ducting. Below is a complete list of what you will need.
| Tool | Purpose | Required |
|---|---|---|
| Vent brush kit (4-piece, 6–12 ft reach) | Loosen and remove lint from duct | Yes |
| Screwdriver set (Phillips and flathead) | Remove dryer rear panel and duct clamps | Yes |
| Vacuum with crevice attachment | Final lint removal from exhaust ports | Yes |
| Work gloves (heat-resistant recommended) | Hand protection during duct handling | Yes |
| Drop cloth or old towel | Protect floor beneath work area | Optional |
| Masking tape | Label duct connections for reassembly | Optional |
A standard 4-piece vent brush kit costs between $15 and $25 at most hardware stores and online retailers. These kits include a flexible nylon or polypropylene rod that extends 6 to 12 feet, a bristle brush head sized for 4-inch ductwork, and adapter attachments for both straight and curved duct sections. For longer duct runs common in two-story homes, extension rods are available separately to reach up to 24 feet.
Step-by-Step Dryer Vent Cleaning
The complete cleaning process takes 30–60 minutes for a standard single-story home with a duct run under 15 feet. Follow these steps in order to ensure all lint is removed and the system is properly reassembled.
- Disconnect the dryer — Unplug the power cord from the wall outlet. For gas dryers, shut off the gas supply valve and carefully disconnect the gas line using an adjustable wrench. Pull the dryer 2–3 feet away from the wall to create working space behind the unit.
- Disconnect the vent duct from the dryer — Locate the clamp securing the flexible duct to the dryer’s exhaust port. Loosen the clamp screw with a screwdriver (Phillips or flathead depending on the clamp type) and slide the duct off the exhaust outlet.
- Disconnect the vent duct from the wall — Pull the opposite end of the duct away from the wall exhaust outlet. Use masking tape to label which end connects to the dryer and which connects to the wall if the duct orientation is not obvious.
- Brush the exterior vent cap — Go outside and locate the exterior vent cap. Remove any visible debris, bird nests, or pest blockages. Insert the vent brush into the outdoor opening and rotate it 5–6 times to loosen compacted lint near the cap.
- Brush the vent duct from both ends — Feed the flexible brush rod through the wall-side opening, rotating clockwise as you push. Work the brush through the full length of the duct. Repeat from the exterior vent cap side to ensure complete coverage. Pull the brush back slowly to drag loosened lint out with it.
- Vacuum all components — Use the vacuum’s crevice attachment to remove lint from the dryer exhaust port, the wall vent opening, and both ends of the disconnected duct. Vacuum the area behind and beneath the dryer where lint accumulates on the floor.
- Clean the lint trap housing — Remove the lint trap screen and use the crevice tool to vacuum inside the trap housing. Lint often accumulates below the screen in the channel leading to the exhaust duct, a spot many homeowners overlook.
- Reconnect all components — Secure the vent duct to the wall exhaust outlet first, then attach the other end to the dryer exhaust port. Tighten both clamps firmly. Ensure the duct has no kinks, crush points, or sagging sections that could trap lint.
- Test the connection — Push the dryer back into position, leaving enough clearance to avoid crushing the duct. Plug in the power cord (and reconnect the gas line for gas models). Run the dryer on air-fluff or no-heat for 2 minutes. Go outside and verify that air flows freely from the exterior vent cap.
Dryer Vent Duct Specifications and Building Code Requirements
The International Residential Code (IRC) Section M1502 establishes the standard for residential dryer exhaust systems. Under this code, the maximum exhaust duct length is 25 feet from the dryer connection to the exterior termination point. Each 90-degree elbow reduces the allowable length by 5 feet, and each 45-degree elbow reduces it by 2.5 feet. A typical installation with two 90-degree elbows has a maximum effective duct length of only 15 feet.
Duct material matters as much as duct length. Semi-rigid aluminum ducts (UL 2158A listed) are the recommended choice for most installations because they maintain their shape, resist crushing, and have a smooth interior surface that discourages lint accumulation. Rigid aluminum or galvanized steel ductwork is preferred for long or concealed runs inside walls and crawlspaces. Plastic and thin foil flex ducts — still found in many older homes — violate current building codes in most jurisdictions because they sag, kink, and trap lint far more readily than metal alternatives.
Always verify that the outdoor vent cap has a functioning damper that opens fully when the dryer runs and closes when it stops. A damaged or missing damper allows outside air, pests, and moisture to enter the duct. Inspect the cap for debris, bird nests, or pest infestation during every cleaning cycle.
Common Mistakes When Cleaning Dryer Vents
- Using a leaf blower instead of a brush — High-velocity air dislodges loose lint but cannot remove compacted, layered deposits that adhere to duct walls. Blowing air through the duct also risks pushing lint into joints and seams where it becomes even harder to remove.
- Skip cleaning behind the lint screen housing — Lint collects below the removable lint trap in the channel leading to the exhaust duct. Failing to vacuum this area leaves a significant lint source that re-enters the duct system within weeks.
- Reconnecting the duct with kinks — A crushed or sharply bent duct creates airflow restriction that negates the benefits of cleaning. Always check that the duct runs straight or with gentle curves from the dryer to the wall.
- Not checking the outdoor vent cap — The exterior termination point is the most exposed part of the system and the most likely to be blocked by debris, nesting birds, or ice in cold climates.
- Skipping annual cleaning — Waiting until the dryer shows symptoms means lint has already accumulated to a dangerous level. By the time drying times increase noticeably, the duct may be 50% or more obstructed.
How to Prevent Future Lint Buildup
Preventing lint accumulation is far easier than removing heavy buildup. The single most effective habit is cleaning the lint trap screen after every dryer load — this captures the majority of fibers before they reach the exhaust duct. A lint screen cleaned after each load removes an estimated 85–90% of airborne lint particles.
- Use rigid or semi-rigid metal ducting instead of plastic or foil flex ducts — smooth metal surfaces resist lint adhesion and maintain full airflow capacity
- Avoid overloading the dryer — oversized loads force lint past the screen and into the exhaust system, accelerating duct buildup
- Check the outdoor vent cap monthly for debris, pest nests, and damper function
- Schedule professional dryer vent inspection every 3–5 years for complex duct runs with multiple elbows or vertical risers
- Never dry items containing foam rubber, rubber backs, or plastic components — these materials shed non-catchable particles and can ignite at dryer temperatures
For comprehensive laundry appliance maintenance, pair your dryer vent cleaning with a thorough washing machine cleaning to keep your entire laundry system running efficiently. You can also learn how to remove lint from clothes to reduce the amount of fiber entering your dryer in the first place.
Fire Prevention: Warning Signs of a Clogged Dryer Vent
Recognizing the symptoms of a restricted dryer vent early can prevent a fire before it starts. If you notice any of the following warning signs, stop using the dryer and clean the vent immediately.
- Clothes take longer than 45–60 minutes to dry — A properly functioning dryer completes a standard load in 30–45 minutes. Extended drying times indicate restricted exhaust airflow.
- Dryer top or sides become unusually hot during operation — Excess surface heat means the appliance cannot vent heated air efficiently, causing internal temperatures to rise above safe levels.
- Burning smell during the drying cycle — A hot, acrid odor signals that lint inside the duct is approaching its ignition point. Stop the dryer immediately and inspect the vent.
- Visible lint around the dryer or behind the unit — Lint escaping from duct connections indicates a blockage further down the line that forces lint back toward the dryer.
- Outdoor vent cap does not open during operation — If the damper remains closed while the dryer runs, airflow is blocked somewhere between the dryer and the exterior.
- Moisture sensor or auto-dry cycle no longer works correctly — A clogged vent traps humidity inside the drum, confusing the moisture sensor and causing over-drying or under-drying.
These symptoms share a common root cause: airflow restriction caused by lint accumulation. The longer the restriction persists, the higher the internal temperature climbs and the greater the fire risk becomes. For more on appliance care routines, visit the laundry care guide hub and the kitchen cleaning guide for shared vent and ductwork maintenance principles.
Frequently Asked Questions
Q: How often should you clean your dryer vent?
A: Dryer vents should be cleaned at least once a year, or every 6 months if you have a large household or dry items that produce excessive lint like comforters or bath towels. Homes with pets should clean dryer vents every 6 months due to higher lint production from pet hair and dander mixing with fabric fibers.
Q: Can you clean a dryer vent yourself?
A: Yes, most homeowners can clean a dryer vent themselves using a 4-piece vent brush kit that costs $15–25. The process takes 30–60 minutes for a standard single-story home with a short duct run. Multi-story homes or complex duct configurations with multiple 90-degree elbows may require professional service due to limited access.
Q: What happens if you don’t clean your dryer vent?
A: Failure to clean dryer vents leads to lint accumulation that restricts airflow, causing the dryer to overheat. This is the leading cause of dryer-related house fires, responsible for over 2,900 fires, 100 injuries, and 5 deaths annually in the US according to the Consumer Product Safety Commission. A clogged vent also increases energy consumption by 25–30% and shortens the dryer’s lifespan.
Q: How much does professional dryer vent cleaning cost?
A: Professional dryer vent cleaning costs $100–300 depending on the complexity of the duct system, the home’s location, and accessibility. Multi-story homes with longer duct runs typically cost more. Some companies offer annual maintenance contracts at $75–150 per visit.
References
- US Consumer Product Safety Commission. (2023). Clothes Dryer Safety. CPSC.gov.
- US Fire Administration. (2020). Fire Risk in 2017. FEMA.
- International Code Council. (2021). International Residential Code Section M1502 — Clothes Dryer Exhaust. ICC.
- ENERGY STAR. (2024). Clothes Dryers Key Product Criteria. US EPA.
- Underwriters Laboratories. (2019). UL 2158A Standard for Dryer Exhaust Ducts. UL.


