How to Clean an Electric Stove: Complete Guide
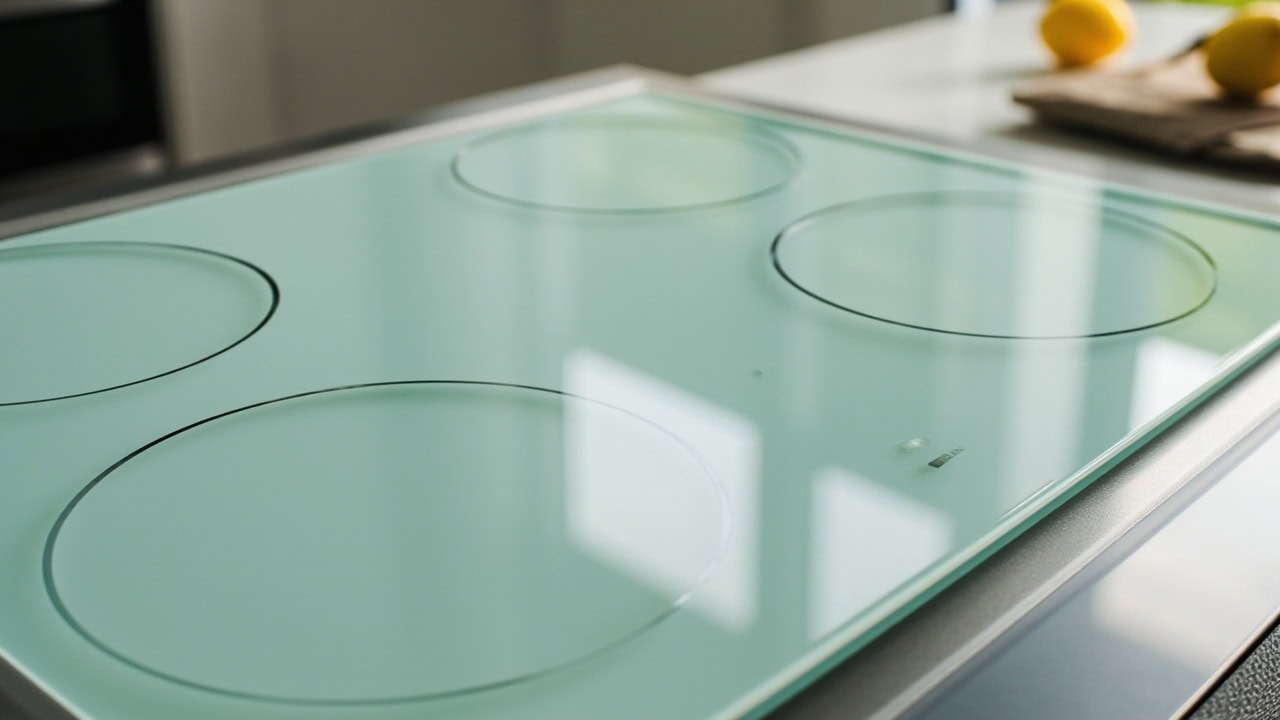
An electric stove must be cleaned after each use to prevent baked-on residue, using a pH-neutral cleaner like dish soap diluted at 1:10 with warm water and a soft microfiber cloth. Acid-based cleaners damage the ceramic glass surface while abrasive pads cause permanent scratches that collect grime, making future cleaning progressively harder. For deep cleaning, a baking soda paste applied at a 3:1 ratio with water and left to dwell for 10–15 minutes dissolves stubborn grease without etching the surface.
Coil burners should be wiped while slightly warm — not hot — to soften food residue without risking burns, and drip pans require a 20-minute soak in hot soapy water before scrubbing to lift baked-on grease effectively. Following a structured cleaning routine with the right products keeps your electric stove functioning efficiently and looking new for years.
What You Need Before You Start
Gathering the right supplies before you begin prevents mid-cleaning interruptions and ensures you do not reach for a damaging product in a rush. Electric stove surfaces — particularly ceramic glass cooktops — are sensitive to pH extremes and abrasion, so every tool and cleaner matters.
Tools
- Soft microfiber cloths (minimum 2 — one for cleaning, one for drying)
- Non-abrasive scrub pad (soft nylon bristle brush or dedicated cooktop pad)
- Small bowl or container for mixing cleaning solutions
- Spray bottle for vinegar rinse solution
Cleaning Agents and Dilution Ratios
Three household cleaners handle every electric stove cleaning scenario. Dish soap (pH 5.5–7.0) is your daily workhorse — pH-neutral and safe for all surfaces when diluted at 1 teaspoon per 10 ounces of warm water. Baking soda (pH 8.3 in solution) forms the basis of a deep-cleaning paste at a 3:1 ratio with water — three parts baking soda to one part water creates a spreadable consistency that clings to vertical and horizontal surfaces. White distilled vinegar (5% acetic acid, pH 2.5) cuts grease films and neutralizes baking soda residue when diluted 1:1 with water.
| Solution | Ratio | Use Case |
|---|---|---|
| Daily cleaning solution | 1 tsp dish soap : 10 oz warm water | After-every-use surface wipe-down |
| Baking soda paste | 3 parts baking soda : 1 part water | Weekly deep clean, burnt-on food removal |
| Vinegar rinse | 1 part vinegar : 1 part water | Neutralizing rinse after baking soda treatment |
Step-by-Step Cleaning Process
The cleaning process is divided into four phases based on frequency and intensity. Phase 1 covers the quick daily wipe-down that prevents buildup. Phase 2 is the weekly deep clean using baking soda paste for glass ceramic surfaces. Phases 3 and 4 address coil burner and drip pan maintenance, which most people neglect until smoking or odors become noticeable. For a broader overview of kitchen appliance care, see the complete kitchen cleaning guide.
Phase 1: Daily Surface Cleaning (After Each Use)
- Allow the stove to cool completely — wait a minimum of 5 minutes after the indicator light goes off before touching the surface.
- Wipe the surface with a damp microfiber cloth to remove loose food particles and spills while they are still soft.
- Apply the dish soap solution (1 tsp per 10 oz warm water) to the surface using a soft cloth.
- Wipe in circular motions, concentrating on spill areas and the ring marks around heating elements.
- Dry immediately with a clean, dry microfiber cloth to prevent water spots and streaking on glass surfaces.
This five-minute routine prevents 90% of the baked-on residue problems that require aggressive deep cleaning later. The key is timing: food wipes away easily when still warm and moist, but once it carbonizes under repeated heating cycles, removal requires significantly more effort and stronger cleaning agents.
Phase 2: Weekly Deep Clean for Glass Ceramic Surfaces
- Sprinkle baking soda generously over the entire cooktop surface, covering all areas including the edges around burner rings.
- Spray or mist with water to create a thin paste — the consistency should be like cake batter, not runny.
- Allow the paste to dwell for 10–15 minutes. Do not let it dry completely; mist with water if it begins to crust over.
- Add a few drops of undiluted white vinegar directly onto stubborn spots to trigger a foaming reaction that lifts carbonized residue.
- Scrub gently with a damp non-abrasive pad using circular motions, working from the outside of each stain toward the center.
- Wipe clean with a damp microfiber cloth, rinsing the cloth frequently to avoid redistributing residue.
- Buff dry with a clean, dry microfiber cloth using back-to-front strokes for a streak-free finish.
The baking soda paste works through mild alkaline action — at pH 8.3, it breaks down grease molecules without attacking the ceramic glass coating. The vinegar reaction in step 4 produces carbon dioxide bubbles that physically lift loosened debris from microscopic surface pores. For detailed guidance on smooth-top cleaning, see our glass cooktop cleaning guide.
Phase 3: Coil Burner Maintenance
- Remove the coil burners carefully by lifting each one at a 45-degree angle and pulling straight out of the receptacle — never force or twist.
- Wipe each burner with a damp cloth while the element is slightly warm (hand-test: warm to the touch but not uncomfortable). The residual heat softens food residue for easier removal.
- Clean the burner receptacles with a dry cloth to remove crumbs and loose debris — moisture in the receptacle causes corrosion and electrical arcing.
- Inspect each burner for discoloration or damage. Dark spots or bubbling on the coil indicate overheating and signal that the burner needs replacement.
- Replace burners only after they are completely dry. Any moisture in the connection point can cause short circuits or tripped breakers.
Coil burners on electric stoves operate at temperatures between 600°F and 1,650°F during cooking. This extreme heat carbonizes food spills almost instantly, which is why warm — not hot — wiping is critical. Attempting to clean a hot burner can cause burns, while cleaning a cold burner means fighting hardened carbon deposits. For more on maintaining all types of stove heating elements, see our guide on cleaning stove top burners and drip pans.
Phase 4: Drip Pan Care
- Remove drip pans by lifting the coil burner out first, then lifting the pan from its seating position beneath the element.


