
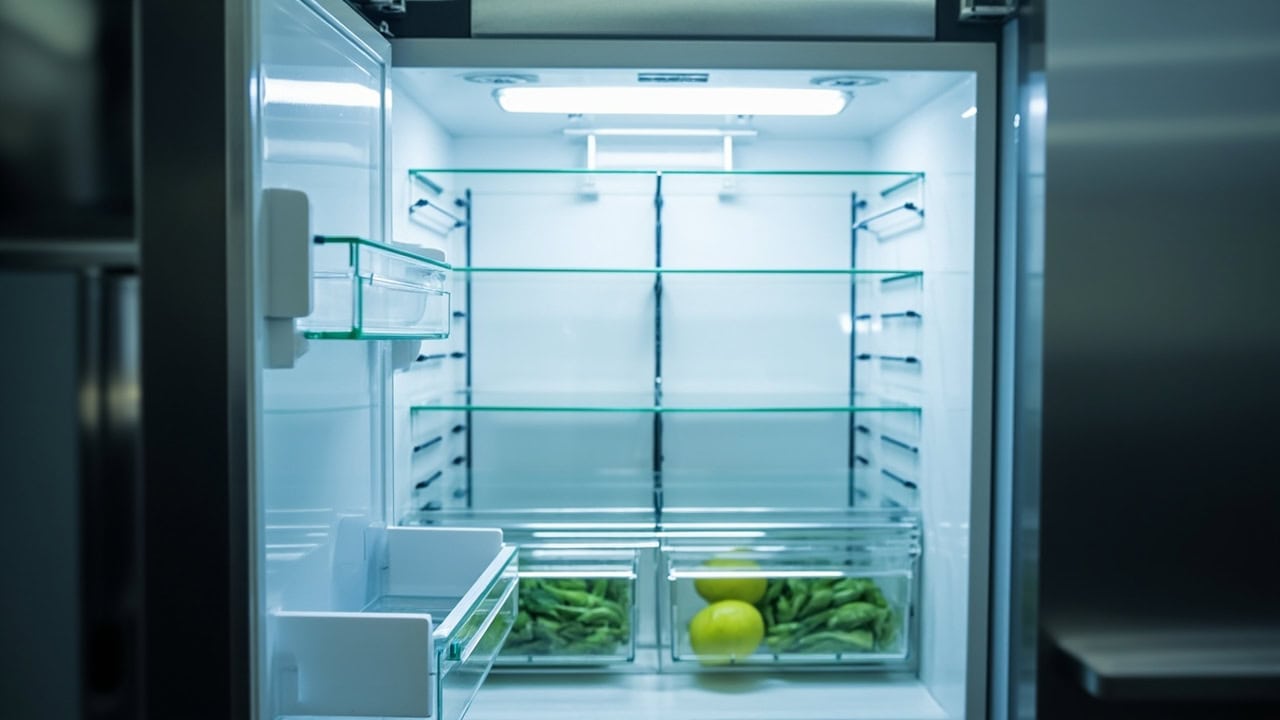
How to Clean a Refrigerator: Complete Guide

A refrigerator must be cleaned every 3–6 months using a solution of 2 tablespoons baking soda dissolved in 1 quart of warm water (approximately 95°F/35°C), applied with a non-abrasive microfiber cloth, and dried completely before restocking. This routine prevents bacterial cross-contamination from pathogens such as Salmonella and Listeria monocytogenes, eliminates odor-causing residue from food spills, and maintains safe storage temperatures by keeping condenser coils and door gaskets free of debris.
What You Need Before You Start
Tools Required
- Microfiber cloths (3–4 large cloths)
- Soft-bristle brush or old toothbrush
- Bucket or large bowl
- Spatula or plastic scraper (for prying out stuck shelves and drawers)
Cleaning Solution
The safest and most effective cleaning solution for refrigerator interiors is a simple baking soda mixture: combine 2 tablespoons of baking soda (sodium bicarbonate) with 1 quart of warm water at approximately 95°F (35°C). Baking soda has a pH of 8.3, making it mildly alkaline — enough to dissolve grease and neutralize acidic food odors without leaving residue that could contaminate food. For a sanitizing rinse on particularly soiled areas, use 1 part white vinegar (5% acetic acid, pH 2.5) diluted with 3 parts water.
Estimated Time
Allow 45–60 minutes for a complete refrigerator cleaning. This accounts for emptying the unit, removing and washing all removable components, wiping down the interior, and allowing adequate drying time before restocking.
Step-by-Step Refrigerator Cleaning Process
- Empty the refrigerator completely. Remove all food items, beverages, and condiments. Check expiration dates and discard anything past its use-by date. Place perishable items in a cooler filled with ice packs to maintain temperatures below 40°F (4°C) during the cleaning process. According to the USDA Food Safety and Inspection Service, perishable food should not sit above 40°F for more than 2 hours.
- Remove all shelves, drawers, and door bins. Pull out adjustable glass shelves, crisper drawers, and door-mounted storage bins. If any components are fixed in place, consult the manufacturer’s instructions for proper removal. Glass shelves with plastic frames should be allowed to reach room temperature before washing — sudden temperature changes from cold refrigerator to hot water can cause tempered glass to crack. Place all removable parts in the sink or bathtub for soaking.
- Wash removable components. Clean shelves and drawers in warm soapy water using a soft cloth or sponge. For stubborn, dried-on residue, sprinkle baking soda directly onto the surface and scrub gently with a damp cloth — the mild abrasive action lifts stuck food particles without scratching glass or plastic. Rinse thoroughly with clean water and dry completely with a microfiber cloth before reinstalling. Deli drawers with narrow grooves benefit from a soft-bristle toothbrush to reach into crevices where bacteria-laden biofilm accumulates.
- Clean the interior walls and gaskets. Wipe all interior walls with the baking soda solution using a thoroughly wrung-out microfiber cloth. Work from the top down to prevent drips onto already-cleaned surfaces. Pay close attention to corners, seams where shelf supports attach, and the rubber door gasket — use an old toothbrush to scrub the gasket crevices where grime builds up and causes door seal failure. A compromised seal allows cold air to escape, forcing the compressor to run longer and increasing energy consumption by up to 25%. For detailed gasket cleaning techniques, see our guide on how to remove mold from refrigerator gaskets.
- Clean the drain hole and drip pan. Locate the refrigerator’s defrost drain hole, typically found at the back of the compartment near the bottom. A clogged drain causes water to pool on the refrigerator floor, creating conditions for mold and bacterial growth. Insert a pipe cleaner or small nylon brush into the drain opening and twist to dislodge trapped food particles and debris. Follow with a flush of the baking soda solution to sanitize the drain channel. If the refrigerator has an external drip pan beneath the unit, slide it out and wash it with warm soapy water.
- Dry the interior completely. Use a dry microfiber cloth to wipe all surfaces, including shelf supports, drawer tracks, and the underside of the door bins. Allow the refrigerator to air dry for 10–15 minutes with the door propped open, or position a small fan to circulate air through the interior. Any moisture left behind creates ideal conditions for mold growth and bacterial colonization, undoing the work of cleaning.
- Reassemble and restock. Replace all dry shelves, drawers, and bins in their original positions. Return food items organized by type and safe storage zone — raw meats on the bottom shelf to prevent cross-contamination from drips, dairy and ready-to-eat items on middle shelves, fruits and vegetables in designated crisper drawers, and condiments in door bins. Place an open box of baking soda on a top shelf to passively absorb odors between deep cleans, replacing it every 3 months.
Refrigerator Temperature Zones and Safe Storage
Understanding your refrigerator’s temperature gradient is essential for food safety. Cold air enters at the top and sinks, making the bottom shelf the coldest zone. The USDA recommends maintaining the main compartment between 33°F and 40°F (0.4°C–4°C), with the ideal target at 37°F (3°C). Storage decisions should match food type to the appropriate temperature zone.
| Zone | Temperature Range | Best Items to Store |
|---|---|---|
| Top shelf | 37–40°F (3–4°C) | Leftovers, drinks, ready-to-eat foods |
| Middle shelves | 35–38°F (2–3°C) | Dairy products, eggs, deli items |
| Bottom shelf | 33–35°F (1–2°C) | Raw meats, poultry, seafood |
| Crisper drawers | 36–40°F (2–4°C) | Fruits and vegetables |
| Door bins | 40–45°F (4–7°C) | Condiments, butter, non-dairy beverages |
Never store raw meat, poultry, or seafood on upper shelves where drips could contaminate ready-to-eat foods below. The door bins experience the widest temperature fluctuations — every time the door opens, items stored there warm briefly — so reserve that space for acidic condiments like ketchup and mustard, which are naturally resistant to bacterial growth.
What to Avoid When Cleaning Your Refrigerator
Certain cleaning products and methods cause more harm than good. Harsh chemicals like bleach, ammonia, and commercial degreasers leave toxic residue that can contaminate food stored in the refrigerator. The EPA classifies food-contact surfaces as requiring pH-neutral or food-safe cleaning agents — baking soda and mild dish soap meet this standard, while bleach does not unless followed by a potable water rinse as required by food safety regulations.
- Bleach and ammonia: Leave chemical residue that contaminates food and degrades plastic shelf clips and drawer tracks over time. These chemicals also corrode the rubber door gasket, causing premature cracking and seal failure.
- Abrasive scrubbers: Steel wool, rough sponges, and scouring pads scratch tempered glass shelves, cloud clear plastic bins, and damage the protective coating on stainless steel interiors.
- Excessive water: Overly saturated cloths cause water to pool in door channels and drip onto the floor. Always wring the cloth until barely damp before wiping interior surfaces.
- Glass cleaner on rubber gaskets: Ammonia-based window cleaners break down the elastomers in door gaskets, causing them to harden and lose their sealing ability.
Drying and Finishing Touches
After wiping all interior surfaces, leave the refrigerator door open for 10–15 minutes to allow complete air circulation and evaporation of residual moisture. Position a small fan pointing into the refrigerator if you need to accelerate drying. Inspect the door gasket for any remaining moisture trapped in the folds — wipe it dry to prevent mold colonization on the rubber surface.
Place an open box of baking soda on the top shelf to absorb lingering odors between deep cleans. Replace the box every 3 months, as sodium bicarbonate reaches odor-absorption capacity after roughly 90 days of continuous exposure. For persistent odors, spread a thin layer of baking soda on a rimmed baking sheet and place it on a middle shelf overnight — the increased surface area accelerates odor neutralization.
Common Refrigerator Cleaning Mistakes
| Mistake | Why It Causes Problems | Correct Approach |
|---|---|---|
| Using bleach solution | Leaves toxic residue, damages plastic components | Use baking soda and warm water |
| Cleaning with saturated cloth | Water drips into door channels and onto floor | Wring cloth until barely damp |
| Skipping the drain hole | Clogged drain causes water pooling and mold growth | Clear with pipe cleaner monthly |
| Overloading after cleaning | Blocks air circulation, causes uneven cooling | Maintain 70% capacity maximum |
| Not cleaning condenser coils | Forces compressor to work harder, shortens lifespan | Vacuum coils every 6–12 months |
Condenser coil maintenance is one of the most frequently neglected refrigerator cleaning tasks. Dirty coils force the compressor to run longer cycles to achieve the same cooling output, increasing energy consumption by 10–25% depending on the severity of the buildup. For a complete walkthrough, see our dedicated guide on how to clean refrigerator coils. This maintenance task should be performed every 6–12 months, or more frequently if you have shedding pets or a particularly dusty kitchen environment.
How Often Should You Clean Your Refrigerator?
A full interior deep clean — removing all components, washing every surface, and clearing the drain hole — should be performed every 3 to 6 months. Between deep cleans, establish these maintenance habits to keep the refrigerator hygienic:
- Weekly: Wipe spills immediately with a damp microfiber cloth. Check for and discard spoiled or expired items.
- Monthly: Wipe down door gaskets with a damp cloth. Check expiration dates on all condiments and packaged foods.
- Every 3 months: Replace the open baking soda box. Inspect crisper drawers for residue buildup.
- Every 6–12 months: Vacuum condenser coils. Perform a full interior deep clean.
The frequency of deep cleaning depends on household size and cooking habits. Families that store large quantities of fresh produce and raw proteins generate more spill potential and should lean toward the 3-month interval. Smaller households that use fewer fresh ingredients can safely extend to every 6 months. For more kitchen cleaning schedules and routines, visit our complete kitchen cleaning guide.
The same principles that govern refrigerator hygiene — controlling moisture, preventing biofilm formation, and maintaining surface cleanliness — also apply to other humid environments in the home. Our bathroom cleaning guide covers mold prevention strategies for similarly moisture-prone spaces, and our cleaning chemistry guide explains the science behind why pH-neutral and mild-alkaline cleaners are the safest choice for food-contact surfaces.
Frequently Asked Questions
Q: What is the best solution to clean refrigerator interior?
A: A solution of 2 tablespoons of baking soda dissolved in 1 quart of warm water (approximately 95°F/35°C) is the safest and most effective cleaner for refrigerator interiors. Baking soda neutralizes odors, cuts through grease residue, and is food-safe without requiring a rinse after application. For heavily soiled areas, sprinkle baking soda directly onto the surface as a mild abrasive paste, then wipe clean with a damp microfiber cloth.
Q: How do you clean refrigerator coils?
A: Unplug the refrigerator and locate the condenser coils — they are typically behind the lower front grille or on the back of the unit behind a rear panel. Use a coil cleaning brush (a long-handled bristle brush designed for this purpose) or a vacuum with a narrow attachment to remove dust and pet hair buildup. Clean the coils every 6–12 months to maintain energy efficiency and extend compressor lifespan.
Q: Can you use vinegar to clean a refrigerator?
A: Yes, white vinegar diluted at a 1:3 ratio with water works as an effective sanitizing rinse for refrigerator interiors. The 5% acetic acid in white vinegar lowers the pH enough to kill most common bacteria. However, avoid using vinegar on natural stone or marble shelf surfaces found in some high-end refrigerator models — the acidity can etch and dull these materials over repeated exposure.
Q: How do you prevent mold in a refrigerator?
A: Mold prevention requires three consistent practices: immediately wipe any spills with a dry or barely damp cloth, keep the defrost drain hole clear of food debris to prevent standing water, and leave the door open for 10–15 minutes after cleaning to allow complete drying of all interior surfaces. An open box of baking soda placed on the top shelf absorbs excess moisture and neutralizes odor-causing compounds between deep cleanings.
References
- U.S. Department of Agriculture, Food Safety and Inspection Service. (2024). Chilling: Food Safety Basics. USDA FSIS.
- U.S. Food and Drug Administration. (2024). Refrigerator and Freezer Storage Chart. FDA.
- FoodSafety.gov. (2024). Cold Food Storage Charts. U.S. Department of Health and Human Services.
- NSF International. (2023). Germiest Places in the Kitchen. NSF International.
- U.S. Department of Energy. (2024). Tips on Appliances and Electronics. Energy.gov.


