
How to Clean a Rifle without a Bore Guide

Cleaning a rifle without a bore guide requires eye for detail, proper solvents, and methodical disassembly. Unload the rifle completely, strip all components, clean the bore with a patch loop, lubricate metal surfaces, and reassemble dry parts for optimal performance.
Do I Need a Bore Guide for Cleaning?
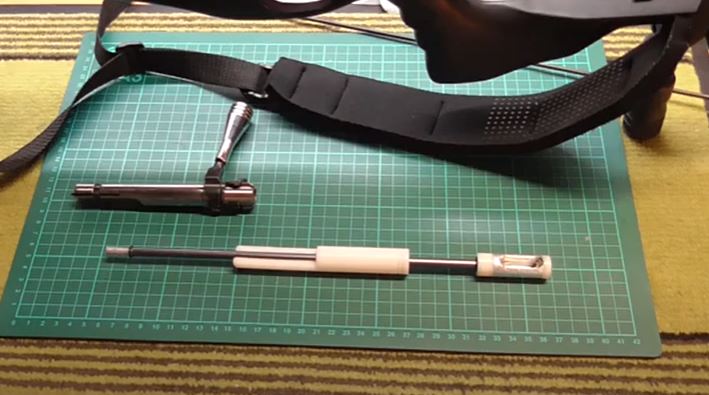
A bore guide aligns the cleaning rod with the bore axis, protecting the barrel crown and chamber from scratches during cleaning. Bore guides reduce solvent waste by up to 50% by containing overflow within the action.
A bore guide is not mandatory for cleaning rifles. Experienced shooters who understand barrel geometry can clean rifles without one by manually maintaining rod alignment perpendicular to the breech face.
Bore guides decrease the probability of damaging the rifle crown—a critical point where bullet seating begins. Without one, the cleaning rod can contact the crown at an angle, causing precision-degrading scratches within 2–3 strokes.
How to Clean a Rifle Without a Bore Guide: Step-by-Step
Cleaning a rifle without a bore guide requires extra caution and methodical execution. Follow these four steps to clean your rifle effectively without a bore guide:
Step 1: Strip the Rifle Completely
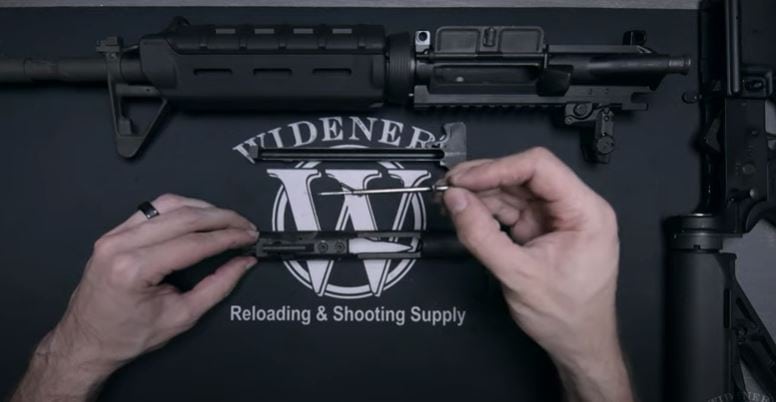
Disassembly ensures solvent and debris reach all fouling without reassembly obstruction. Failure to fully strip the action results in cleaning only 60–70% of accessible surfaces.
To strip a rifle safely:
- Unload the rifle and verify the chamber is empty—check twice.
- Turn the recoil pad or plug counterclockwise to release the spring and guide rod.
- Remove the trigger group or trigger guard assembly as applicable.
- Separate the bolt carrier group from the receiver.
- Label small parts on a mat to prevent loss—sear springs and firing pins are easily misplaced.
Step 2: Clean the Rifle Bore and Components
Organize components on a gun cleaning mat in the order of disassembly. Lay the barrel on the mat with the chamber facing left to maintain orientation during cleaning.
For the bore, use a cleaning rod with a patch loop:
- Run a dry patch through the bore first to remove loose fouling.
- Apply bore solvent to a patch—2–3 drops for a .22–.308 caliber rifle.
- Insert from the chamber end only—never push a rod down the bore from the muzzle, which damages the crown.
- Let solvent soak for 5–15 minutes to dissolve carbon fouling and copper residue.
- Follow with 3–5 wet patches, then dry patches until they emerge clean.
For external surfaces and tight spaces:
- Dip a bronze bore brush in solvent and scrub the chamber neck and feed ramp.
- Use cotton swabs for the trigger pocket, sear, and small components.
- Scrub the bolt carrier group with a nylon brush—focus on the bolt face and gas key.
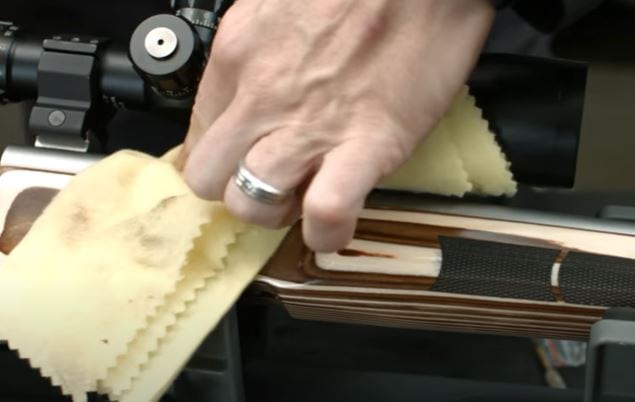
- Wipe the barrel exterior with a solvent-dampened rag, then a dry rag.
Step 3: Lubricate the Rifle
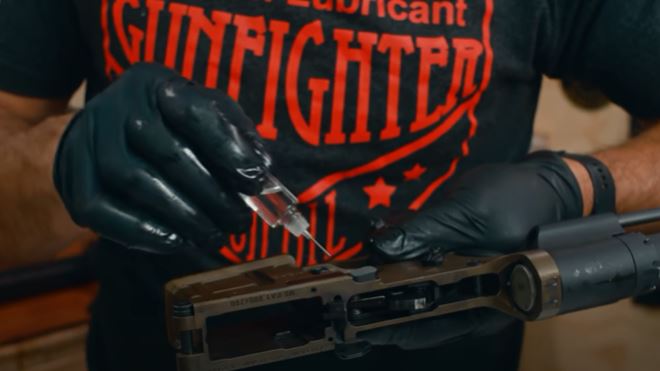
Lubrication prevents rust on metal surfaces and ensures smooth mechanical function. Insufficient lubrication causes metal-on-metal wear that degrades accuracy over 500+ rounds.
Apply 2–3 drops of firearm-specific oil (nitrogen-based or synthetic) to:
- The bolt carrier group’s rail surfaces—2 drops per rail.
- The firing pin retaining pin and inside the firing pin channel.
- Hammer/sear engagement surfaces—1 drop each.
- The barrel hood and chamber if the rifle will be stored longer than 48 hours.
For high-humidity environments (relative humidity above 60%), apply a thin coats of rust preventative to the bore and all exposed metal surfaces after cleaning and before storage.
Step 4: Reassemble the Rifle
Allow all components to air-dry for 5–10 minutes after cleaning and lubrication. Alternatively, wipe all parts with a dry microfiber cloth to accelerate drying and remove excess oil.
Reassemble in the reverse order of disassembly. Verify each component seats fully before moving to the next step. Function-check the trigger, safety, and bolt carrier travel before loading.
Is a Bore Guide Necessary for AR-15 Cleaning?
A bore guide is not strictly necessary for cleaning an AR-15, but it significantly reduces the risk of crown damage and solvent spillage. Cleaning Smith & Wesson AR-15 rifles follows the same procedure as other AR-15 platforms with these added considerations:
Ease of Use
A bore guide slots into the AR-15’s dust cover opening, aligning the rod through the action and barrel in one motion. This eliminates the need to manually estimate rod angle from the chamber end, which without practice leads to rod contact with the barrel walls within 1–2 strokes.
Crown and Chamber Protection
The AR-15’s barrel extension crown is recessed 0.005–0.010 inches inside the barrel. A bore guide’s precision-bored tip sits within this recess during cleaning, preventing the cleaning rod from directly contacting the crown lands.
Solvent Containment
Without a bore guide, solvent pools in the chamber and can degrade the magazine spring and follower if left overnight. Bore guides direct solvent flow into a collection area, reducing waste by 40–60%.
What Is the Purpose of a Bore Guide?
A bore guide serves three primary functions in rifle maintenance:
- Rod alignment: Keeps the cleaning rod parallel to the bore axis, preventing rod-to-land contact.
- Crown protection: Shields the bullet seating crown from impact that degrades accuracy.
- Solvent containment: Reduces solvent overflow into the action and magazine well.
Rifle Cleaning Mistakes That Damage the Barrel
Barrel damage during cleaning degrades accuracy and is often irreversible. Avoid these five common errors:
- Cleaning from the muzzle: Pushing a rod down the bore from the muzzle damages the crown lands. Always insert from the chamber end.
- Excessive solvent saturation: More than 3–4 drops of solvent on a patch creates pooling that degrades rubber gaskets and finishes.
- Wrong brush caliber: A brush 0.002–0.005 inches undersized slides inside the bore without contact; one oversize by the same margin can scratch the lands.
- Cleaning in a damp environment: Relative humidity above 70% accelerates flash rust on exposed steel within 2–4 hours of cleaning.
- Over-lubricating: Oil pooled in the chamber causes inconsistent ignition and bullet seating variations of 0.002–0.005 inches, degrading precision.
Can You Clean a Marlin 22 Semi-Automatic Rifle Without a Bore Guide?
Yes, you can clean a Marlin 22 semi-automatic rifle without a bore guide. However, the Marlin 60’s tubular magazine and 10/30-round capacity require careful attention during cleaning to prevent solvent contamination of the magazine tube.
Use a .22-caliber cleaning rod with a 2-inch patch loop and work exclusively from the chamber end. Cleaning a Marlin 22 rifle without a bore guide is achievable in 20–30 minutes with practice.
Quick-Reference: Rifle Cleaning Specifications
| Parameter | Specification |
|---|---|
| Solvent soak time (carbon fouling) | 5–15 minutes |
| Solvent soak time (copper fouling) | 15–30 minutes with copper remover |
| Recommended solvent volume per patch | 2–3 drops (.22–.308 cal) |
| Wet-to-dry patch sequence | 3–5 wet, then dry until clean |
| Humidity threshold for rust prevention | Apply protective coating above 60% RH |
| Brush caliber tolerance | ±0.002 inches of bore diameter |
| Drying time (air) | 5–10 minutes |
| Lubrication points (bolt carrier) | 2 rails + gas key + firing pin |
| Storage oil coating thickness | Single thin coat—visible but not pooling |
Conclusion
Rifle cleaning without a bore guide is a viable skill for any responsible gun owner. The key is maintaining meticulous rod alignment from the chamber end, using correct solvent volumes (2–3 drops per patch), and allowing proper soak times before scrubbing.
Patience directly correlates with barrel longevity in cleaning. Rushing causes crown scratches, over-lubrication creates ignition inconsistencies, and insufficient drying leads to flash rust formation within hours.
References
- National Shooting Sports Foundation (NSSF). Firearm Care & Maintenance Guide. nssf.org.
- U.S. Army Technical Bulletin TB-9-1005-393-13. Operator’s Manual for M4/M4A1 Carbines. Department of Defense.
- American Society for Testing and Materials (ASTM). Standard Specification for Firefighting Respiratory Protection. ASTM F2001.

