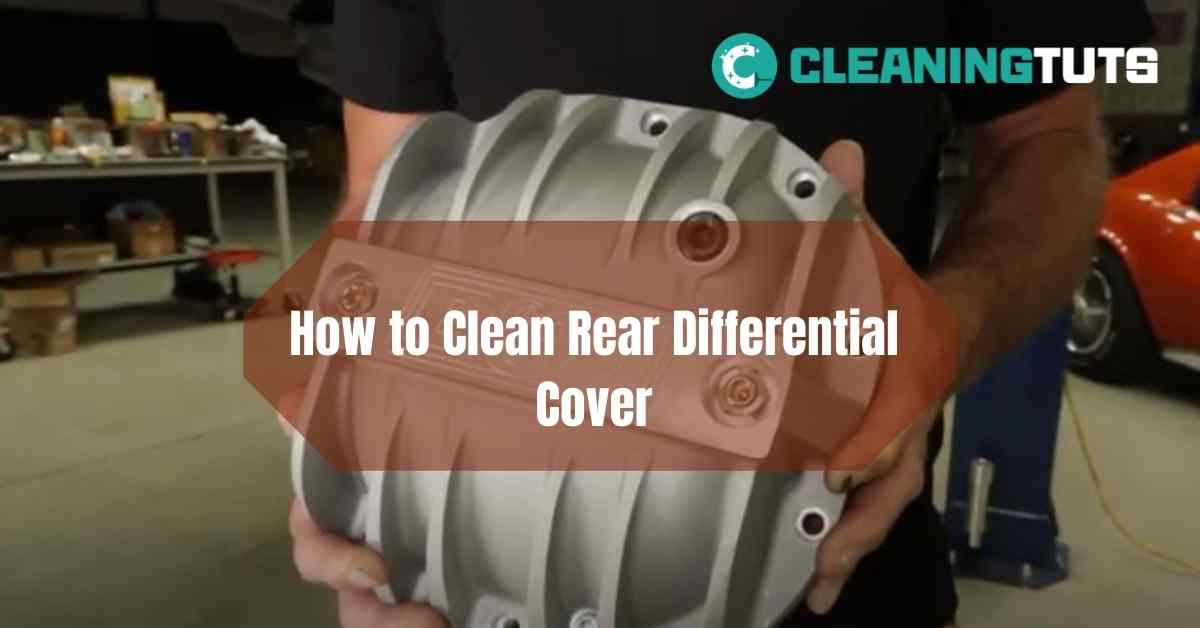
How to Clean Rear Differential Cover?
The rear differential transfers power to the rear wheels and requires regular maintenance to prevent costly repairs. Cleaning the rear differential cover takes 2–3 hours and requires only basic mechanical skills—no special tools needed beyond a socket set and a 10mm/12mm hex key.
To clean a rear differential cover, remove the axle and wheel, unbolt the cover while the vehicle is raised on jack stands, drain the fluid from the fill plug (top) and drain plug (bottom), spray the inside with a degreaser and let it soak for 5 minutes, rinse with water, then scrub with a mild soap solution before allowing all components to air-dry completely.
How to Clean Rear Differential Cover: Step-by-Step Process
This guide covers every step needed to clean your rear differential cover, from raising the vehicle safely to reattaching the cover with a new gasket. Most rear differentials hold 2–4 quarts (1.9–3.8 liters) of fluid depending on your vehicle’s class.
Step 1: Remove the Rear Differential Cover

Removing the rear differential cover requires raising the vehicle and working underneath it. Always use jack stands on both sides—never rely on a jack alone. Park on level concrete and chock the front wheels before lifting.
Remove the Axle and Wheel
Remove the rear wheel using a lug wrench, then pull the axle shaft using a pry bar to gain full access to the differential cover. Stuff a shop rag into the axle bore to prevent fluid leakage while the cover is off.
Remove Differential Cover Bolts and Gasket
Use a 12mm hex key to remove all bolts around the cover’s perimeter. The gasket typically adheres to the differential housing—carefully separate it with a flathead screwdriver. Work slowly to avoid damaging the mating surfaces.
Step 2: Drain the Differential Fluid
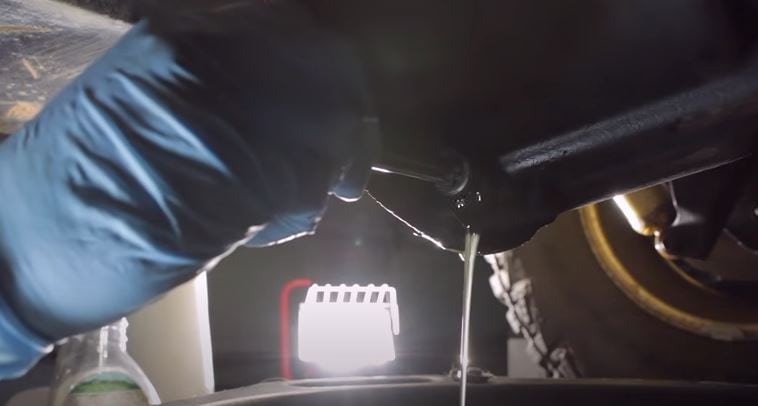
Draining fluid requires removing two plugs: the fill plug (top of cover) and drain plug (bottom of differential). Place an oil drain pan beneath the differential before beginning. Most rear differentials hold 2–4 quarts (1.9–3.8 liters) of gear oil.
Remove the fill plug first using a 10mm hex key—this prevents a vacuum lock that slows drainage. Then remove the drain plug and allow fluid to drain completely, typically 5–10 minutes depending on viscosity.
Avoid stripping the fill plug: these bolts oxidize easily and seize in place. If resistance is felt, apply WD-40 Specialist Industrial Strength Degreaser and wait 2–3 minutes before attempting again.
Step 3: Spray the Inside with a Degreaser
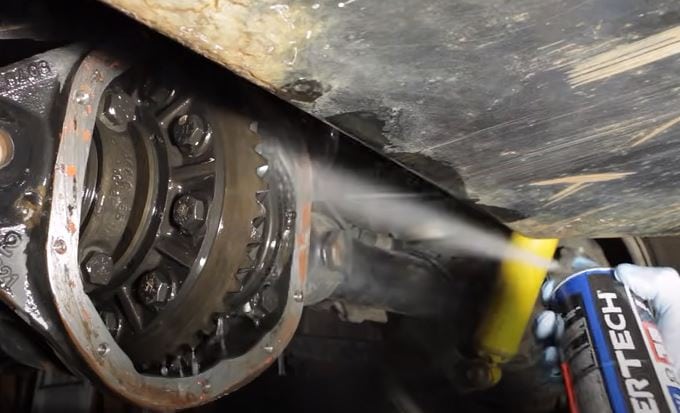
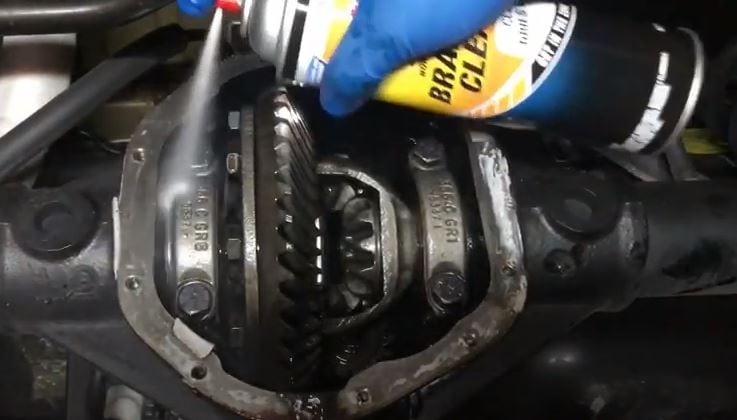
Wear chemical-resistant gloves and eye protection. Apply an industrial-grade degreaser such as WD-40 Specialist Industrial Strength Degreaser to the inside of the differential housing. Allow it to soak for exactly 5 minutes—the active surfactants dissolve road grime and old lubricant residue within this window.
After soaking, rinse thoroughly with clean water. Do not allow degreaser to dry on metal surfaces as this can cause water spotting and accelerate surface oxidation.
Step 4: Clean with Mild Soap Solution and Dry
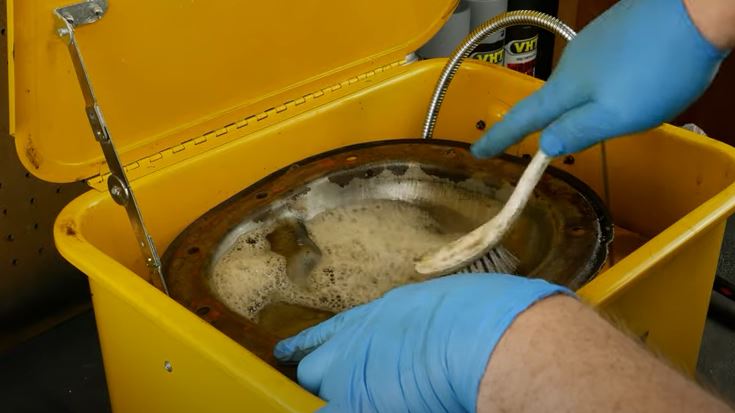
Prepare a heavy-duty cleaning solution: combine 2 gallons of warm water with 1/2 cup of trisodium phosphate (TSP) and 1 quart of dish soap in a 5-gallon bucket. TSP has a pH of approximately 11–12 in solution, making it effective for cutting automotive grease and grime.
Soak the Cover
Submerge the differential cover in the TSP solution and let it soak for at least 20 minutes. Use a nylon scrub brush for stubborn deposits and a wire brush only on rust-affected areas to avoid scratching machined surfaces.
Rinse and Air-Dry
Rinse all components with clean water to remove TSP residue. Allow the cover and differential interior to air-dry completely—typically 1–2 hours—before reinstalling. Trapped moisture dilutes new differential fluid and causes premature wear.
Recommended Cleaning Methods for Rear Differential Covers
Three methods work well for cleaning differential covers, depending on soil level and available equipment. Choose the method that matches your situation:
Method 1: Pressure Washer (Light Soiling)
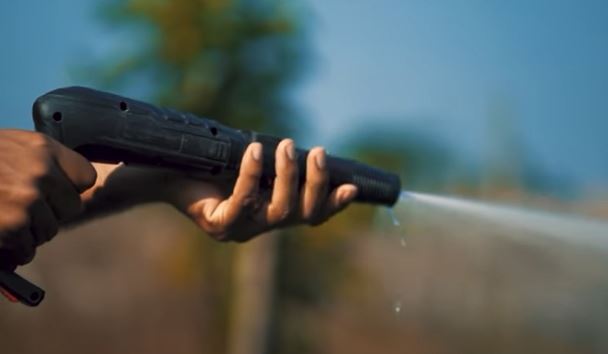
Set the pressure washer to 80–120 PSI for plastic-covered differentials or 1,200–1,500 PSI for bare metal covers. Hold the nozzle 12–18 inches from the surface and use a fan tip rather than a zero-degree nozzle to avoid damaging gasket surfaces.
Method 2: Engine Degreaser (Heavy Contamination)
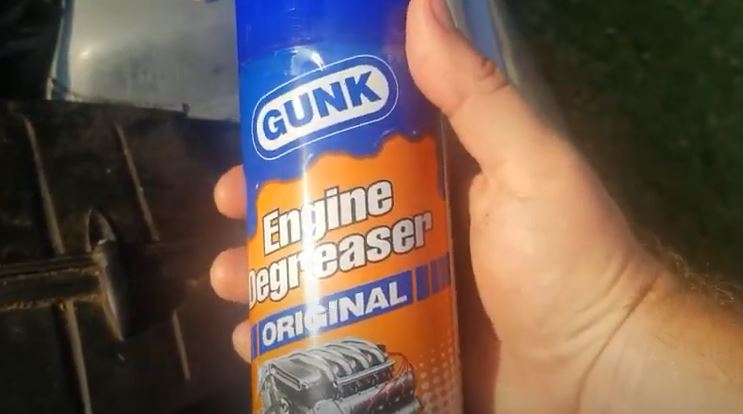
Engine degreasers are formulated for petroleum-based contaminants found in gear oil and road grime. Apply to dry surfaces, allow 5 minutes of dwell time, then rinse with water. Always dispose of rinse water properly—never drain into storm sewers.
Method 3: WD-40 Multi-Use Product (Tar and Light Grime)
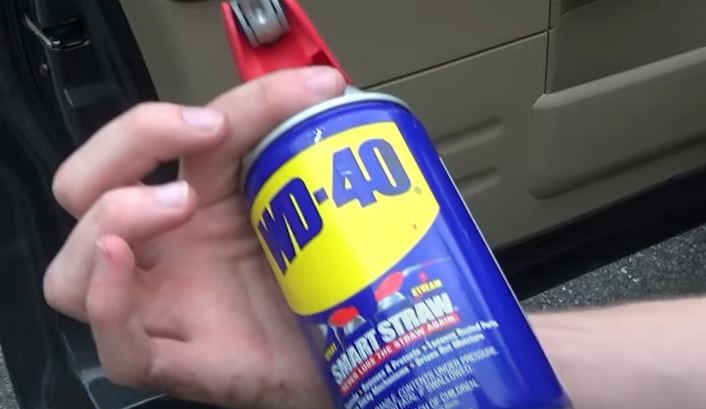
WD-40 dissolves road tar and light grime effectively. Spray liberally onto the differential cover, allow 2–3 minutes to penetrate, then wipe with a clean shop rag. A second application ensures complete coverage. Remove all excess WD-40 before adding new fluid—residual oil degrades gear oil performance.
Can You Use Brake Cleaner on a Differential?
Brake cleaner evaporates in 30–60 seconds, which prevents residue buildup on brake components. However, this fast evaporation rate makes it less effective on differentials where longer dwell time is needed to dissolve hardened grease. Brake cleaner is safe for metal surfaces but avoid breathing vapors—use in a well-ventilated area.
For heavy differential cleaning, a dedicated degreaser with 5-minute dwell time outperforms brake cleaner. Reserve brake cleaner for quick spot cleaning of gasket surfaces before reassembly.
How to Remove Rust from a Differential Cover
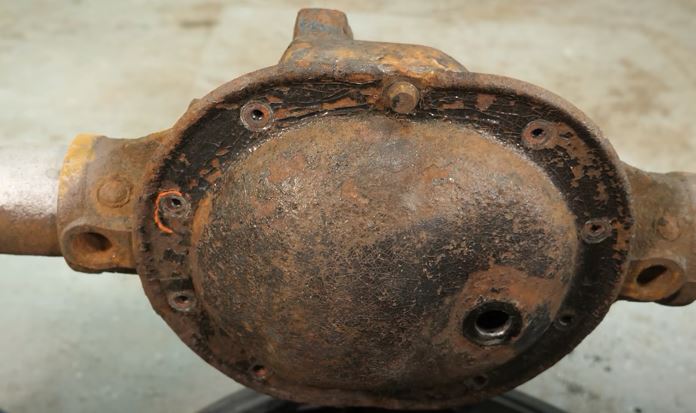
Surface rust on a differential cover is common on vehicles driven in wet climates or on salted roads. Complete rust removal restores metal integrity and prevents further corrosion. Follow these five steps:
Step 1: Drain Differential Fluid
Place an oil drain pan beneath the differential. Locate the drain plug on the differential’s side (facing forward) and use a 10mm hex key to remove it. Drain completely before proceeding. Replace the drain plug with a new gasket to prevent leaks upon reassembly.
Step 2: Remove the Differential Cover
Use a 12mm hex key to remove all perimeter bolts. Pry the cover free with a flathead screwdriver and scrape off old gasket material with a razor blade. Inspect ring gear teeth for pitting, scoring, or chipped teeth—these indicate a more serious rebuild is needed.
Step 3: Scrub the Rusted Area
Use a steel wire brush to remove loose rust scale. For stubborn rust, apply a rust converter product and let it foam for 3–4 hours. The converter chemically transforms iron oxide into a stable iron phosphate layer that paint can adhere to.
Step 4: Apply Rust Converter
Apply a commercial rust converter with a disposable brush, covering all affected areas. Allow 3–4 hours of dwell time at temperatures above 50°F (10°C). In cold conditions, extend dwell time to 8 hours for complete chemical conversion.
Step 5: Remove Converter and Prime
Wipe away the converted residue with a clean rag. Light sanding with 220-grit sandpaper removes any remaining particles. Apply a rust-inhibiting primer within 24 hours to prevent flash rust re-formation.
Signs Your Differential Fluid Needs Attention
Differential fluid lubricates gears at ratios up to 10:1, enduring temperatures from -20°F to 300°F (-29°C to 149°C) during operation. When fluid degrades, symptoms appear within days. Watch for these four warning signs:
Vehicle Pulls to One Side
A vehicle that drifts or pulls laterally despite proper wheel alignment indicates low differential fluid. Insufficient lubrication causes bearing drag, creating resistance that offsets steering neutrality. Check and top off fluid immediately if this symptom appears.
Growling Noise During Turns
A growling or whining sound during cornering indicates aerated or low fluid. When differential fluid level drops, the pump draws air alongside fluid, reducing hydraulic pressure. This causes gear noise that disappears on straight-line driving.
Delayed Engagement in Cold Weather
At temperatures below freezing, degraded fluid thickens significantly. If your vehicle hesitates to move in cold morning conditions and fluid was not changed within 30,000 miles (48,000 km), the differential fluid is likely contaminated or oxidized.
Difficulty Starting on a Flat Surface
While rare, severely low differential fluid causes binding in the differential assembly that strains drivetrain components. If starting becomes difficult on level ground and no other symptoms are present, have the differential inspected immediately.
Differential Cleaning: Method Comparison
| Method | Best For | Dwell Time | PSI/Type |
|---|---|---|---|
| Pressure Washer | Light mud, road dust | None | 80–120 PSI (plastic), 1,200–1,500 PSI (metal) |
| Engine Degreaser | Heavy grime, gear oil residue | 5 minutes | Spray-on liquid |
| WD-40 | Road tar, light contamination | 2–3 minutes | Spray aerosol |
| Brake Cleaner | Quick gasket prep, spot cleaning | 30–60 seconds | Spray aerosol |
Key Specifications at a Glance
- Recommended fluid change interval: 30,000–50,000 miles (48,000–80,000 km) for normal service
- Typical rear differential fluid capacity: 2–4 quarts (1.9–3.8 liters)
- TSP cleaning solution: ½ cup per 2 gallons of warm water (pH 11–12)
- Degreaser soak time: 5 minutes
- Rust converter dwell time: 3–4 hours at above 50°F (10°C)
- Cover bolt size: 12mm hex key
- Fill/drain plug size: 10mm hex key
Cleaning CAN AM Defender Seats vs. Differential Covers
Automotive cleaning requires method-specific products. CAN AM Defender seats use soft upholstery fabric that responds to gentle upholstery cleaners and a soft-bristle brush—harsh degreasers damage seat materials. Differential covers are metal components that withstand heavy-duty degreasers and wire brushes. Using the correct product for each surface prevents damage and ensures effective cleaning.
For a complete guide to automotive upholstery care, see our tutorial on how to clean CAN AM Defender seats.
Conclusion
Cleaning a rear differential cover takes 2–3 hours with basic tools and delivers long-term drivetrain protection. The process involves draining old fluid, degreasing internal components with a 5-minute dwell time, scrubbing with TSP solution, and allowing complete air-drying before reassembly.
Regular differential maintenance—fluid changes every 30,000–50,000 miles—extends gear life and prevents costly repairs. When performing this service, always replace the drain plug gasket and inspect the ring gear for wear. A well-maintained differential delivers quiet, smooth operation for years.
References
- WD-40 Company. (2024). WD-40 Specialist Industrial Strength Degreaser Technical Data Sheet. wd40.com.
- Society of Automotive Engineers. (SAE). Gear Oil Viscosity Classifications and Performance Standards. sae.org.
- National Automobile Dealers Association. (NADA). Differential Service Interval Recommendations by Vehicle Class. nada.org.
