
How to Clean CAN AM Defender Seats?

CAN-AM Defender seats accumulate mud, dirt, and moisture during off-road use. Clean them using a pH-balanced cleaner, soft-bristle brush, and microfiber cloth—start by rinsing loose debris, apply cleaner, let it dwell 3–5 minutes, scrub gently, and rinse thoroughly.
Off-road UTVs do not require special treatment. The vehicle construction allows easy cleaning using standard soap or chemical cleaners and a normal brush or foam. Owners simply follow basic cleaning steps to maintain seat appearance and longevity.
Many owners clean Defender seats incorrectly, which causes premature wear rather than protecting the material. This guide covers the correct products, dilution ratios, dwell times, and step-by-step methods for cleaning CAN-AM Defender seats without damaging the upholstery.
Best Cleaners for CAN-AM Defender Seats
Several cleaners work effectively on Defender seats. The table below summarizes pH levels, dwell times, and dilution ratios for the most common options.
| Product | Type | pH Range | Dwell Time | Dilution |
|---|---|---|---|---|
| Armor All Tire Foam | Foam spray | 7.0–8.0 | 30–60 seconds | Ready-to-use |
| Mean Green Cleaner | All-purpose solvent | 9.5–10.5 | 5 minutes | 1:1 with water for seats |
| Armor All Car Cleaner | pH-balanced formula | 7.0–7.5 | 2–3 minutes | Ready-to-use |
| Detergent & Microfiber | Mild soap solution | 7.0 (neutral) | 1–2 minutes | 1 tbsp per 1 quart water |
| Tuff Stuff Carpet Cleaner | Multipurpose cleaner | 8.5–9.5 | 3–5 minutes | Ready-to-use or 1:1 |
| Purple/Green Tire Cleaner | Heavy-duty alkaline | 11.0–12.5 | 3–5 minutes | Ready-to-use (test first) |
Armor All Tire Foam
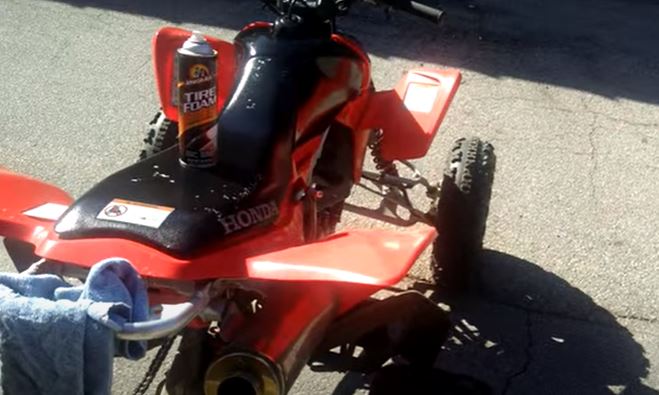
Armor All Tire Foam is the most popular choice among CAN-AM owners. Its foam texture clings to vertical surfaces without dripping, and it requires no scrubbing. Spray directly onto the seat surface, wait 30–60 seconds, and rinse with water.
Mean Green Cleaner
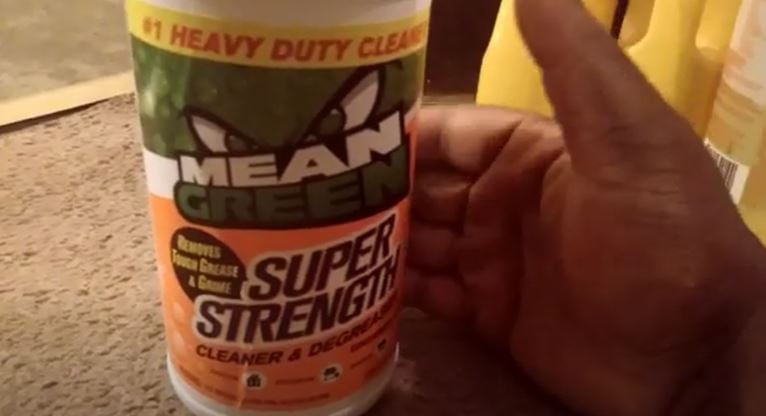
Mean Green is a readily available all-purpose degreaser. Dilute at a 1:1 ratio with water for seat cleaning. Spray the solution onto the seat, let it dwell for 5 minutes to penetrate mud and oils, then rinse thoroughly with a garden hose or pressure washer at low setting.
Armor All Car Cleaner

Armor All Car Cleaner delivers excellent results on Defender seats. Its pH-balanced formula (7.0–7.5) is safe for most seat materials. Apply, allow 2–3 minutes dwell time, and rinse. This product also includes UV protectants that help prevent material degradation from sun exposure.
Detergent and Microfiber Sponge
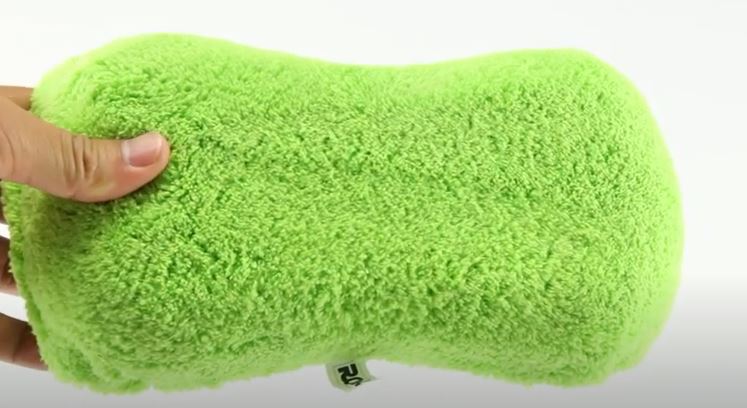
For lightly soiled seats, mix 1 tablespoon of mild dishwashing detergent with 1 quart of warm water (approximately 100°F / 38°C). Apply with a microfiber sponge using circular motions, then wipe clean with a damp microfiber cloth and allow to air dry.
Purple or Green Tire Cleaner
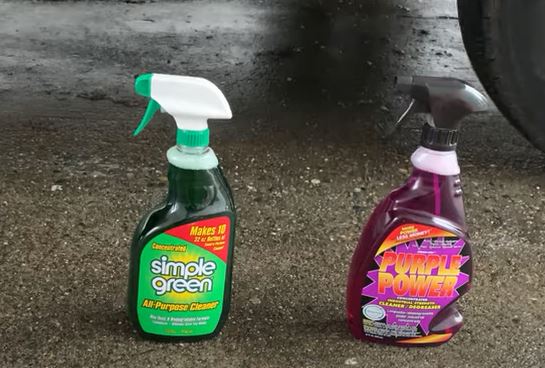
These heavy-duty alkaline cleaners (pH 11.0–12.5) work well on heavily soiled seats but require caution. Always test on an inconspicuous area first. Apply, let dwell 3–5 minutes, scrub gently with a soft-bristle brush, and rinse completely to prevent residue buildup.
Tuff Stuff Carpet Cleaner
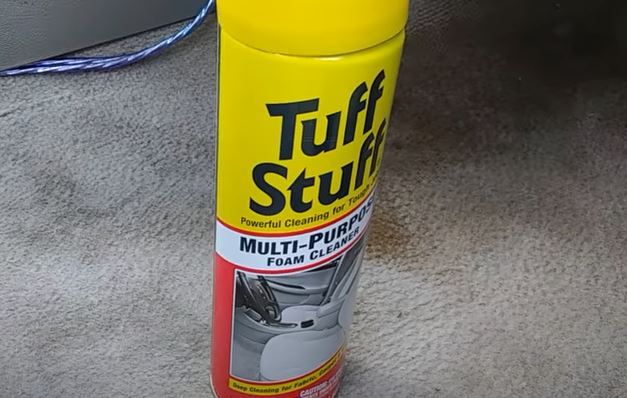
Tuff Stuff is a multipurpose cleaner effective on Defender seats. Apply directly or dilute 1:1 for regular maintenance. Let it sit for 3–5 minutes, then scrub with a soft-bristle brush and rinse clean. This product works well on both vinyl and fabric seat materials.
Silicone Cleaner
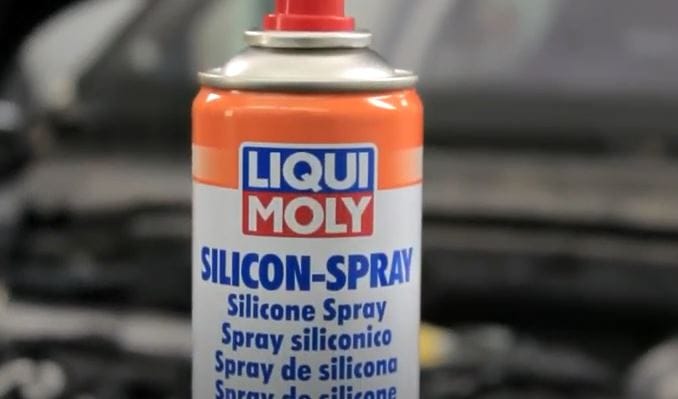
Silicone cleaners lubricate seat seams and prevent thread deterioration. Perform this treatment outdoors in direct sunlight—UV exposure activates the silicone and accelerates drying. Position the vehicle in full sun, spray seats and seat belts evenly, and allow 15–20 minutes to penetrate. Use a leaf blower on low setting to speed drying.
Step-by-Step: Cleaning CAN-AM Defender Seats
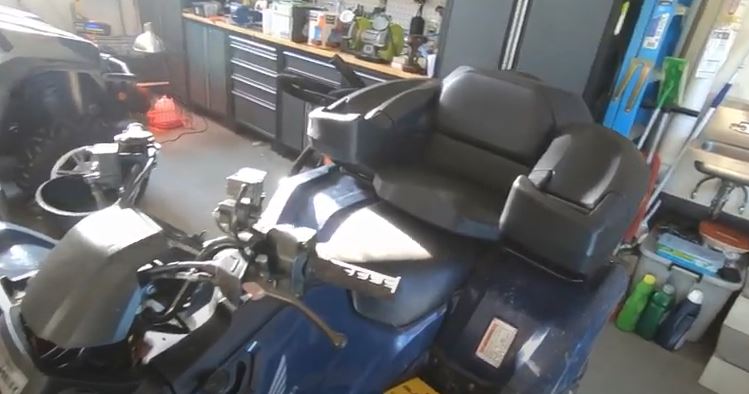
Follow these four steps in sequence for thorough seat cleaning. Gather your supplies first: cleaner of choice, garden hose or pressure washer (low setting), buckets, soft-bristle brushes, and microfiber cloths.
Step 1: Select an Open Workspace
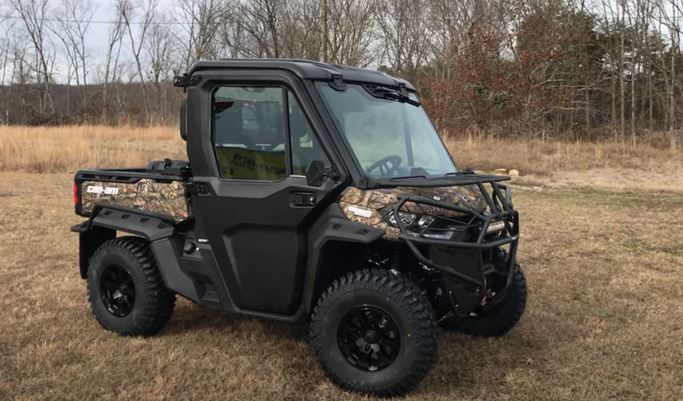
Drive the CAN-AM Defender to an open, well-ventilated area with a hard surface that allows water drainage. Grass or gravel surfaces absorb runoff and make cleanup difficult. Ensure adequate space for free movement around all doors and seat access points.
Step 2: Pre-Treat and Apply Cleaner
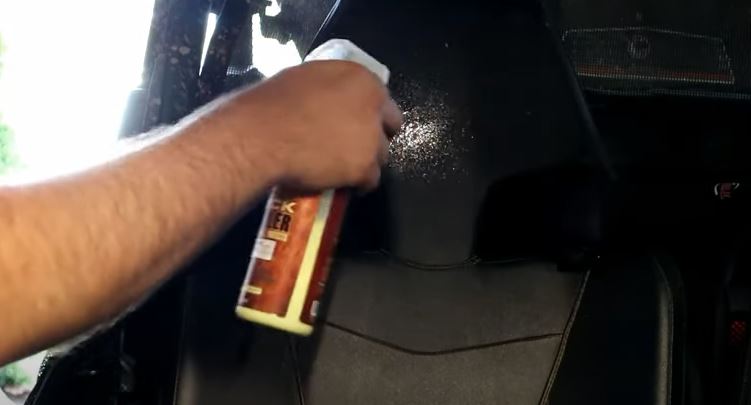
Brush loose debris from seat crevices using a soft-bristle brush. Spray your chosen cleaner across the entire seat surface, paying extra attention to heavily soiled areas around the bolsters and stitching. For stubborn mud, apply a second coat before scrubbing.
Step 3: Allow Dwell Time
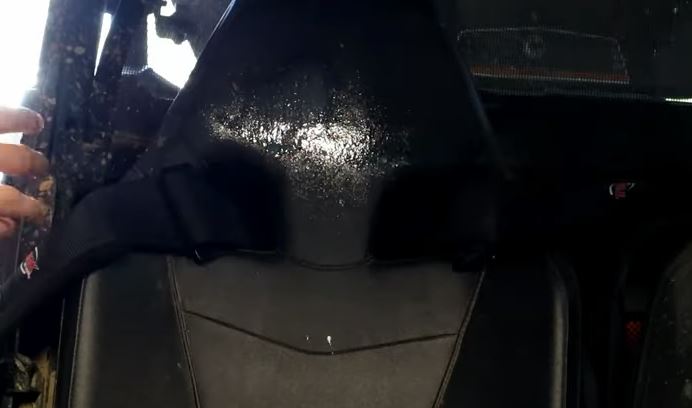
Allow the cleaner to work for the recommended dwell time (see product table above). In cool or shaded environments, extend dwell time by 2–3 minutes. For silicone cleaner treatment, this step is essential—position the vehicle in direct sunlight and wait 15–20 minutes for full penetration.
Step 4: Rinse and Dry
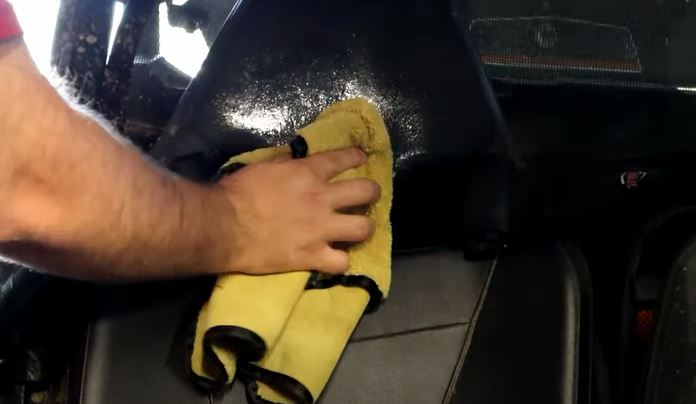
Rinse seats using a garden hose at medium pressure or a pressure washer set to 1,200–1,500 PSI with a 25-degree fan nozzle. Hold the nozzle 12–18 inches from the surface to avoid forcing water into seams. Wipe remaining moisture with a clean microfiber cloth and allow to air dry completely before covering or storing.
Safe Methods for UTV Vinyl Seats
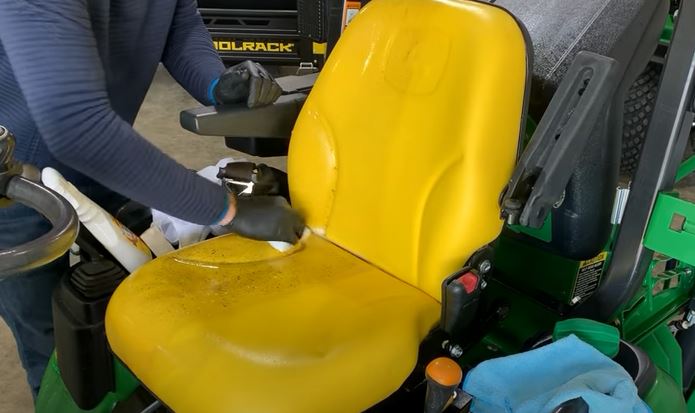
Vinyl seats in UTVs offer flexibility and durability, but they require proper care to maintain these qualities. Using incorrect products reduces material lifespan and causes cracking, stiffness, or color fading.
What to Avoid
Avoid these practices to prevent seat damage:
- Hard bristle brushes — abrasive bristles scratch and scuff vinyl surfaces, creating areas that collect dirt and grime
- Strong chemicals or solvents — products with pH above 11.0 cause material stiffness and accelerate surface degradation
- Bleach at full strength — undiluted bleach (pH 11.5–12.0) discolors and weakens vinyl fibers within minutes of contact
- Petroleum-based cleaners — these dissolve protective coatings and cause vinyl to crack prematurely
What to Do
Follow these recommended practices for vinyl seat care:
Check the Manufacturer’s Guide
Consult the UTV owner’s manual for specific maintenance instructions. While most vinyl seats share similar care requirements, some manufacturers specify pH ranges or prohibit certain products.
Start with Water Only
Clean lightly soiled seats using only warm water (100–120°F / 38–49°C) and a soft microfiber cloth. Water at this temperature cuts through light dust and body oils without introducing chemicals. If water alone does not remove the soil, progress to mild soap solutions.
Use Mild Soap for Stubborn Stains
Mix a few drops of mild dishwashing liquid with warm water for stronger cleaning power. Apply the solution with a soft sponge, scrub gently in circular motions, and wipe clean with a damp microfiber cloth. Avoid over-saturating the seat material.
Use a Soft Bristle Brush for Embedded Dirt
For mud caked into seat bolsters, use a soft-bristle brush (nylon or natural hair) soaked in the soap solution. Work the brush in circular motions, rinse frequently to dislodge dirt, and wipe dry immediately. A leaf blower helps remove loosened debris from crevices.
Use Bleach Only as a Last Resort
When dealing with severe mold or staining, mix chlorine bleach with water at a 1:1 ratio. Test this solution on an inconspicuous seat corner first and wait 5 minutes to check for color change. If no discoloration occurs, apply sparingly with a soft cloth, scrub gently, and rinse immediately with clean water.
Use a Dedicated Vinyl Cleaner
Vinyl-specific cleaners (available at auto supply stores) offer the safest option for regular maintenance. These products are formulated to clean, condition, and protect vinyl in one step. Spray onto the seat surface, wipe with a microfiber cloth, and allow to dry per the product instructions.
How to Clean CAN-AM Defender Seat Covers
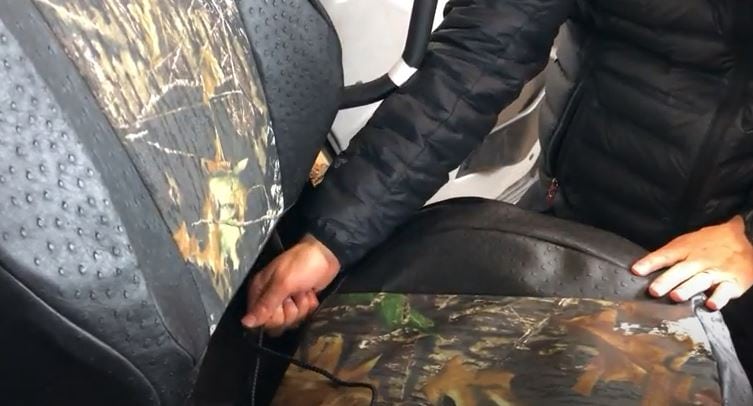
Removable seat covers clean similarly to clothing. Most fabric seat covers are machine washable in cold water (below 86°F / 30°C) on a gentle cycle using mild laundry detergent. For heavily soiled covers, pre-treat with a carpet cleaner before washing.
- Remove seat covers from the vehicle before cleaning
- Pre-treat stains with a carpet/upholstery cleaner (Tuff Stuff or similar)
- Machine wash in cold water on gentle cycle
- Air dry completely before reinstalling—do not use high heat
Neoprene or waterproof seat covers require special handling—hand wash in cool water with a specialized neoprene shampoo and lay flat to dry. Never machine wash neoprene on heavy agitation cycles, as this damages the material’s waterproof lamination.
Removing Mold from ATV Seats
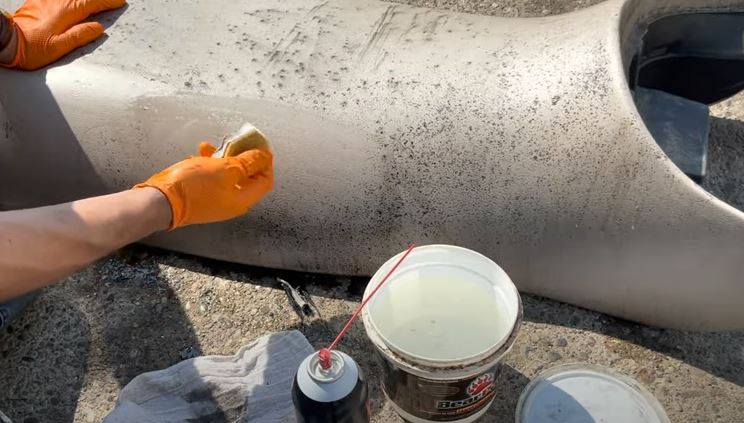
Mold develops on UTV seats when moisture remains in the vehicle for extended periods, particularly in humid climates. Remove mold using a stain remover formulated for PU or synthetic materials. Select products labeled as non-toxic and pH-balanced (between 7.0 and 9.0) to avoid damaging seat materials.
Mold Removal Steps
- Mix 1 cup white vinegar with 1 gallon warm water as a pre-treatment
- Apply the vinegar solution and scrub with a soft-bristle brush
- Rinse thoroughly and dry in direct sunlight
- For persistent mold, apply a commercial mold remover and follow product dwell time
- Prevent future growth by keeping seats dry and using a ventilated vehicle cover
Cleaning Products Safe for CAN-AM Defender Seats
When selecting cleaners for Defender seats, prioritize pH-balanced products in the 7.0–9.5 range. Avoid harsh chemicals, alcohol-based cleaners, and abrasive tools. For regular maintenance, mild dish soap and warm water delivers safe, effective results on most seat materials.
Store-bought vinyl protectants and conditioners extend seat lifespan by restoring moisture to the material and creating a UV barrier. Apply these products every 3–4 months for optimal protection. For additional cleaning guidance and terminology, visit the Cleaning Glossary.
Final Thoughts
Cleaning Defender seats does not require specialized equipment or professional services. Using the correct pH-balanced cleaner, soft brushes, and proper dwell times produces professional-quality results at home.
Prioritize non-toxic, bio-based soaps when possible. Avoid cleaners containing petroleum distillates or high concentrations of bleach. After cleaning, thoroughly rinse all residue and allow complete drying before covering the vehicle to prevent mold growth.
For related cleaning guides, see these resources:
- Floor Cleaning Master Hub — comprehensive floor care for all surface types
- Bathroom Cleaning Hub — cleaning protocols for moisture-prone areas
- Specialty Cleaning Hub — guides for off-road vehicles, equipment, and specialty materials

