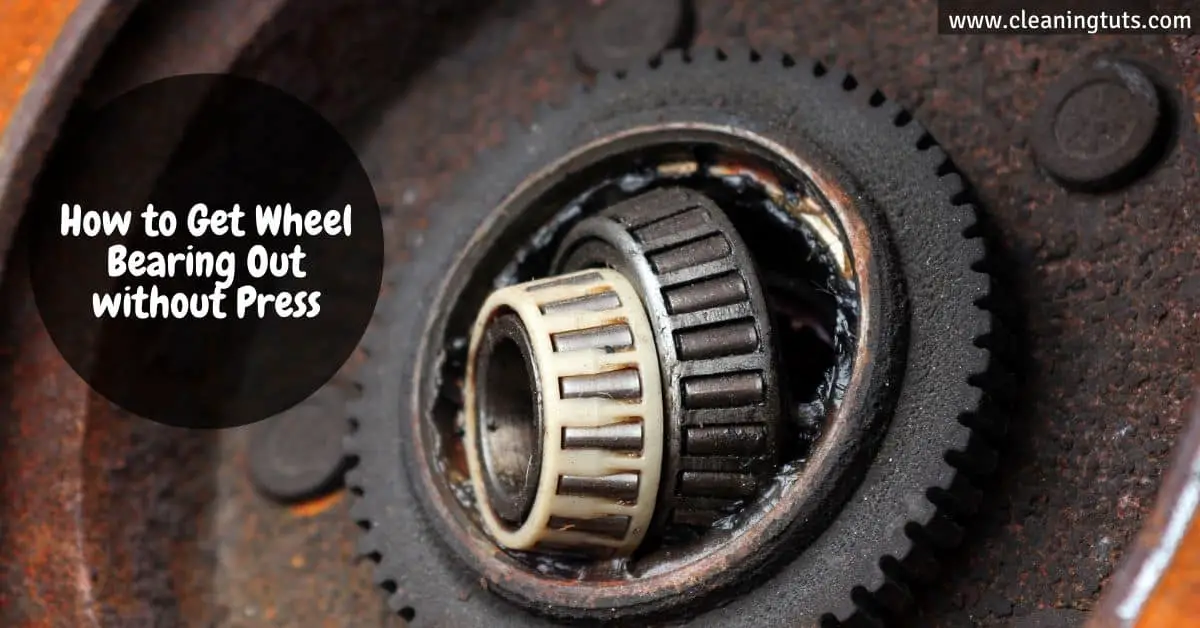
How to Get Wheel Bearing Out without Press
Wheel bearing replacement requires pressing the bearing out of its housing—a task most mechanics delegate to a hydraulic press. However, you can remove wheel bearings without a press using heat expansion and hand tools, provided you follow proper procedures and safety protocols. This guide covers three professional-grade methods for extracting press-fit wheel bearings using common shop equipment.
Method 1: Heat Expansion and Punch Removal
Required Tools
- Ball-peen hammer (2–3 lb) or rubber mallet
- Brass punch or soft-face drift pin (5/16″–3/8″ diameter)
- Safety glasses (ANSI Z87.1 rated) and work gloves
- Propane or MAPP torch with flame spreader attachment
- Scrap wood blocks (2″×4″ × 6″ minimum)
- Replacement seals, bearings, and inner races
- Wheel bearing grease (NLGI Grade 2 multi-purpose)
- Torque wrench (0–250 ft-lb range)
Step-by-Step Procedure
Step 1: Remove the wheel from the hub assembly. Place the assembly on a stable work surface with the hub face accessible.
Step 2: Extract the existing seals using a seal puller or flat-blade screwdriver. Protect the sealing surface to avoid scoring the hub bore.
Step 3: Heat the hub assembly evenly using a propane torch (operating temperature 1,900°F / 1,038°C flame) until the bearing grease begins to smoke and drip. This indicates the aluminum hub has expanded thermally. Typical heating time is 60–90 seconds with consistent torch movement.
Step 4: While the hub is heated, position the brass punch against the outer race edge. Strike alternating sides with firm, controlled blows to drive the bearing race out. The thermal expansion (approximately 0.001–0.003″ for a 2″ bore at 200°F / 93°C) creates clearance for removal.
Step 5: Rotate the hub 180° and repeat for the opposite bearing race. Most automotive hubs contain two bearings (inner and outer positions).
Step 6: Clean the hub bore thoroughly using brake cleaner and a bore brush. Inspect for scoring, cracks, or elongation of the bearing seats. Replace the hub if any defects exceed 0.005″.
Step 7: Apply wheel bearing grease liberally to the new bearing’s outer race and hub bore. Press the bearing into position, ensuring it seats flush against the shoulder.
Step 8: Install new seals using a seal driver or flat block of wood. Tap evenly around the seal perimeter until fully seated.
Step 9: Reinstall the wheel and torque lug nuts to vehicle specification—typically 80–120 ft-lb for passenger vehicles, 180–220 ft-lb for light trucks and SUVs. Consult your owner’s manual for exact values.
Step 10: Verify hub integrity by grasping the wheel at 12 and 6 o’clock positions and checking for radial play. Maximum allowable play is 0.002″.
Step 11: Test-drive the vehicle at 30 mph for 0.5 miles, then inspect for abnormal vibration or noise. Have a professional mechanic perform a final bearing preload check if any irregularities persist.
Method 2: Chisel and Hammer Extraction
Required Tools
- Cold chisel (1/2″ blade width) or flat-blade screwdriver
- Ball-peen hammer (2 lb minimum)
- Socket set with deep-well sockets
- Wheel bearing grease
- Retaining nut socket (typically 30mm–36mm hex)
Step-by-Step Procedure
Step 1: Remove the hub cap or wheel cover to access the bearing retaining nut.
Step 2: Loosen the retaining nut using a breaker bar and appropriate socket. If the nut resists, apply penetrating oil and wait 5–10 minutes before retrying.
Step 3: Remove the retaining nut. The inner bearing race (the cylindrical surface contacting the spindle) becomes exposed.
Step 4: Position the chisel or screwdriver tip against the inner race lip. Strike with controlled hammer blows, working around the circumference in 15° increments until the race unseats from its housing.
Step 5: Pull the outer bearing race free by hand. If resistance occurs, tap gently from the opposite side.
Step 6: Apply wheel bearing grease to the new bearing’s inner race bore. Drive the outer race into the hub using a socket and hammer until it seats flush with the housing shoulder.
Step 7: Reinstall the retaining nut and torque to specification. Replace the hub cap or wheel cover.
Method 3: Bolt-Through Press Technique
Required Tools
- Wood block (hardwood, 2″×4″ × 6″ minimum)
- Long bolt matching the bearing’s inner bore diameter (typically 1/2″–5/8″ UNC)
- Flat washer with outer diameter less than bearing bore
- Socket wrench or combination wrench sized to bolt head
Step-by-Step Procedure
Step 1: Place the wood block on a flat work surface. Position the bearing on top of the block, inner race face-down.
Step 2: Insert the long bolt through the bearing’s center bore until it protrudes through the wood block.
Step 3: Thread the washer onto the bolt until it contacts the bearing’s inner race.
Step 4: Tighten the bolt using the wrench. The bearing will press against the wood and the bolt’s head will push against the hub, driving the bearing out of its interference fit.
Step 5: Once the bearing frees, remove the bolt and washer. Repeat for any additional bearings on the same hub.
How to Heat a Bearing for Removal
Thermal expansion reduces the interference fit between bearing and hub bore. Three heating methods are commonly used:
- Propane torch: 1,900°F flame temperature heats bearings to 200–250°F (93–121°C). Apply flame 2–3 inches from surface, moving constantly. Heat for 60–90 seconds until grease smokes.
- Induction heater: Professional tool generating 200–300°F (93–149°C) via electromagnetic fields. Provides even heating without open flame. Preferred for repeated shop use.
- Oven heating: Bake the bearing at 200°F (93°C) for 15–20 minutes. Useful for simultaneous heating of multiple bearings in a production setting.
Uniform heating prevents thermal distortion. The bearing expands approximately 0.001–0.003″ radially at 200°F for a 2″ bore diameter, creating enough clearance for hand removal.
Wheel Bearing Safety Procedures
- Wear ANSI Z87.1-rated safety glasses whenever striking tools or using heat sources.
- Use work gloves (cut-resistant, rated ANSI A4 or higher) when handling heated components.
- Heat bearings in a well-ventilated area to avoid grease smoke accumulation.
- Allow heated components to cool to ambient temperature before handling without gloves.
- Secure the hub assembly firmly before striking to prevent movement.
- Never use a brass punch on races you intend to reuse—switch to a brass drift for preservation.
Frequently Asked Questions
Do all wheel bearings require pressing?
No. Press-fit wheel bearings in many late-model vehicles can be removed using heat expansion and hand tools as described in this guide. However, sealed cartridge bearings in some front-wheel-drive vehicles require press removal to avoid damaging the hub assembly. If bearing movement resistance exceeds 50 ft-lb during hand removal attempts, stop and consult a professional.
How do you press a bearing by hand without a press?
Hand pressing uses mechanical advantage instead of hydraulic force. Common methods include: (1) C-clamp and socket—place the bearing on a socket of matching outer diameter, then tighten the C-clamp until the bearing presses out; (2) Punch and hammer—work around the bearing circumference with a brass punch, driving it out incrementally; (3) Bolt-through method—thread a long bolt through the bearing bore and tighten against a washer to create press force. All three methods work for accessible bearings with minimal corrosion.
What torque specification do wheel bearings require?
Wheel bearing retaining nuts vary by vehicle. Passenger cars typically require 80–120 ft-lb (108–163 Nm). Light trucks and SUVs commonly specify 180–220 ft-lb (244–298 Nm). Aftermarket hub assemblies may use different specifications. Always verify torque values in your vehicle’s service manual. Incorrect torque causes bearing preload failure, leading to premature wear or wheel separation.
Wheel Bearing Removal and Automotive Maintenance Resources
For related automotive maintenance guides, explore these resources:
- Vacuum Troubleshooting Master Hub – Comprehensive guides for automotive and household vacuum systems
- Cleaning Glossary – Definitions for automotive and household cleaning terminology
References
- National Highway Traffic Safety Administration. (2023). Vehicle Safety Standards: Wheel Bearing Inspection. NHTSA.
- ASE Education Foundation. (2022). Automotive Lift Inspection and Safety Guidelines. ASE.
- Society of Automotive Engineers. (2021). SAE J1968: Wheel Bearing Performance Specifications. SAE International.
- American National Standards Institute. (2020). ANSI Z87.1: Occupational and Educational Eye and Face Protection. ANSI.
Is it Necessary to Remove the Wheel Bearing in Order to Clean Centerline Wheels?
When following a cleaning centerline wheels tutorial, it may not always be necessary to remove the wheel bearing. However, if there is built-up grime or debris inside the wheel, removing the bearing provides access for complete cleaning of the wheel bore and bearing seats. Always follow the specific instructions for your wheel and bearing type, and never use high-pressure water directly on bearing assemblies.
Final Words
Removing wheel bearings without a hydraulic press is achievable with thermal expansion techniques and basic hand tools. The heat expansion method works reliably for most press-fit bearings with bore diameters under 3 inches. For heavily corroded bearings or hub assemblies with more than 50 ft-lb of resistance, professional press equipment prevents hub damage. Always torque retaining nuts to vehicle-specific specifications and verify bearing play after installation.
