
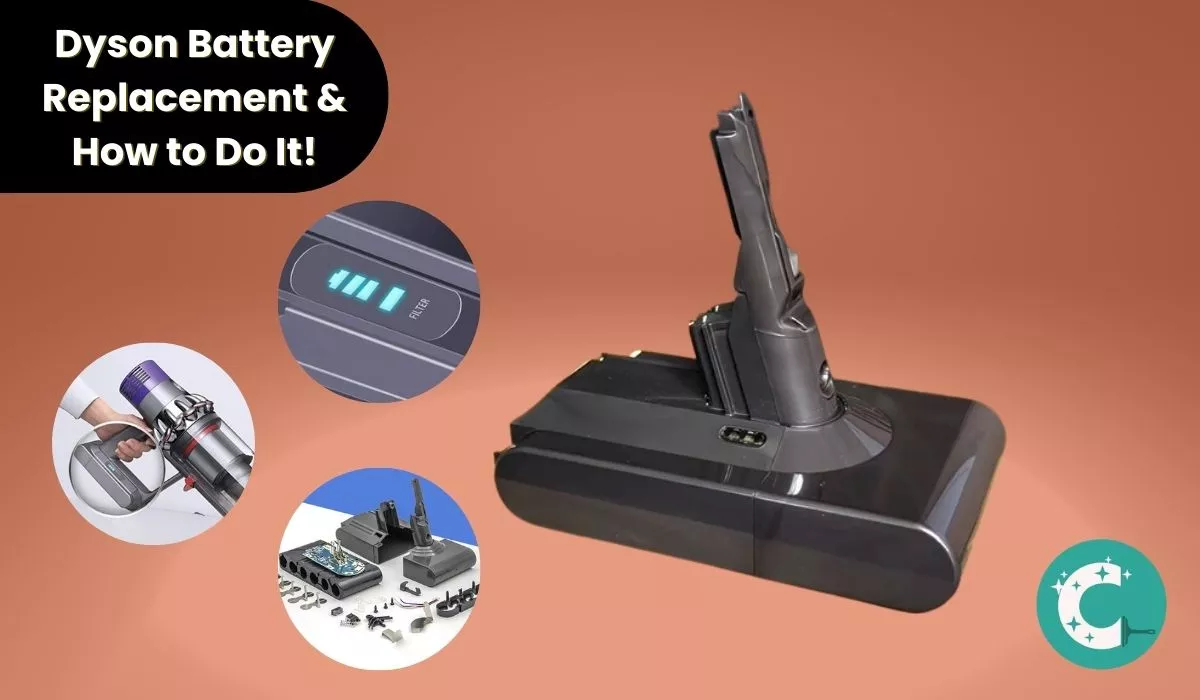
The Right Time for Dyson Battery Replacement & How to Do It!

Dyson cordless vacuum batteries typically last 4 years before requiring replacement, with capacity degradation beginning within the first year of use due to the inherent limitations of lithium-ion chemistry. The lithium-ion cells used in Dyson V6, V7, V8, V10, and V11 models lose usable capacity with each charge cycle, eventually falling below the 70% threshold where runtime becomes noticeably shortened. When run times drop below model-specific thresholds, the battery must be replaced to restore optimal vacuum performance.
Dyson batteries are rated for approximately 4 years of service. Capacity degradation begins within the first year, with lithium-ion cells typically losing 20–30% capacity within 300–500 charge cycles. When remaining capacity falls below 70%, run time becomes noticeably shortened.
This guide covers the complete Dyson battery replacement process, including how to diagnose battery failure, select the correct replacement battery for your model, and extend the life of your new battery.
Dyson Battery Replacement: Signs Your Battery Needs Changing
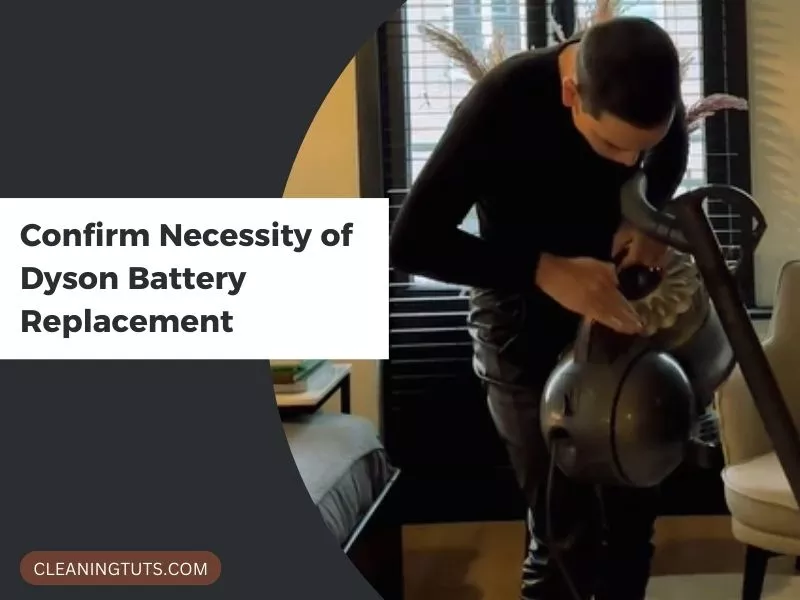
Before purchasing a replacement battery, confirm that battery failure is the root cause of your vacuum’s poor performance. Dyson’s official support guidelines specify two primary indicators that a battery requires replacement: run time dropping below model-specific thresholds when not operating in MAX mode, and the vacuum displaying more than 12 consecutive flashing lights. These symptoms point to a lithium-ion battery that has degraded below the 70% capacity threshold.
A flashing blue light during charging indicates normal operation. A persistent flashing blue light after the unit fully charges, combined with the vacuum shutting off prematurely, points to degraded battery cells. The most concerning indicator is 12 or more consecutive flashing red lights—this diagnostic code, per Dyson’s engineering specifications, signals that the battery management system has detected a cell failure requiring replacement.
Additional symptoms of battery degradation include the Dyson vacuum turning off unexpectedly during use, the cordless vacuum failing to hold a charge, and the need for frequent recharging between cleaning sessions. When the lithium-ion cells internal resistance increases due to aging, the battery cannot deliver sustained power at the required amperage, triggering protective shutdowns.
Dyson Model Run Time Thresholds: When to Replace
The following run time benchmarks indicate battery health for each Dyson model family when operating in Normal mode (not MAX/Boost):
| Dyson Model | Normal Run Time | Replacement Threshold | Battery Voltage |
|---|---|---|---|
| V6 | 20–24 minutes | Below 20 minutes | 21.6V |
| V7 | 30 minutes | Below 30 minutes | 21.6V |
| V8 | 40 minutes | Below 40 minutes | 21.6V |
| V10 / V11 | 60 minutes | Below 60 minutes | 25.2V |
Visual and Operational Signs of Battery Failure
Can You Delay a Dyson Battery Replacement?
Battery degradation follows a non-linear progression. According to Consumer NZ’s testing data, lithium-ion batteries typically retain 70–80% of original capacity after 300–500 charge cycles, with degradation accelerating after the 70% threshold. Once a lithium-ion battery falls below this critical threshold, capacity decline accelerates, and the battery management system may trigger protective shutdowns to prevent cell damage.
If the battery still delivers usable run time for your cleaning needs, postponing replacement is technically possible but comes with operational consequences. Degraded batteries force the motor to work harder to compensate for reduced power delivery, which accelerates wear on other components including the brush roll motor and cyclone assembly.
When remaining capacity drops below about 70%, you’ll start to run into bigger trouble — for example, your vacuum running erratically or not charging properly.
Consumer NZ
The vacuum will develop persistent performance issues including unexpected shutdowns, reduced suction, and incomplete charge cycles until the battery is replaced. These symptoms worsen over time as the cells continue to degrade.
Selecting a Replacement Dyson Battery
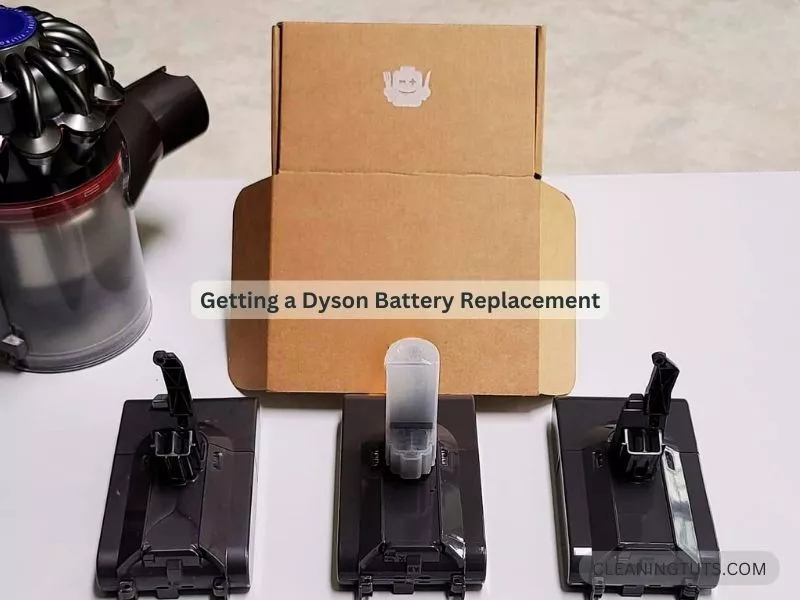
Dyson offers genuine replacement batteries backed by a 1-year warranty and designed to meet the original voltage and capacity specifications for each model series. The Consumer Product Safety Commission (CPSC) has issued warnings regarding third-party replacement batteries that may lack proper thermal management, overcharge protection, and cell balance circuitry, posing fire and explosion risks.
CPSC Warning: Third-party lithium-ion replacement batteries for Dyson vacuums have been linked to fires and explosions. These batteries often lack proper thermal management, overcharge protection circuits, and may not meet Dyson’s original voltage specifications (21.6V for V6/V7/V8, 25.2V for V10/V11).
Key Factors When Choosing a Replacement Battery
Recommended Replacement Batteries by Model Series
| Model Series | OEM Battery Options | Key Specs | Charge Time |
|---|---|---|---|
| V6 | Dyson 965470-01 (OEM) | 21.6V, 3000mAh, Li-ion | 3.5 hours |
| V7 | Dyson 967810-23 (OEM) | 21.6V, 3000mAh, Li-ion | 3.5 hours |
| V8 | Dyson 968670-06 (OEM) | 21.6V, 3000mAh, Li-ion | 4.5 hours |
| V10 / V11 | Dyson 970938-01 (OEM) | 25.2V, 4000mAh, Li-ion | 4.5 hours |
Compatible Third-Party Battery Options
If cost is a primary concern, select third-party batteries from reputable manufacturers that match the original voltage and closely match the original mAh capacity:
- V6 models: FirstPower 4.0Ah 21.6V replacement battery — higher capacity than OEM but within safe thermal limits
- V7 models: KUNLUN 21.6V 4.0Ah replacement battery — 33% higher capacity than OEM 3000mAh
- V8 models: BuTure 21.6V 4600mAh replacement — popular high-capacity option with UL certification
Dyson Battery Replacement: Step-by-Step Procedure

The Dyson battery replacement procedure requires no specialized tools beyond a small Phillips-head screwdriver. The process takes approximately 15–20 minutes for first-time users. Always purchase a battery that matches your model’s voltage specification—using a 25.2V battery in a V8 model (designed for 21.6V) creates fire and explosion hazards.
Mini Phillips screwdriver set — #0x50mm and #0x60mm head sizes are optimal. A rubber-handled tool prevents slipping and rounds less screw heads.
7-Step Battery Replacement Process
Empty the dustbin completely. Locate the red lever beneath the trigger mechanism. Push the lever to release the trap door, then invert the bin and shake out all accumulated debris.
Hold the red lever down and pull the dust bin assembly away from the main unit. The locking mechanism releases with moderate pressure—do not force it.
Separate the released bin housing from the main body. The battery is now visible, secured by two screws at the front and rear of the battery compartment.
Use the smaller Phillips screwdriver to remove the rear screw (located beneath the trigger). Use the larger screwdriver for the front screw. Set both screws aside in a small container to prevent loss.
Slide the depleted battery straight out of its housing. Insert the new battery with the same orientation—metal contacts facing inward toward the circuit board. Reinsert both screws and tighten until snug. Do not overtighten.
The rear screw (beneath the trigger) is the most difficult to tighten. Push the battery pack upward slightly to align the screw holes before inserting the screw. This prevents cross-threading and ensures a secure fit.
After confirming both screws are snug (not overtightened), reassemble the dust bin by sliding it back onto the main body until the red lever clicks into place. Charge the new battery fully before first use.
Extending Your New Dyson Battery Lifespan

Dyson specifies optimal battery storage and charging conditions to maximize cycle life. Lithium-ion batteries stored and charged within the recommended temperature range of 18°C–28°C (64°F–82°F) deliver the longest service life. Exposure to temperatures outside this range accelerates degradation regardless of usage patterns.
Dyson Battery Care Guidelines
Summary
Dyson cordless vacuum batteries are engineered for approximately 4 years of service life, with typical degradation beginning within the first year of use. When run times drop below model-specific thresholds (V6: 20 min, V7: 30 min, V8: 40 min, V10/V11: 60 min in Normal mode), the battery requires replacement.
Worn batteries force the motor to compensate for reduced power delivery, accelerating wear on the brush roll, cyclone assembly, and other electrical components. Replacing a degraded battery promptly prevents secondary damage to the vacuum’s other systems.
For replacement, use genuine Dyson batteries or third-party options from reputable manufacturers that match the original voltage specifications (21.6V for V6/V7/V8; 25.2V for V10/V11). The CPSC has warned against substandard third-party lithium-ion batteries that lack proper thermal management and overcharge protection.
Maximizing battery lifespan requires charging within the 18°C–28°C (64°F–82°F) range, monthly full discharge cycles for calibration, and reserving Max/Boost mode for intensive cleaning only.
For related maintenance guides, see our Vacuum Troubleshooting Master Hub or explore the Dyson Troubleshooting Hub for additional battery and power-related articles.
References
- Dyson. (2024). Battery care guidelines. Dyson Official Support
- Dyson. (2024). Replacement batteries for cord-free vacuums. Dyson Official Parts
- Consumer NZ. (2023). Dyson vacuum battery life testing. Consumer NZ
- U.S. Consumer Product Safety Commission. (2022). Lithium-ion battery safety warnings for vacuum cleaners. CPSC.gov


