How to Clean a Walk-In Freezer Floor? – Easy Tips & Tricks
A common myth is that since everything is frozen, sub-zero temperatures can’t have bacteria and germs. But that’s not the case when you consider walk-in freezers that get used daily.
The accumulation of dirt, moisture, food particles, etc., inside them can create an environment allowing microbes, germs, and bacteria to thrive. And this comes with serious health risks.
It’s a big risk in any business or home, so cleaning your walk-in freezer is crucial. But how to clean a walk-in freezer floor properly?
There are a few things to consider in this process, starting from preparation to the effective ways you can do it.
Since these freezers have different parts and components, you can’t just rinse it all and call it a day. And following the clean-up, you need to stay consistent in preventing any buildup of residues.
The best way to prevent germ accumulation and clogging is to clean the fridge frequently. And the rule of thumb is to clean it every two or three weeks. But this can vary if you’re storing items prone to spillage.
To outline how you can clean up this freezing machine, I’ve outlined all the steps here. Let’s get started.
How to Clean a Walk-In Freezer Floor?- Tips & Steps
Allow me to briefly walk you through the steps on how to clean your walk-in fridge.

Step 1: Clear the area by using a blower or sweep to get rid of dust and debris.
Step 2: Defrost everything to reduce the buildup using the defrost cycle or turning the freezer off.
Step 3: Then, you need to fill a bucket or mop sink with hot water. Add some freezer-safe cleaner liquid to it.
Step 4: After applying the cleaner mixture, use a scrubber and mop together to clean all the corners, components, and edges. Sanitize as needed.
Step 5: Then use clean, dry towels or a floor fan to dry the floor completely. You need to ensure this to prevent any slipping accidents.
Step 6: Finally, put back all the components in place and all the items previously stored inside.
Can I Clean My Warehouse Floor Like I Clean My Walk-In Freezer Floor?
A warehouse floor needs a different cleaning method than a walk-in freezer floor due to the difference in materials and use. An explanation on how to clean a warehouse floor involves sweeping debris, scrubbing with a determent, and pressure washing the surface. Non-slip coatings can also be applied for added safety.
What You’ll Need to Clean the Floor − The Cleaning Supplies
Having the right cleaning supplies on hand is important to ensure a job is well done. And when it comes to cleaning this sort of freezer, you’ll need the following tools –
- Some hot water
- Freezer-safe cleaning solution
- Scrub brush
- A Bucket and Mop
- Clean water meant for rinsing
- Dry towels or a floor fan
- Food-safe sanitizer
- Personal protective equipment (PPE) like gloves, goggles, face masks, etc.
- A broom or blower for sweeping
You need the type of cleaning solution that’s safe for food items and eco-friendly. Biodegradable and pH-neutral cleaners are perfect for the job. But always check if the cleaner is specially formulated for the task. And the same goes for sanitizers.
As for the PPE, your regular clothes may have some bacteria or germs, which can spread to various parts of the freezer if you don’t wear protective gear.
Disinfecting and Sanitizing the Floor
Disinfecting and sanitizing the floor of a walk-in freezer is a crucial step to maintaining food safety standards in any state you’re in. It will help prevent the growth of harmful bacteria and contamination hazards.
You need to use a food-safe sanitizer after cleaning the floor with a freezer-safe cleaning solution and rinsing it with clean water.
This can be a commercial sanitizer specifically formulated for use in food handling areas or just a DIY mixture of water and a sanitizing agent.
Some sanitizing agents include bleach and quaternary ammonium compound (QAC). You’ll need to apply the sanitizer according to the manufacturer’s instructions, ensuring proper contact time to kill pathogens effectively.
By doing this, any remaining germs on the floor get eliminated. Following proper disinfecting and sanitizing procedures is the key to maintaining food safety and promoting a clean and healthy storage condition.
Effectively Sweep and Mop Your Walk-In Freezer Floor
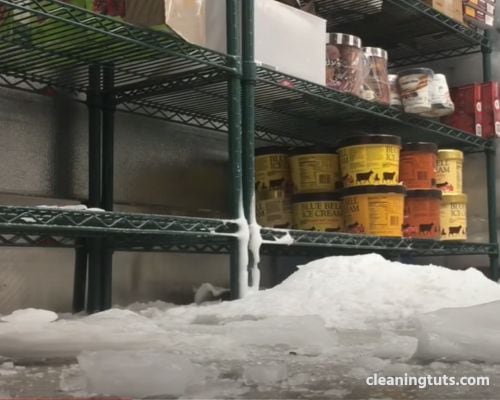
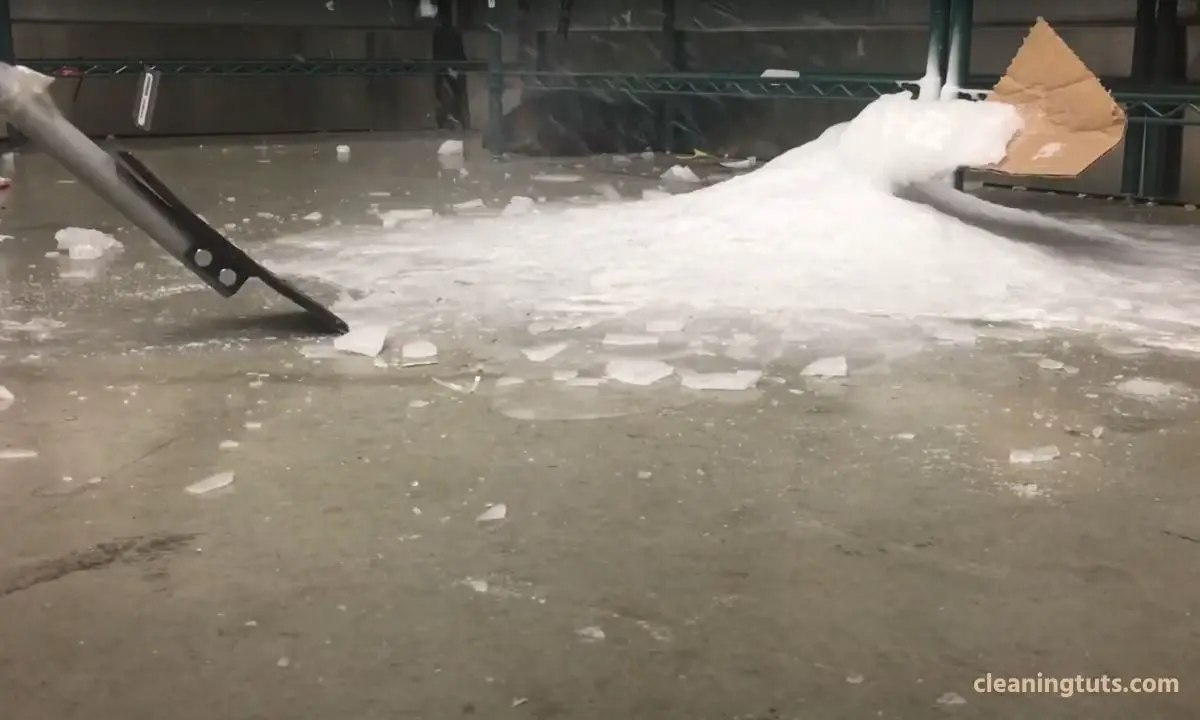
To maintain a clean and safe environment for food storage, you need to sweep it properly first. Use a broom or a brush to sweep up the debris, dirt, and ice buildup and clear up the space inside.
Remember that the broom used needs to be designed to be suitable for freezer use and sterilized. You must pay extra attention to the corners and edges where dirt accumulates.

After sweeping, take a floor scrubber and scrub off any stubborn grime with the help of a freezer-safe cleaner.
Sweeping and mopping are important because this step takes care of the initial layer of debris. It removes excessive ice and all the grime from spills before and gives you the scope to reach all the crevices underneath.
Keep Your Walk-In Freezer Floor Clean by Keeping the Door Closed
If you’re looking for a simple yet effective way to stop your cooler from getting dirty, just keep the door closed when it’s not being used.
This is a win-win situation. On the one hand, you get to ensure none of your food gets contaminated, and all the components are clean. And at the same time, you get to curb electricity bills significantly.
The walk-in freezer door should only be opened when necessary, and that too for the shortest duration possible. As a result, you’ll notice lesser frost buildup, less energy consumption, and a consistent temperature inside it.
Cleaning the Evaporator and Condensing Coils
Suppose the cooler’s condensing and evaporator coils accumulate dirt, dust, and debris. In that case, their ability to transfer heat effectively can get impeded.
As a result, the cooling capacity reduces, and the machine uses more energy than required while giving a subpar performance. This issue could damage the overall system of the refrigerator.
So, regular cleaning of the evaporator and condensing coils is very important and shouldn’t be skipped.
Remove the accumulated dirt and debris using appropriate cleaning methods, like brushing, vacuuming, and pressure washing. Make sure that the cooling fins are clean and straight.
By properly maintaining these coils, you can extend the freezer’s lifespan, improve its performance, and prevent unforeseen issues that’ll need costly repairs.
Preventing Clogs: Keep Your Walk-In Freezer Drain Line Unclogged
To ensure efficient operation and avoid potential issues, the best thing you can do is to prevent any clogging of the drain inside the freezer. The drain line is responsible for carrying away condensation and excess moisture.
So, when this gets clogged with debris or ice, it can lead to water buildup, ice formation, and potential damage to the interior parts.
You need to inspect the drain regularly and remove any blockages from it. Again, proper slope alignment needs to be maintained to prevent clogging.
An easy method to do all this is by using a condensate drain heater or a cleaner meant for drain lines. By keeping this network unclogged, you can prevent water clogging and contamination and increase the longevity of your walk-in cooler.
Tips for Maintaining a Clean Walk-in Freezer Floor
Maintaining a walk-in freezer is much simpler than you’d think. With just a few tips and hacks, you can ensure minimal damage and maximum output from this while needing to deep clean less often.
Here’s what you need to do –
Firstly, educate your staff on the proper use of tools and cleaning methods. Encourage them to report any leaks and spills as soon as it happens.
And then, you have to establish a cleaning routine regardless of the state of the freezer’s insides. You may not think it’s bad, but once you defrost, it reveals a lot more filth than assumed.
The other tip is to always use cleaners and tools for cleaning fridges or coolers. If you use a too-acidic cleaner, it can freeze up and cause reactions with other stored items later.
Clean up any spills quickly before the frostbite takes over. And maintain the drain line by clearing it up regularly.
A great hack to increase the cleanliness of your freezer is to use floor mats at the entrance. This will prevent dragging debris via footwear inside the machine.
But you must regularly clean and replace them to prevent dirt from spreading on the floor.
Conclusion
So, when you know how to clean a walk-in freezer floor, staying within the safety regulations will be easy as pie.
Regular clean-up will increase your company image and customer trust and improve the health standards of the goods you provide. This will create a safer and more efficient condition for your business to flourish.

