
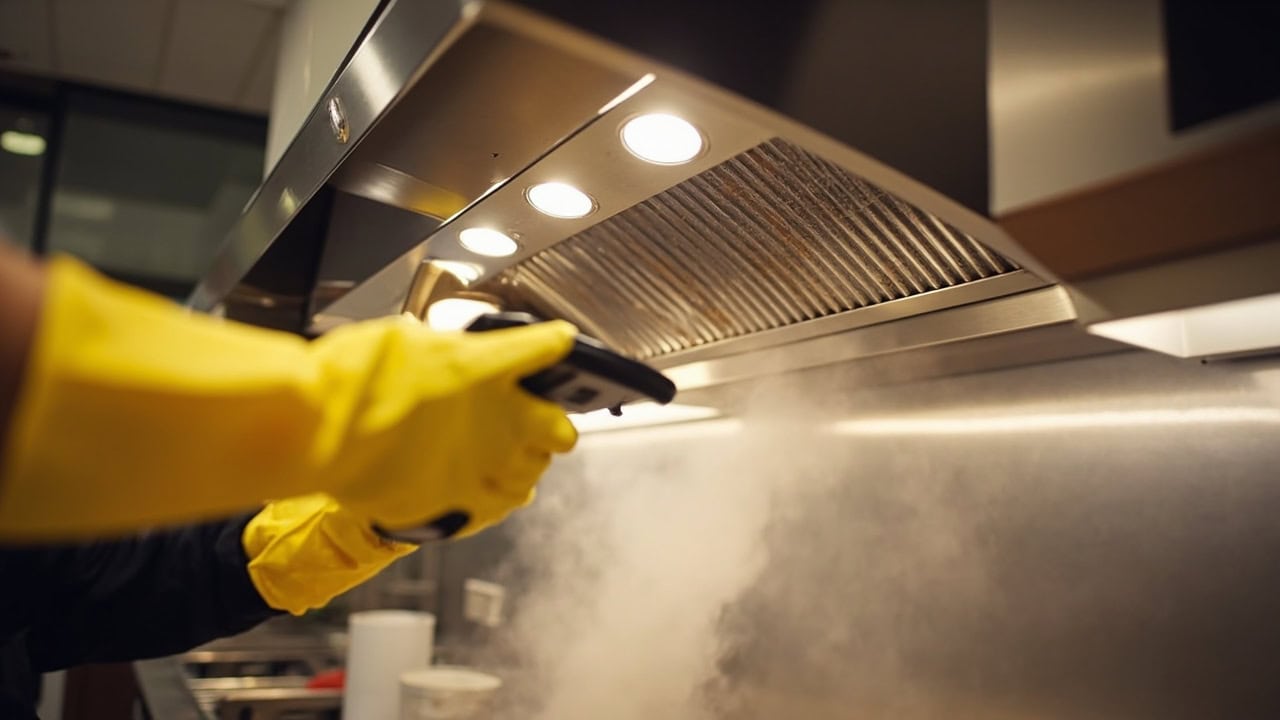
How to Clean Range Hood: Complete Guide

A range hood must be cleaned every 1–3 months depending on cooking frequency, using a pH-neutral degreaser at a dilution ratio of 1:10 applied with a microfiber cloth and scrub brush to remove greasy particulate buildup from filters, blower wheels, and exterior surfaces. The process takes approximately 30–45 minutes and prevents fire hazards caused by accumulated grease deposits that restrict airflow and become flammable above 500°F. Regular cleaning maintains exhaust efficiency, extends the motor lifespan, and keeps your kitchen air free of grease-laden vapors.
What You Need Before You Start
Gathering the right tools and cleaning agents before you begin saves time and ensures you do not damage your range hood’s finish. Range hoods are typically made from stainless steel, which requires specific pH-balanced cleaners and careful wiping technique to avoid scratching. Using the wrong products — such as bleach-based sprays or abrasive powders — can cause permanent etching, clouding, and discoloration on stainless steel surfaces.
Tools
- Screwdriver (if filter removal requires unscrewing retention clips)
- Soft-bristle scrub brush for general scrubbing
- Stiff-bristle brush for baked-on grease deposits
- Microfiber cloths (at least 4–5 for different stages)
- Old toothbrush for crevices and blower wheel blades
- Step stool if the hood is mounted high
Cleaning Agents
- Dish soap (pH-neutral) — serves as a baseline cleaner for light grease on exterior surfaces
- Kitchen degreaser (alkaline-based, pH 10–11) — cuts through heavy grease by saponifying lipids; dilute at 1:10 for regular cleaning, 1:4 for heavy buildup
- White vinegar (5% acetic acid, pH 2.5) — dissolves mineral deposits and hard water stains on stainless steel without damaging the finish when used at proper dilution
- Baking soda — forms an abrasive paste for baked-on deposits when mixed with water
- Warm water (100–110°F) — optimal temperature range for grease dissolution without scalding risk; water above 140°F can set protein-based grease deposits
Safety Equipment
- Rubber gloves to protect skin from alkaline degreasers
- Eye protection when using alkaline cleaners above pH 10
- Ensure the kitchen is well-ventilated during cleaning
The estimated time for a full range hood cleaning is 30–45 minutes. A quick filter-only cleaning takes 10–15 minutes and can be done weekly to prevent heavy buildup between deep cleans. For more on how pH affects cleaning performance across kitchen surfaces, see our Cleaning Chemistry Hub.
Step-by-Step Range Hood Cleaning Process
Step 1: Turn Off Power and Remove Filters
- Switch off the range hood at the circuit breaker or unplug it from the wall outlet. Never work on electrical appliances with live power connected.
- Remove the grease filter by pulling the release latch or unscrewing the filter retention clips. Most residential range hoods use either a push-to-release latch or a sliding tab mechanism.
- Remove light bulbs or covers if they obstruct access to the interior compartment. Set glass covers aside on a soft cloth to prevent breakage.
Range hoods typically use one of three filter types: mesh filters (aluminum or stainless steel multi-layer screens that trap grease particles), baffle filters (interlocking metal plates that force air through tight turns, causing grease to separate by inertia), or charcoal filters (used in ductless hoods to absorb odors). Mesh and baffle filters are washable and reusable. Charcoal filters are not washable and must be replaced every 6–12 months depending on cooking frequency.
Step 2: Soak Filters in Degreaser Solution
- Fill a large sink basin or bathtub with hot water at a maximum of 110°F. Water hotter than this can warp aluminum mesh filters.
- Add degreaser at a 1:10 dilution ratio (approximately 1 ounce of degreaser per 10 ounces of water) for regular cleaning. For heavy grease buildup that has baked onto the filter mesh, increase to a 1:4 ratio.
- Submerge the filters completely and allow them to soak for 15–20 minutes. For baked-on deposits that have accumulated over months, extend the dwell time to 30 minutes to fully dissolve the grease.
Alkaline degreasers work by saponification — the chemical process where a base (the alkaline cleaner at pH 10–11) converts fats and oils into water-soluble soap molecules. This is why pH matters: a cleaner that is too acidic cannot break the ester bonds in kitchen grease, while one that is too alkaline (above pH 12) can damage aluminum filter surfaces through oxidation.
Step 3: Scrub Filters Thoroughly
- Use a stiff-bristle brush to scrub filter meshes in a circular motion after soaking. The degreaser will have softened the grease, but mechanical agitation is still required to dislodge it from the mesh openings.
- Pay special attention to crevices between filter layers where grease accumulates and hardens. These tight spaces are the most common source of residual odor and airflow restriction.
- For stubborn deposits that resist the stiff brush, apply a baking soda paste (2 parts baking soda to 1 part water) directly onto the deposit and scrub with an old toothbrush. The mild abrasiveness of baking soda (Mohs hardness of 2.5) is sufficient to remove baked grease without scratching metal surfaces.
- Rinse filters completely with clean warm water to remove all degreaser residue. Any remaining alkaline cleaner can cause streaking and attract future grease buildup if left on the surface.
Step 4: Clean the Hood Interior and Blower Wheel
- Wipe all interior surfaces with a microfiber cloth dampened with degreaser solution at 1:10 dilution. Reach into corners and behind the blower housing where grease collects unseen.
- Clean blower wheel blades individually using a toothbrush for each blade. Grease buildup on the blower wheel causes imbalance, vibration, and increased motor load — a leading cause of premature range hood motor failure.
- Remove grease residue from the duct connection point at the top of the hood using a narrow brush. This transition point between the hood and the ductwork is a common site for grease accumulation that can become a fire hazard.
- Check and clean the grease collection cup or tray if your model has one. Empty any collected grease and wash the cup with warm soapy water.
Step 5: Clean the Hood Exterior and Control Panel
- Spray degreaser onto a microfiber cloth first — never directly onto stainless steel surfaces — to avoid overspray that leaves streaks and pooling marks on the finish.
- Wipe stainless steel surfaces following the grain direction (the fine brushed lines visible on the metal surface). Wiping against the grain or in circular motions creates visible micro-scratches that catch light and permanently dull the finish.
- Clean control knobs or touch panels with cotton swabs dipped in diluted white vinegar (1:1 ratio with water). Vinegar at pH 2.5 removes fingerprint oils and mineral deposits without leaving residue on electronic surfaces.
- Apply a thin coat of stainless steel polish using a clean microfiber cloth to restore shine and leave a protective barrier that repels future grease adhesion.
For a comprehensive approach to all kitchen surfaces, including your range hood, stovetop, and countertops, visit our Kitchen Cleaning Hub. If your stovetop also needs attention after tackling the hood, see our guide on how to clean a stovetop. For related ventilation cleaning topics, our article on kitchen exhaust fan cleaning covers ductless and ducted systems in detail.
Drying and Finishing Your Range Hood
Proper drying is as important as the cleaning itself. Moisture trapped inside the filter mesh, blower housing, or duct connection promotes mold growth, causes rust on metal components, and creates the musty odor many homeowners mistake for a dirty filter. After scrubbing, place filters flat on clean towels and allow them to air dry completely for a minimum of 2 hours before reinstalling.
- Accelerated drying: Use a clean microfiber cloth to wipe excess water from filter surfaces, reducing air-dry time to approximately 45–60 minutes.
- Blower wheel: Ensure all individual blades are completely dry before reassembly. Any moisture left on the blower wheel can cause mold growth and persistent odor when the hood is operated.
- Reassembly: Install filters securely, ensuring latches are fully engaged and filters are seated properly in their tracks. A loose filter rattles during operation and allows grease to bypass into the ductwork.
- Final check: Verify all components are dry and properly installed before restoring power. Run the hood on its highest setting for 5 minutes to evaporate any residual moisture in the interior.
Range Hood-Specific Considerations
What to Avoid
Certain cleaning products and techniques cause permanent damage to range hood components. Stainless steel surfaces are particularly vulnerable because their corrosion resistance depends on a thin chromium oxide passive layer that can be disrupted by harsh chemicals or abrasive contact.
- Never use steel wool or abrasive scrubbers on stainless steel surfaces — they cause scratching and pitting that breaks the chromium oxide layer, leading to rust formation.
- Avoid acidic cleaners (except diluted vinegar for targeted descaling) on stainless steel — acids cause etching and dezincification of metal alloys used in filter construction.
- Do not submerge electrical components, motors, or LED modules in water. Wipe these areas with a damp cloth only.
- Never operate the range hood without filters installed — grease bypasses the filter housing and accumulates directly inside the ductwork, where it becomes inaccessible and creates a significant fire hazard.
What Damages Range Hood Finishes
- Bleach-based cleaners cause discoloration and corrosion on stainless steel by breaking down the protective chromium oxide passive layer.
- High-pressure water sprays can force water into motor housing and electrical connections, causing short circuits and component failure.
- Ammonia-based cleaners react with the chromium in stainless steel and cause irreversible clouding of the surface finish.
- Abrasive powders (such as scouring powder or cleanser) leave micro-scratches that create a rough surface texture, which attracts and holds future grease buildup more aggressively than a smooth polished surface.
Similar material sensitivity applies to other kitchen and bathroom surfaces. For guidance on safe cleaning products across different materials, see our Bathroom Cleaning Hub, which covers compatible and incompatible cleaners for tile, chrome, glass, and stainless steel.
Common Range Hood Cleaning Mistakes
| Mistake | Why It Causes Problems | Correct Approach |
|---|---|---|
| Skipping filter cleaning | Grease becomes a fire hazard and restricts airflow, reducing exhaust efficiency by up to 50% | Clean filters every 1–3 months depending on cooking frequency |
| Using too much cleaner | Residue left behind causes streaking and filming on stainless steel; excess alkaline residue attracts grease | Follow dilution ratios precisely; wipe with a clean damp cloth after cleaning |
| Not drying completely | Trapped moisture causes mold, mildew, and rust on metal components | Air dry for 2+ hours or dry manually with a microfiber cloth |
| Ignoring the blower wheel | Grease accumulates on blades causing imbalance, vibration, and motor strain that shortens motor life | Clean blower wheel every 3–6 months with a toothbrush |
| Using wrong cloth direction | Circular motions on stainless steel cause visible scratching that catches light and dulls the finish | Always wipe with the grain, never in circular motions |
How Often Should You Clean Your Range Hood?
Cleaning frequency depends directly on how often and what type of cooking you do. High-heat frying and wok cooking produce significantly more airborne grease than boiling or baking, which means filters in kitchens where frying is common accumulate grease at 3–4 times the rate of those in light-use kitchens. The National Fire Protection Association (NFPA) Standard 96 provides commercial kitchen exhaust cleaning guidelines that, while not mandatory for residential kitchens, offer a useful benchmark for understanding how quickly grease accumulates in ventilation systems.
- Light use (1–2 times per week): Deep clean every 3 months with a quick exterior wipe-down weekly.
- Moderate use (3–5 times per week): Deep clean every 6–8 weeks with a quick exterior wipe-down weekly. Heavy use (daily cooking, frequent frying): Deep clean monthly with a quick filter check every week.
- Quick clean (filters only): A 15-minute soak-and-scrub session monthly keeps grease from baking onto mesh surfaces.
- Full cleaning (filters + interior + exterior): Quarterly minimum, regardless of usage level, to prevent grease from accumulating in inaccessible areas like the duct connection and blower housing.
For general guidance on maintaining all kitchen surfaces between deep cleans, refer to the Kitchen Cleaning Hub. If you also need to maintain other ventilation systems, our kitchen exhaust fan cleaning guide covers the full exhaust system including ductwork.
Frequently Asked Questions
Q: Can you put range hood filters in the dishwasher?
A: Some dishwasher-safe aluminum and stainless steel mesh filters can be cleaned in the dishwasher, but hand washing with degreaser at a 1:10 dilution provides superior grease removal and extends filter lifespan. Dishwasher detergent residue and high heat cycles can damage filter coatings and cause warping in thin metal filters. Baffle filters are generally dishwasher-safe due to their heavier construction, but always check the manufacturer’s care instructions first.
Q: How do you remove baked-on grease from a range hood filter?
A: Soak stubborn filters in hot water with degreaser at a 1:4 dilution for 30 minutes, then apply a baking soda paste (2 parts baking soda to 1 part water) directly to baked-on deposits and scrub with a stiff-bristle brush, focusing on mesh crevices. For extremely baked-on grease that has carbonized, a second soak cycle of 30 additional minutes may be necessary. Avoid using oven cleaner on aluminum filters, as the sodium hydroxide in oven cleaners corrodes aluminum at high concentrations.
Q: What is the best degreaser for range hood cleaning?
A: Alkaline-based degreasers with a pH of 10–11 are most effective for cutting through kitchen grease because they saponify fats into water-soluble compounds. A 1:10 dilution of liquid dish soap in hot water (100–110°F) works well for regular maintenance cleaning. For heavy grease, a dedicated kitchen degreaser formulated with sodium metasilicate or potassium hydroxide provides stronger cleaning action. Avoid acid-based degreasers on stainless steel surfaces, as they cause etching of the chromium oxide passive layer.
Q: Why does my range hood smell bad even after cleaning?
A: Residual moisture trapped in the blower wheel or ductwork creates biofilm and mold growth that produces persistent odor. Ensure complete drying after cleaning by running the hood on its highest setting for 10 minutes to evaporate remaining moisture. Check that the ductwork is properly vented to the exterior and not blocked. If the odor persists, inspect the duct connection point inside the hood for grease deposits that were missed during cleaning, and verify that charcoal filters (if present) have been replaced within their 6–12 month service life.
References
- National Fire Protection Association. (2024). NFPA 96: Standard for Ventilation Control and Fire Protection of Commercial Cooking Operations. NFPA.
- U.S. Environmental Protection Agency. (2023). Safer Choice: Safer Ingredients for Cleaning Products. EPA.gov.
- Specialty Steel Industry of North America. (2023). Cleaning and Maintenance of Stainless Steel Surfaces. SSINA.
- Underwriters Laboratories. (2023). UL 507: Standard for Safety of Electric Fans. UL.


