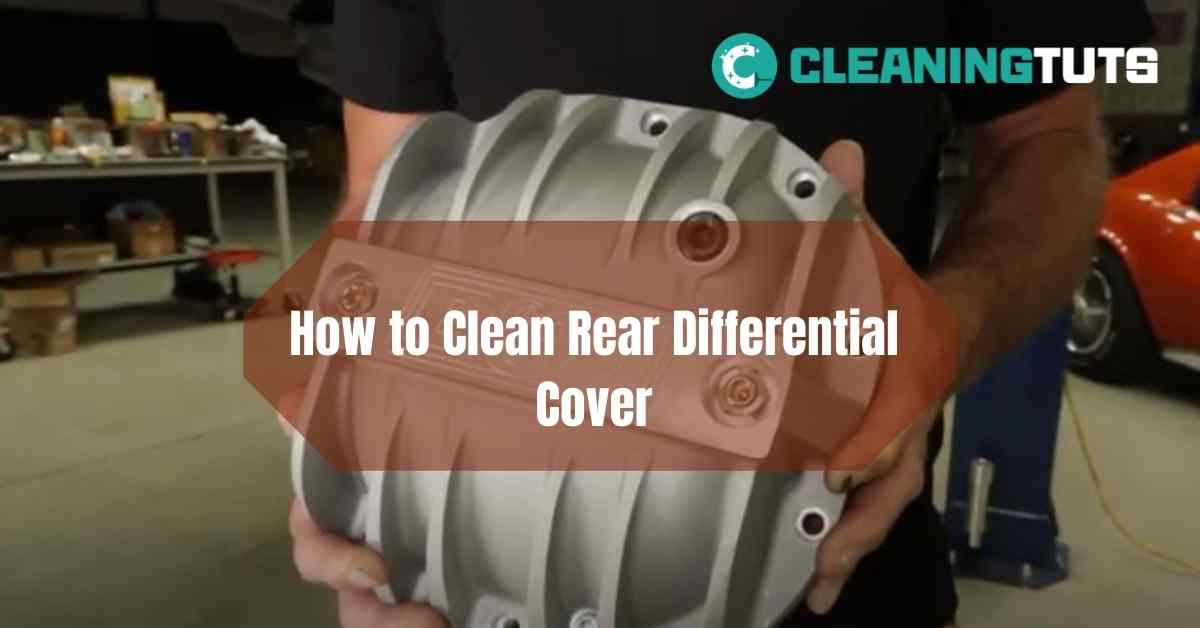
How to Clean Rear Differential Cover?
As a car owner, knowing how to clean the rear differential cover is vital. This will ensure you steer clear of problems that you could face while on the highway. However, you might be wondering how you can efficiently clean the rear differential cover.
Well, it’s a piece of cake, and you don’t need special mechanical knowledge to do it. All you need to do is remove the rear differential cover, drain the fluid, spray the inside of the differential with a degreaser, clean off excess mud with a mild soap solution and then leave it to dry.
This piece is a step-by-step process on how to clean your rear differential cover. Knowing the right tools to use is half the battle, and it covers that too.
How to Clean Rear Differential Cover?
Follow the steps below, and you’ll have your differential cover sparkling clean and ready to get the job done:
Step 1: Remove the Rear Differential Cover
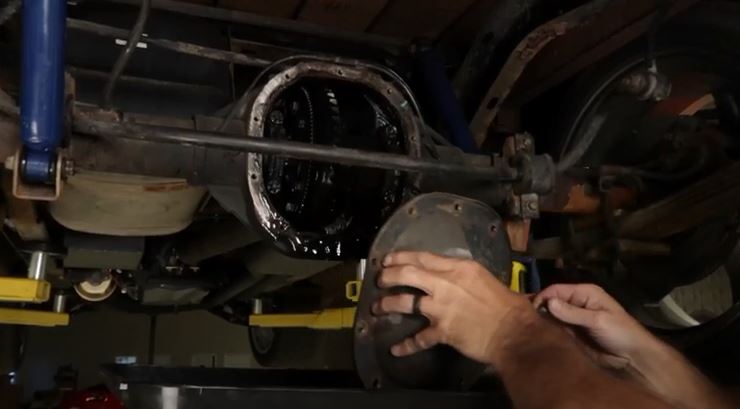
Removing the rear differential cover is something you can easily do in a few hours if you have some basic mechanical skills. Follow the below procedure to do the task smoothly-
● Remove the Axle and Wheel
You will need to remove the rear wheel and then pull out the axle with a pry bar so that you can gain access to the rear differential cover.
● Remove Differential Cover Bolts and Gasket
You will need to remove all of the bolts around the edges of the differential cover as well as any additional bolts on top of it. The gasket will probably stick to the differential housing once you remove all of the bolts, but use a screwdriver or pry bar to separate it from both surfaces.
Step 2: Drain the Fluid
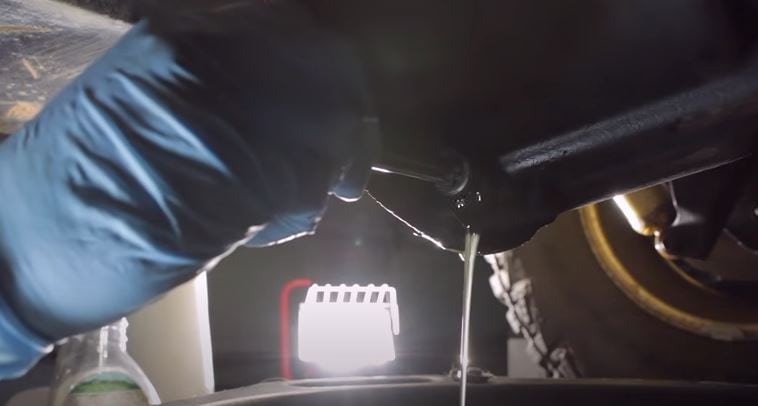
To drain the fluid in your rear differential cover, you will need to remove the fill plug and the drain plug. The fill plug is located on top of the rear differential. And the drain plug is located on the bottom of the rear differential.
Lift up your vehicle so that you have access to the underside of your vehicle, and place a pan directly below the fill plug. Support the car with jack stands or ramps. Make sure that you use a jack stand or ramp on both sides of your car before attempting to lift it up to avoid any possible accidents.
Place a drain pan under the differential cover to catch any fluid that may come out once you remove the plugs. Using a wrench, remove the fill plug first. It is located at the top of your differential cover.
Be careful not to strip this bolt as they tend to get rusted and stuck in place very easily. If it doesn’t come out with a little pressure from your wrench, try using some WD-40 to loosen it up first.
Once you’ve removed the fill plug, you can now remove the drain plug at the bottom of your differential cover. And with this, the fluid will drain flawlessly into the pan underneath your vehicle.
Step 3: Spray the Inside of the Differential Housing with a Degreaser
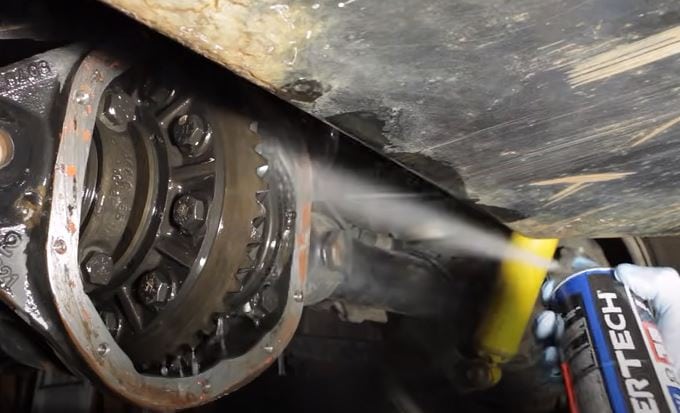
Wear gloves and eye protection when you work with chemicals. Go ahead and spray the inside of the differential housing with a degreaser. Allow it to soak for five minutes before you rinse it out with water.
Step 4: Clean Off Excess Dirt or Mud with a Mild Soap Solution
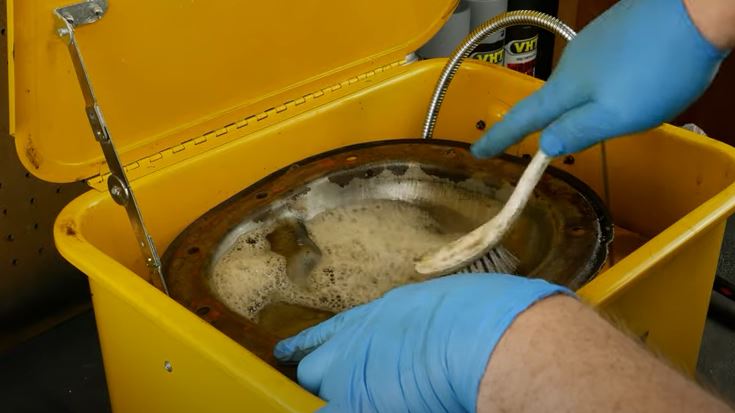
You may have to clean the rear differential cover on your vehicle only once a year or so, but you can do this easily with a few steps.
● Start By Cleaning Off Excess Dirt or Mud
Use a mild soap solution and a rag to clean the excess dirt or mud. If necessary, use a wire brush to remove caked-on debris.
● Get Two Gallons of Water
Pour two gallons of water into a five-gallon bucket. Add 1/2 cup of dish soap and one quart of trisodium phosphate (TSP). Mix the solution well with a paint stirrer.
● Place the Rear Differential Cover in the Cleaning Solution
Place the rear differential cover in the cleaning solution and allow it to soak for at least 20 minutes. Remove and scrub with a rag if necessary to remove any remaining residue or debris.
What Can I Use to Clean My Rear Differential Cover?
There are a few different methods you can use to clean a rear differential cover. The method you choose depends on how much time you have and how much effort you want to put into cleaning it. Here are some of the most popular methods:
Method 1: Use a Pressure Washer
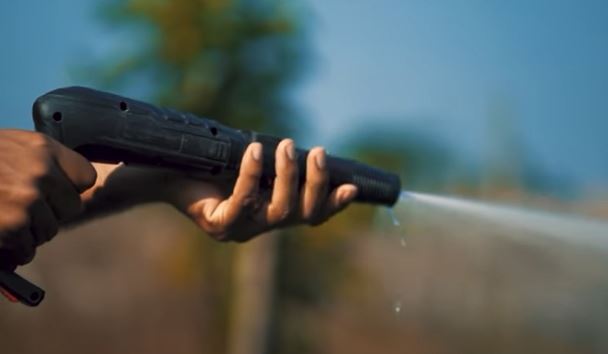
This method is best suited for cleaning covers that are only lightly soiled. You’ll need access to a pressure washer and a spray nozzle attachment for it. Make sure the pressure washer is set to around 80 PSI before you start spraying.
Method 2: Use an Engine Degreaser
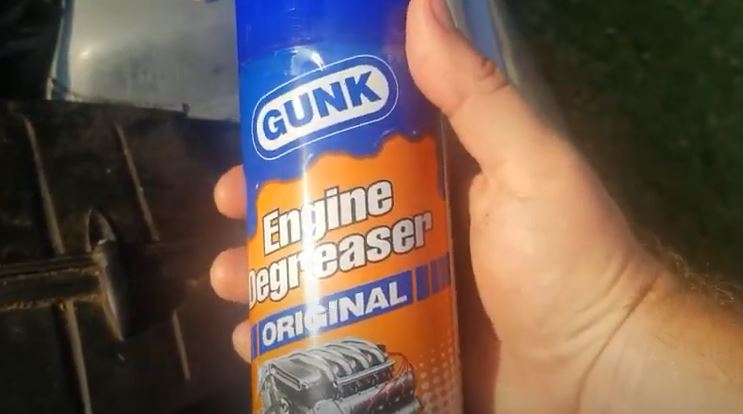
You’ll want to use an engine degreaser if your cover has been exposed to road grime or other contaminants that can cause staining. You’ll also need access to compressed air or a vacuum cleaner.
Method 3: Use WD-40
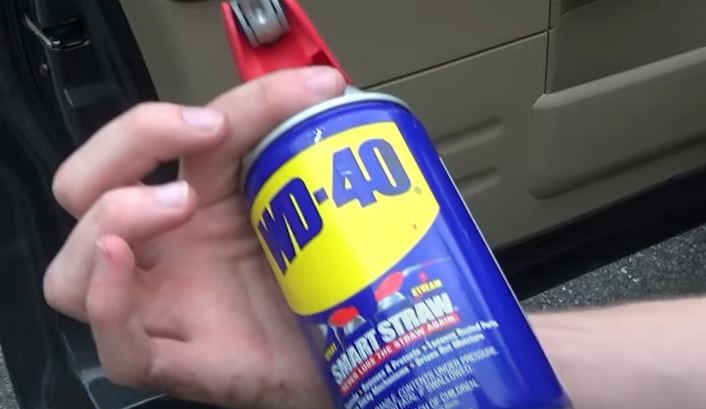
You can use our WD-40 Multi-Use Product on your rear differential. It’s effective in removing road tar and grime, so it’s great for cleaning under the vehicle.
There are definitely some things you need to know before you grab that can of WD-40, though.
For example, you want to make sure you’ve got a container that’s going to catch all the fluid that comes out of the differential when you start squirting it with the WD-40. You don’t want this stuff getting all over your driveway or garage floor!
Another thing: Make sure you have a clean rag on hand to dab up the excess WD-40 once you finish spraying the diff. If you don’t get it all off, the oil will start to pool and could eventually cause corrosion issues down the line.
As far as actually using the WD-40 goes, though? It couldn’t be easier! Just spray it on there liberally until everything looks nice and shiny.
Can I Use Brake Cleaner to Clean Differential?
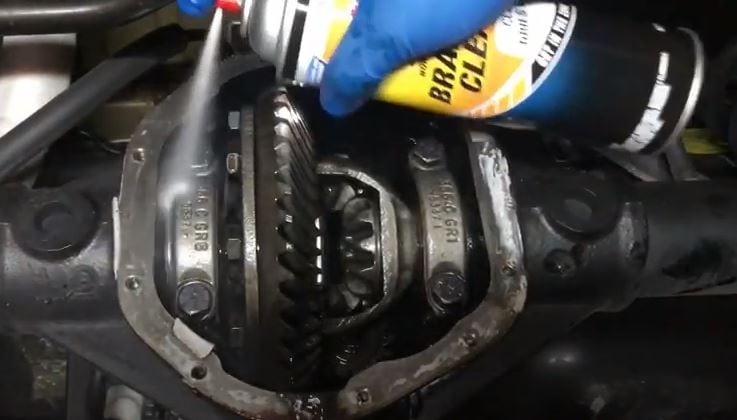
The brake cleaner is designed to evaporate quickly. This makes it easy to use on brakes because you don’t have to worry about leaving any residue behind.
But yes, you can use brake cleaner to clean your differential. Brake cleaner is designed to be very strong, and it can get rid of dirt and grime quickly.
But it also means that you might have a hard time using it on the differential. If you’re not careful, too much brake cleaner might evaporate before it has a chance to clean the differential.
How Do You Clean a Rusty Differential?
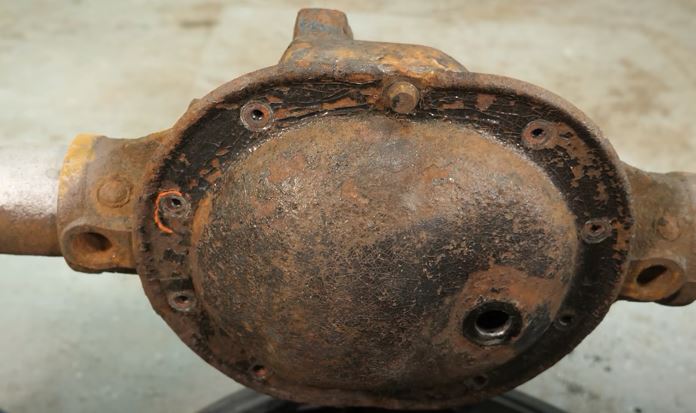
So, you’ve got a rusty differential. Cleaning it can be a bit of an endeavor, but it’s not impossible—you just need the right tools and some elbow grease.
Step 1: Drain Differential Fluid
Pop the hood and remove the underbody splash guard. Locate the differential fluid drain plug on the bottom of your differential (this will be on the side that faces forward when you’re looking at your vehicle).
Place an oil pan beneath it, then use a 10mm hex key to unscrew the plug until all of the fluid has drained out. Once this is done, screw in the plug again using a new gasket (replacing it as needed).
Step 2: Remove Differential Cover
Use a 12mm hex key to remove all of the bolts on your differential cover. Pry off the cover using a flathead screwdriver and wipe away any excess gasket material with a shop rag. Inspect your ring gear teeth for signs of wear, rust, or damage.
Step 3. Lightly Scrub the Rusty Area
Use a steel brush to scrub the rusty area and then rinse it off.
Step 4. Apply a Commercial Rust Converter
Go ahead and apply a commercial rust converter or a homemade solution of hydrogen peroxide or vinegar and let it sit for 3 to 4 hours.
Step 5. Wipe Off the Rust Converter
Wipe away the rust converter and use sandpaper to remove any remaining rust particles.
How Do I Know If My Differential Fluid is Low?
Don’t know the difference between differential fluid and your own? Don’t worry! It’s easy to tell when something is wrong with your differential fluid. Just keep an eye out for these four signs:
Car Begins to Veer in One Direction
If you notice that your car is starting to pull to the left or right even when your steering wheel is straight, you may have low differential fluid.
Hear A Growling Noise While Turning
The differential fluid helps to lubricate the gears in your car, so if it’s running low, you may hear a growling sound as you turn.
Differential Acts Up When It’s Cold
If the temperature outside drops below freezing and you start to experience the above symptoms, it could be because your differential fluid is low and has thickened slightly due to the cold weather.
Start to Have Trouble Staring Your Car
When you leave your car on a flat surface overnight and it doesn’t start in the morning, this shows that your differential fluid could be low.
Can the Same Cleaning Methods be Used for Rear Differential Cover and CAN AM Defender Seats?
When it comes to cleaning CAN AM seats and the rear differential cover, different methods are needed. For the seats, use a gentle upholstery cleaner and a soft brush. For the differential cover, use a degreaser and a wire brush to remove built-up grime. Proper cleaning can am seats and differential covers will keep both looking great.
Conclusion
Cleaning the rear differential cover of your car should not be daunting if you follow the steps listed above. The process is relatively quick and easy when you use the right tools and procedures.
And when done correctly and regularly, it is possible that you will not need to change the fluid as often. You will end up saving more money and time maintaining your car, making it last longer and run better for a long period of time.

