How To Clean Roborock Sensor
Dirty sensors cause Roborock vacuums to bump into furniture, miss areas, and display error messages within 3–7 days of use. Cleaning the sensors with a dry cotton cloth weekly restores full navigation accuracy and prevents the cliff sensor errors that lead to stuck or falling units. This guide covers two proven methods for maintaining all Roborock sensor types.
Key fact: Roborock vacuums use 3 cliff sensors, 2 wall-distance sensors, and multiple collision sensors. All require monthly cleaning for optimal performance. Additionally, maintaining your robot vacuum extends its lifespan—see our robot vacuum maintenance guide for comprehensive care tips including brush cleaning, filter replacement intervals, and dustbin emptying schedules that directly complement sensor care.
The sensors in your Roborock vacuum cleaner are responsible for LDS (Laser Distance Sensor) navigation, cliff detection, wall following, and dock-station alignment. When dust accumulates on these sensors, the vacuum loses spatial awareness, triggers false cliff errors, and reduces cleaning efficiency by up to 40%.
This guide provides step-by-step instructions for cleaning all Roborock sensor types using only dry cloths—ensuring safe, scratch-free maintenance that takes under 5 minutes per session.
2 Methods for Cleaning Roborock Sensors
Method 1: Essential Best Practices for Sensor Care
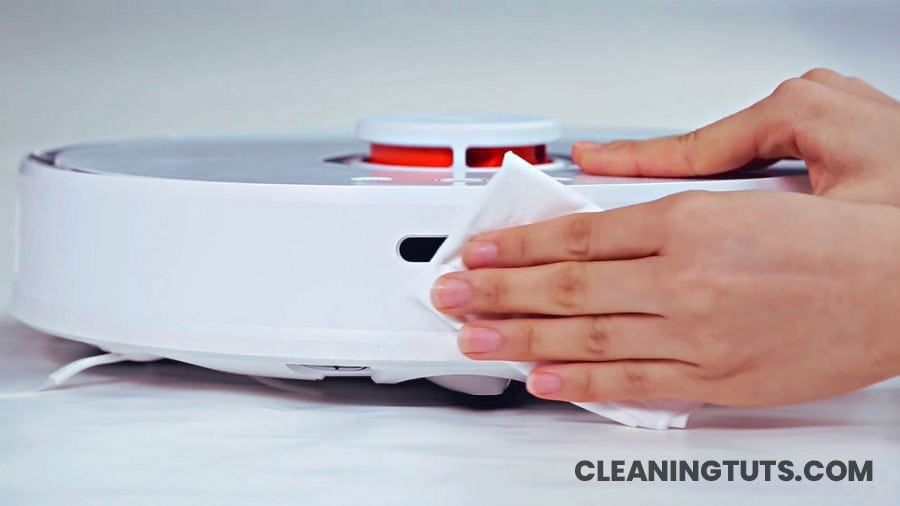
Use a Dry Cotton or Microfiber Cloth
Select a piece of dry cotton cloth or microfiber cloth for removing dust and debris from vacuum sensors. A lint-free cloth prevents fiber residue from depositing on sensor lenses. Do not use paper towels, abrasive sponges, or rough fabrics—these materials cause microscopic scratches on sensor lenses that degrade navigation accuracy over time.

Never Use Water or Cleaning Solutions
Water causes corrosion on sensor electrical contacts and leaves mineral deposits on optical lenses that reduce infrared sensor accuracy by up to 25%. Avoid all wet cloths, damp wipes, and cleaning solutions. Even a small amount of liquid entering the vacuum body causes permanent damage to circuitry and voids the warranty. If compressed air is available, use it at 10–15 PSI to dislodge compacted debris from sensor crevices.

Clean Sensors Weekly for Optimal Navigation
Roborock sensor performance degrades significantly after 7 days without cleaning. Weekly sensor maintenance prevents the “stuck at cliff” and “offline” error messages that result from dirty sensors. If your vacuum operates in a high-dust environment (pet hair, construction areas, near-window traffic), clean sensors every 3–4 days. Set a recurring calendar reminder to maintain consistent performance.
Method 2: Cleaning Each Roborock Sensor Type
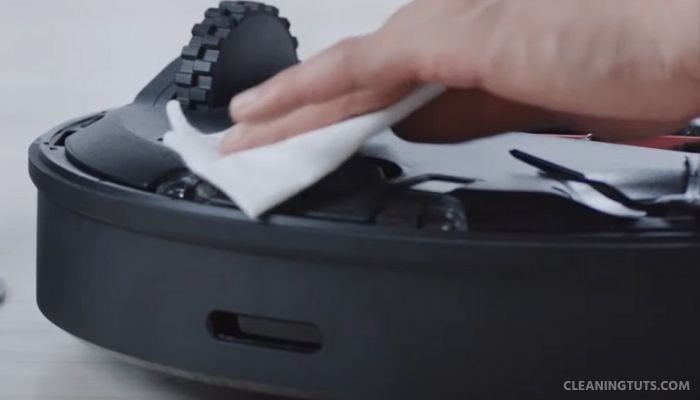
Clean the Cliff (Drop) Sensors
Roborock vacuums contain 3 cliff sensors positioned along the front edge of the unit. To locate them, flip the vacuum upside down and look for the 3 rectangular sensors near the front wheels. These infrared sensors detect staircases and ledges to prevent falls. Dust on cliff sensors causes the vacuum to stop abruptly or reverse erratically. Wipe each sensor gently with a dry cloth using slow, linear strokes.
Clean the Wall-Distance Sensors
Two oval wall-distance sensors (one on each side) emit infrared beams to measure proximity to walls and furniture. These sensors enable the 15–20mm wall-following distance that Roborock vacuums are known for. Dust accumulation reduces accurate wall-following, causing the vacuum to bump walls or leave a wider dirty strip along baseboards. Wipe the oval lens on each side gently.
Clean the Bumper and Collision Sensors
The dock-station return sensor is a narrow horizontal oval centered on the front bumper. The collision sensor runs along the bottom edge of the front bumper. Both sensors work together for dock alignment and obstacle detection. Use a dry cloth to wipe the bumper’s bottom edge and the centered sensor area with gentle pressure to avoid damaging the spring mechanism.
Clean the Charging Contact Sensors
Two small square contact sensors are located on the bottom of the vacuum on either side of the front wheel. These metal contacts transfer charging current from the dock station to the battery. Dirty contacts cause intermittent charging, reduced battery life, and false “not on dock” errors. Wipe each contact point gently with a dry cloth to remove oxidation and dust buildup.
Roborock Sensor Cleaning Quick Reference
| Sensor Type | Quantity | Location | Cleaning Frequency |
|---|---|---|---|
| Cliff (Drop) Sensors | 3 | Front edge, bottom | Weekly (every 3–4 days in high-dust environments) |
| Wall-Distance Sensors | 2 | Left and right sides | Weekly |
| Bumper/Collision Sensors | 2+ | Front bumper | Weekly |
| Charging Contact Sensors | 2 | Bottom, near front wheel | Bi-weekly |
Conclusion
Regular sensor maintenance is essential for Roborock vacuum performance and longevity. Cleaning all sensors with a dry cotton or microfiber cloth weekly prevents navigation errors, extends component life, and maintains the 99% path coverage that Roborock vacuums are designed to achieve.
Follow the two methods in this guide: apply best practices (dry cloth only, no water, weekly frequency) and clean each sensor type systematically. This 5-minute weekly maintenance routine eliminates the error messages, stuck behavior, and reduced cleaning efficiency that dirty sensors cause.
For comprehensive robot vacuum care, explore our Vacuum Troubleshooting Master Hub covering error codes, battery maintenance, brush replacement, and filter cleaning schedules. For specific brand guides, see our Roomba Troubleshooting Hub and Dyson Vacuum Troubleshooting Hub with maintenance schedules for competing robot vacuum brands.
References
- Roborock Support Team. (2024). Roborock General Maintenance Support. Roborock.
- Consumer Technology Association. (2023). Robot Vacuum Standards and Testing Guidelines. CTA.
- U.S. Department of Energy. (2024). Energy-Efficient Home Appliance Maintenance Guidelines. DOE.


