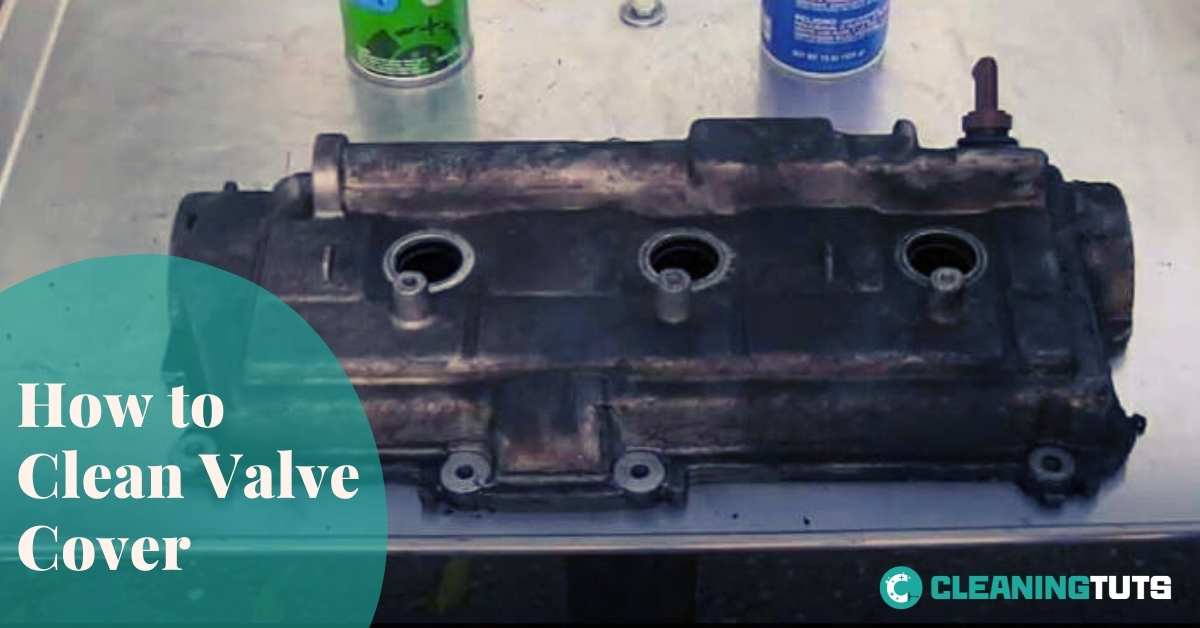
How to Clean Valve Cover
Valve cover cleaning requires either a degreaser or brake cleaner method, and most vehicle owners complete the job in 45–60 minutes for under $30 in supplies—saving the $100–150 garage labor charge.
Due to regular use of the vehicle engine, a dirty valve cover is a common issue. The valve cover protects the engine’s valve train from debris and contains oil that lubricates moving parts—but oil accumulation at 60,000–100,000 miles typically indicates a failing gasket that requires attention.
Benefits of Cleaning Valve Cover
A clean valve cover enables early detection of oil leaks and rust formation on engine components. When oil residue builds up on the valve cover, it masks gasket failures and accelerates wear on cylinder head surfaces.
Leakage Identification
After approximately 60,000 miles of driving, the engine valve cover gasket begins to harden and crack, causing oil to seep around the cylinder head perimeter. A clean cover makes this leakage visible immediately as dark streaks or pooled oil at the corners.
Engine Protection
Oil residue on the valve cover underside can flake off and re-enter the engine through the cylinder head, causing abrasion on camshaft lobes and valve train components. Periodic cleaning prevents this sludge from circulating through the engine oil system.
Step 1: Cool the Engine
Open the hood and allow the engine to cool for 10–15 minutes before beginning. Engine temperatures reach 195–220°F (90–104°C) during operation, and touching a hot valve cover causes burns. Do not start the engine during the cooling period.
Step 2: Disconnect Electrical Connections
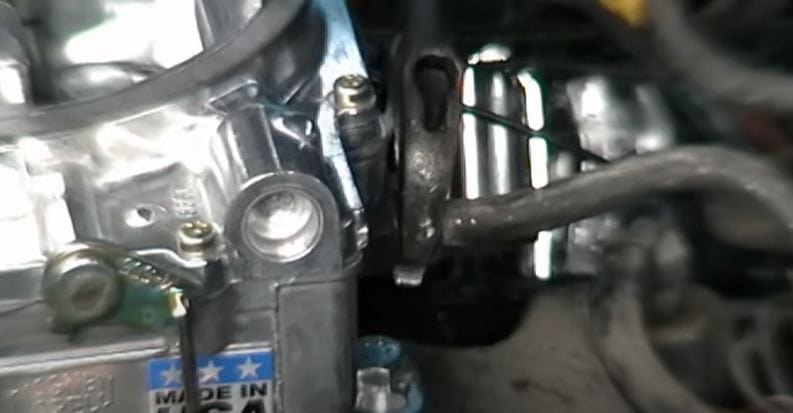
Use a ratchet and appropriate socket to remove the ignition coil assembly. Release the coil connector by pressing the tab lock, then carefully unmount the coil with a ratchet and socket. Loosen the connecting bolts by twisting counterclockwise, then remove the spark plug wires to free the valve cover.
Step 3: Remove the Valve Cover
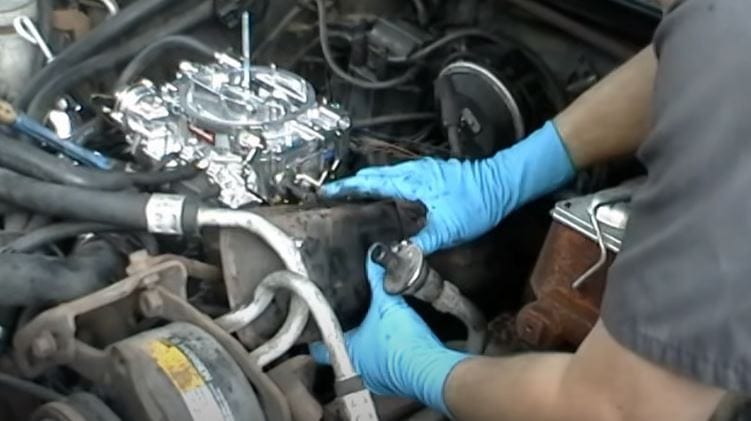
Loosen the valve cover mounting bolts in a crisscross pattern to avoid warping the flange. Most passenger vehicle valve cover bolts torque to 8–12 lb-ft (11–16 Nm). Lift the cover straight up to avoid damaging the gasket surface, ensuring all hose connections are disconnected first.
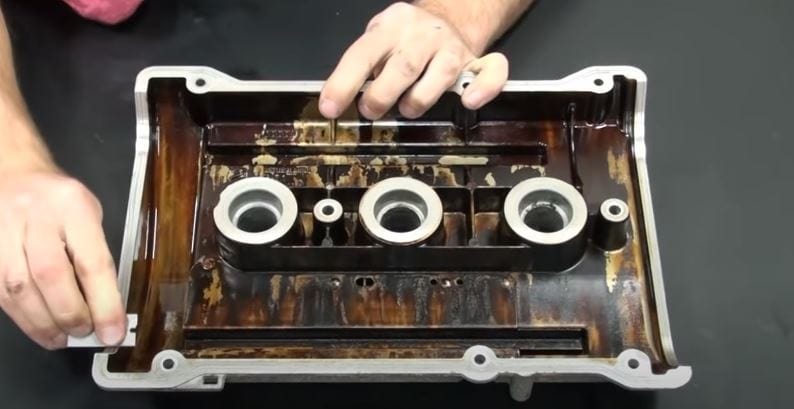
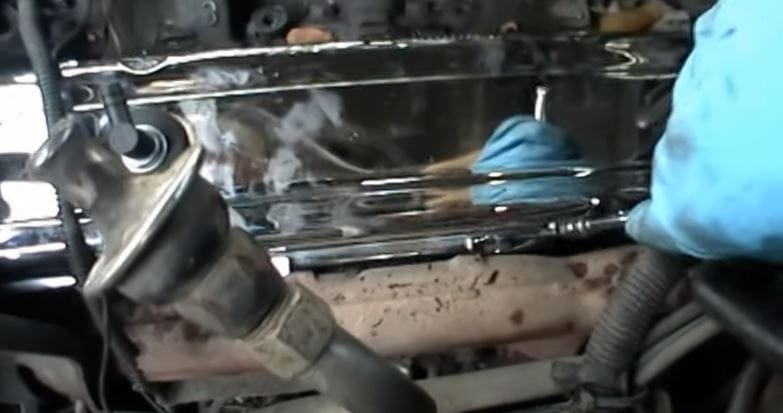
Step 4: Locate the Oil Leak Source
Examine the cylinder head surface for dark discoloration around the gasket channels—these indicate leak paths. Oil typically escapes at the corners where the valve cover gasket has hardened and lost compression. Identifying the leak location determines whether gasket replacement is necessary.
Step 5: Degrease the Valve Cover
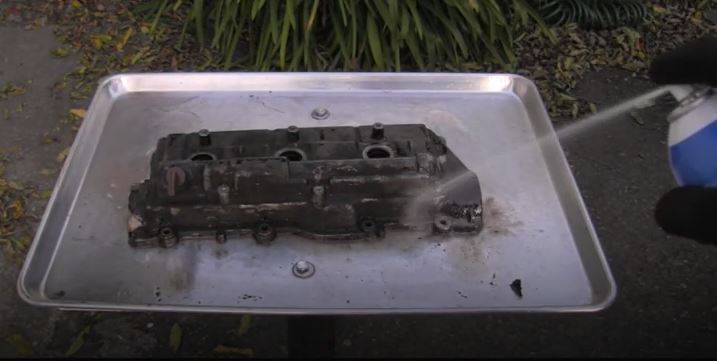
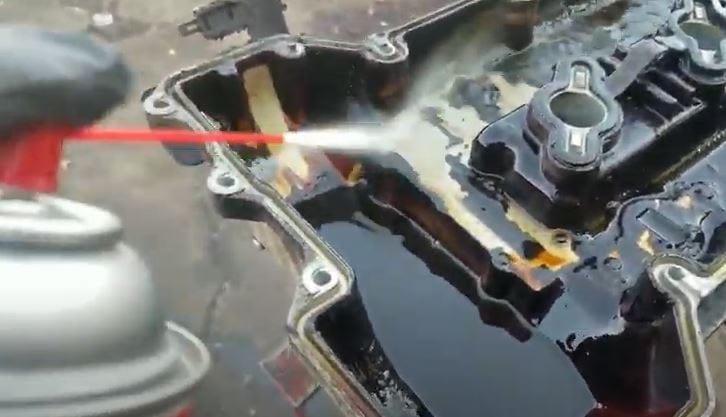
Apply an alkaline degreaser (pH 12–14) or brake cleaner directly to oily deposits on the valve cover and cylinder heads. Brake cleaners are petroleum-based solvents with evaporation rates of 3–5 minutes at room temperature (68°F / 20°C). Agitate with a nylon scrub brush to break down carbon deposits, then rinse thoroughly with water.
For heavy sludge, allow the degreaser to soak for 5–10 minutes before scrubbing. Clean the hose connection ports with the degreaser to remove residue that could cause new leaks upon reassembly. Rinse all surfaces completely to prevent degreaser residue from contaminating the engine oil.
Step 6: Install a New Gasket
Inspect the old gasket for compression set, cracking, or hardening—if the gasket does not compress to 50% of its original thickness when installed, it will leak. Replace the valve cover gasket if the old one shows any of these signs. Reuse the original bolts and torque them in three passes: first to 4 lb-ft, then to 8 lb-ft, finally to the specification (typically 8–12 lb-ft for passenger vehicles).
Step 7: Reinstall the Valve Cover
Position the valve cover on the engine block and hand-thread all bolts to prevent cross-threading. Tighten each bolt in a crisscross sequence to 8–12 lb-ft (11–16 Nm). Reconnect the spark plug wires, ignition coil, and all hose connections in the reverse order of removal.
Step 8: Perform a Final Leak Check
Start the engine and cycle the RPM between 1,500 and 3,000 for 30-second intervals to build oil pressure. Inspect all gasket surfaces for seeping oil. If leaks appear, tighten the affected bolts an additional quarter-turn and recheck.
Washing the Valve Cover: Does It Help?
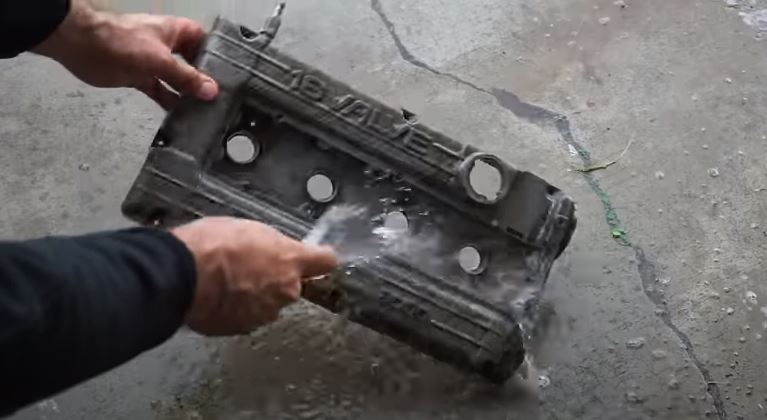
Water alone cannot dissolve baked-on engine oil and carbon deposits—these require a solvent or alkaline degreaser. However, a water rinse after degreasing removes remaining residue and reveals areas still coated with oil. Using a soft bristle brush and warm water improves cleaning effectiveness.
Brake cleaner is a petroleum-based solvent that dissolves grease at the molecular level and evaporates in 3–5 minutes without leaving residue. Alkaline degreasers (pH 12–14) chemically saponify oils, making them water-soluble and easier to rinse. Brake cleaner works faster but requires adequate ventilation; degreasers require thorough rinsing to prevent residue buildup.
Both products effectively remove valve cover oil deposits. Brake cleaner is preferred for quick cleaning between major services, while alkaline degreasers handle heavy carbonized deposits more thoroughly during full valve cover restoration.
Valve Cover Gasket: Common Drawbacks When It Fails
A failed valve cover gasket gradually degrades engine performance by allowing oil to contact hot engine components. Burning oil produces blue smoke and a distinctive acrid odor. Persistent leaks lower the engine oil level below the minimum safe mark within 500–1,000 miles of the initial leak.
The resulting oil contamination at metal junctions causes misfiring from spark plug fouling and triggers the check engine light when oxygen sensors detect oil combustion in the exhaust stream. Repair costs escalate from a $30 gasket replacement to $300–$600 when cylinder head damage occurs from chronic oil starvation.
Signs That Your Valve Cover Needs Cleaning
Several symptoms indicate the valve cover requires immediate attention. Prompt cleaning and gasket replacement at the first sign of failure prevents cascading engine damage:
Oil Puddles Under the Vehicle
Dark amber fluid pooling beneath the engine indicates a active valve cover leak. Check the oil level daily if a leak is detected—a drop from full to the minimum dipstick mark occurs within 1–2 weeks of active leaking.
Check Engine Light Illumination
The check engine light activates when the engine control module detects abnormal fuel trim values caused by oil contamination on oxygen sensors. A flashing check engine light indicates a misfire severe enough to damage catalytic converters—shut off the engine immediately and inspect for valve cover leaks.
Safety and Preparation Checklist
- Allow the engine to cool for 10–15 minutes with the hood open before starting work. Engine surfaces reach 195–220°F (90–104°C) during operation.
- Locate the oil leak source before reassembly. Oil leaking onto hot exhaust manifolds creates a fire risk—address leaks within 500 miles of detection.
- Disconnect the battery negative terminal before working near ignition components to prevent accidental engine starting.
- Inspect all hose connections for cracks or hardening during removal. Cracked hoses leak oil immediately upon reassembly—replace rubber hoses showing any signs of deterioration.
Valve Cover Cleaning Specifications Quick Reference
| Parameter | Specification |
|---|---|
| Engine cooling time before service | 10–15 minutes with hood open |
| Engine operating temperature | 195–220°F (90–104°C) |
| Valve cover bolt torque | 8–12 lb-ft (11–16 Nm) |
| Brake cleaner evaporation rate | 3–5 minutes at 68°F (20°C) |
| Alkaline degreaser pH range | 12–14 |
| Typical gasket failure mileage | 60,000–100,000 miles |
| Professional cleaning cost | $100–150 labor |
| DIY cleaning supply cost | $15–30 |
| DIY job duration | 45–60 minutes |
Frequently Asked Questions
How do you clean a painted valve cover?
What is the difference between rear and front differential covers?
How do you clean a differential vent?
K&N Air Filter Cleaning vs. Valve Cover Cleaning: Different Methods Required
K&N air filter cleaning and valve cover cleaning use fundamentally different approaches. K&N filters require K&N Filter Cleaner or warm water with dish detergent, followed by applying K&N filter oil (which adds 2-4 psi restriction when correct). Valve covers require petroleum-based solvents or alkaline degreasers to dissolve hardened engine oil deposits. These are not interchangeable cleaning processes. For vacuum troubleshooting guide maintenance tips, visit our related hub pages.
Conclusion
A clean and leak-free valve cover ensures proper engine ventilation and prevents oil contamination of hot engine components. Completing this 45–60 minute job at home costs $15–30 in cleaning supplies versus $100–150 for professional garage service.
Regular valve cover inspection at every oil change catches gasket failures before they cause cylinder head damage. If you perform this cleaning, inspect the sludge buildup under the valve cover simultaneously to identify any internal oil passage leaks. Early intervention prevents repair costs from escalating from a $30 gasket to a $600 cylinder head rebuild.
References
- AutoZone. (2024). Brake Cleaner and Degreaser Buying Guide. https://www.autozone.com/diy/brake-parts/brake-cleaner-and-degreaser-buying-guide
- EPA. (2024). Safer Choice Products — Cleaning Products. https://www.epa.gov/safer-choice/products
- YourMechanic. (2024). How to Clean a Valve Cover. https://www.yourmechanic.com
