How to Clean a Lower Unit
The lower unit of an outboard motor houses the propeller and gear train, translating engine power into propulsion. Regular cleaning prevents corrosion from saltwater buildup and removes calcium deposits that cause aluminum etching and seal degradation. A clean lower unit extends gear life, ensures smooth gear shifts, and reduces the risk of being stranded on the water.
Effective lower unit cleaning methods include oxo Clean, vinegar solution, and diluted muriatic acid for heavy calcium deposits. Consistency matters more than the specific product—a 14% muriatic acid solution diluted 4:1 with water dissolves calcium buildup at pH 2.5 within 30 seconds of contact time. For routine maintenance, a dish soap solution or boat wash suffices. Always neutralize acid-based cleaners with a baking soda solution to prevent aluminum corrosion.
This article covers step-by-step lower unit cleaning, outdrive maintenance, and the oil change intervals that keep your outboard motor running smoothly season after season.
How to Clean a Lower Unit: Step-by-Step
Neglect causes most lower unit failures. Saltwater corrosion, infrequent oil changes, overloading, and gear wear from grinding accelerate damage. Left unchecked, a failing lower unit destroys the outboard motor—costing thousands in repairs.
Step 1: Remove Debris from the Lower Unit
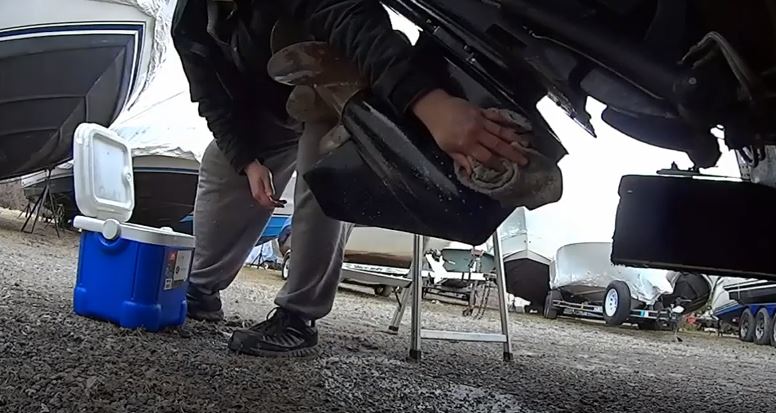
Remove tangled fishing line, seaweed, and debris wrapped around the propeller shaft. Debris buildup creates galvanic corrosion cells on aluminum housings. Inspect the anode rod for electrolysis protection—replace if more than 50% depleted.
Step 2: Apply Expert-Recommended Cleaner
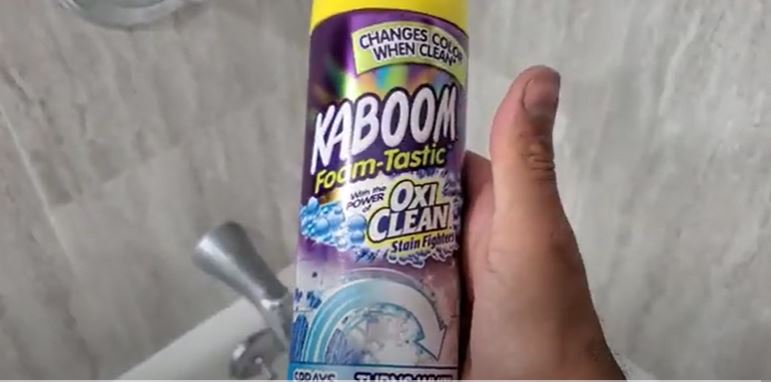
Popular products for lower unit cleaning include:
- Kaboom (purple bottle) — non-odor formula, safe for aluminum
- Boeshield T9 — wax-based protective coating after cleaning
- Simple Green — emulsifies old grease and grime
- Vinegar + soft-bristle toothbrush — manual scrubbing for light deposits
- Lime-A-Way — commercial calcium remover
- Oxi Clean — oxygen-based degreaser for routine cleaning
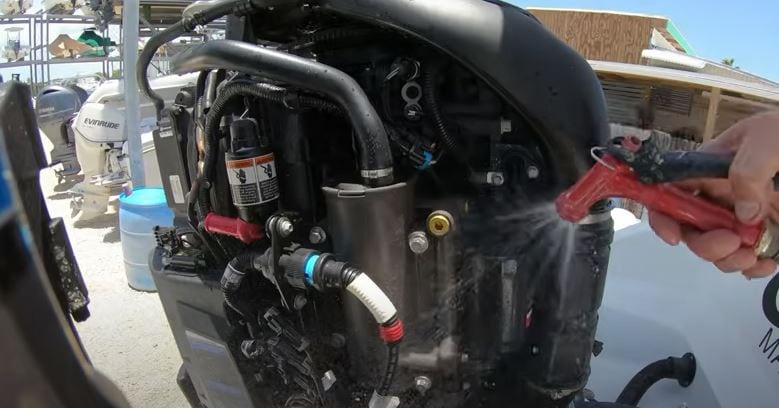
Spray the chosen cleaner onto all exterior surfaces, let it sit per product instructions, then rinse thoroughly with fresh water. For stubborn calcium deposits on the water pump housing, proceed to the muriatic acid method below.
How to Clean an Outdrive With Muriatic Acid

For overgrown calcium deposits on outdrives, muriatic acid delivers fast results when used correctly. The process involves a 14% muriatic acid solution diluted 4:1 with water, applied for 30 seconds, then rinsed thoroughly.
Apply Diluted Muriatic Acid
Mix a 14% muriatic acid solution with water at a 4:1 ratio (4 parts water to 1 part acid). Apply to calcium deposits using a spray bottle. Allow 30 seconds of contact time—do not let it dry. Rinse immediately with fresh water. This dilution dissolves calcium at pH 2.5 without damaging aluminum when rinsed within the time window.
Neutralize With Baking Soda Solution
Mix 2 tablespoons of baking soda per quart of water. Wipe down every surface the acid contacted. This neutralizes residual acidity (pH ~8.5) and prevents aluminum pitting or paint damage. Rinse again with fresh water and dry completely.
Alternative: Dishwashing Tablet Solution
For regular maintenance without harsh acids, boat users report success with this mixture:
- 1 dishwashing tablet dissolved in 5 gallons of warm water
- 3 cups of Simple Green added to the solution
- 1 quart of Lografree (salt remover) or equivalent deicing additive
Apply with a soft brush, scrub thoroughly, and rinse with fresh water. Products like Slimy Grimy (foaming muriatic acid) also work well for algae and calcium buildup.
How to Clean the Inside of an Outboard Motor
Remove Carbon Buildup From Cylinder Head
Use a wooden scraper to remove carbon deposits from the cylinder head—work carefully to avoid scraping into the aluminum base. For stubborn deposits, use a wire brush, steel wool (grade 0000), or a plastic putty knife. Follow with a plastic- and aluminum-safe solvent to clean remaining residue.
Buff rough patches with a ball of fine steel wool until smooth. This restores proper heat transfer and prevents hot spots that cause engine damage.
Check and Clear the Water Pump
Verify water pump flow before every outing. Restricted cooling water flow causes overheating and seizure. Use a wire-based cleaning probe to clear debris from the water intake passages. If the water pump shows signs of wear—low pressure, overheating at speed—replace it immediately.
Proper troubleshooting protocol for boat systems follows the same logic as vacuum maintenance: check airflow, inspect seals, and replace worn components before they fail completely.
Winterize and Store the Motor Properly
Drain all water from the motor to prevent freeze cracking. Store in a climate-controlled space or remove the motor entirely. Fog the cylinder with storage oil (e.g., Fogging Nordozone or equivalent) to prevent internal corrosion during off-season.
Failing to winterize causes $400–$2,000 in damage from frozen water pump housings, cracked cylinder walls, and rusted internal components.
Lower Unit Oil Change Intervals and Inspection
Shifting problems, metallic particles on the drain plug magnet, water in the gear lube, or clunking sounds during gear engagement indicate lower unit trouble. Address these immediately—continuing to operate with a damaged lower unit destroys the gear train.
Gear lube functions as both lubricant and corrosion inhibitor inside the lower unit. Once water enters (indicated by milky or foamy lube), the seals have failed and require replacement.
Oil Change Schedule for Outboard Lower Units
- Break-in oil change: 20 hours of operation—drain the factory fill and replace with fresh gear lube
- Standard interval: Every 50–100 hours of operation, or once per season (whichever comes first)
- Diesel outboards: Change every 50 hours—diesel combustion byproducts contaminate oil faster than gasoline engines
- Heavy use or saltwater: Inspect every 50 hours; change if lube appears dark, milky, or contains particles
Use only the manufacturer-specified gear lube. Most outboards require SAE-approved gear oil rated for marine use (NMMA Certified). Do not substitute automatic transmission fluid—它 lacks the Extreme Pressure (EP) additives required for gear protection.
Inspect the Drain Plug and Magnet
When draining gear lube, inspect the drain plug magnet for metal shavings. A light dusting of fine metal is normal wear. Large metal flakes or chips indicate bearing failure—stop operation immediately and service the lower unit before further use.
Why Lower Unit Maintenance Matters for Overall Boat Care
Cleaning the lower unit is essential for specialty marine maintenance and prevents three common failure modes: galvanic corrosion from dissimilar metals, calcium scale from hard water or saltwater evaporation, and seal degradation from prolonged exposure to UV and moisture.
Boat owners who perform seasonal lower unit maintenance report fewer unexpected breakdowns and extend outboard motor service life by 3–5 years compared to neglect. Include lower unit inspection in your boat equipment maintenance checklist.
Bottom Line
A clean lower unit means reliable operation, smoother gear shifts, and fewer repair bills. Perform visual inspections before every outing. Flush with fresh water after every saltwater trip. Change gear lube every 50–100 hours. Use 14% muriatic acid at a 4:1 dilution for calcium deposits, neutralize with baking soda, and rinse thoroughly.
Staying on top of these tasks prevents being stranded on the water and extends the life of your entire outboard system.
References
- BoatUS Foundation. (n.d.). Outboard Motor Maintenance Basics. Boatus.org. Retrieved May 2026.
- U.S. Environmental Protection Agency. (2023). Vessel Hull Cleaning Best Management Practices. EPA.gov.
- National Marine Manufacturers Association. (2022). Outboard Engine Maintenance Schedule Guidelines. NMMA.org.
