
How to Clean Window Screens: Complete Guide

Window screens must be removed and cleaned using a mild detergent solution at a 1:10 dilution ratio with a soft-bristle brush, rinsed thoroughly, and air-dried completely before reinstallation to prevent streaking and mesh damage. The process takes approximately 15–20 minutes per standard window screen and should be performed at minimum twice yearly to maintain optimal airflow and indoor air quality. Built-up pollen, dust, and environmental pollutants reduce screen breathability by up to 40% when left unchecked, making regular cleaning essential for both comfort and energy efficiency.
According to the U.S. Environmental Protection Agency, Americans spend approximately 90% of their time indoors, and common indoor contaminants include particulate matter such as PM2.5 and PM10, pollen, and mold spores. Window screens serve as the first line of filtration between outdoor air pollutants and your living space. When mesh openings become clogged with debris, airflow restriction forces HVAC systems to work harder while allowing trapped allergens to accumulate near window openings.
What You Need Before You Start
Tools Required
- Soft-bristle brush — non-abrasive nylon or hog hair bristles that clean mesh without bending individual strands
- Two clean buckets — one for the cleaning solution, one for rinse water, each holding at least 2 gallons
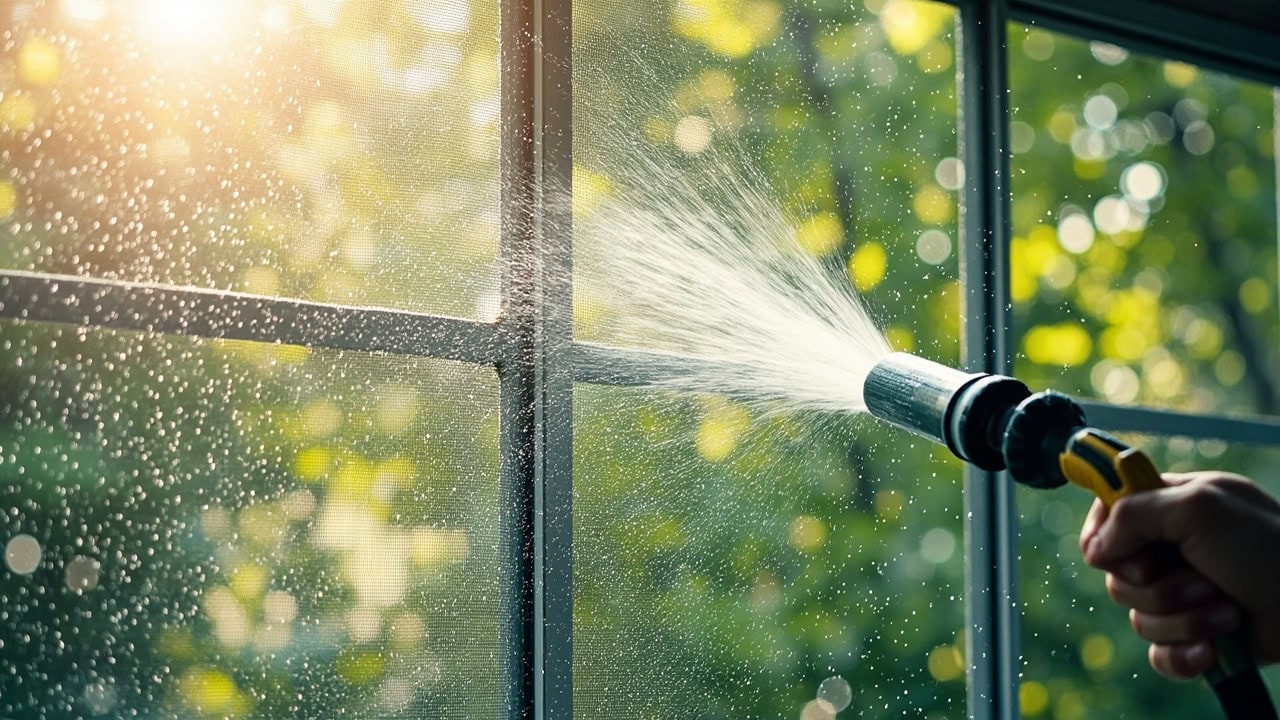
- Garden hose with spray nozzle or a sink sprayer for controlled rinsing at low pressure
- Microfiber cloths for frame drying and detail work — microfiber traps debris rather than pushing it across surfaces
- Large flat work surface — cardboard, tarp, or drop cloth placed outdoors to catch debris and contain water runoff
Cleaning Solution Options
- Mild dish soap (pH-neutral, approximately 7.0) at a 1:10 dilution — the safest and most effective option for all screen types
- White vinegar at a 1:4 dilution for screens with mineral deposits or hard water residue — vinegar’s 5% acetic acid content dissolves calcium carbonate at pH 2.5
- Specialized screen cleaning spray — use only manufacturer-recommended products, particularly on coated or solar screens
Optional Equipment
- Vacuum with soft brush attachment for initial dry debris removal
- Toothbrush for corner detail and frame channel cleaning
- Protective gloves when working with vinegar solutions or chemical cleaners
Gathering all materials before starting prevents mid-process interruptions that leave cleaning solution drying on the screen mesh. Work in a shaded area or on an overcast day — direct sunlight causes soap residue to bake onto the mesh faster than you can rinse it, leaving permanent streaks.
Step-by-Step Cleaning Process
Step 1: Remove the Window Screen
- Locate the tension tabs or release clips securing the screen to the window frame. Most residential screens use spring-loaded pins on one side and a lip channel on the opposite side.
- Press the screen toward the spring side to release the opposite edge from the frame channel.
- Lift the screen out carefully, keeping it level to prevent bending the aluminum or vinyl frame. Warped frames create gaps that allow insects to enter.
- Carry the screen to your prepared outdoor work surface over a drop cloth to catch falling debris.
Label each screen with masking tape and a number corresponding to its window location before removal. Screens are not universally interchangeable — even windows of the same nominal size may have slight frame variations that affect fit. For more on window component maintenance, see our guide on how to clean window tracks and frames.
Step 2: Dry Debris Removal
- Use a vacuum with a soft brush attachment to remove loose pollen, dust, cobwebs, and insect debris from both sides of the screen mesh.
- Work methodically from top to bottom on each side, overlapping passes by approximately 50% to ensure full coverage.
- Pay particular attention to corners where debris accumulates and the frame-to-mesh junction where dust cakes into the channel.
This dry removal step prevents loose particles from turning into mud when the wet cleaning solution is applied. Mud is significantly harder to rinse from fine mesh openings and can clog drainage holes in the frame channel. Skipping this step is one of the most common mistakes that leads to residue streaks after drying.
Step 3: Apply Cleaning Solution
- Mix your cleaning solution in a bucket following the dilution ratios specified above. For standard dish soap cleaning, combine 1 tablespoon of pH-neutral dish soap with 10 tablespoons of warm (not hot) water to achieve the 1:10 ratio. For larger batches, use approximately 2 tablespoons of soap per 2 gallons of water.
- Dip the soft-bristle brush into the solution and gently scrub the screen mesh in small circular motions, working from top to bottom across the full surface area.
- Apply light pressure only — enough to agitate the mesh surface without bending individual mesh strands or distorting the grid pattern.
- Rinse the brush in clean water regularly as you work to avoid redepositing debris back onto the screen.
For screens with heavy pollen accumulation or environmental residue, allow the cleaning solution a brief dwell time of 2–3 minutes before scrubbing. This gives the surfactants time to break down the bond between debris and the mesh coating.
Step 4: Rinse Thoroughly
- Rinse the screen using a garden hose on its gentlest spray setting or a sink sprayer, keeping water pressure low to avoid pushing the mesh out of alignment.
- Direct water across the full surface of both sides, starting from the top and working downward.
- Continue rinsing until the water runs completely clear with no soap bubbles or cloudiness — residual soap leaves visible streaks as it dries.
- Inspect the mesh under direct light for any remaining debris spots and spot-clean as needed before the final rinse.
Proper rinsing is the step most often rushed, and it is the primary cause of visible residue on freshly cleaned screens. Take an extra 60 seconds per screen to ensure complete soap removal — the result is a noticeably cleaner mesh that stays clean longer because soap film does not attract new dust.
Step 5: Dry Completely
- Shake excess water off the screen with a firm horizontal motion to dislodge water trapped in the mesh intersections.
- Stand the screen upright on a clean, flat surface in a well-ventilated area and allow it to air-dry fully. Drying time ranges from 30–60 minutes depending on ambient humidity and airflow.
- Do not reinstall a wet screen — trapped moisture causes aluminum frame oxidation, vinyl frame seal degradation, and water streaking on adjacent window glass.
Avoid using heat guns, hair dryers, or direct sunlight to accelerate drying. Rapid drying distorts vinyl mesh and can warp aluminum frames. Natural air circulation at ambient temperature produces the most consistent results without risk of material damage.
Step 6: Reinstall the Screen
- Once completely dry, carefully lift the screen and align it with the window frame opening.
- Insert the screen into the frame channel, compressing the spring clips as needed to seat the opposite edge.
- Secure all tension clips or tabs and verify the screen sits flush against the frame weatherstripping with no gaps along the perimeter.
Test each reinstalled screen by pressing lightly on the mesh center — it should flex slightly and return to position without bowing or rattling. A loose screen will vibrate in wind and may pull free from the frame channel. For comprehensive window care beyond the screens, see our window and glass cleaning hub guide.
Window Screen-Specific Considerations
What to Avoid
- High-pressure washers — excessive pressure bends mesh strands out of alignment and forces water into sealed frame joints, promoting internal rust and frame swelling
- Bleach-based cleaners — sodium hypochlorite oxidizes aluminum screens causing discoloration, pitting, and structural weakening of the mesh coating
- Abrasive scrubbers (steel wool, stiff plastic brushes) — damages the protective mesh coating on both aluminum and fiberglass screens, creating rust points and fray locations
- Hot water with vinyl screens — temperatures above 120°F (49°C) cause vinyl-coated fiberglass mesh to warp and the frame seal adhesive to soften and lose adhesion
- Cleaning solvents or ammonia — degrades screen material polymers, strips protective coatings, and damages window frame finishes including painted wood and vinyl cladding
Surface-Specific Cleaning Notes
- Aluminum screens: The most common residential screen material. Handles mild soap and vinegar solutions well. Aluminum mesh has a natural oxide layer that provides corrosion resistance — avoid abrasive cleaning that strips this protective layer.
- Vinyl-coated fiberglass screens: More delicate than aluminum. Use only pH-neutral cleaners at lower concentrations (1:15 dilution instead of 1:10). The vinyl coating is the primary protective barrier — once scratched, fiberglass fibers absorb moisture and degrade rapidly.
- Pet-resistant screens (heavier gauge): These use thicker vinyl-coated polyester strands that tolerate slightly more scrubbing pressure. However, the tighter weave means debris can embed more deeply, requiring longer dwell time with the cleaning solution. Solar screen shades: Check manufacturer specifications before cleaning. Many solar screens have anti-reflective or UV-blocking coatings that require specialized non-ionic cleaners. Standard dish soap may leave a film that reduces solar heat rejection performance.
The cleaning chemistry principles here align with those covered in our kitchen cleaning guide — pH-neutral cleaners protect sensitive surfaces across multiple applications, from screen mesh to countertop finishes.
Drying and Finishing Details
After the screen has air-dried for the minimum recommended 30 minutes, hold it up against a bright light source — sunlight or a strong indoor lamp — and inspect for remaining debris or soap residue. Any areas that appear cloudy or streaked need a targeted spot-rinse with clean water followed by additional drying time.
Use a clean, dry microfiber cloth to wipe the frame edges where water pools during the rinse step. Frame channels trap moisture that leads to corrosion on aluminum frames and mildew growth on wood frames. Check the mesh for any individual strands that shifted during cleaning — gently realign them with a soft brush stroke in the direction of the mesh weave pattern.
For homes in coastal environments where salt air accelerates corrosion, or in humid climates where moisture lingers, apply a thin coat of silicone-based frame protectant to the aluminum frame edges after drying. This creates a hydrophobic barrier that inhibits oxidation between cleanings. Avoid applying protectant to the mesh itself, as it attracts and holds dust.
Common Mistakes for Window Screens
| Mistake | Why It Causes Problems | Prevention |
|---|---|---|
| Reinstalling wet screens | Trapped moisture causes frame rust on aluminum, mold growth in frame channels, and water streaking on window glass | Always wait for full air-dry — minimum 30 minutes, up to 60 minutes in humid conditions |
| Using high water pressure | Pushes mesh out of alignment, forces water into sealed frame joints, and can permanently distort mesh grid pattern | Use garden hose on gentle spray setting or indoor sink sprayer only |
| Skipping dry debris removal | Dry particles turn to mud when wetted, clogging mesh openings and frame drainage holes with sticky residue | Always vacuum or brush off loose debris before applying any liquid |
| Using bleach or ammonia | Oxidizes aluminum mesh causing pitting and discoloration; degrades vinyl coating on fiberglass screens permanently | Use pH-neutral mild dish soap at 1:10 dilution or white vinegar at 1:4 dilution |
| Cleaning in direct sunlight | Cleaning solution dries faster than you can rinse, baking soap residue into the mesh and creating permanent streaks | Work in shade, on overcast days, or during early morning hours |
Seasonal Maintenance Schedule
Consistent maintenance prevents the heavy buildup that makes cleaning difficult and time-consuming. A predictable seasonal schedule keeps screens functioning at peak airflow capacity year-round.
| Frequency | Task | Purpose |
|---|---|---|
| Spring (before allergy season) | Full deep clean following all six steps above | Remove winter dust accumulation, salt residue, and prepare screens for high-pollen months when airflow matters most |
| Fall (before windows close) | Full deep clean following all six steps above | Remove summer dust, pollen residue, and insect debris before screens sit unused through winter |
| Monthly (coastal or high-dust areas) | Light rinse with garden hose — no removal required | Maintain airflow capacity and prevent salt or dust from baking onto mesh between deep cleans |
| After nearby construction | Immediate vacuum and spot clean within 48 hours | Remove fine construction dust (silica, concrete particulate) that embeds into mesh coatings and becomes increasingly difficult to remove over time |
Homes located near agricultural areas, construction zones, or coastal shorelines should increase deep cleaning frequency to quarterly. The EPA notes that outdoor particulate matter — including PM10 particles like pollen and dust — readily penetrates indoor environments through windows, making properly maintained screens a meaningful component of indoor air quality management.
Frequently Asked Questions
Q: Can I clean window screens without removing them from the window?
A: Light surface cleaning can be done in-place using a vacuum brush attachment and a lightly dampened microfiber cloth. However, thorough cleaning requires screen removal to properly clean both sides, reach corners and frame edges, and allow complete drying — a wet screen left in the window frame risks moisture damage to the frame seal and promotes mold growth in the channel.
Q: How often should window screens be cleaned?
A: Window screens should be thoroughly cleaned at minimum twice per year — once in spring before allergy season and once in fall before windows close for winter. Homes in high-pollen areas, coastal regions with salt air, or near construction zones may require quarterly cleaning to maintain optimal air filtration and prevent material degradation.
Q: What is the best cleaning solution for window screens?
A: A pH-neutral mild dish soap diluted at a 1:10 ratio with warm water is the safest and most effective solution for most screen types. For mineral deposits or light hard water residue, white vinegar diluted at 1:4 works well on aluminum screens. Avoid bleach, ammonia, or abrasive cleaners which damage screen materials and window frame finishes.
Q: How do I prevent window screens from getting dirty so quickly?
A: Install pleated disposable air filters behind your window screens during high-pollen seasons to capture particulate before it reaches the mesh. Trimming trees and shrubs back at least 3 feet from windows reduces pollen and sap accumulation. Running ceiling fans or window fans to create consistent air circulation keeps airborne particles moving through rather than settling on screen surfaces.
References
- U.S. Environmental Protection Agency. (2022). Guide to Air Cleaners in the Home. EPA Indoor Air Quality.
- Schwartz, D. B. (2025). How to Clean Window Screens: A Step-by-Step Guide. Bob Vila.
- U.S. Department of Energy. (2024). Insulation. Energy Saver.


