
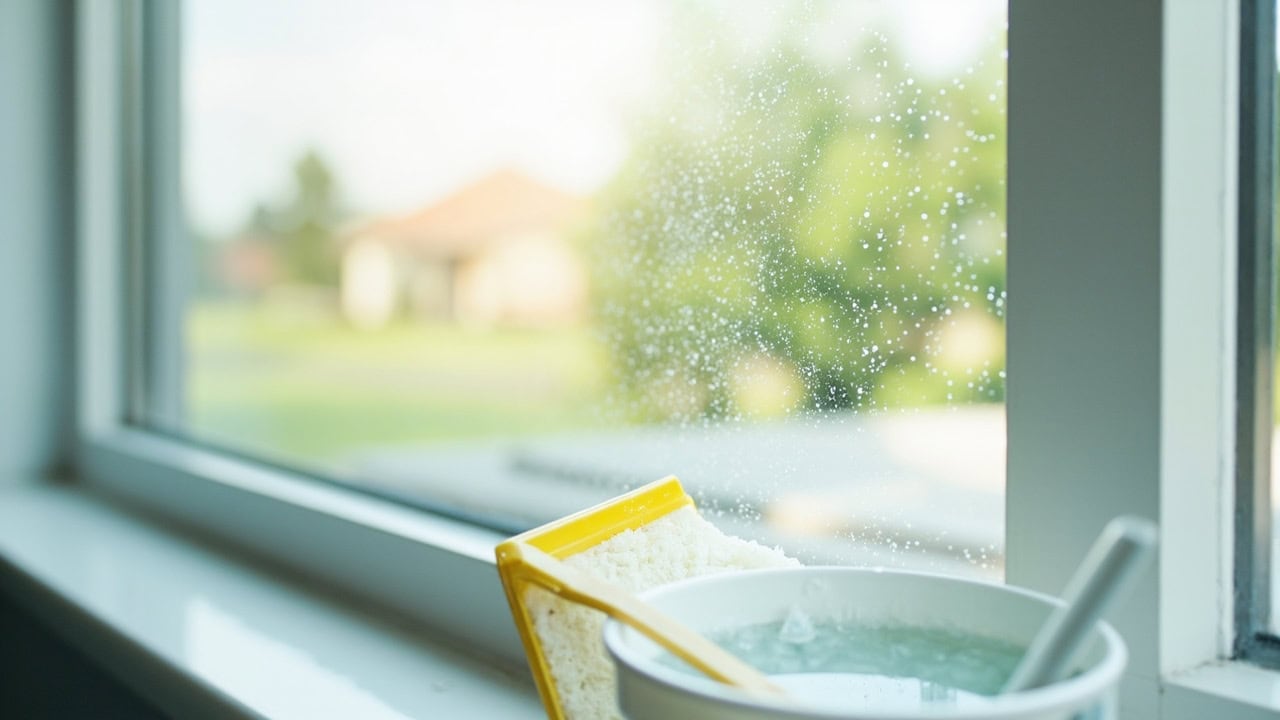
How to Clean Windows: Interior and Exterior Guide

Windows cleaned with a 1:10 white vinegar-to-water solution, a rubber-blade squeegee, and lint-free microfiber cloths produce streak-free results on both interior and exterior glass — provided you work from top to bottom in overlapping S-pattern strokes and buff edges immediately after each pass. White vinegar’s 5% acetic acid content (pH approximately 2.6 undiluted, rising to approximately 3.5 at a 1:10 dilution) dissolves mineral deposits and organic grime without the glass etching that highly alkaline or abrasive cleaners cause over repeated applications.
What You Need Before You Start
Tools
- Rubber-blade squeegee (8–12 inch width for standard residential windows)
- Two buckets (one for cleaning solution, one for rinse water)
- Lint-free microfiber cloths (minimum 2 — one for wiping the squeegee blade, one for final buffing)
- Soft-bristle extension brush for exterior second-story windows
- Step stool or stable ladder for high windows
Cleaning Solution Options
Not every cleaning solution suits every window type or contamination level. The table below matches each solution to its ideal use case, along with specific surfaces where it should be avoided.
| Solution Type | Dilution Ratio | Best For | Avoid On |
|---|---|---|---|
| White vinegar + water | 1:10 | General interior and exterior glass | New tinted windows (check manufacturer guidelines) |
| Commercial glass cleaner | Ready-to-use | Stubborn grime and built-up residue | Frameless windows with sealed edges |
| Dish soap + water | 2–3 drops per gallon | Heavy grease and outdoor pollution film | Streak-prone in direct sunlight |
| Isopropyl alcohol + water | 1:1 | Quick-dry cleaning and cold-weather application | Painted frames (may strip paint) |
Step-by-Step Interior Window Cleaning
Interior glass collects dust, cooking grease, and fingerprints that gradually reduce clarity and light transmission. Cleaning interior windows before exterior surfaces prevents outdoor airborne particles from recontaminating freshly cleaned glass. Follow these five steps in sequence for consistent, streak-free results.
- Remove loose debris and dust — Use a dry microfiber cloth or duster to clear loose particles from the window frame, sill, and tracks. Vacuum window tracks and corners with a crevice attachment to extract accumulated dirt that would otherwise turn to mud when wetted.
- Apply cleaning solution — Spray the 1:10 vinegar-water solution directly onto the glass surface, or apply with a dampened microfiber cloth. For exterior-facing interior glass near kitchen or bathroom areas, a more diluted application prevents residue buildup from cooking oils and soap scum.
- Squeegee in overlapping S-patterns — Start at the top corner of the glass and pull the squeegee horizontally in overlapping strokes with 2–3 inches of overlap between passes. Maintain the blade at a consistent angle — Consumer Reports recommends angling the squeegee slightly toward the direction of travel to channel water downward. Wipe the squeegee blade with a clean microfiber cloth after every single stroke to prevent redepositing grime onto the glass.
- Address corners and edges — Fold a microfiber cloth into a tight point or use a detail brush to reach corners and frame edges where the squeegee blade cannot make full contact. These areas trap moisture and dissolved residue that cause water spots if left unattended.
- Final buff and dry — Use a dry microfiber cloth to buff any remaining moisture from the glass surface. Inspect the window at multiple angles under natural light to identify and eliminate streaks before they set. A single overlooked streak becomes permanent once the moisture fully evaporates.
Step-by-Step Exterior Window Cleaning
Exterior windows face rain minerals, pollen, pollution film, and organic growth that interior glass never encounters. The cleaning approach differs from interior work in both technique and sequence. Always consult the window and glass cleaning guide for surface-specific recommendations before starting exterior work.
- Assess weather conditions — Choose an overcast day or work in shaded areas. Direct sunlight causes cleaning solution to evaporate before you can squeegee it off, leaving mineral deposits that appear as permanent streaks. Ideal ambient temperature falls between 50°F and 75°F (10°C–24°C).
- Rinse the glass with plain water — Use a garden hose or pressure sprayer on a low setting to dislodge loose dirt, pollen, and dust. This pre-rinse prevents abrasive particles from scratching the glass during the scrubbing stage.
- Apply cleaning solution generously — Work from bottom to top when applying solution to exterior glass. This prevents the cleaning solution from dripping down onto already-treated lower sections and creating visible drip lines.
- Agitate with a soft-bristle brush — Gently scrub the glass surface with a soft brush, paying particular attention to corners and edges where grime accumulates against the frame. Avoid wire brushes or abrasive pads that score the glass surface.
- Rinse thoroughly — Remove all cleaning solution residue with a strong stream of plain water. Any remaining surfactant or vinegar film will become visible once exterior glass dries in sunlight.
- Squeegee dry immediately — Pull the squeegee from top to bottom in overlapping horizontal strokes, wiping the rubber blade between each pass with a microfiber cloth. Work quickly to prevent water from air-drying and leaving mineral spots on the glass.
Window-Specific Considerations
Different window frame materials and glass treatments demand specific cleaning approaches. Using the wrong technique on a particular frame type can cause permanent damage that far exceeds the effort of proper maintenance. The guidelines below address the four most common residential window configurations.
Vinyl and Aluminum Frames
Clean vinyl and aluminum frames with warm water and mild dish soap (pH 7–8). These materials tolerate moderate moisture exposure, but avoid abrasive scrubbers that scratch the protective finish and create micro-crevices where dirt accumulates faster than on a smooth surface. Rinse frames thoroughly after washing to prevent soap residue from attracting airborne particles.
Wood Frames
Limit water exposure on wood frames to prevent swelling, warping, and eventual rot. Use a barely-damp cloth to wipe wood surfaces and dry immediately with a separate cloth. Never allow cleaning solution to pool on the sill or saturate frame joints where moisture penetrates the wood grain. For detailed guidance on cleaning moisture-sensitive surfaces throughout the home, see the kitchen cleaning guide.
Tinted Windows
Tinted window film degrades when exposed to ammonia-based cleaners — the ammonia dissolves the adhesive bonding the tint film to the glass, causing bubbling and peeling. Use only ammonia-free, pH-neutral cleaners on tinted surfaces. Paper towels and newspaper pose an additional risk: wood fibers create micro-scratches in the tint film that accumulate over time into a permanent haze that no amount of cleaning can reverse.
Stuck or Painted-Shut Windows
Test each window’s mobility before applying any cleaning pressure. Forcing a painted-shut sash can crack the glass or damage the frame. Clean around the immovable sash using a detail brush to address the exposed frame channels without pushing debris deeper into the sash mechanism. Once the window is properly freed, a full cleaning can proceed using the interior and exterior methods described above.
Drying and Finishing Techniques
The drying stage determines whether hours of cleaning effort produce professional results or a streaked surface that requires a complete rework. Each environment demands a slightly different finishing approach.
- For streak-free interior results: Position a fan to circulate air across freshly cleaned interior glass for 5–10 minutes. Moving air accelerates evaporation of residual moisture trapped in corners and along frame edges where the squeegee cannot reach.
- For exterior windows: Allow exterior glass to air-dry completely before touching the surface, or perform a second squeegee pass with a clean, dry blade to capture any remaining moisture before it evaporates and deposits minerals.
- For humid climates: Increase ventilation by running fans or opening windows in adjacent rooms. High humidity extends drying time significantly, raising the probability that mineral-laden moisture will leave visible spots as it slowly evaporates.
Common Mistakes to Avoid
Even experienced cleaners make errors that undermine their results. The table below identifies the five most frequent mistakes, explains the mechanism behind each problem, and provides a specific prevention strategy.
| Mistake | Why It Causes Problems | Prevention |
|---|---|---|
| Using paper towels | Leaves lint fibers and creates micro-scratches on the glass surface | Use only lint-free microfiber cloths |
| Cleaning in direct sunlight | Solution evaporates before squeegeeing, depositing dissolved minerals as permanent streaks | Work in shade or during overcast conditions |
| Using highly acidic or alkaline cleaners | Causes glass etching and permanent cloudiness over repeated exposure | Stick to mildly acidic solutions (vinegar diluted 1:10) or pH-neutral formulas |
| Skipping frame cleaning | Dirt on frames migrates back onto freshly cleaned glass within hours | Clean frames before squeegeeing the glass panes |
| Using the same squeegee blade for interior and exterior | Cross-contamination transfers exterior grime to interior surfaces | Keep separate tools or rinse the blade thoroughly between uses |
Troubleshooting Stubborn Window Contamination
Standard cleaning methods sometimes fail against persistent contamination that has chemically bonded to the glass surface. For comprehensive guidance on dealing with mineral deposits on glass, see how to remove hard water stains from glass. The following protocols address the three most common types of stubborn contamination encountered on residential windows.
Hard Water Deposits
Hard water leaves calcium and magnesium carbonate deposits on glass that standard diluted cleaning solutions cannot dissolve. Apply undiluted white vinegar (5% acetic acid, pH 2.6) directly to the affected area and allow 2–3 minutes of dwell time — the acetic acid reacts with carbonate minerals, breaking them into water-soluble compounds that rinse away. Scrub gently with a soft brush after the dwell period and rinse thoroughly with plain water.
Paint Splatter on Glass
Remove dried paint splatter using a single-edge razor blade held at a 45-degree angle to the glass surface. Keep the glass wet with cleaning solution while scraping — dry scraping produces friction that scratches the glass. Apply light, consistent pressure and let the blade’s edge do the cutting rather than forcing it through the paint film. Work in a single direction to avoid re-adhering paint fragments to the glass.
Builder’s Grime or Construction Dust
Vacuum loose construction particles from the frame and sill before applying any liquid — wetting dry cement dust or plaster particles converts them into an abrasive paste that scratches glass on contact. Apply a dedicated glass cleaner and allow 5 minutes of dwell time to penetrate construction residue. Repeat the application for stubborn silicone or mastic residue that resists the first treatment, and follow with a full squeegee and rinse cycle.
After tackling stubborn contamination, maintain results with regular quarterly cleaning using the interior and exterior methods outlined above. For screens that protect your windows from debris, refer to our guide on how to clean window screens to keep the entire window system functioning properly. Large glass surfaces such as sliding glass doors follow the same principles but require wider squeegee blades and additional reach considerations.
Frequently Asked Questions
Q: What is the best ratio of vinegar to water for cleaning windows?
A: A 1:10 vinegar-to-water ratio provides optimal cleaning without leaving residue or damaging glass — this concentration delivers sufficient acidity (approximately pH 3.5) to dissolve grime while preventing the glass etching that occurs with undiluted vinegar (pH 2.6) or highly alkaline cleaners.
Q: How often should residential windows be cleaned?
A: Interior windows should be cleaned at minimum every 3–4 months, while exterior windows require cleaning quarterly or bi-monthly in areas with high pollen, pollution, or proximity to coastal air. Seasonal exterior cleaning maintains optimal clarity and extends glass lifespan by preventing mineral deposit accumulation.
Q: Can I use newspaper to dry windows instead of microfiber cloths?
A: No — newspaper printing ink and paper fibers transfer to window frames, create micro-scratches on glass over repeated use, and leave ink residue on hands and surrounding surfaces. Lint-free microfiber cloths remain the only reliable option for streak-free drying.
Q: What causes streaking even after using a squeegee?
A: Streaking occurs when the squeegee blade is dirty, worn, or pulled at an inconsistent angle. Replace rubber blades every 6–12 months, wipe the blade after each pass with a clean microfiber cloth, and maintain a consistent blade angle throughout the stroke. A worn blade with nicks or rounded edges cannot maintain the continuous contact needed for a clean wipe.
References
- Consumer Reports. (2024). How to Clean Windows Like a Pro. Consumer Reports.
- Vetter, J. (2003). Vinegar Composition and Acetic Acid Content. Wikipedia (cited from Journal of Agricultural and Food Chemistry).
- Vila, B. (2024). How to Clean Windows Inside and Out. Bob Vila.


