
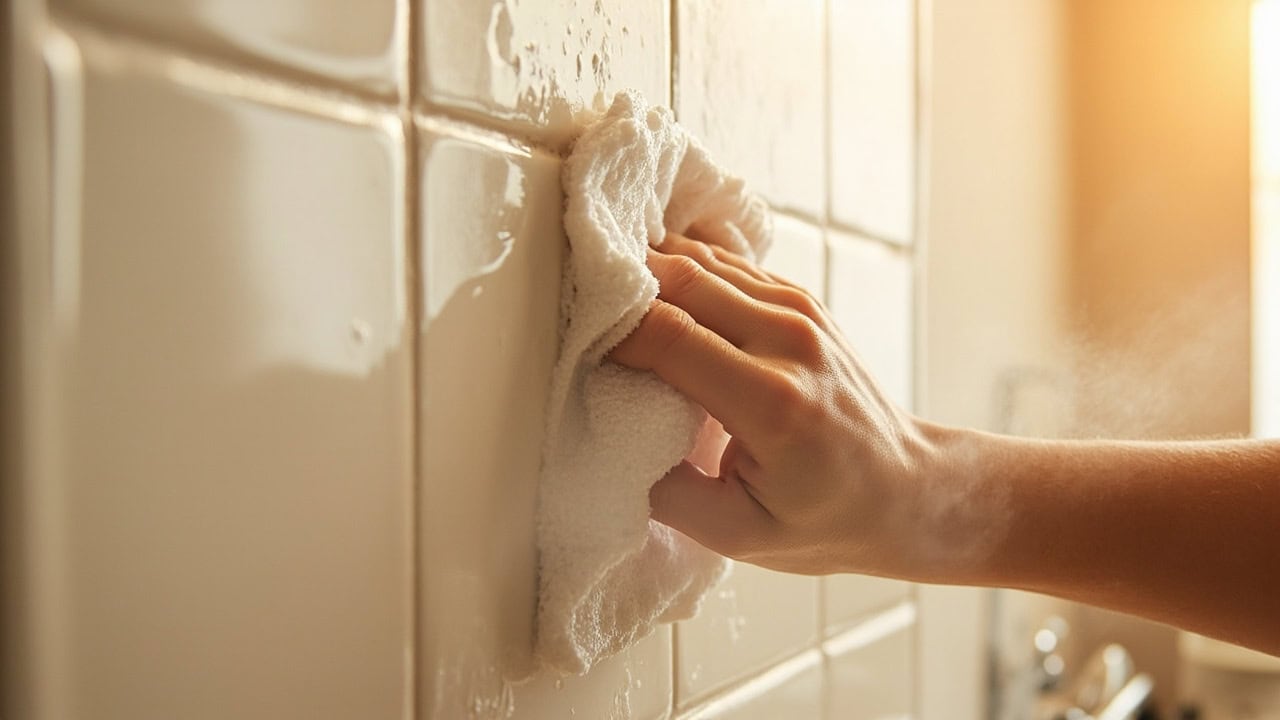
How to Remove Grease from Kitchen Walls

Kitchen walls coated in cooking grease are cleaned with a grease-cutting degreaser applied at a dilution ratio of 1:10 with warm water, scrubbed using a microfiber cloth in circular motions for 30 seconds per section, then rinsed with clean water — abrasive scrubbers and acidic cleaners damage painted surfaces and grout lines. The grease accumulates through a condensation process where oil vapors from cooking rise, hit cooler wall surfaces, and bond as the vapors cool into liquid oil that adheres to walls.
What You Need Before You Start
Gathering the right supplies before you begin prevents mid-cleanup interruptions and ensures you do not damage your wall surfaces. The materials below cover both commercial degreaser approaches and a homemade dish soap and vinegar solution that works on most painted walls, tile, and backsplash surfaces.
- Commercial kitchen degreaser or a homemade solution of 2 tablespoons dish soap and 1 tablespoon white vinegar in 2 cups warm water
- Warm water (100–120°F) for dilution and rinsing — cold water reduces surfactant effectiveness
- Soft-bristle brush or non-abrasive scrub pad for agitating stubborn grease films
- Two microfiber cloths — one dedicated to applying cleaner, one for rinsing
- Step stool for safely reaching upper wall areas near the ceiling and behind the range hood
- Drop cloth or old towels to protect countertops, flooring, and appliances from drips
Using two separate microfiber cloths is critical. Wiping with the same cloth you used to apply degreaser simply re-deposits dissolved grease onto the wall. The microfiber material traps grease particles within its split fibers rather than pushing them around the surface, which is why it outperforms cotton rags or paper towels for this task.
Why Grease Bonds to Kitchen Walls
Understanding the physics behind grease adhesion helps you choose the right removal method and explains why some cleaning approaches fail. Cooking oils vaporize at temperatures between 200°F and 300°F during frying, sautéing, and roasting. These invisible oil vapors rise with convective heat currents and spread throughout the kitchen. When the vapors contact cooler wall surfaces — typically 70°F to 80°F — they condense back into liquid oil droplets that deposit onto the wall.
Once deposited, the liquid oil adheres through Van der Waals forces — weak intermolecular attractions that, in aggregate, create a surprisingly tenacious bond. The oil also physically embeds into microscopic pores and texture irregularities on the wall surface. Painted surfaces with matte or eggshell finishes are particularly vulnerable because their porous microstructure traps oil particles more readily than smoother semi-gloss or gloss finishes.
Over time, a chemical process called polymerization transforms the grease film. Repeated heating cycles from ongoing cooking cause the deposited oil to oxidize and cross-link, hardening into a semi-permanent film that resists simple wiping. This polymerized layer is why grease that sits for weeks or months becomes far more difficult to remove than fresh residue. The dwell time required for degreasers increases proportionally with the age and degree of polymerization.
What NOT to Use on Kitchen Walls
Using the wrong cleaning tool or chemical on kitchen walls often causes more damage than the grease itself. The following materials and methods should be avoided on painted drywall, tile, and backsplash surfaces:
- Steel wool or abrasive scrubbers — These scratch paint finishes and create microscopic grooves that trap future grease more readily, accelerating the buildup cycle.
- Bleach-based cleaners — Sodium hypochlorite causes paint fading, especially on colored walls, and can damage grout between tiles by breaking down the cementitious binder.
- Full-strength acidic cleaners — Undiluted vinegar (5% acetic acid, pH 2.5) or lemon juice etches paint finishes over time and degrades grout lines. Always dilute acids before applying to walls.
- Scouring powder — Powdered abrasives permanently remove the top layer of paint and leave a chalky residue that attracts additional grease and dust.
- Pressure washers — Even low-pressure settings force water behind tiles, into drywall seams, and behind backsplash adhesive, causing mold growth and structural damage.
If you are also dealing with grease on grout lines between tiles, see our guide on how to clean kitchen tile grout for grout-specific techniques that account for grout’s greater porosity compared to painted drywall.
Step-by-Step Grease Removal Process
This six-step process works on painted drywall, ceramic tile, glass tile, and stainless steel backsplash surfaces. For each step, work in manageable 12-inch sections rather than attempting to clean an entire wall at once — this prevents the cleaning solution from drying on the surface before you can rinse it off.
- Prepare the cleaning solution. Dilute commercial degreaser at a dilution ratio of 1:10 with warm water (100–120°F). For a homemade alternative, mix 2 tablespoons of liquid dish soap and 1 tablespoon of white vinegar in 2 cups of warm water. Always test the solution on an inconspicuous area first — behind the refrigerator or inside a cabinet — to confirm it does not discolor or damage the finish.
- Apply solution to the grease. Dampen a microfiber cloth with the cleaning solution and press it against the greasy wall section. Allow a dwell time of 2–3 minutes so the surfactant molecules can penetrate the grease film and break the bonds between the oil and the wall surface. Do not let the solution dry on the wall.
- Scrub in circular motions. Using a soft-bristle brush or non-abrasive pad, work in 12-inch circular sections with moderate pressure. Begin with light pressure and increase gradually — the goal is to lift the emulsified grease without abrading the paint or glaze. If the cloth becomes saturated with grease, switch to a fresh section of the cloth to avoid re-depositing oil.
- Rinse with clean water. Dampen your second microfiber cloth with clean warm water and wipe the wall section thoroughly to remove all cleaning residue. Change the rinse water frequently — rinsing with dirty water leaves a soap film that attracts dirt and causes visible streaking on the dried wall.
- Dry the surface. Pat the wall dry with a clean, dry microfiber cloth to prevent water spots and streaking. Allow 15–30 minutes of air drying before cooking near the area, as residual moisture combined with fresh grease vapors creates a stubborn emulsion that is harder to clean.
- Inspect and repeat if necessary. For heavy, polymerized grease that resists the first pass, apply a paste of baking soda and warm water directly to the stubborn spots. Let the paste sit for 5–10 minutes — the mild alkalinity of baking soda (pH 8.3) helps saponify residual fats — then scrub gently with a soft-bristle brush and rinse thoroughly.
How to Prevent Future Grease Buildup
Preventing grease accumulation is significantly easier than removing it. Once grease polymerizes on wall surfaces, removal requires stronger chemicals and more physical effort. The following prevention strategies target the grease at each stage of the deposition cycle — from vapor capture at the source to surface protection on the walls themselves.
- Run the range hood exhaust fan 5–10 minutes before and after cooking. This captures grease vapors at the source before they reach wall surfaces. A properly functioning range hood reduces airborne grease by 60–70% according to ventilation studies. If your hood filter is clogged, clean or replace it — see our guide on how to clean range hood filters for detailed instructions.
- Wipe walls with a dryer sheet weekly. The anti-static compounds in dryer sheets leave a thin, hydrophobic residue on the wall surface that makes future grease adhesion more difficult and simplifies subsequent cleaning.
- Install a splatter guard behind the stove. A removable, washable splatter guard creates a physical barrier between cooking vapors and the wall. Glass, stainless steel, and silicone splatter guards are all effective and can be cleaned in the dishwasher.
- Clean grease within 48 hours of accumulation. Fresh grease wipes off easily with warm soapy water. After 48 hours, the oil begins oxidizing and polymerizing, requiring stronger cleaning agents and longer dwell times. A weekly wipe-down of the wall area nearest the stove prevents polymerization entirely.
- Choose semi-gloss or gloss paint for kitchen walls. Smoother paint finishes have fewer microscopic pores for oil to lodge in, making grease removal faster and more complete. Matte and eggshell finishes, while popular for their low-sheen appearance, create a textured surface that traps grease particles and makes cleaning more labor-intensive.
Common Mistakes When Cleaning Kitchen Walls
Even with the right supplies, technique errors can reduce cleaning effectiveness or cause wall damage. These five mistakes are the most frequent causes of unsatisfactory results when degreasing kitchen walls.
- Using cold water. Cold water reduces degreasing effectiveness because it does not emulsify grease — the surfactants in dish soap and degreasers require warmth to properly surround and lift oil molecules from the wall surface. Water between 100°F and 120°F provides the optimal temperature for grease emulsification without risking damage to paint.
- Over-saturating walls with cleaning solution. Excess liquid runs down the wall, pools at the baseboard, and can seep behind tiles or into drywall. Apply only enough solution to dampen the surface — the microfiber cloth should be wet but not dripping.
- Scrubbing before dwell time. Surfactants need 2–3 minutes of contact time to penetrate the grease film and break the molecular bonds between oil and the wall. Scrubbing immediately after application simply pushes the intact grease film around without removing it.
- Using the same cloth for cleaning and rinsing. A cloth saturated with dissolved grease and cleaning solution cannot effectively rinse the wall — it re-deposits the emulsified grease back onto the surface. Always use two separate cloths: one for applying and scrubbing, one dedicated to rinsing.
- Skipping the rinse step. Dried soap residue attracts dust and dirt, creating a grimy film that looks worse than the original grease. It also interferes with paint adhesion if you eventually repaint the wall. Rinsing with clean warm water removes all surfactant residue and leaves the surface truly clean.
For a comprehensive approach to all kitchen surfaces, visit our kitchen cleaning guide which covers countertops, appliances, and ventilation systems alongside wall and backsplash care. Related tile and grout cleaning techniques are also covered in our bathroom cleaning guide, since the same surfactant chemistry applies to tile surfaces in both rooms. The cleaning chemistry guide provides deeper background on pH values, surfactant types, and how different cleaning agents interact with grease and surface materials.
Frequently Asked Questions
Q: Does vinegar remove grease from kitchen walls?
A: Vinegar alone is too acidic for painted kitchen walls and can damage paint finishes over time. A solution of warm water with 1 tablespoon of dish soap and 1 tablespoon of white vinegar is effective when used at proper dilution — never apply full-strength vinegar to walls. The acetic acid in vinegar (pH 2.5 at 5% concentration) helps cut through light grease, but it must be diluted and combined with the surfactant action of dish soap to be both safe and effective on painted surfaces.
Q: What is the best degreaser for kitchen walls?
A: Commercial kitchen degreasers containing surfactants (like trisodium phosphate alternatives or plant-based grease cutters) work best at a 1:10 dilution ratio with warm water. For light grease, a simple dish soap solution (2 tablespoons per 2 cups warm water) is sufficient. For heavy, polymerized grease, choose a degreaser formulated with alkaline builders that saponify fats — these convert the grease into water-soluble soap compounds that rinse away cleanly.
Q: How do you remove sticky grease residue from walls?
A: Sticky grease residue is partially polymerized grease that hasn’t fully hardened. Apply a paste of baking soda and warm water directly to the residue, let it sit for 5–10 minutes so the mild alkalinity (pH 8.3) can saponify the fats, then scrub gently with a soft-bristle brush and rinse thoroughly. For particularly stubborn sticky spots, a commercial degreaser applied at a 1:5 dilution ratio with a 5-minute dwell time breaks down the cross-linked oil bonds.
Q: Can I use magic eraser on kitchen walls?
A: Magic erasers are made from melamine foam, which acts as an extremely fine abrasive — essentially like sandpaper with a very high grit. They can remove some paint finishes or leave subtle scratches on painted walls, especially flat and eggshell paints. Test on an inconspicuous area first. For most kitchen walls, a soft microfiber cloth with degreaser solution is safer and equally effective at removing grease without risking paint damage.
References
- U.S. Environmental Protection Agency. (2024). Safer Choice Standard for Cleaning Products. EPA.gov.
- ASTM International. (2023). ASTM D4488 — Standard Guide for Testing Cleaning Performance of Products Intended for Use on Resilient Flooring and Washable Walls. ASTM.org.
- Foegeding, E. A., et al. (2006). Oil Polymerization and Cross-Linking in Thermal Processing. Trends in Food Science & Technology, 17(8), 383–391.
- National Institutes of Health. (2022). Household Cleaning Products: Chemistry and Safety Considerations. NIH Bookshelf.
- Residential Ventilation Handbook. (2020). ASHRAE Standard 62.2 — Ventilation and Acceptable Indoor Air Quality in Residential Buildings. ASHRAE.


