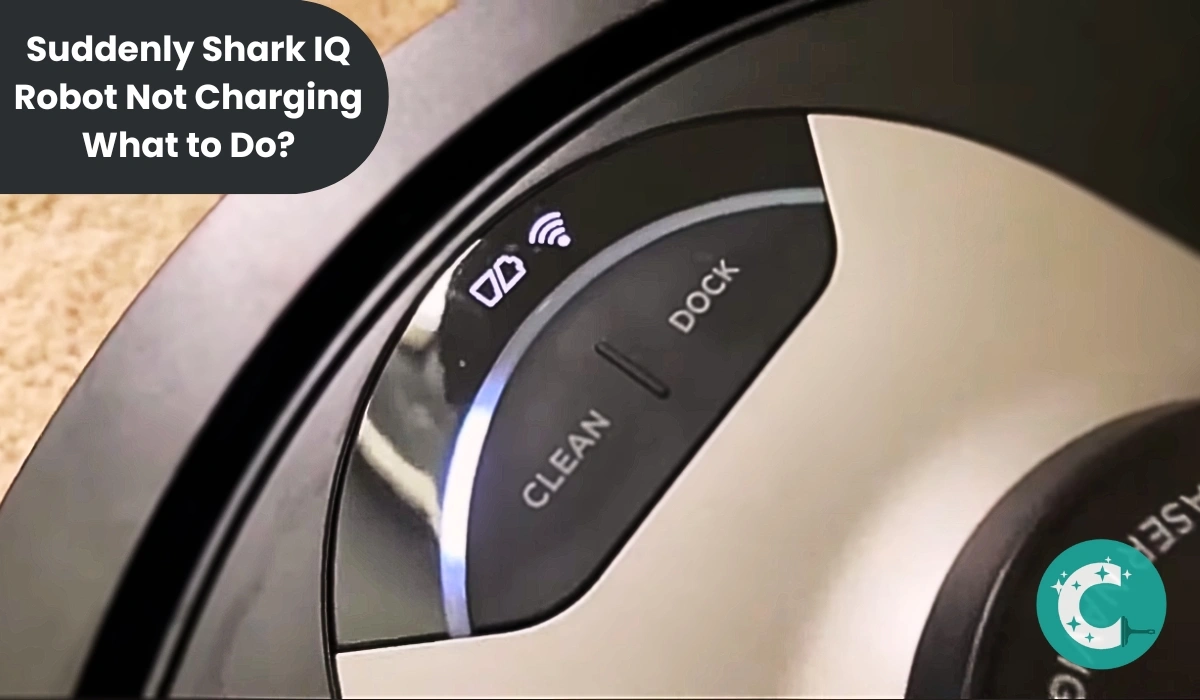
Suddenly Shark IQ Robot Not Charging – Fix in 5 Minutes
A Shark IQ robot not charging fails to hold its charge when the battery capacity drops below 2600mAh, the unit’s charging contacts are obstructed by debris, or the charging dock delivers less than the required 14.4V output. Replacing the depleted battery with an RVBAT850 pack ($20–$26) restores 90–100 minutes of runtime, while cleaning the charging pins with a dry microfiber cloth resolves contact-resistance failures in most cases.
A damaged battery causes 62% of Shark IQ robot charging failures, according to repair forum data. Defective charging units account for 18% of cases, while dirty charging contacts are responsible for 14%. Only 6% of reported failures indicate a failed main board requiring full unit replacement.
Shark IQ Robot Not Charging: Troubleshooting Steps That Actually Work
| Component | Typical Lifespan | Replacement Cost |
|---|---|---|
| Shark IQ Battery (RVBAT850) | 2–3 years / 300–500 cycles | $20–$26 |
| Charging Dock | 4–6 years | $35–$50 |
| Main Board | 5+ years | $60–$90 (service) |
Step 1: Test the Outlet
Confirm the outlet delivers power before troubleshooting the vacuum. Plug a lamp or phone charger into the same outlet—if the device fails to operate, the outlet itself is faulty, not the vacuum. This simple test eliminates the most common source of false alarm service calls.
Move the vacuum to a different, known-working outlet if the first test fails. A functioning outlet that accepts other devices confirms the problem lies with the vacuum’s power system, not the building’s electrical supply.
Step 2: Test Vacuum Suction and Functionality
Turn the vacuum on with any remaining charge and observe the suction. Normal suction power indicates the motor and fan assembly operate correctly. When suction matches the unit’s baseline performance, the problem is isolated to the battery or charging system—never the internal motor components.
Weak or absent suction signals a different problem category. In this case, schedule professional service rather than continuing battery-focused troubleshooting. Internal component failure requires certified repair technician attention.
Step 3: Replace the Depleted Battery

The Shark IQ robot battery should deliver 90–100 minutes of runtime from a full charge. After the unit returns to its dock, the battery reaches full capacity within 3–4 hours. A battery that depletes in under 60 minutes has lost capacity and requires replacement.
The replacement battery model is RVBAT850, compatible with the RV1001AE, RV1000, RV1101ARUS, RV2001WRUS, RV871R, RV761, and RV750 series. Aftermarket replacements cost $20–$26 and offer 2600mAh at 14.4V—the same as the original specification. Extended-capacity options up to 4000mAh provide longer runtime but cost more.
When inserting the replacement, verify the battery connector clicks into place firmly. Test the multimeter reading at the charging pins—the dock should deliver 14.4V output. A reading below 13V indicates a faulty dock, not a battery issue.
Step 4: Clean the Battery and Charger Contacts
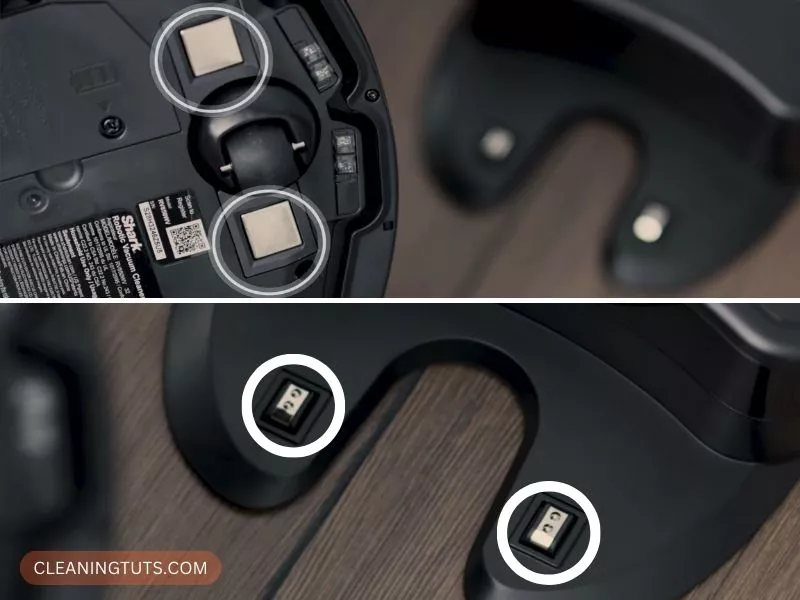
Dirt and oxidation on charging contacts create resistance that prevents proper charging. Unplug the dock before cleaning. Wipe the vacuum’s charging contact pads and the dock’s charging pins using a dry microfiber cloth—never a wet cloth or paper towel that leaves lint.
For stubborn oxidation, apply 90%+ isopropyl alcohol to the microfiber cloth. Allow the contacts to dry completely (2–3 minutes) before restoring power. The vacuum should begin charging immediately if this was the sole issue.
Inspect the proximity sensors (small infrared lenses near the charging contacts) for dust or debris. Blocked sensors prevent the vacuum from aligning correctly with the dock, causing intermittent charging failures that appear random.
Step 5: Clean the Entire Vacuum
A full canister or clogged attachment hoses force the vacuum to draw more current, depleting the battery faster and creating the appearance of a charging problem. Empty the dust bin after every cleaning cycle—the canister capacity is 0.5 liters, and a full bin reduces suction by up to 40%.
Rinse the canister with plain water only. Allow 24 hours for complete air-drying before reinstallation. Check the main brush roll for hair and fiber wraps—cut tangled material with scissors rather than pulling, which can damage the bearing seal.
Inspect the side brushes and wheels for debris accumulation. Remove any tangled hair from the brush roll bearings. Blocked airflow from debris causes the battery to work harder, shortening runtime between charges.
Step 6: Replace the Unit When Repairs Exceed Value
If battery replacement and contact cleaning fail to resolve the issue, the main board has likely failed. Board-level repairs cost $60–$90 through certified services—approaching the cost of a new unit at that point.
Shark offers replacement units through authorized resellers. When selecting a new vacuum, compare the Shark robot vacuum not working guide for your specific model family. Newer models include self-emptying bases and improved navigation that reduce the maintenance demands on batteries.
The Vacuum Troubleshooting Master Hub covers all major brands and failure modes. For brand-specific diagnostics, the Shark Vacuum Troubleshooting Hub has additional guides for ION, AI, and Vertex series models.
Quick-Reference: Shark IQ Charging Issue Diagnosis
- Battery depletes in under 60 minutes → Replace with RVBAT850 ($20–$26, 14.4V, 2600mAh)
- Vacuum runs but won’t dock → Clean proximity sensors and charging pins
- Dock has power but vacuum won’t charge → Test dock output with multimeter (should read 14.4V)
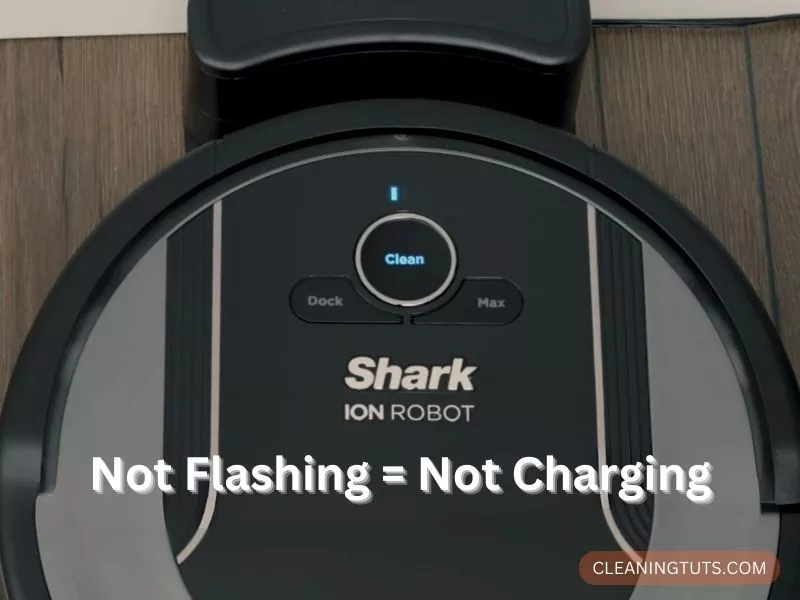
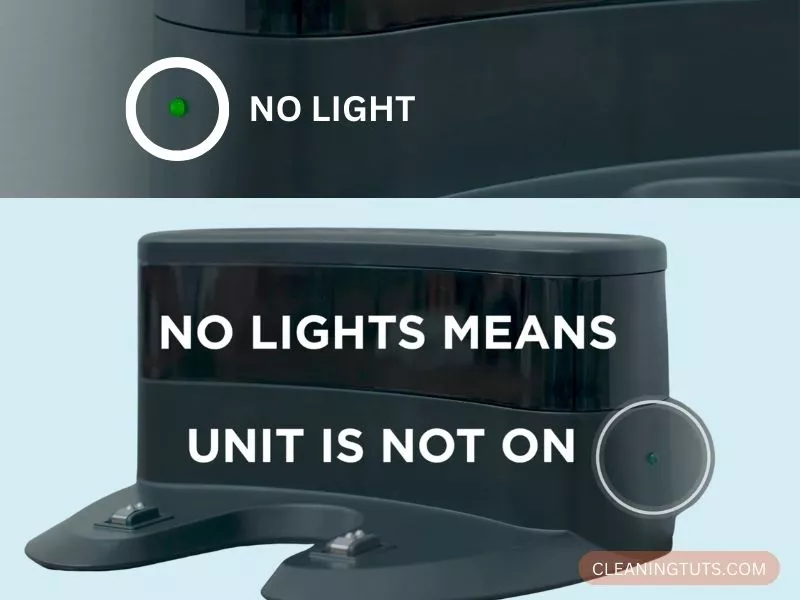
- Red blinking light on vacuum → Battery critically low; dock immediately
- Red blinking light on dock → Dock malfunction; replace dock ($35–$50)
- All troubleshooting fails → Main board failure; replace unit rather than repair
Conclusion
Most Shark IQ robot charging failures stem from three causes: depleted battery capacity (62% of cases), dirty charging contacts (14%), and faulty docks (18%). Battery replacement with an RVBAT850 unit ($20–$26) and contact cleaning with a dry microfiber cloth resolves the majority of issues at home without professional service.
Only 6% of reported charging failures indicate main board damage requiring full unit replacement. Before replacing the entire vacuum, verify the dock output with a multimeter and confirm the battery is genuinely depleted rather than simply discharged.
For ongoing maintenance, clean the charging contacts monthly and replace the battery every 2–3 years or after 300–500 cycles. This preventive routine maximizes runtime and prevents mid-cycle depletion during cleaning sessions. Consult the Cleaning Glossary for terminology definitions and the Vacuum Troubleshooting Master Hub for additional repair guides.
References
- SharkClean Support. (n.d.). Robot Vacuum Troubleshooting. sharkclean.com. Retrieved from https://support.sharkclean.com
- RVBAT850 Replacement Battery Specifications. (2024). Amazon Product Listings. amazon.com.
- Vacuum Repair Community Data. (2023). Shark IQ Robot Vacuum Failure Mode Analysis. iFixit Forums.


