
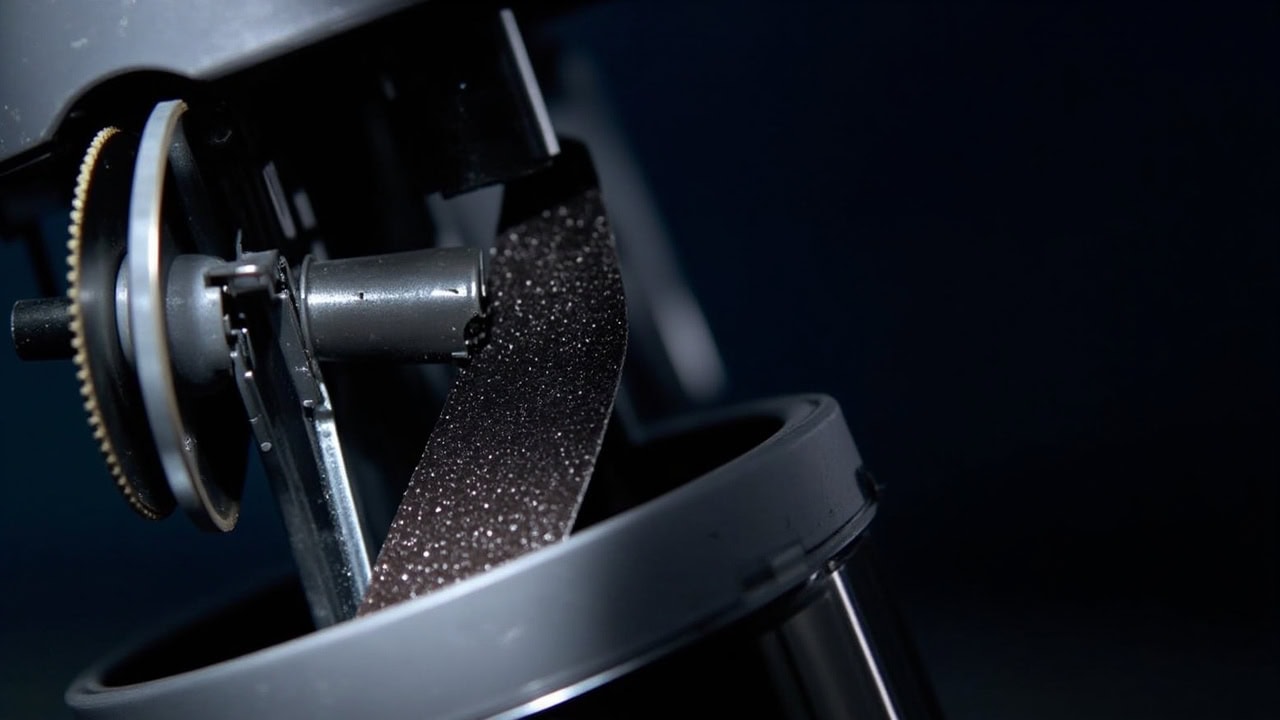
Vacuum Belt Replacement: Complete Guide

Vacuum belt replacement restores suction power and brush roll function within 15 minutes using only a screwdriver. A stretched, cracked, or broken belt is the primary cause of reduced cleaning performance in upright and canister vacuums, and the recommended replacement interval is every 6–12 months depending on usage frequency and floor type. This guide walks through the complete replacement procedure for all major vacuum brands.
The brush roll belt connects the vacuum’s motor to the rotating brush, transferring rotational force that agitates carpet fibers to loosen embedded dirt. When this rubber belt stretches or breaks, the brush roll slows or stops entirely, and carpet cleaning performance drops significantly — even though the suction motor continues running normally.
What You Need Before Starting
Gather the correct supplies before opening the vacuum housing. The replacement belt must match the vacuum model exactly — using an incorrectly sized belt causes slippage, overheating, or premature failure. Check the user manual or the label printed on the existing belt for the part number.
- Replacement belt — match part number to vacuum model (check manual or existing belt label)
- Flathead or Phillips screwdriver — depending on your vacuum’s screw type
- Work surface — clean, well-lit area with ample space to lay out screws and components
- Optional: gloves to protect hands from dust and sharp internal components
Replacement belts cost between $3 and $15 depending on the brand and belt type. Universal belts are available for some models, but OEM-specific belts provide the most reliable fit. Most major brands — including Bissell, Hoover, Dirt Devil, Shark, and Dyson — sell replacement belts directly or through authorized parts retailers.
Step-by-Step Vacuum Belt Replacement
Follow these steps in order to safely replace the vacuum belt. The entire procedure takes approximately 15 minutes. Always work on a stable surface with the vacuum unplugged.
- Unplug the vacuum completely and flip it upside down to access the bottom plate. Never attempt repairs on a plugged-in vacuum — accidental activation can cause serious injury from the spinning brush roll.
- Locate the brush roll compartment — usually secured by 4–8 screws in a rectangular or circular pattern on the vacuum base. Some models use a hinged cover with release latches instead of screws.
- Remove the screws with the appropriate screwdriver and lift off the bottom plate. Place screws in a small container to prevent loss during reassembly.
- Identify the old belt wrapped around the motor pulley and brush roll axle. Trace the full belt path from the motor shaft to the brush roll.
- Note the belt routing — photograph the path before removal for reference. Correct routing varies by model and an incorrectly routed belt will not grip properly.
- Remove the old belt by sliding it off the motor pulley first, then off the brush roll. If the belt has snapped, remove all pieces and check that no fragments remain inside the housing.
- Inspect the brush roll — check for tangled hair, string, or debris wound around the axle. Clean the brush roll thoroughly before installing the new belt. Debris wrapped around the axle adds resistance that accelerates belt wear.
- Install the new belt by first placing it on the motor pulley, then stretching it over the brush roll axle. The belt should require moderate tension to stretch into position — if it slips on with no resistance, it is too large.
- Verify belt alignment — the belt must sit flat in the groove without twisting or riding up on the edge of the pulley. Spin the brush roll by hand to confirm the belt tracks correctly through a full rotation.
- Reassemble the bottom plate and secure all screws firmly. Do not overtighten screws in plastic housings — finger-tight plus a quarter turn is sufficient.
- Test the vacuum — plug in, turn on briefly, and confirm the brush roll spins freely and suction sounds normal. A burning rubber smell or high-pitched squeal indicates misalignment that must be corrected before regular use.
Why Vacuum Belts Wear Out
Vacuum belts are manufactured from rubber compounds — typically styrene-butadiene rubber (SBR) or ethylene propylene diene monomer (EPDM) — that experience constant mechanical stress from the high-speed rotation of the brush roll. Most brush rolls spin between 3,000 and 6,500 RPM, and the belt must maintain consistent tension to transfer that rotational energy without slippage.
Over time, this continuous stress causes three primary failure modes:
- Stretching — the rubber elongates under repeated tension cycles, reducing belt tension and allowing the belt to slip on the pulley. A stretched belt may rotate the brush roll slowly or intermittently.
- Cracking — heat generated by friction, combined with age-related rubber degradation (oxidation), causes cracks along the belt surface. Cracks weaken the belt structure and eventually lead to complete breakage.
- Breakage — sudden failure caused by foreign objects (coins, carpet fringe, small toys) jamming the brush roll, which snaps the belt under load.
Belt wear directly impacts cleaning performance because the belt is the sole mechanical link transferring motor power to the brush roll. Without proper tension, the brush roll slows or stops entirely, and the vacuum loses its ability to agitate carpet fibers — the critical first step in deep cleaning. Even when the suction motor runs at full power, a slipping belt means carpet dirt stays embedded because the agitation mechanism has failed.
How to Prevent Belt Damage
Proactive maintenance extends belt life and prevents unexpected failures during cleaning sessions. These four habits keep the belt and brush roll assembly working at full efficiency.
- Check belt tension monthly — press on the center of the exposed brush roll while the vacuum is unplugged. The belt should feel taut with minimal give. If the belt deflects more than 6 mm (approximately ¼ inch) under moderate finger pressure, it has stretched beyond its effective range and requires replacement.
- Clean the brush roll weekly — remove tangled hair, carpet fibers, and string that accumulate around the axle. This debris adds rotational resistance, forcing the belt to work harder and heat up faster. A clean brush roll reduces belt stress by up to 30% compared to a debris-clogged roller.
- Replace the belt every 6–12 months — proactive replacement prevents sudden breakage during cleaning. Mark the replacement date on the belt housing with a permanent marker or set a calendar reminder. Homes with multiple carpeted rooms or pets should replace closer to the 6-month interval.
- Avoid vacuuming large debris — carpet fringe, coins, small toys, and hard objects can jam the brush roll instantly, snapping the belt under load. Pick up large items by hand before vacuuming to protect both the belt and the brush roll bearings.
Universal Belt Types and Compatibility
Vacuum belts come in four primary configurations, each designed for specific vacuum styles and motor outputs. Using the wrong belt type causes immediate slippage or prevents installation entirely. Always match the belt type, dimensions, and part number to your specific vacuum model.
| Belt Type | Vacuum Style | Common Brands | Replacement Frequency |
|---|---|---|---|
| Flat belt | Upright | Bissell, Hoover, Dirt Devil | 6–9 months |
| Hexagonal belt | Commercial/industrial | Nilfisk, ProTeam | 3–6 months |
| Round belt | Canister | Miele, Simplicity | 9–12 months |
| Double belt | Pet vacuum | Shark, Dyson | 4–6 months |
Flat Belts
Flat belts are the most common type found in residential upright vacuums. They feature a wide, thin cross-section that provides a large contact surface with the pulley, delivering efficient power transfer at typical brush roll speeds of 3,500–5,000 RPM. Flat belts stretch gradually over time, giving a predictable wear pattern that allows for scheduled replacement.
Round Belts
Round belts (also called O-ring belts) are used primarily in canister vacuums with motorized power heads. Their circular cross-section allows them to track smoothly around smaller pulleys found in compact power head designs. Round belts typically last longer than flat belts — 9–12 months — because canister vacuum power heads operate at lower RPM and encounter less resistance than full-size upright brush rolls.
Cogged and Hexagonal Belts
Cogged belts feature teeth molded into the rubber that mesh with matching grooves on the pulley, preventing slippage entirely. These are found in commercial-grade vacuums (Nilfisk, ProTeam, Tacony) where consistent brush roll speed is critical for high-throughput cleaning. Hexagonal belts offer dual-sided contact surfaces for heavy-duty applications. Both types wear faster — typically 3–6 months — because they operate under higher torque loads in commercial environments.
Double Belt Systems
Pet-focused vacuums from Shark and Dyson often use a dual-belt configuration — one belt drives the brush roll while a second belt powers a secondary agitator or specialized pet-hair extraction tool. Both belts must be inspected and replaced on the same schedule (4–6 months) because failure in either belt degrades the vacuum’s pet-hair cleaning performance. When replacing a double-belt system, install both belts simultaneously to maintain balanced tension across the drive system.
Belt Failure Symptoms and Diagnosis
Recognizing belt failure early prevents cascading damage to the motor and brush roll bearings. The four primary indicators of a worn or broken belt are:
Brush roll not spinning — The most direct symptom. Turn the vacuum on and tilt it back to observe the brush roll. If the motor runs but the brush remains stationary, the belt has either broken or stretched beyond its grip threshold. This is the definitive test for belt failure and the first check recommended by vacuum troubleshooting guides.
Burning rubber smell — A stretched belt slipping on the motor pulley generates friction heat that produces a distinct burnt rubber odor. This smell indicates the belt is actively degrading and will break soon if not replaced. Continuing to run the vacuum with a slipping belt can melt rubber residue onto the pulley, requiring additional cleaning during replacement.
Squealing or grinding noise — A high-pitched squeal from the brush roll area signals belt slippage under load. If your vacuum is making unusual noises, inspect the belt before the noise progresses to a complete failure. Grinding sounds may also indicate debris caught between the belt and pulley.
Reduced carpet cleaning performance — If the vacuum picks up less debris from carpets even though suction feels normal at the hose, a worn belt is likely causing the brush roll to spin too slowly for effective agitation. This gradual performance decline is easy to overlook until carpet appearance noticeably deteriorates. For a full diagnostic, see our guide on why your vacuum is losing suction.
Frequently Asked Questions
Q: How do I know if my vacuum belt needs replacement?
A: Signs include the brush roll not spinning while the vacuum runs, reduced suction on carpets, a squealing or grinding noise from the brush roll area, and visible cracks or stretching on the belt when exposed.
Q: Can I replace the vacuum belt myself?
A: Yes — belt replacement is a 15-minute repair requiring only a screwdriver. Most vacuums have a removable bottom plate that provides direct access to the belt and brush roll assembly.
Q: How often should vacuum belts be replaced?
A: Belts should be replaced every 6–12 months under normal use. Homes with pets or carpeted floors may require replacement every 4–6 months due to increased brush roll stress.
Q: Will a new belt improve vacuum suction?
A: A new belt restores proper brush roll speed and belt-to-pulley grip, which improves carpet cleaning performance. If suction loss persists after belt replacement, check the filter, hose, and bag or dirt container for additional issues.
References
- ASTM International. (2019). ASTM F3091 — Standard Specification for Vacuum Cleaner Belts. ASTM International.
- U.S. Consumer Product Safety Commission. (2023). Home Appliances Safety Guide. CPSC.gov.
- Association of Home Appliance Manufacturers (AHAM). (2022). Vacuum Cleaner Performance Testing Standard. AHAM Standard AC-1.


