How to Clean a Rusty Adjustable Wrench?
An adjustable wrench is a great tool that helps to tighten or loosen nuts and bolts in tight spots. However, this wrench can be dirty or jammed by materials being worked on. Since these are made of steel, they are prone to dirt and rust buildup. So how do you clean an adjustable wrench?
You can easily clean an adjustable wrench with some simple tips and tricks. One of the methods you can apply is to soak it in vinegar overnight. When that’s done, spray some rust remover on it. And scrub the wrench with a pad.
Well, that was just a snap of the detailed process we are going to discuss in this article. If you want to save your wrench from rust and increase its longevity, then stick to the end.
Can Rusted Tools Be Cleaned?
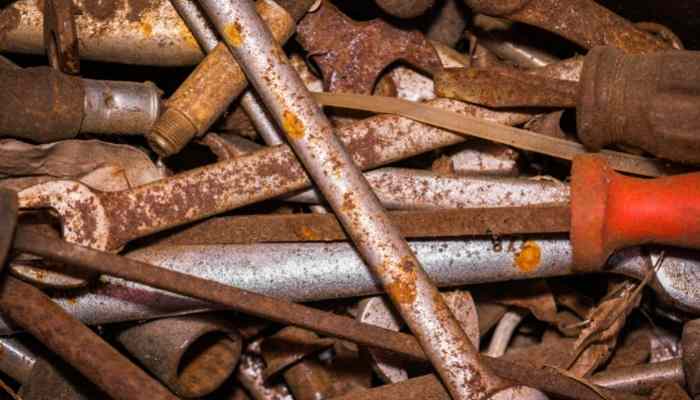
With a little effort, rusted tools can be easily cleaned. To do this, get yourself a non-harmful acid and rust removing liquid. Let your tool soak in acid for a few hours.
Then take it out and let it rest for a while. Now spray some rust remover liquid on it. After that, make it clean by scrubbing with a cleaning pad.
How to Clean A Rusty Adjustable Wrench?
Before you start cleaning, always disassemble your wrench. Separate the thumbscrew and movable jaw from the main body. Rust ruins the condition of the wrench.
If ignored for a long time, the tool becomes unusable. Get rid of the rust and make your wrench better by following these basic steps below:
Step 1: Soak Your Wrench in Phosphoric Acid
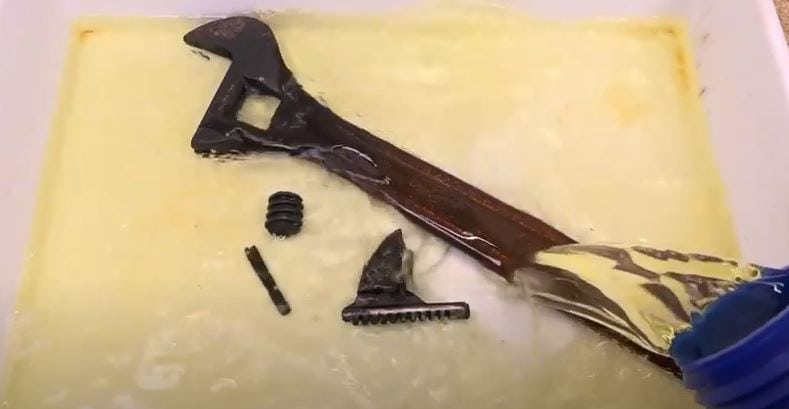
Pour phosphoric acid into a bucket. Next, put the wrench along with its separated parts in it. Let them soak for at least 12 hours. At the same time, phosphoric acid weakens the rust.
After 12 hours is over, take the thumbscrew, movable jaw, and the main body out. And let them rest a few minutes.
Step 2: Spray Some WD-40 on the Rusted Main Body and Parts
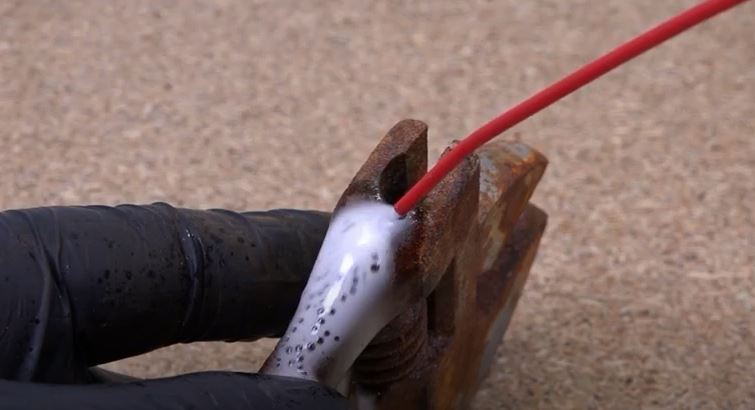
Wd-40 is a premium-level cleaning solution that has various functions. It not only aids in the removal of rust. It also cleans dirt and grime from the metal while also lubricating it. It’s extremely popular for cleaning rust out of radiators and other metals. So, spray a generous amount of wd-40 on the components
Step 3: Scrub All of the Parts with A Cleaning Pad
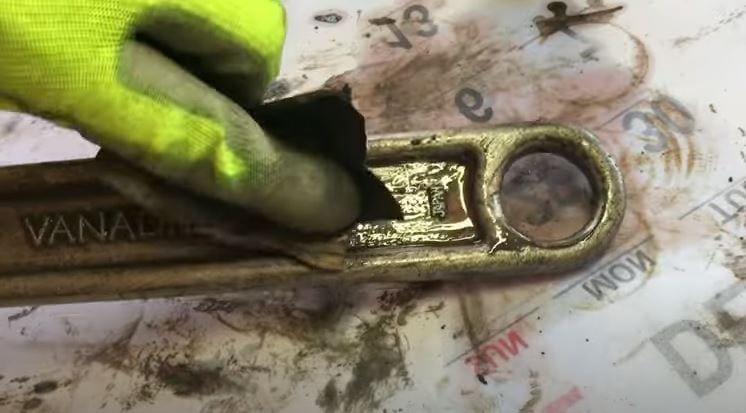
Take your cleaning pad and scrub all the parts thoroughly a few times. Make sure to wear gloves while scrubbing to avoid getting cut by rusted metals. Scrub until you get all the rust off of the parts. When you are done with that, your wrench should look shiny.
Step 4: Use A Clean Cloth to Wipe Off
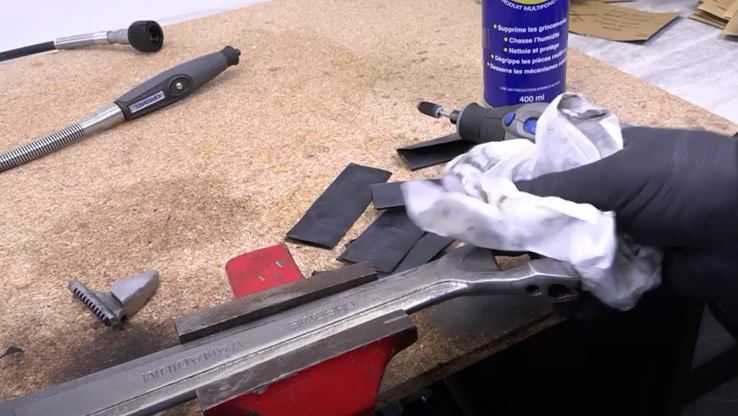
After scrubbing, the residual solvent will still be on the metal. Get it off by wiping all the separated parts with a clean cloth. Wipe until all the solvent is gone from each of the parts. Now attach the thumbscrew and movable jaw where it belongs. After assembling all the pieces, your cleaning is nicely done.
How Do You Clean Adjustable Spanners?
When tightening or loosening a bolt of any size, one adjustable spanner is enough to do the job. It’s a very effective metallic tool that has a long lifetime.
Over continuous usage, dirt, dust, and rust start to build upon the spanner. Protect your spanner from these threats by following these simple steps below:
Step 1: Disassemble and Soak Your Spanner in Hydrochloric Acid
Detach the worm screw and the adjustable jaw from the main body. Now pour some hydrochloric acid into a bowl. After that, put all the parts into the acid and let it stay there for 12 to 24 hours. The number of hours varies on how dirty your spanner is. The acid will help remove all the dirt stuck on the spanner.
Step 2: Spray Your Preferred Cleaning Liquid over All the Parts
Pick a cleaning liquid depending on what type of metal your spanner is made of. Some liquids often don’t react well with certain metals, such as aluminum. Spray the solvent over all the parts and let them rest for some time while the liquid starts working.
Step 3: Use Steel Wool to Scrub the Spanner
Scrub all the parts of the spanner hard with a ball of steel wool. Keep scrubbing until all the smudges and stains are gone. Steel wool is great for removing rust on metal, and it also works well for polishing. After scrubbing is done, your spanner parts should be shinier than before.
Step 4: Rub All of the Parts with A Microfiber Cloth
Use a microfiber cloth and rub all the parts with it. Rubbing each of the parts will help to get rid of the residual solvent on the metal. So continue with your rubbing until all the residual solvent is gone.
Step 5: Attach All Detached Parts to the Main Body
It’s time to assemble the adjustable spanner. Stick the worm screw into the hole above the handle in the main body. Next, reattach the movable jaw on the graduated scale at the top of the worm screw. After you finish fitting all the parts back together, you have earned yourself a clean well-functioning spanner.
Conclusion
An adjustable wrench is a very handy tool for both professionals and people at home alike. As one adjustable wrench ends, the need for you to have multiple-sized spanners at once. It is a popular low-maintenance tool that doesn’t need to be cleaned quite often.
Although, remember to take care of your wrench or spanner once in a while. Cleaning will keep it in proper shape and prevent rust from affecting it. Routine cleaning of your tool will make it last longer and ensure it works better when the need arises.
It is common to often end up having short time on our hands for cleaning. Well, if that seems to be your case, then feel free to go to your local repair shop, where your tool will get the proper professional treatment it needs.

