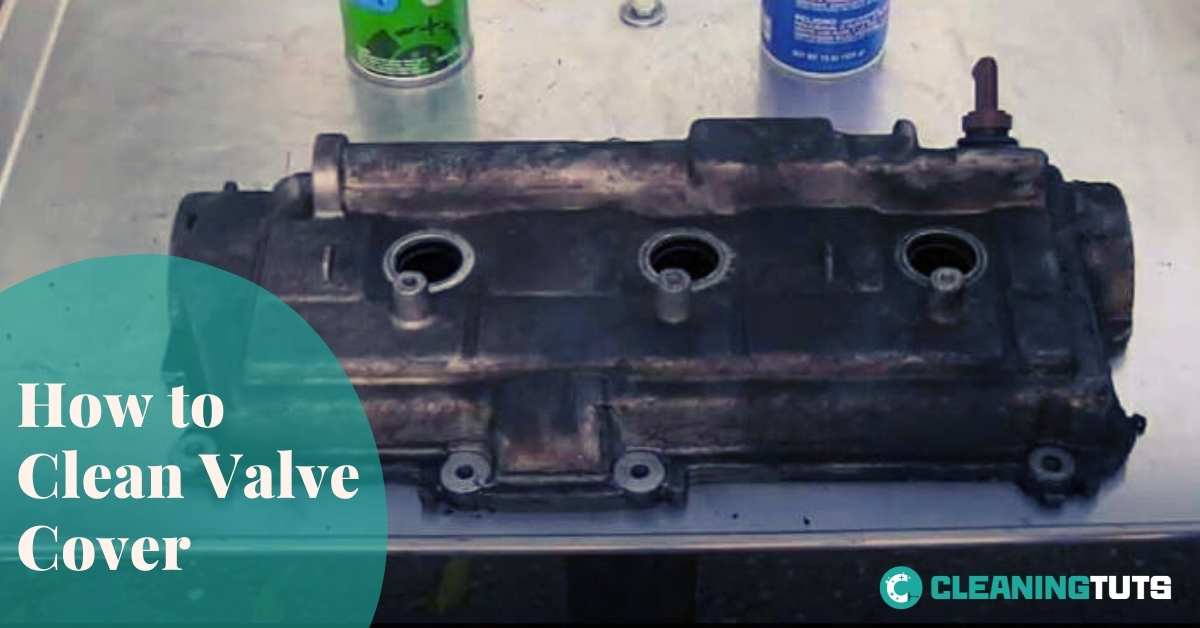
How to Clean Valve Cover
Due to regular use of the vehicle engine, it’s very common to see a dirty valve cover. The first question that comes to mind seeing it is – how to clean the valve cover?
Generally, professionals suggest two ways of cleaning the cover. One is the degreaser method, and the other one is the cleaning cylinder head technique. Although maximum people are worried about cleaning the valve cover, it requires some simple steps and minimum effort to accomplish this job flawlessly.
It doesn’t matter which method you follow; the main thing is to do the job in the right way, right? That’s why we’re going to talk about the easiest and most beneficial way you can clean a valve cover. Also, you’ll get to know how valve cover cleaning can help to improve vehicle health in this article.
Benefits of Cleaning Valve Cover
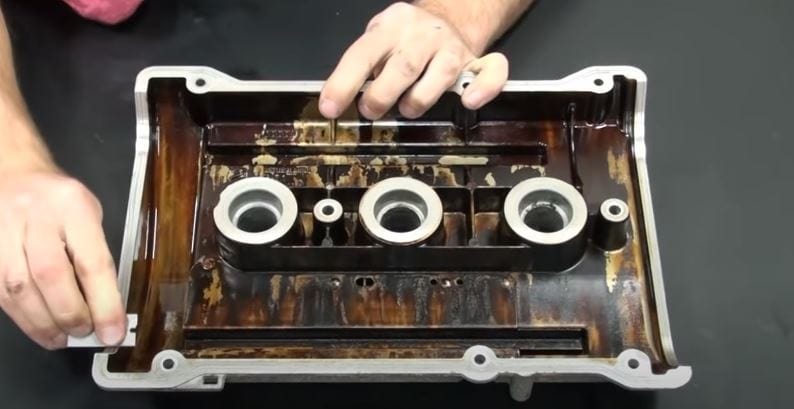
If you clean your valve cover timely, then it will be easier to identify any type of leakage or rust formation from the engine. The valve cover not only keeps your engine covered but also works to introduce the engine condition to us.
When you are unable to keep your valve cover clean, it will eventually kill the performance and durability of the engine resulting in lots of bucks of repair later on. So, here are some benefits which you will get if your valve cover is clean.
Leakage Identification
After almost 60,000 miles of driving, the engine starts to leak oil due to a dirty and jammed cylinder head. This will result in the spilling of oil around the corner of the valve cover. So, if your cover is clean, you can easily detect such leakage and take necessary actions.
Protection of Engine
periodically cleaning the valve cover keeps the engine condition intact. If the oil leakage on the valve cover is not cleaned, then the slimy residue layer on the bottom side of the cover will go back to the engine through the cylinder head and hamper it.
Intact Engine Connection
The engine is connected with various other pieces of machinery with nut bolts and rubber hose pipes as well. If the valve cover has leakage oil around it, rust formation is highly likely in the metal junctions. It will degrade all the equipment resulting in damage to the overall engine.
How to Clean Valve Cover?
If you see oil leakage around your valve cover, all you need is Degreaser, brake cleaner, and water to clean this dirt. You can complete this work at home easily rather than spending more than 100 bucks at the garage.
But there are various complications and tricky steps that are needed to be followed while cleaning it. So, we have summed up a step-by-step guide to make this job much easier. So, let’s move on to the steps of cleaning the valve cover of an engine:
Step 1: Cooling the Engine
The valve cover of the engine always remains very hot after every ride. So, firstly you have to make it cool before removing it. For this reason, keep the hood of the vehicle open for 10-15 minutes and let the engine cool down. Don’t turn on the engine during this period.
Step 2: Disconnect Valve Junctions
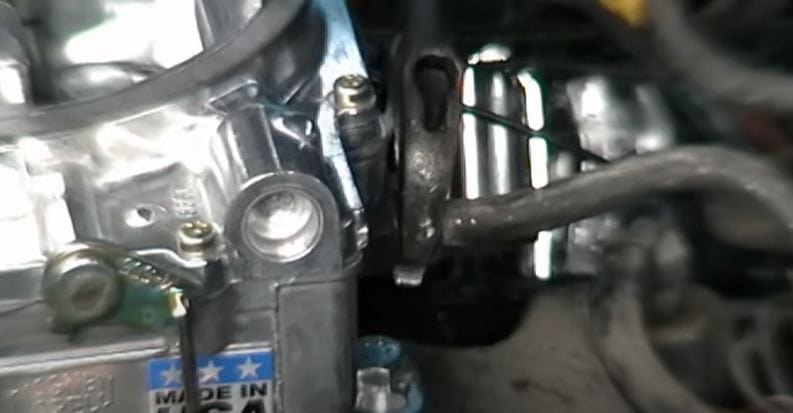
To remove the valve cover, you have to make sure all the connections with it are removed. In this step, you will need a ratchet and socket to open the nut bolts. First, remove the coil connector by unlocking the tab locker. Then unmount the ignition coil carefully with a ratchet and suitable socket.
After that, twisting the connected bolts loses the coil junction slowly. Remove it carefully to avoid any harm to the metal part. All the connected pipes and hose cables must be disconnected to free the valve cover. Then move out the spark plugs.
Step 3: Removal of the Valve Cover
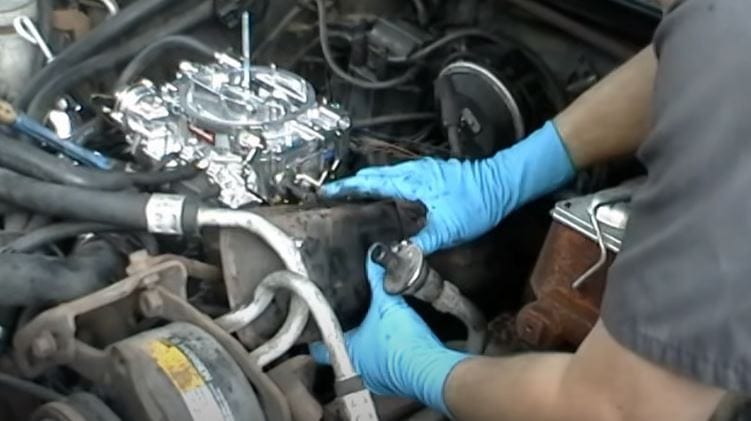
Once all the connections are removed from the valve, loosen up the cover nut bolts from the engine. Then slowly reach for the center of the valve and, with a slow tapping, remove it from the vehicle. Make sure all the hose pipes are disconnected properly before pulling off the valve.
Step 4: Identify Leakage
After removing the valve cover, detect the origin of leakage. Observe the cylinder heads to find out the leak point. The best way to find out the leakage is to look for dirty black spots around the cylinder heads.
Step 5: Make the Cover Oil-Free
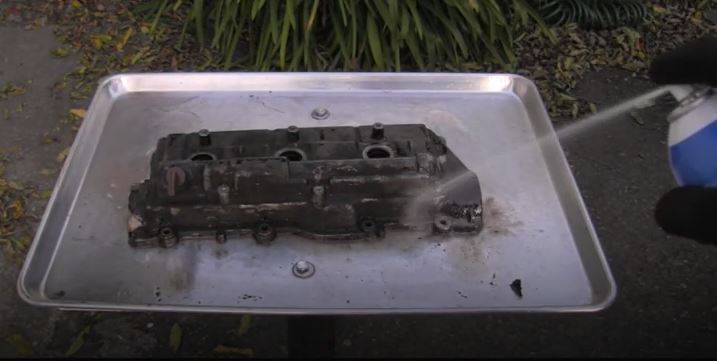
Start the cleaning by rubbing oily formation on the back of the valve cover and cylinder heads. Use a rag to clean oily layers from the corners of the cover, spark plugs, and grooves of the gasket. After that, spray the greaser or brake cleaner on the valve cover and rusty parts thoroughly. J
It will remove the firm oil formation easily if you rub it with a scrubber. Don’t forget to clean the mouth of hose-pipe connections with the greaser. Then wash away all the dirt with water to remove all the oil residue.
Step 6: New Gasket Installation
If the conditions of the cylinder head and spark plugs are too worn out, you have to buy new sets of valve covers and spark plugs in that case. Or else, simply wash the rust and greasy layer and rub the cover for a shiny finish.
Step 7: Setup the Valve Cover
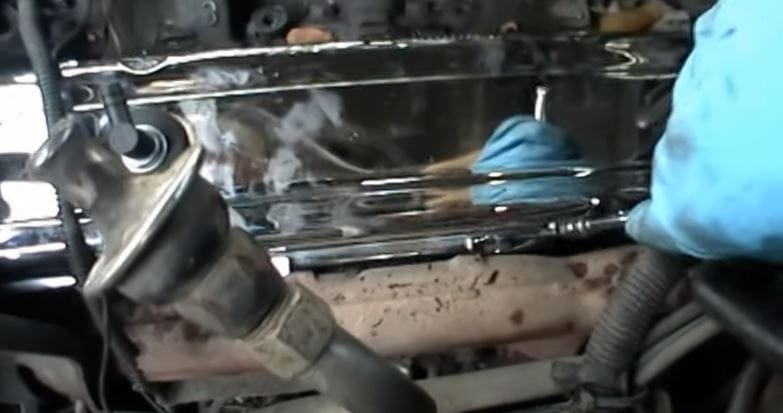
After cleaning the valve cover, place it on the engine and tighten up the nut bolts. Connect all the hose pipes and spark plugs to the engine and valve just like before. Finally, connect the ignition coil and connector coil to the valve cover to complete the setup portion.
Step 8: Final Checkup
Start the engine and throttle up a few times to find out if any sort of oil is spilling.
In this way, you can easily clean the valve cover of your vehicle in less than an hour. But if you feel the necessity of changing the spark plug set and gasket valve cover set, then it’s better to take the vehicle to an expert since there are lots of critical connections inside the engine.
Can I Wash My Valve Cover?
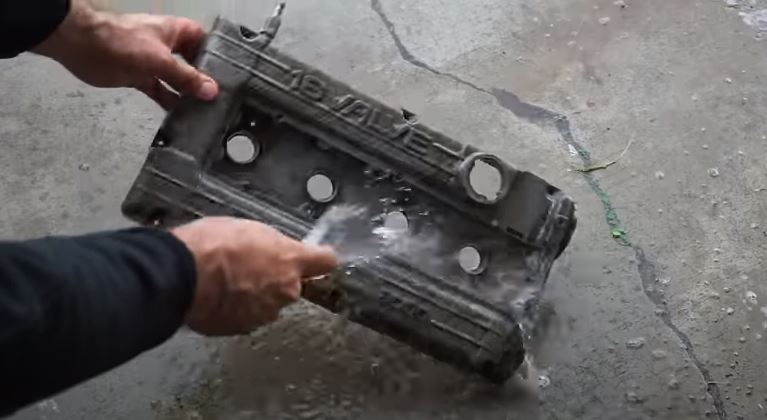
Washing is an essential part of the overall cleaning process of the valve cover. Though only washing with water cannot remove the deep oily grease, it helps to clean the rest of the oil residue and a greaser or brake cleaner. Besides, the valve cover can also be washed to decrease the heat level initially before starting the whole process.
To get better results in cleaning, use a soft brush and vacuum cleaner along with a water sprayer to make the bottom part of the valve cover shinier. Regular maintenance tips for lower unit motors can also enhance their performance and longevity. Ensuring that the oil is changed periodically and inspecting the seals for wear will prevent costly repairs down the line. Additionally, keeping the motor clean and free from debris can improve efficiency and reduce the risk of overheating.
Can You Use Brake Cleaner to Clean Valve Cover?
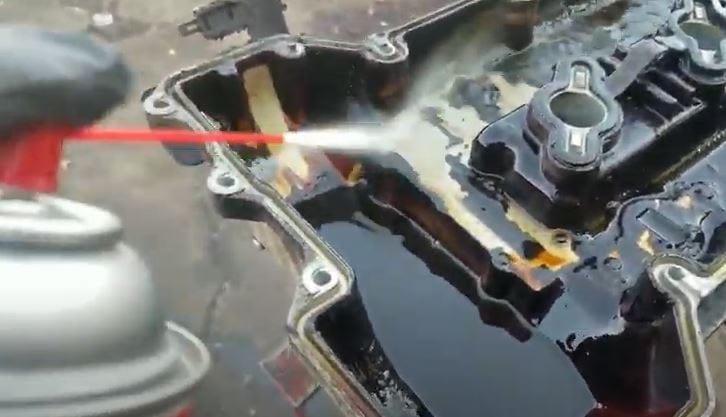
Cleaning the valve cover using brake cleaner can be a very smart choice since it uproots all the greasy and rusty layers all at once. During leakage, oils from the cylinder heads and engine junctions are spilled on the valve cover. It creates a layer of oily and rusty layer over time.
Since this accumulation of dirt cannot be removed with a water sprayer only, brake cleaner is used to remove such dirt deposition. Although using Degreaser can give a better outcome, handling the usage of brake cleaner is much easier and more convenient at home. So, anyone can use brake cleaner on their engine valve cover for cleaning purposes.
Drawbacks of A Valve Cover
The main drawback of a valve cover is that the leakage in it gradually kills the engine’s performance and other pieces of machinery around it. Once the valve starts leaking, it spills oily dirt and surrounds the hose pipes, cylinder head, etc. It results in the repair and expensive replacement of the gasket and spark plug sets.
Besides, a bad valve cover makes it very hard to go on a long ride. Because of frequent misfiring, the low oil level in the engine, fires, etc., makes it difficult for your vehicle to sustain the durability of the engine.
When Do You Need to Clean the Valve Cover?
There are certain symptoms like oil leakage, misfiring, burning smell, etc., indicating the immediate requirement of cleaning the valve cover. Suppose anyone doesn’t clean the valve cover periodically.
In that case, it will eventually result in a big loss because the engine and other equipment connected to the valve will gradually lose their health and durability.
So, we have to know the symptoms of the valve engine to understand the timing of cleaning it:
Oil Leakage
If you observe oily layers around the valve cover or at the side of the engine, then immediately lookup for the leakage point. For this, the valve cover must be cleaned before repairing the leakage.
Oil Burning Smell
Sometimes a burning smell comes from beneath the hood. If this scent gradually overpowers, then the leaked oil from the dirty valves is entering the engine. In this case, urgent cleaning is necessary.
Lowering of Oil Level
Checking the engine oil level is critical to keeping your engine in top shape. If an unusual lowering of the oil is noticed, it indicates oil leakage. Then you must clean or replace the valve cover to protect your engine.
Dashboard Alarm
An alarm light on the dashboard will light up if there is any valve cover or gasket issue. Now, either you have to permanently buy and install a new set of valve cleaners or fix the oil pressure by cleaning the valve cover.
These are some of the important symptoms that tell the immediate action requirements for cleaning the Valve Cover.
Things to Consider When Cleaning Valve Cover
Although cleaning the valve is very important for keeping the engine in a healthy condition, there are some important points we must keep in mind while cleaning. These facts are mentioned below:
- Before removing the cover, the engine must be cooled by opening the hood for a few minutes. It eliminates the chances of hand burning.
- Oil leakage must be located once the spilling of oil is noticed. Otherwise, it may lead to a dangerous scenario like catching fire or overheating.
- All the connections from the valve must be opened carefully while removing it because any type of wearing or tearing of the hose pipe will lead to permanent leakage.
Frequently Asked Questions
How do you clean a paint valve cover?
You can clean a paint valve cover by spraying it with a degreaser and then scrubbing it with a brush. You can also soak it in a tub of hot water and dish detergent.
What is the difference between a rear and front differential cover?
The difference between the rear and the front differential cover is that a rear differential cover protects the rear axle. In contrast, a front differential cover protects the gears in the front axle.
How do you check a differential vent?
To check a differential vent, you would need to measure the pressure differential across the vent. You can do this by using a manometer or by measuring the voltage drop across the vent. For cleaning the rear differential cover, you would need to remove it and then clean it with a degreaser.
Can I Use the Same Method to Clean a Valve Cover as I Would to Clean a K&N Air Filter Without a Kit?
Yes, you can clean a K&N air filter without a kit using the same method to clean a valve cover. Simply use warm water and a mild detergent to wash the filter. After rinsing and drying, apply a small amount of filter oil. This will ensure your filter is clean k&n air filter without kit.
Conclusion
A clean and leakage-free engine will always offer you a flawless riding experience. So, to ensure such rides, you have to look after the engine by regular monitoring of the valve cover and oil level.
If you are thinking of deep cleaning the valve, we have just the thing for you. Since you are going to clean the valve cover, you should also be cleaning sludge under the valve cover to eliminate all types of leakage. And thus, an immediate repair can save your time and engine health.
We hope you’ve got to know the right stuff about cleaning valve covers from our today’s discussion. We’ll try to bring up some important discussions in the near future. Till then, it’s a goodbye.

