
How to Empty Vacuum Cleaner?

Emptying a vacuum cleaner correctly prevents dust clouds, reduces allergen exposure, and extends the machine’s lifespan. For bagless models, empty the canister outdoors over a trash bin when it reaches 50–75% capacity. For bagged vacuums, replace the bag every 1–3 months depending on usage frequency.
Tips for Emptying a Vacuum Bag
Bagless vacuum canisters eliminate the cost of replacement bags, but improper emptying technique creates mess and releases trapped allergens into the air. The canister requires correct handling to prevent dust dispersal.
Regardless of vacuum type, follow these steps to maintain peak performance and minimize allergen exposure during each emptying cycle.
How to Replace a Vacuum Bag: Step-by-Step
Replacing a vacuum bag takes approximately 5 minutes and requires no specialized tools. Follow this sequence to ensure a secure fit and effective debris containment.
1. Unplug Your Vacuum
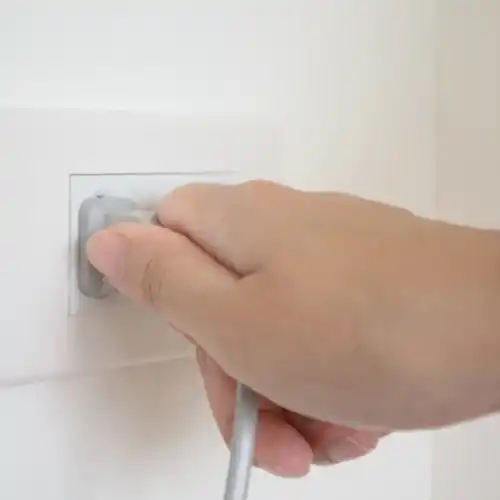
Always disconnect the power cord before any maintenance procedure. This prevents motor activation and eliminates shock risk during bag replacement.
2. Open the Top of Your Cleaner
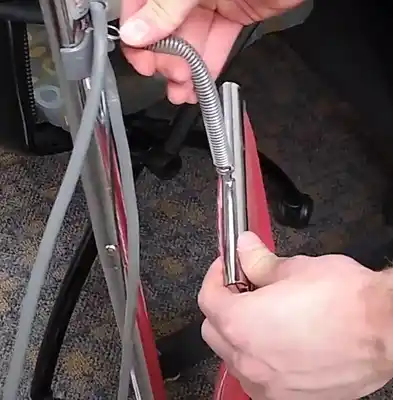
Locate the top latch mechanism and release it according to your vacuum’s design. Consult the manufacturer’s manual for model-specific instructions, as latch designs vary by manufacturer.
3. Confirm Your Vacuum Bag Needs Changing
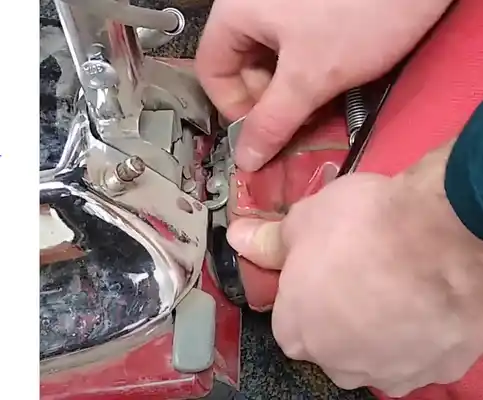
Replacing a vacuum bag before it reaches 50% capacity wastes resources. Check the fill level through the transparent canister window or by lifting the bag slightly to gauge weight.
Many modern vacuums include an indicator light that illuminates when the bag reaches capacity. If your model lacks this feature, inspect the bag visually after every 10–15 uses.
4. Remove the Used Bag Carefully
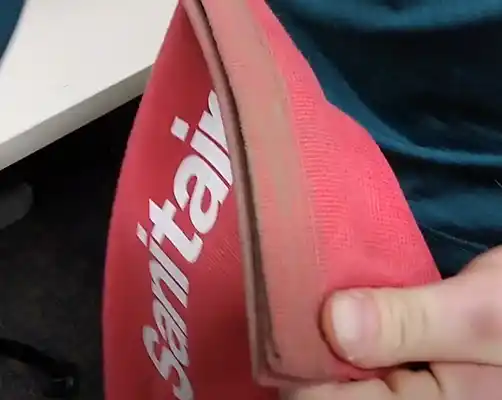
Spring-loaded bag compartments require only gentle pulling to release. Models without springs demand more force, which risks tearing the bag and spilling debris. Support the bag collar with one hand while slowly sliding it from the mounting plate.
5. Install a New Vacuum Bag
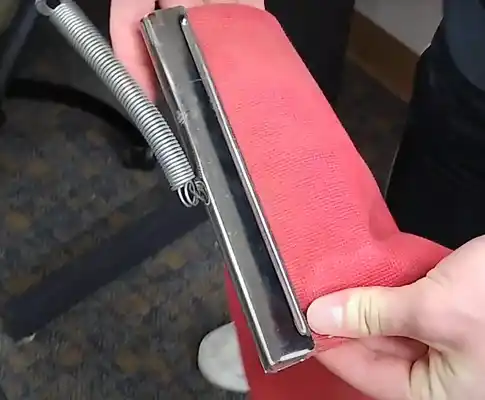
Align the bag’s cardboard collar with the mounting plate and press firmly until the locking tabs engage. An improperly seated bag causes air leaks that reduce suction by up to 40%.
Record a video of the removal process during your first replacement to ensure accurate reinstallation. Always refer to your manufacturer’s manual for model-specific bag installation.
How to Empty a Bagless Vacuum Without the Mess
Bagless vacuums require more frequent attention to canister emptying. The exposed dust container poses a higher risk for allergen release if handled incorrectly.
1. Wait Until the Canister Reaches 50–75% Capacity
A full canister causes dust particles to compress together, which actually makes emptying easier. Waiting until 50–75% capacity allows particles to agglomerate, reducing airborne dispersal by up to 60% compared to emptying when barely full.
2. Hold Your Canister with Both Hands
Position one hand on the top lid latch and the other supporting the bottom of the canister. This two-handled grip prevents the lid from accidentally releasing during transport to the disposal point.
3. Empty Outdoors Over a Trash Bin
Outdoor emptying eliminates indoor allergen exposure. Indoor dust particles—including dust mite debris, pet dander, and pollen—become airborne the moment you open the canister lid. Outdoor disposal contains these allergens away from living spaces.
Position the canister opening directly over the trash bin opening to minimize dust dispersal. Tilt slowly to allow debris to fall with gravity rather than air turbulence.
4. Keep Your Face Away from the Opening
Hold the canister at arm’s length with the opening pointed away from your body. Lower it slowly into the trash bin to maintain maximum distance between you and the debris cloud.
5. Clean the Canister After Each Emptying
Rinse the transparent canister with warm water (above 140°F/60°C) after each emptying cycle. This water temperature kills 99% of common household allergens. Air dry completely before reassembly to prevent mold growth.
Vacuum Maintenance Schedule for Optimal Performance
| Component | Cleaning Frequency | Replacement Frequency |
|---|---|---|
| HEPA Filter | Every 3–6 months | Every 6–12 months |
| Canister/Bag | When 50–75% full | As needed |
| Roller Brush | After each use (pet hair) | Every 6–12 months |
| Hose | Monthly inspection | When blocked |
HEPA filters trap particles as small as 0.3 microns, including mold spores, bacteria, and virus carriers. A clogged HEPA filter reduces suction power by 30–50% and forces allergens back into the indoor air.
Key Takeaways
- Empty bagless canisters when 50–75% full to minimize airborne dust dispersal
- Always empty vacuums outdoors to contain allergens
- Replace HEPA filters every 6–12 months for maximum filtration efficiency
- Rinse canisters with water above 140°F (60°C) to neutralize allergens
- Replace vacuum bags when 50% full to maintain optimal suction
Final Words
Proper vacuum emptying technique directly impacts indoor air quality and extends your machine’s operational lifespan. Following these procedures reduces allergen exposure and maintains consistent suction performance.
For more vacuum troubleshooting guidance, explore the Vacuum Troubleshooting Master Hub or browse the Cleaning Glossary for terminology definitions.
References
- Bob Vila. (2024). Vacuum Maintenance Guidelines. Bob Vila Media.


