How to Clean a Caliper Guide Pin Hole?
Brake caliper guide pin holes accumulate brake dust, road grime, and moisture that cause corrosion and seizing. Cleaning the caliper guide pin hole requires an emery cloth, brake cleaner spray rated at pH 7-8, and a drill to reach the bore interior. This guide covers the complete cleaning procedure, debris removal from calipers, proper lubrication of guide pins, and how to fix seized pins.
How to Clean a Caliper Guide Pin Hole: Complete Procedure
Follow this four-step process to restore free-moving guide pins and ensure even brake pad wear.
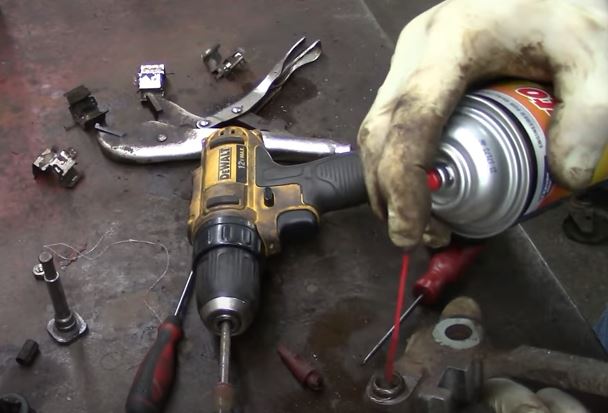
Step 1: Gather Required Components
- Emery cloth (180-320 grit recommended for bore cleaning)
- Brake cleaner spray (non-chlorinated preferred; active ingredients: acetone, MEK, or heptane)
- Variable-speed drill with 3/8-inch chuck capacity
- Penetrating oil (for seized pin pre-treatment)
- Personal protective equipment: nitrile gloves, safety glasses, respirator rated for organic vapors
Step 2: Apply Brake Cleaner and Prepare the Bore
Spray brake cleaner directly into the caliper guide pin bore before inserting any tooling. Hold the caliper upright to prevent runoff. Brake cleaners containing acetone or MEK (2-butanone) dissolve petroleum-based grease at pH 6.5-7.5 within 60-90 seconds of contact. The NIOSH recommended exposure limit for MEK is 200 ppm as an 8-hour time-weighted average, with a short-term limit of 300 ppm. Always work in a ventilated area.
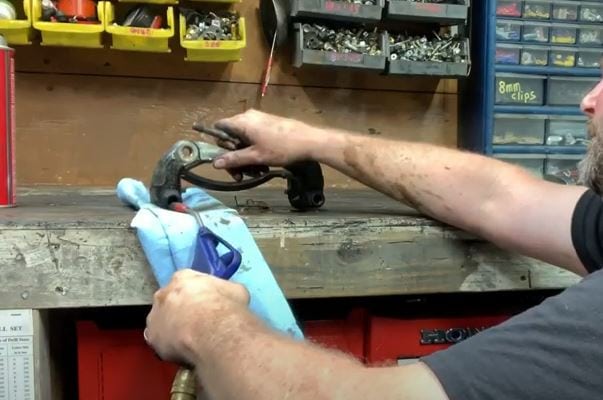
Step 3: Prepare the Drill with Emery Cloth
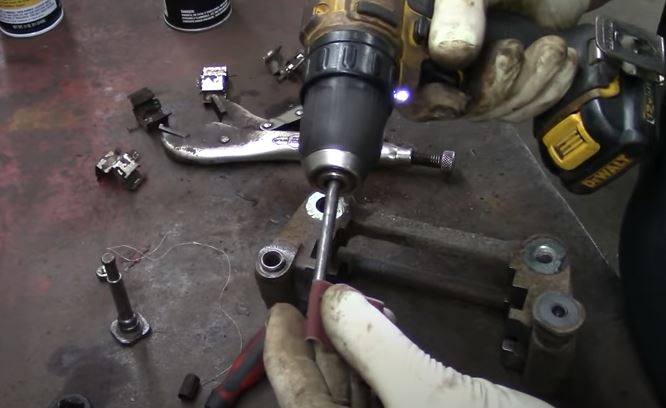
Wrap emery cloth tightly around the drill pin using a figure-eight pattern to prevent unraveling during drilling. Insert the wrapped drill into the bore and operate at 400-600 RPM. Move the drill in a vertical motion at 1-2 cycles per second. After 3-4 passes, withdraw the drill, wipe residue with a clean cloth, and reapply brake cleaner before repeating.
Step 4: Final Rinse and Drying
Apply a final spray of clean brake cleaner to flush any remaining particulates from the bore. Blow dry with compressed air at 30-50 PSI or allow 5-10 minutes of air drying at room temperature (68°F/20°C minimum). Insert the guide pin immediately after drying to verify free movement without binding.
How to Remove Debris from Brake Calipers: 4-Step Guide
Brake calipers endure extreme temperatures ranging from -40°F to 1,200°F during operation. This thermal cycling causes organic matter and moisture to accumulate, leading to uneven pad wear and reduced braking efficiency. Follow this maintenance sequence to restore caliper function.
Step 1: Detach the Caliper from the Rotor
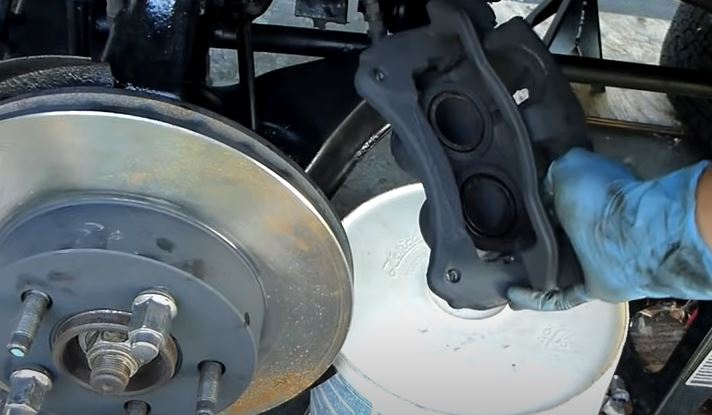
Secure the vehicle on jack stands rated for your vehicle’s gross weight. Loosen the brake line fitting at the caliper connection before removing the mounting bolts. This prevents strain on the flexible brake line. Remove the caliper mounting bolts using a 6-point socket—12-point sockets round fastener heads under high torque. After freeing the caliper, extract the brake pads and set them aside.
Step 2: Apply Brake Cleaner Thoroughly
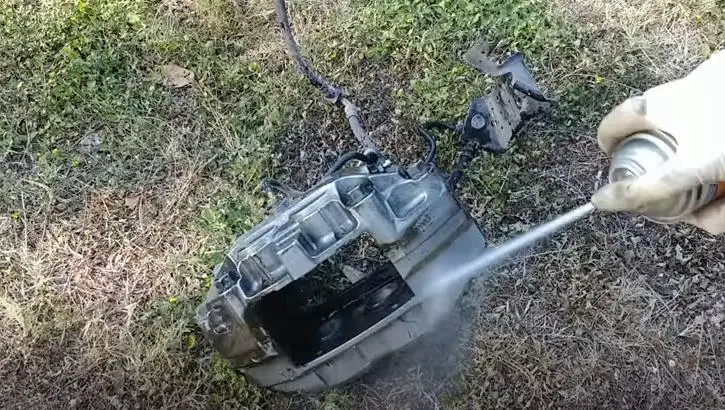
With brake pads removed, spray brake cleaner on all caliper surfaces including the piston, seal grooves, and mounting points. Ensure saturation of the bore interior where guide pins seat. Allow 2-3 minutes of dwell time for petroleum distillates to dissolve baked-on grime. Do not exceed 5 minutes—prolonged exposure may degrade rubber seal materials.
Step 3: Soak in Degreasing Solution
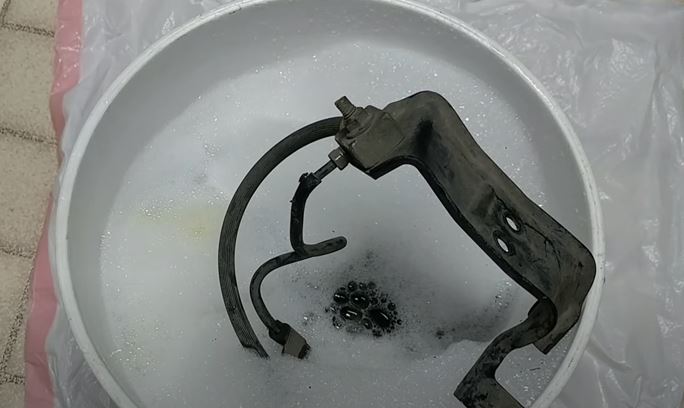
Prepare a solution of liquid dish detergent (pH 9.5-10.5) dissolved in warm water (120-140°F / 49-60°C) in a container large enough to submerge the caliper fully. Submerge the caliper for 20-30 minutes. Warm water accelerates saponification of animal fats and petroleum-based lubricants. After soaking, the dissolved grime wipes away with minimal scrubbing force required.
Step 4: Scrub and Rinse

Remove the caliper from the solution and scrub all surfaces with a nylon bristle brush. Pay special attention to the bracket contact points and bolt threads. Rinse thoroughly with fresh water to remove all detergent residue, which can attract moisture if left behind. Immediately dry with compressed air and reassemble while parts are still warm.
Caliper Guide Pin Lubrication: What You Must Know
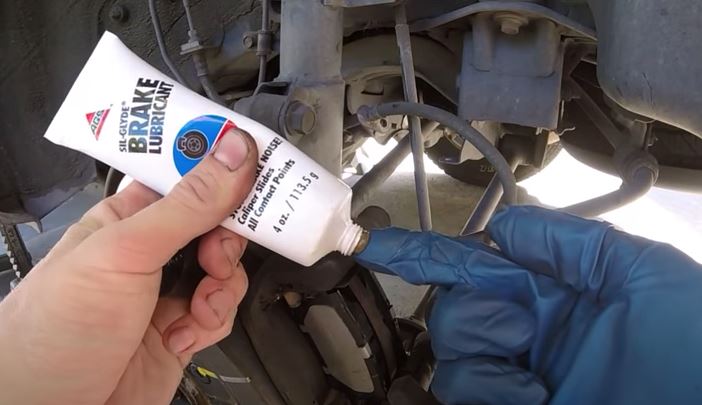
Caliper guide pins require lubrication after every cleaning to prevent galling, corrosion, and seized slides. Use only synthetic polyalphaolefin (PAO) or polyurea-based grease rated for high-temperature brake applications (500°F/260°C minimum drop point). Apply a thin coat—0.005-0.015 inches thickness—to the pin shank and bore interior.
Never use petroleum jelly, chassis grease, or lithium complex greases on guide pins. These products soften and migrate at brake temperatures exceeding 300°F, creating a viscous deposit that traps brake dust and promotes corrosion. After lubrication, slide the pin through the bore by hand—it should move freely under its own weight.
Also apply a small amount of rubber-safe lubricant to the slide pin boots to prevent moisture intrusion. Cracked or torn boots allow water ingress that accelerates galvanic corrosion between the steel pin and aluminum caliper housing.
How to Fix a Seized Guide Pin: Two Proven Methods
Guide pins seize when vehicles sit idle for extended periods—typically 6 months or longer without movement. Corrosion products build up in the bore, locking the pin in place. Here are two approaches to free seized pins.
Method 1: Penetrating Oil and Mechanical Force
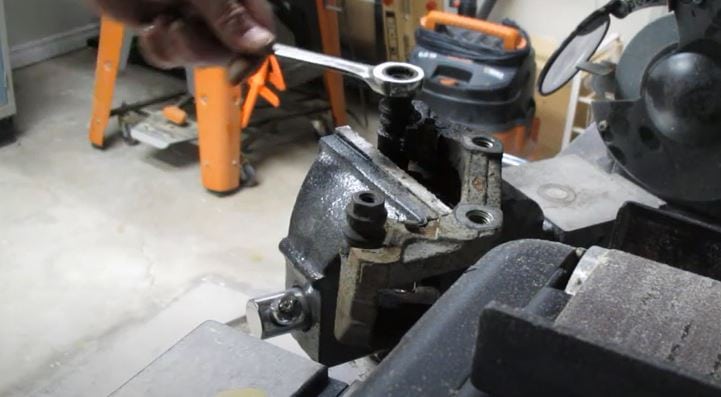
Apply a aerosol penetrating oil (containing mineral spirits or paraffinic naphtha) directly to the pin-to-boot interface. Allow 15-20 minutes of penetration time. Using a 6-point wrench on the pin flats, apply controlled torque while supporting the caliper bracket. Work the pin in alternating directions—advance 1/4 turn, then back 1/8 turn—to progressively break the corrosion bond. If resistance exceeds 30 ft-lbs torque, switch to Method 2.
Method 2: Localized Thermal Application
Using a propane torch set to a neutral flame (excess oxygen produces oxidation; excess fuel produces carbon deposits), apply heat to the caliper bracket around the guide pin bore for 30-45 seconds. Do not exceed 600°F at the bracket surface—excessive heat Anneals the caliper aluminum. The differential thermal expansion (aluminum expands 0.0000123 per °F versus steel at 0.0000065 per °F) breaks the corrosion seizure. Tap the pin head sharply with a brass punch to dislodge.
Warning: This method degrades rubber brake line components within 3 feet of the heat source. Remove rubber brake lines or shield them with wet rags before applying heat.
How to Remove Caliper Guide Pins: Step-by-Step
Complete guide pin removal is necessary when inspecting or replacing rubber boots, or when replacing pins that show pitting or surface scoring exceeding 0.005 inches depth.
Step 1: Lift Vehicle and Remove Wheel
Position jack stands at the vehicle manufacturer’s recommended lift points—typically under the frame rails or pinch welds. After lifting, spin the wheel by hand to verify the stand does not contact the brake components. Remove the wheel fully to access the caliper mounting bracket.
Step 2: Remove Caliper Flange Bolts
Using a 6-point socket (not 12-point) on a ratchet, remove the two caliper flange bolts. These bolts typically require 20-25 ft-lbs of torque on floating caliper designs. Hold the caliper body while removing the final bolt to prevent it from falling and stressing the brake line.
Step 3: Support the Caliper
After removing the flange bolts, support the caliper with wire (not the brake line) to prevent damage to the flexible stainless steel brake hose. The brake line fitting on most calipers tolerates only 10-15 lbs of side load before developing leaks.
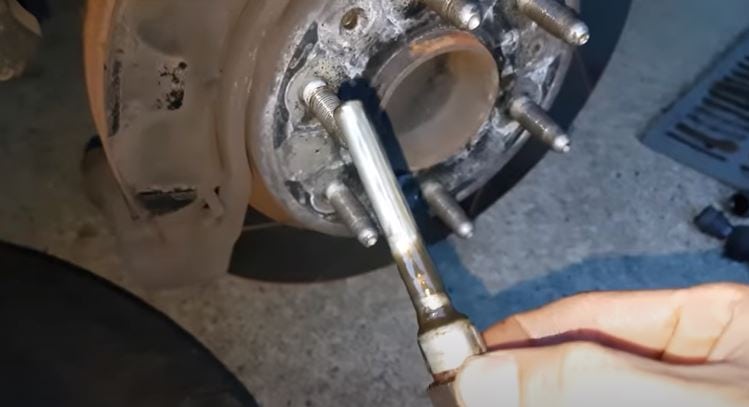
Step 4: Extract Guide Pins from Bracket
Grasp each guide pin with pliers wrapped in shop rag to prevent marring and pull straight out. If pins resist, they are still corroded—repeat the penetrating oil treatment before forcing. Inspect the rubber boots on each pin for cracks, deformation, or signs of moisture intrusion. Replace boots showing any deterioration to prevent future seizure.
Are Clean Guide Pins Essential for Proper Brake Function?
Clean guide pins are essential for caliper guide pin hole maintenance and overall braking performance. The guide pins center the caliper over the rotor, ensuring even pad contact and wear. When pins seize, the caliper cannot float freely—resulting in uneven pad wear, reduced braking surface area, and increased stopping distance. Industry data indicates that seized guide pins contribute to 15-20% of brake pull complaints in vehicles over 5 years old.
Regular maintenance—including cleaning and lubrication every 25,000-30,000 miles or during every brake pad replacement—prevents corrosion buildup and extends the service life of the entire brake assembly. Refer to the Cleaning Glossary for additional maintenance terminology.
Conclusion
Maintaining clean caliper guide pin holes and properly lubricated guide pins is a 30-minute maintenance task that prevents costly brake repairs. The process requires only brake cleaner, emery cloth, and synthetic grease—all available for under $25. Professional brake pad replacement services charge $150-300 additional for this work that DIY mechanics can complete in under an hour with basic hand tools.
For related maintenance guides, see our automotive cleaning guides or browse the Cleaning Glossary for terminology definitions.
References
- Centers for Disease Control and Prevention (CDC). (2024). 2-Butanone (MEK) Safety Information. National Institute for Occupational Safety and Health (NIOSH). NIOSH REL: 200 ppm TWA; 300 ppm ST.
- United States Environmental Protection Agency (EPA). (2023). Safer Choice Program — Brake Cleaner Alternatives. EPA.gov.
- NSF International. (2023). Cleaning Product Chemical Testing Certification. NSF International.
- American Society of Heating, Refrigerating and Air-Conditioning Engineers (ASHRAE). (2022). ASHRAE Handbook—HVAC Systems and Equipment. Atlanta: ASHRAE.
