How to Clean a Vacuum Cleaner – Tips and Tricks
Regular vacuum cleaner maintenance restores full suction power and extends appliance lifespan. A clean vacuum with a properly maintained HEPA filter captures 99.97% of particles at 0.3 microns, preventing dust and allergens from being recirculated into your home. This guide covers step-by-step cleaning procedures for standard upright, canister, and robotic vacuum cleaners.
Vacuum cleaners lose 40–60% of suction power when filters become clogged, according to manufacturer maintenance data. The U.S. Department of Energy standard for HEPA filtration requires minimum 99.97% efficiency at 0.3 micrometers particle diameter—the size most likely to penetrate filter media. Replacing HEPA filters every 6 months in commercial settings or 2–3 years in residential use maintains optimal air filtration performance.
Determine What Kind of Vacuum You Own
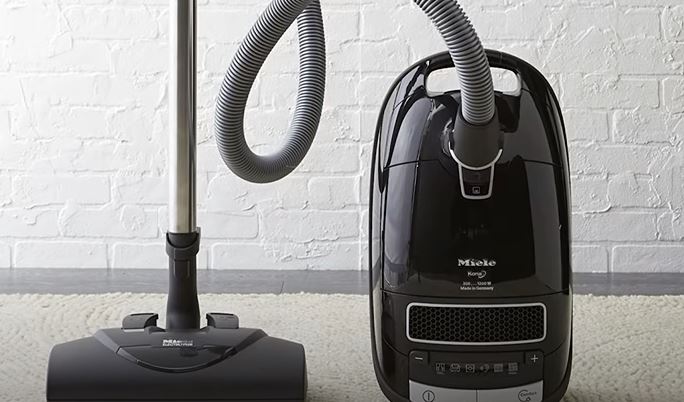
Vacuum cleaners fall into two primary categories: upright and canister. The vacuum type determines which components require cleaning and how to access them for maintenance.
Upright vacuums feature accessible component layouts, simplifying filter removal and beater bar maintenance. Canister vacuums consist of multiple connected parts, requiring more disassembly for thorough cleaning. Both types benefit from the same fundamental maintenance schedule outlined in this guide.
For additional maintenance guidance, consult the Vacuum Troubleshooting Master Hub or brand-specific guides like Dyson, Shark, or Roomba.
Tools Required for Vacuum Maintenance
Gather these tools before beginning the cleaning process:
- Seam ripper or sharp scissors for cutting tangled hair and fibers
- Microfiber cloths for wiping external surfaces
- Soft-bristle brush (old toothbrush works well)
- Compressed air canister for blowing out fine dust
- Tweezers for extracting debris from wheels and sensors
How to Clean a Vacuum Cleaner: Step by Step
Step 1: Clean or Replace the Filter
Vacuum filters divide into two categories with different maintenance requirements. HEPA (High-Efficiency Particulate Air) filters meet U.S. DOE standard ASME/DOE F 3-45, achieving minimum 99.97% efficiency at 0.3 μm particle diameter. Washable pre-motor filters use foam or foam-wrapped paper elements.
HEPA filters (post-motor) cannot be washed—replacement is required when dirt buildup is visible or every 6–12 months. Washable pre-motor filters can be cleaned with cool water.
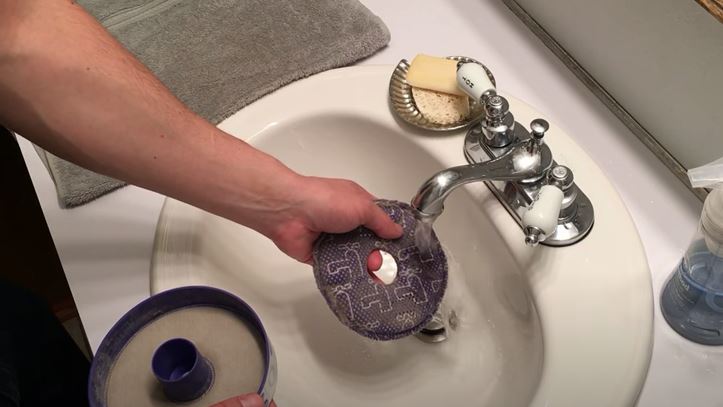
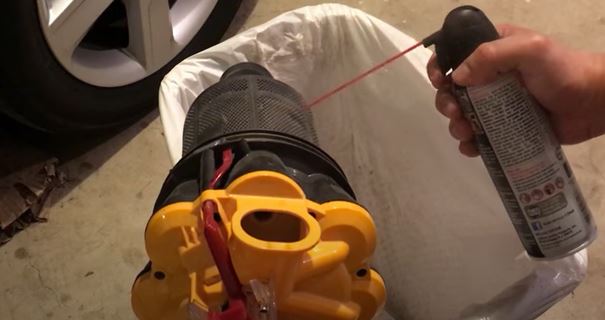
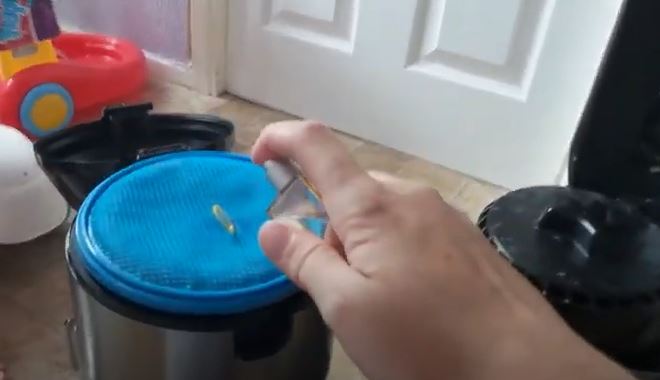
Washing Washable Filters:
- Beat out loose debris over a trash bin, then brush with a soft toothbrush
- Blow compressed air through the filter from the clean side to push dust outward
- Rinse under cool water with mild soap until foam runs clear
- Air dry completely for 24 hours before reinstallation—moisture causes mold growth and filter degradation
Tip: For disinfection, use a solution of 1 cup household bleach in 1 gallon of water, then rinse thoroughly with cool water before air drying.
Step 2: Empty and Clean the Canister or Replace the Bag
Unplug the vacuum before accessing internal components. For bagless vacuums, empty the canister when it reaches half capacity—full canisters reduce suction power by up to 50%.
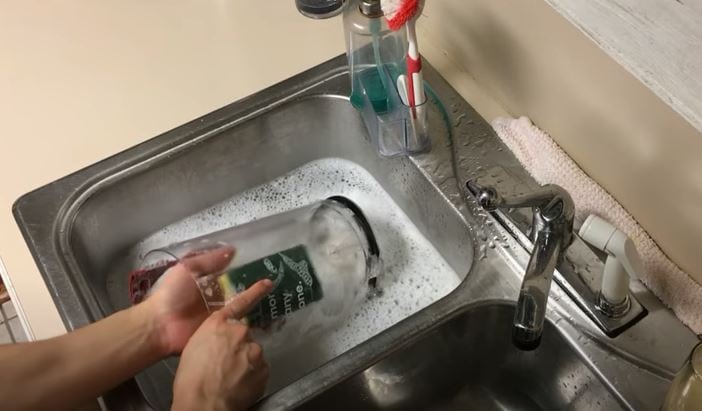
Canister Cleaning Steps:
- Empty debris into a trash bag
- Wash interior with hot water (at least 140°F/60°C) and mild detergent
- Scrub with a brush to remove compacted dust from cyclone chamber walls
- Rinse thoroughly and air dry for 24 hours
- Knock out debris from the handle connection tube
- Use compressed air to clear dust from internal vents
- Wipe with a dry microfiber cloth
Bag Replacement:
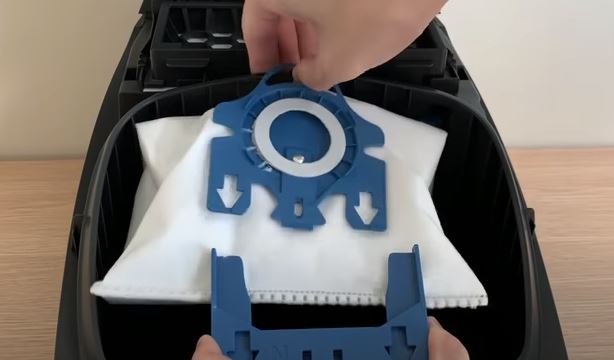
Replace disposable bags when two-thirds full. A bag filled beyond capacity causes suction loss and stresses the motor, potentially reducing vacuum lifespan by 30% according to manufacturer performance data.
Step 3: Clean the Intake Hoses
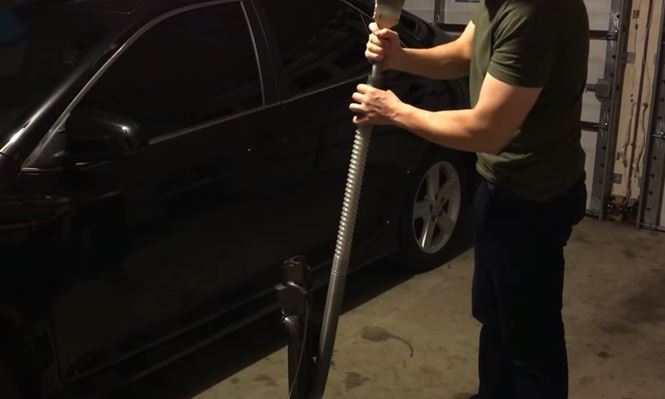
- Detach the hose from the main unit
- Insert a broom handle to dislodge large blockages
- For thorough cleaning, fill a sink with warm water and 1 tablespoon mild detergent; soak hose for 5 minutes
- Scrub interior with a stiff-bristle brush attached to a flexible rod
- Pay special attention to the attachment-end connection where debris accumulates most
- Rinse with clean water and hang vertically to air dry for 24 hours
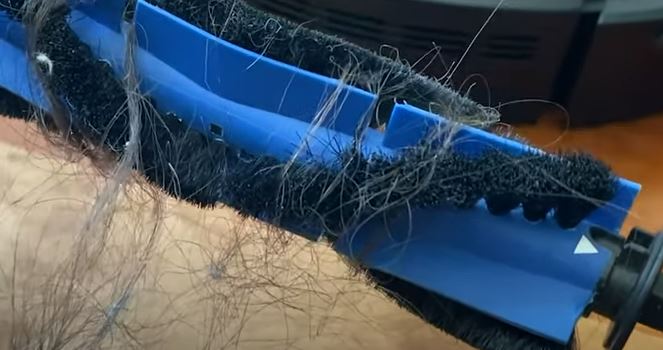
Step 4: Clean the Beater Bar
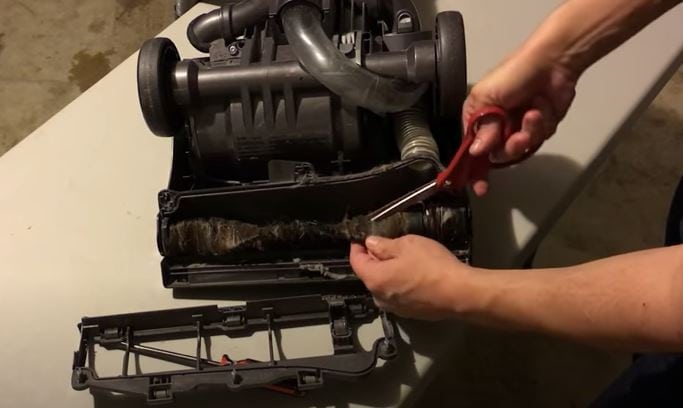
Hair and fibers wrapped around the beater bar cause imbalanced rotation, reducing carpet cleaning efficiency by up to 25% and potentially damaging floor surfaces. Remove debris every 2–4 weeks for homes with pets or high foot traffic.
- Cut away tangled hair with a seam ripper along the full length of the bar
- Pull away remaining fibers by hand or with tweezers
- Remove and rinse brush roller under warm water if removable
- Wipe dry with a microfiber cloth before reinstallation
Step 5: Deodorize with Essential Oils
Add 3–5 drops of essential oil (lavender, tea tree, or eucalyptus) to a small piece of cotton fabric placed in the dust compartment or filter area. The fragrance disperses during vacuuming without leaving oily residue that damages components. Avoid liquid oil sprays—these saturate filters and reduce efficiency.
Robotic Vacuum Cleaner Maintenance Guide

Robotic vacuums require maintenance every 1–2 weeks depending on floor type and pet presence. The Roomba Troubleshooting Hub and Shark Robot Vacuum Guide provide model-specific schedules.
Step 1: Clean the Brush Rollers
- Flip the unit and remove the brush guard by pressing release tabs
- Pull out brush rollers and cut away tangled hair with scissors
- Rinse rubber brushes under warm water; air dry completely before reinstallation
- Clean the brush compartment with compressed air every third cleaning
Step 2: Clean or Replace the Filter
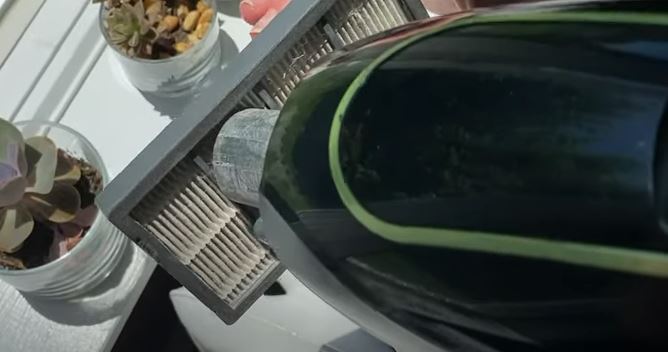
Tap the filter over a trash bin to dislodge dust every week. Replace HEPA filters in robotic vacuums every 3–6 months. A clogged filter causes a 15–20% reduction in battery life due to increased motor strain.
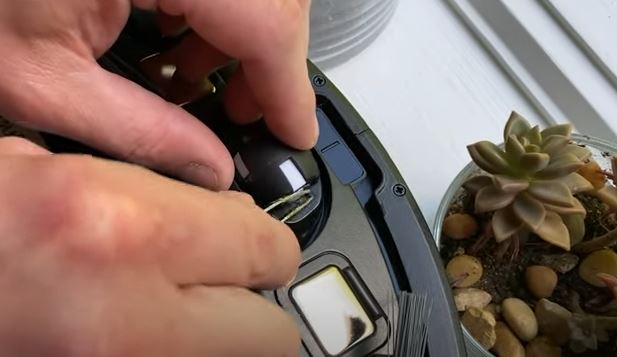
Step 3: Clean the cliff sensors and wall sensors
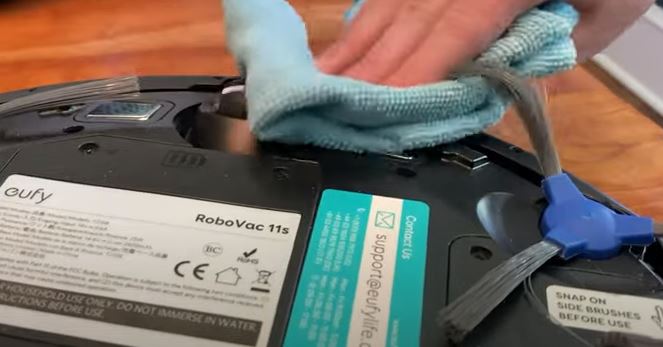
Wipe all sensors with a clean, dry microfiber cloth only. No water, cleaning solutions, or compressed air—these damage sensor lenses and calibration.
Step 4: Clean the Wheels
- Use tweezers to extract hair wrapped around axle shafts
- Roll each wheel to check for debris caught in the wheel housing
- Wipe wheel surfaces with a damp microfiber cloth
Vacuum Cleaner Maintenance Quick Reference
| Component | Cleaning Frequency | Replacement Interval |
|---|---|---|
| HEPA Filter (residential) | Tap clean monthly | Every 2–3 years |
| Washable Pre-Motor Filter | Every 1–3 months | Every 1–2 years |
| Canister/Bag | Empty when half full | Bags: every fill cycle |
| Beater Bar | Every 2–4 weeks | When bristles worn |
| Hoses | Every 3–6 months | If cracked or disconnected |
| Robotic Brushes | Weekly | Every 6–12 months |
| Robotic Sensors | Weekly | N/A (clean only) |
Frequently Asked Questions
How many types of vacuum cleaners are there?
Four main types exist: (1) Upright vacuums—best for wall-to-wall carpet with accessible components; (2) Canister vacuums—versatile for bare floors and upholstery with separate power head; (3) Robotic vacuums—autonomous navigation for daily maintenance on hard floors and low-pile carpet; (4) Handheld/stick vacuums—compact for spot cleaning and stairs. Each requires the same fundamental filter and brush maintenance to perform optimally.
Can you vacuum a vacuum cleaner?
Yes. Use compressed air (90–100 PSI) to blow dust from the interior chambers, vents, and filter housing. Direct airflow away from yourself and work outdoors or over a large trash bin. This removes fine particulate matter that brushing cannot reach.
How often should you clean your vacuum filter?
Clean washable filters every 1–3 months depending on usage frequency and whether you have pets. Tap HEPA filters monthly to dislodge surface dust. Replace all filter types when visible dirt cannot be removed or airflow noticeably decreases—typically every 6–12 months for heavily used vacuums.
Is vinegar or bleach better for killing mold in a vacuum?
Vinegar (acetic acid at 5–8% concentration) kills mold on non-porous surfaces and is safe for most vacuum components. Bleach (sodium hypochlorite at 5.25–8.25%) is more aggressive and may corrode metal parts and degrade rubber seals over time. For regular maintenance, use 1 cup white vinegar in 1 gallon of water as a disinfectant rinse, then air dry completely.
Why does my bagless vacuum smell bad?
Odor indicates organic matter decomposition in the cyclone chamber, dust compartment, or wheel housings. Bacteria and mold grow in accumulated moisture and fine dust. Monthly canister cleaning with detergent, thorough drying, and replacing filters on schedule eliminates 90% of vacuum odors.
Can you put a dryer sheet in a bagless vacuum?
Dryer sheets are not recommended. They leave oily residue on filter fibers, reducing efficiency by up to 40% and attracting more dust buildup. Instead, place 3–5 drops of essential oil on a small fabric scrap in the dust compartment for light fragrance without residue.
How do you get the musty smell out of a vacuum filter?
Soak the filter in a solution of 1 cup white vinegar mixed with 1 gallon of warm water for 30 minutes. Rinse with cold water until runoff is clear. Air dry for 24 hours in direct sunlight if possible—UV light provides additional antimicrobial benefit. Replace if odor persists after thorough cleaning.
Is there a right way to vacuum?
Vacuum overlapping parallel passes at 12 inches per second for optimal soil removal. Work from back-to-front on bare floors to avoid re-contaminating cleaned areas. On carpet, make one forward and one backward pass per section. Empty the canister or bag when 50% full to maintain suction power throughout the cleaning task.
References
- U.S. Department of Energy. HEPA Filter Standard (DOE NE F 3-45): Minimum 99.97% efficiency at 0.3 μm particle diameter.
- ISO 29463 / EN 1822. High-Efficiency Particulate Air Filter Standards.
- CDC. Mold Prevention and Control Guide. Recommended bleach solution: 1 cup household bleach in 1 gallon water.


