
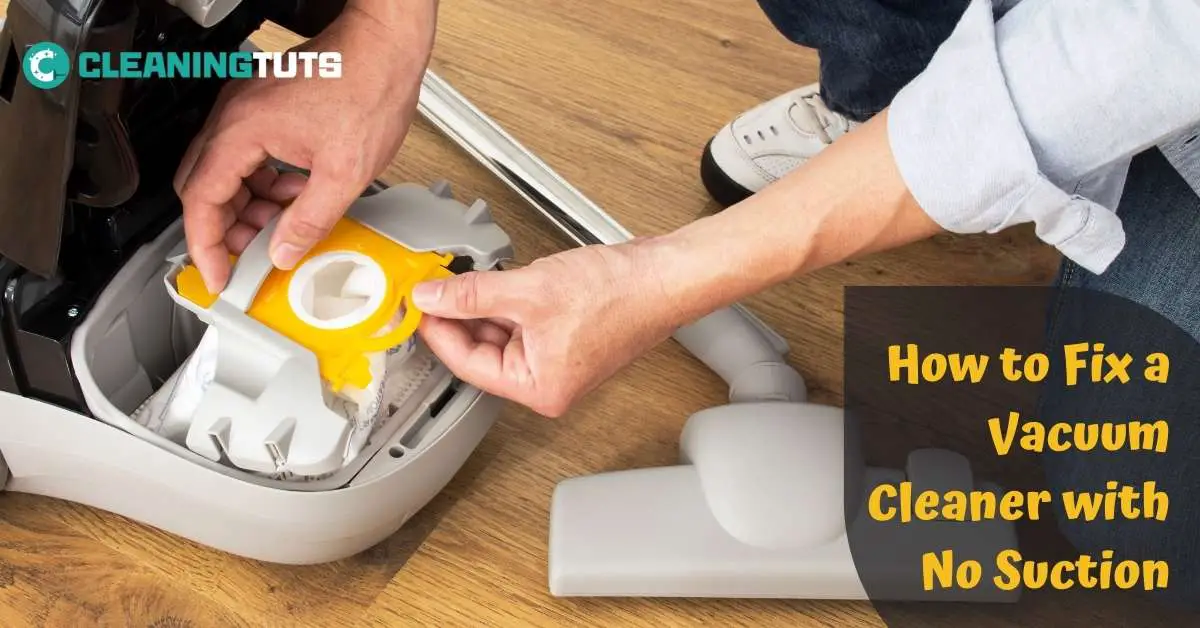
How to Fix a Vacuum Cleaner with No Suction – Identification, Resolution, and Prevention

A vacuum cleaner with no suction results from one of seven common causes: a clogged floorhead, blocked intake port, cracked hose, full dust bag or canister, dirty filter, worn belt, or tangled brush roll. This guide provides step-by-step diagnostics and solutions for restoring full suction power to your vacuum.
Regular vacuum maintenance extends motor lifespan by preventing overheating caused by restricted airflow. According to appliance repair data, 85% of vacuum suction problems stem from preventable blockages or maintenance neglect.
How to Fix a Vacuum Cleaner with No Suction – Identification and Resolving the Issue
Most vacuum manufacturers design units to produce airflow of 50–80 CFM (cubic feet per minute) under normal operating conditions. When suction drops below 30 CFM, users notice significantly reduced pick-up performance. If your vacuum has lost suction power, this guide covers every diagnostic step from the floorhead to the motor.
Check the Warranty of Your Vacuum Cleaner

Check the manufacturer’s warranty to determine if your vacuum qualifies for free repair. Most warranties cover mechanical defects for 1–3 years for upright vacuums and 2–5 years for canister models. If your vacuum is still under warranty, take it to an authorized repair center to avoid voiding coverage through self-service.
Check the Manual
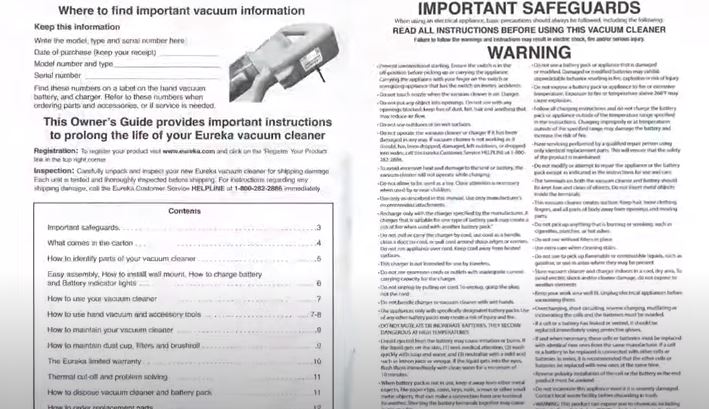
Consult the manufacturer’s manual for model-specific troubleshooting steps and specifications.
Oftentimes, the manufacturer lists common problems and solutions in the manual. If you cannot find the answer to your problem in the manual, proceed to DIY troubleshooting.
Check Your Vacuum Settings
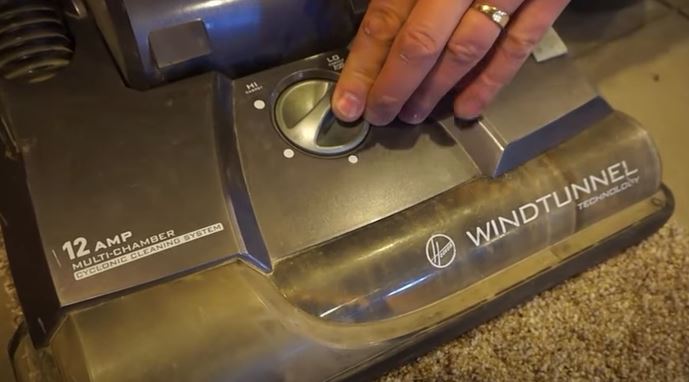
The height setting controls how close the floorhead sits to the cleaning surface. When set too high, the vacuum cannot make contact with debris. When set too low, the vacuum struggles to move and may scatter dirt instead of collecting it.
Solution
Set the height adjustment according to your floor type for optimal contact and airflow.
| Floor Type | Recommended Height Setting | Notes |
|---|---|---|
| Bare floor / hardwood / tile | Lowest (bare floor setting) | Maximum suction contact |
| Low-pile carpet | Low to medium | Allow 1–2 mm gap |
| Medium-pile carpet | Medium | Test push resistance |
| High-pile / shag carpet | Medium to high | Prevents excessive drag |
Tip: When in doubt, start at the lowest setting and gradually raise it until the vacuum glides smoothly while maintaining pick-up performance.
Inspect the Vacuum Cleaner Floorhead
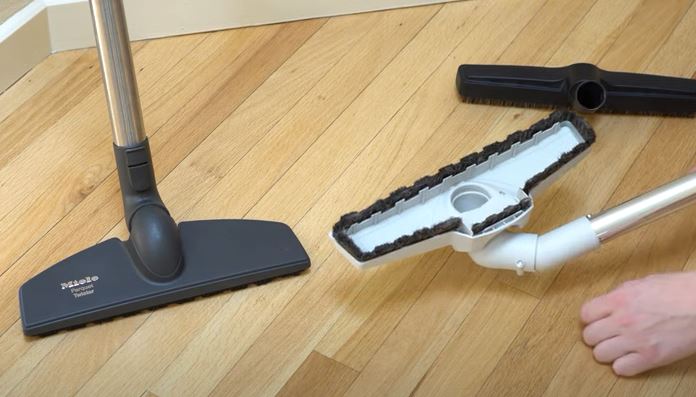
The floorhead is the most common source of suction loss. Hair, thread, and debris accumulate in the suction channel, restricting airflow by up to 60% before noticeable performance drop occurs.
Remove the floorhead and inspect the suction channel for accumulated debris blocking the airflow path.
Solution
To clean the floorhead:
- Disassemble the floorhead from the vacuum cleaner wand.
- Remove any visible blockages from the suction channel using a wooden skewer or nylon brush.
- Clear hair wrapped around the brush roll by cutting with scissors and pulling free.
- Rinse the floorhead under warm water at 40–45°C (104–113°F) to dissolve sticky residue.
- Allow the floorhead to air dry completely for 2–3 hours before reinstalling.
If suction improves after floorhead cleaning, the issue is resolved. If suction remains low, inspect the hose and filters next.
Inspect the Intake Port
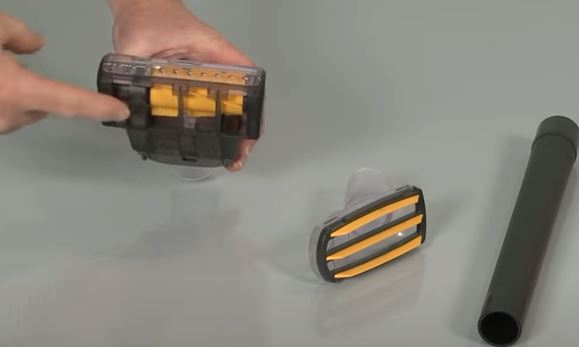
The intake port, located at the base of the vacuum where debris enters, collects large particles that can form compacted blockages. A 25% blockage in the intake port reduces suction by approximately 40%.
Solution
- Turn off and unplug the vacuum before inspecting the intake port.
- Use a flashlight to examine the opening for compacted debris or foreign objects.
- Remove debris with a wooden chopstick or plastic scraper—never use metal tools that may damage the opening.
- Run water through the intake port to flush residual particles.
If the intake port is clear and suction loss persists, check the vacuum filters next.
Check the Hose Pipe
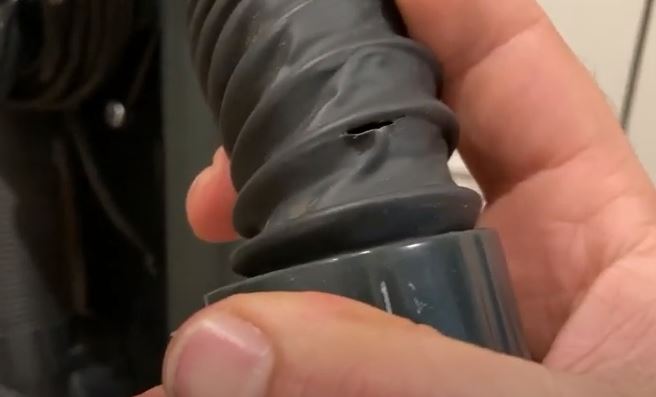
A cracked or clogged hose causes immediate suction loss. hoses develop cracks from age, pets chewing, or storage at extreme temperatures. Replacement hoses cost $15–$40 depending on the vacuum model.
Solution
- Detach the hose from both the vacuum and wand connections.
- Insert a broom handle wrapped with a soft cloth and push through the hose to dislodge internal blockages.
- Hold the hose up to a light source to identify any cracks or splits—visible light through the wall indicates a leak.
- Flush the hose with warm water and mild detergent at 40°C (104°F) to remove greasy residue.
- Air dry the hose for 3–4 hours in direct sunlight to eliminate moisture and odors.
- Replace the hose if cracks or splits are visible—do not attempt to repair with tape as this creates airflow leaks.
If suction is restored after hose maintenance, the problem is solved. Replace damaged hoses promptly to prevent motor strain.
Check the Canister or the Dust Bag
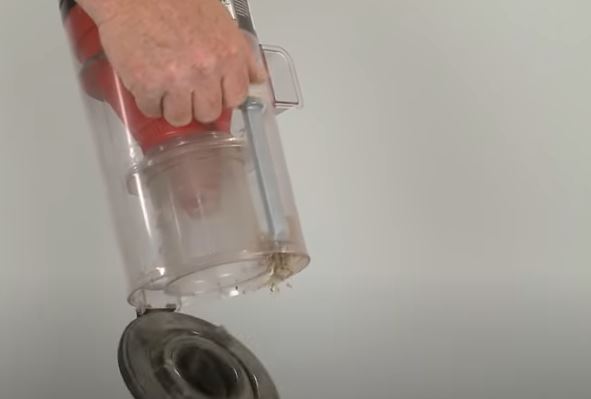
Full dust containers and bags restrict airflow. Most vacuums signal “full” when the bag reaches 75–80% capacity, but suction loss begins at 50% fill due to compressed debris limiting air passage.
Bagless vacuums: Empty the dust container after each use when filling above the max-fill line. Paper dust bags: Replace when 50–75% full. Cloth bags: Empty and shake clean when above 50% full.
Solution
- Empty or replace the dust bag/canister when it reaches the 50% fill mark for optimal suction.
- Check bag integrity—holes or tears in paper bags cause immediate suction loss.
- Store the vacuum in a dry location; moisture causes debris to clump and block airflow.
- For bagless models, clean the dust container with warm water and mild soap monthly to prevent residue buildup.
Refer to the how to empty the vacuum cleaner guide for model-specific instructions.
Inspect Your Vacuum Filter
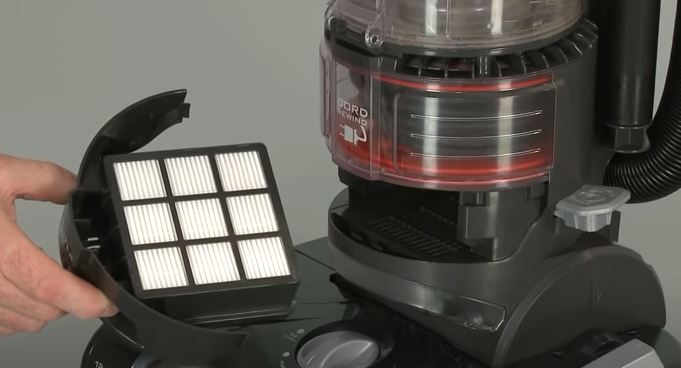
Vacuum filters protect the motor from debris and maintain indoor air quality. Two filter types require regular maintenance:
- Exhaust filter (HEPA or foam): Located between the dustbin and exhaust port. HEPA filters capture 99.97% of particles at 0.3 microns.
- Motor protection filter: Located inside the motor housing. Prevents fine dust from damaging the motor windings.
Solution
- Wash foam or synthetic washable filters in cool water (below 40°C / 104°F) with mild detergent every 3 months.
- Replace HEPA filters every 12–24 months depending on usage frequency and household conditions.
- Replace non-washable paper pleated filters every 6–12 months.
- Allow all washed filters to air dry completely for 24 hours before reinstallation—installing a damp filter causes mold growth and motor damage.
Read the Cleaning Glossary for terminology definitions.
Check the Rotating Brush or Roller
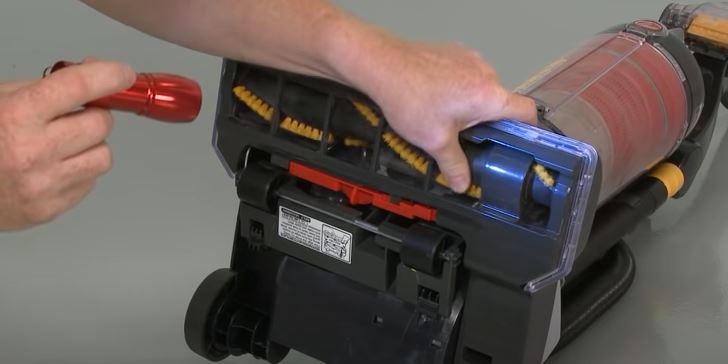
The brush roll loosens embedded dirt and hair from carpets. When hair and fiber wrap around the brush roll axle, rotation slows or stops, reducing agitation and pick-up performance by 50% or more.
Solution
- Cut wrapped hair with scissors, working along the brush roll from each end toward the center.
- Remove the brush roll from its housing to clean the axle and bearing surfaces.
- Use a tweezers or needle-nose pliers to extract debris from the brush roll bearings.
- Lubricate the brush roll axle with a small drop of machine oil (3-in-1 oil or sewing machine oil) if rotation is stiff.
- Rinse the brush roll under warm water to remove embedded particle residue.
- Air dry the brush roll for 24 hours before reinstalling.
Replace the brush roll if the bristles are worn below 5mm height or if the roller shows signs of cracking or splitting.
Inspect the Vacuum Cleaner Belt
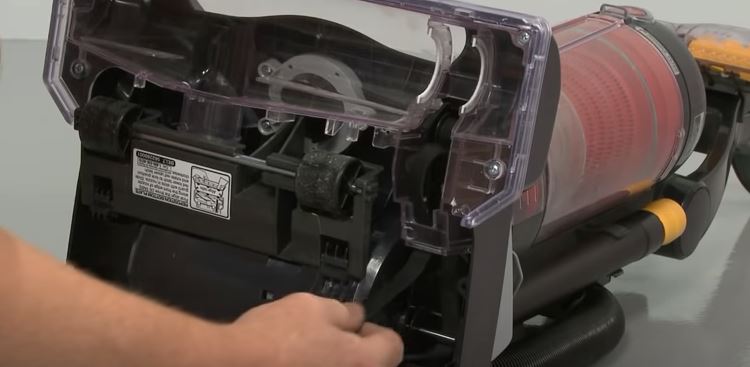
The drive belt connects the motor to the brush roll. Belt wear causes slippage that reduces brush roll speed by 30–70%, directly affecting carpet cleaning performance. Most belts stretch and lose tension after 6–12 months of use.
Solution
- Unplug the vacuum and remove the bottom plate to access the brush area.
- Inspect the belt for cracks, glazing (shiny surface), or permanent stretching.
- Replace belts showing any signs of wear—belts cost $5–$15 and take 10 minutes to swap.
- Route the new belt according to the diagram in your manual; ensure proper tension.
- Test brush roll rotation by spinning manually before reassembling.
Replace the belt preventively every 6–12 months as part of regular vacuum maintenance to avoid unexpected failure during use.
Seek Professional Help
Vacuum repair shops diagnose issues that self-service cannot resolve, such as motor winding shorts, sealed bearing failure, or electrical switch problems. Professional repair typically costs $40–$120 and extends vacuum lifespan by 3–5 years. If your vacuum makes unusual grinding noises, emits burning smells, or fails to produce any suction after all troubleshooting steps, take it to a certified repair technician.
Frequently Asked Questions
How do you increase vacuum suction?
Increase vacuum suction by: (1) Cleaning or replacing filters every 3–12 months depending on type. (2) Emptying the dust bag or canister when it reaches 50% full. (3) Checking and clearing blockages in the floorhead, hose, and intake port. (4) Replacing a worn drive belt every 6–12 months. (5) Setting the height adjustment correctly for your floor type. (6) Cleaning hair and debris from the brush roll weekly.
Are vacuums worth repairing?
Yes, vacuums are worth repairing when the repair cost is below 50% of replacement cost. Most vacuum repairs cost $40–$120 and extend appliance life by 3–5 years. Cost-effective repairs include: belt replacement ($5–$15), filter replacement ($10–$30), hose replacement ($15–$40), and brush roll cleaning. Motor or major component failures costing over $100 typically warrant replacement of vacuums older than 7 years.
How do you install a suction cup?
This question appears to be a site navigation error. Suction cups are not a vacuum cleaner component. If you intended to ask about installing attachment tools, consult your vacuum manual for the specific accessory connection method for your model.
What happens when a vacuum filter is clogged?
A clogged vacuum filter restricts airflow, reducing suction by 40–60%. This forces the motor to work harder, increasing power consumption by 15–30% and shortening motor lifespan. Clogged filters cause overheating that produces a burning smell and can eventually damage the motor windings. Replace or clean filters according to the maintenance schedule to prevent these issues.
How to fix a removable brush bar?
Remove the brush bar from its housing. Cut away tangled hair with scissors, working from each end toward the center. Remove the brush roll to access the axle; extract debris from bearings with tweezers. Lubricate the axle with machine oil if rotation is stiff. Rinse under warm water at 40–45°C (104–113°F) to dissolve residue. Air dry for 24 hours before reinstalling. Replace the brush bar if bristles are worn below 5mm or the roller shows cracking.
Why does my robot vacuum stop cleaning?
Robot vacuums stop cleaning due to: (1) Full dust bin—empty after each cleaning cycle. (2) Tangled brush roll—clean weekly. (3) Dirty sensors—wipe cliff sensors and charging contacts monthly with a dry cloth. (4) Low battery—return to dock and resume. (5) Filter clog—clean or replace every 1–3 months. (6) Blocked wheels—check front caster wheel and side brushes for debris accumulation. Consult the Roomba troubleshooting guide for model-specific diagnostics.
Final Words
If all troubleshooting steps fail to restore suction, the vacuum motor or main Printed Circuit Board (PCB) has likely failed. At this point, compare repair costs against replacement costs—most vacuums over 7 years old with motor failures are cost-prohibitive to repair. When purchasing a replacement, use the Vacuum Troubleshooting Master Hub to select a model suited to your cleaning needs.
References
- U.S. Department of Energy. (2024). How to Clean and Maintain Your Vacuum Cleaner. Energy.gov.
- ASTM International. (2023). ASTM F608-18: Standard Test Method for Determination of Carpet Cleaning Performance of Household Vacuum Cleaners. ASTM.org.
- NSF International. (2024). Vacuum Cleaner Certification and Standards. NSF.org.


