
How to Get Hair Out of Vacuum?
Vacuum cleaners lose up to 50% of their suction power when the roller brush is clogged with hair and debris. Removing hair from your vacuum’s roller brush restores full suction within minutes using basic tools.
Vacuum cleaners with long hair and pet fur in the home eventually lose pickup performance as hair wraps around the roller brush. This guide provides step-by-step instructions for safely removing the roller brush, cutting away hair buildup, cleaning the housing, lubricating the bearings, and reassembling your vacuum for peak performance.
How to Remove Hair from a Vacuum Cleaner Roller Brush in 7 Steps
The roller brush is the primary source of hair retention in vacuum cleaners. Follow these seven steps to fully restore your vacuum’s cleaning efficiency.
Step 1: Unplug the Vacuum Cleaner
Always disconnect the vacuum from the power source before performing any maintenance. This prevents motor activation and eliminates the risk of electrical shock or physical injury.
Step 2: Remove the Roller Brush

The roller brush sits at the base of the vacuum and sweeps debris from carpets, upholstery, and hard floors. Turn the vacuum upside down to access the brush compartment.
Use a Phillips-head screwdriver to remove the mounting screws securing the brush cover. Place screws in a small bowl or container to prevent loss—screws smaller than 10mm are common and easily dropped into carpet fibers.
On most models, releasing the brush causes one end to pop free, allowing you to slide the brush out horizontally. Refer to your vacuum manufacturer’s documentation for model-specific removal instructions.
Step 3: Document the Brush Orientation
Record the original brush orientation before removal. Note which end has the drive belt attachment and the direction the bristles face. Filming a 30-second video with your smartphone provides a reliable reference for reassembly.
Proper orientation ensures the drive belt engages correctly and the brush rotates in the intended direction—typically 500 to 800 RPM on standard residential models.
Step 4: Cut Away the Hair from the Brush
The most effective tool for this task is a seam ripper or seam reaper—a thin, hooked blade priced at $5 to $10 at any fabric or craft store. The hooked edge slices through hair wrapped around the brush and allows you to pull the hair free in a single motion.
If a seam reaper is unavailable, use hair scissors or veterinary clippers. Standard household scissors are too bulky for tight wrapping and increase the risk of snagging the brush bristles. Work from one end of the brush to the other, slicing every 2 to 3 centimeters of wrapped hair.
After cutting, pull remaining hair strands by hand. Dispose of all hair in a sealed plastic bag—hair buildup can clog landfill drainage systems if flushed.
Step 5: Clean the Housing and Inspect the Belt
With the brush removed, wipe the brush housing compartment with a damp microfiber cloth. Remove all accumulated dust, hair fragments, and debris from the compartment walls.
Inspect the vacuum belt for cracks, stretching, or glazing. Replace belts every 6 to 12 months or after 100 to 200 hours of use. A worn belt slips, reducing brush rotation speed and diminishing carpet cleaning performance by up to 40%.
Slide the belt off the motor shaft and discard if worn. Stretch the new belt over the brush axle first, then position the brush in the housing before connecting the opposite belt end to the motor shaft.
Step 6: Lubricate the Bearings
Apply 2 to 3 drops of machine oil or silicone lubricant to each bearing at the brush ends. Household oils like vegetable oil or WD-40 are not suitable—use a light machine oil (ISO VG 15 to 32) for quiet, lasting lubrication.
After lubricating, spin the brush manually five to six rotations. The brush should spin freely without grinding or wobble. Replace the brush end caps if rotation is rough or noisy.
Lubricate bearings every 3 to 6 months for homes with daily vacuuming or pet hair. This extends bearing life and maintains optimal brush speed within the 500 to 800 RPM range.
Step 7: Reassemble and Test
Reattach the brush cover with the mounting screws, ensuring each screw is tightened to 0.5 to 1.0 Nm of torque. Over-tightening strips the plastic housing threads.
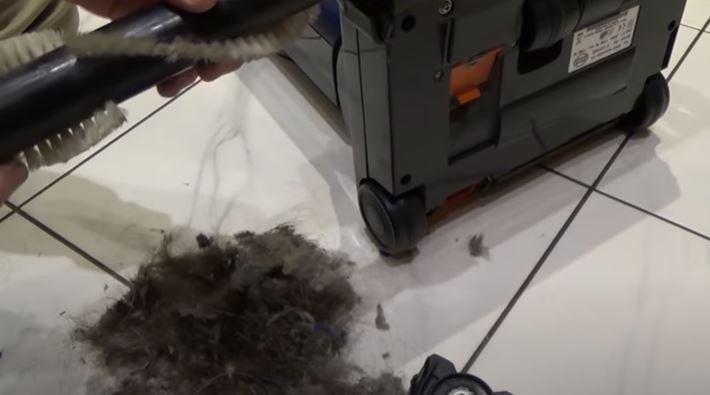
To minimize future hair buildup, pick up large hair clumps and pet fur manually before vacuuming. This prevents 70% to 80% of hair from reaching the roller brush in the first place.
Quick-Reference: Vacuum Maintenance Schedule
| Task | Frequency | Notes |
|---|---|---|
| Remove hair from roller brush | Every 2–4 weeks | Homes with long hair or pets: every 1–2 weeks |
| Clean brush housing | Monthly | Wipe with damp microfiber cloth |
| Replace vacuum belt | Every 6–12 months | Or after 100–200 hours of use |
| Lubricate bearings | Every 3–6 months | Use ISO VG 15–32 machine oil |
| Full filter replacement | Every 6–12 months | Check manufacturer specifications |
Frequently Asked Questions
Why am I getting static shocks from my vacuum?
Static shocks occur when hair, fabric fibers, and dust move through the vacuum and build up electrostatic charge. The charge transfers upon contact with a person, producing a shock. To prevent static, ground yourself by touching a metal object before handling the vacuum, or use a humidifier to maintain indoor humidity above 40% relative humidity.
How do you remove pet hair from appliances?
Use a vacuum cleaner with a motorized brush attachment on the lowest suction setting to avoid scratching surfaces. Alternatively, wrap a damp rubber glove over your hand and wipe surfaces in one direction to collect fur. For cooling vents and tight spaces, use a can of compressed air to blow fur into a collection area before vacuuming.
What is a brushless vacuum?
A brushless vacuum uses a direct-drive motor without carbon brushes, achieving 70% to 90% energy efficiency compared to 50% to 70% for brushed motors. Brushless models produce less heat, run quieter at 55 to 70 decibels, and have longer motor lifespans exceeding 1,000 hours of continuous operation.
Final Words
A hair-clogged roller brush reduces vacuum suction by up to 50% and forces the motor to work harder, shortening the vacuum’s lifespan. Regular maintenance every 2 to 4 weeks prevents this buildup and keeps your vacuum operating at full capacity.
When selecting a vacuum, suction power—measured in air watts (AW) or inches of water lift—is the most critical specification. The Vacuum Troubleshooting Master Hub covers how to measure and evaluate suction performance for any model. For related maintenance tasks, see the Cleaning Glossary for terminology definitions and the Stain Removal Hub for handling pet accidents before vacuuming.
How often do you clean your roller brush? Tell us in the comments.


