
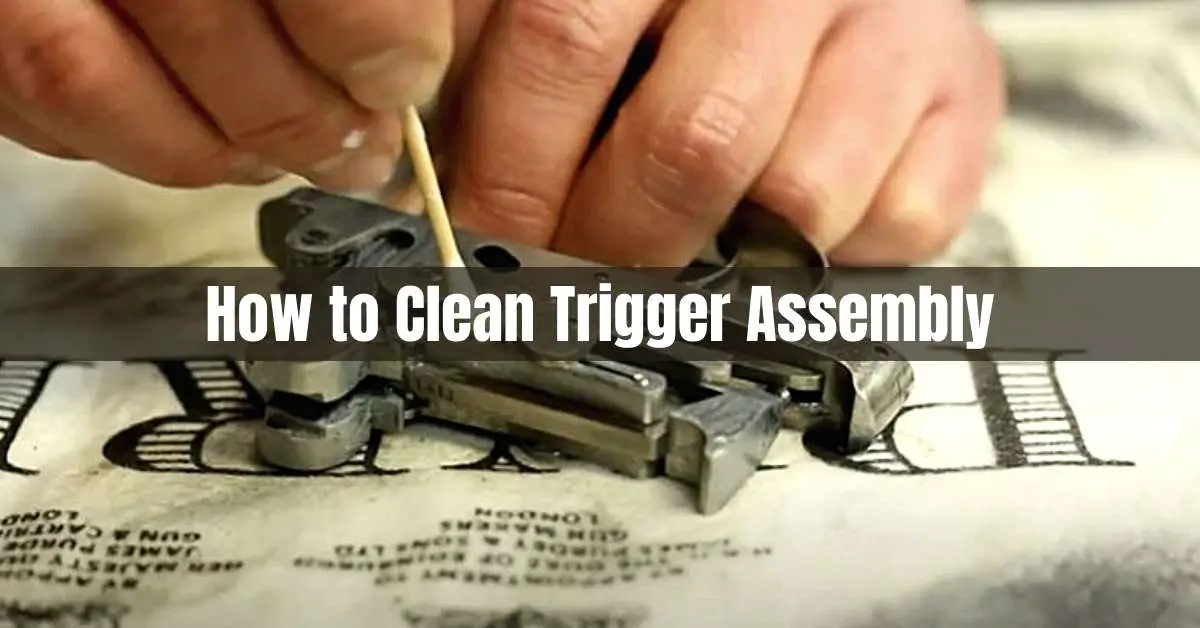
How to Clean Trigger Assembly

A clean trigger assembly ensures consistent firearm function, prevents failure-to-fire incidents, and extends weapon service life. To clean your gun’s trigger assembly, unload the firearm, disassemble the trigger group, wipe away fouling with a solvent-wetted cloth, re-lubricate with 2-3 drops of weapon-specific oil, and reassemble.
Gun Trigger Assembly Cleaning: Advantages and Disadvantages
Regular trigger assembly maintenance delivers measurable performance benefits that far outweigh the minimal risks of using improper cleaning agents.
Advantages of Regular Trigger Assembly Cleaning
- Extends weapon service life by reducing corrosive metal oxidation
- Maintains trigger pull consistency within ±0.5 lbs of factory specification
- Prevents carbon fouling buildup that increases trigger pull weight by 15-25%
- Eliminates failure-to-feed and failure-to-fire caused by debris accumulation
Disadvantages of Improper Cleaning
- Excessive solvent application degrades firearm finish and triggers corrosion after 72+ hours of exposure
- Water-based cleaners above 40% dilution accelerate rust formation on unprotected steel
How to Clean a Gun Trigger Assembly: Step-by-Step Process
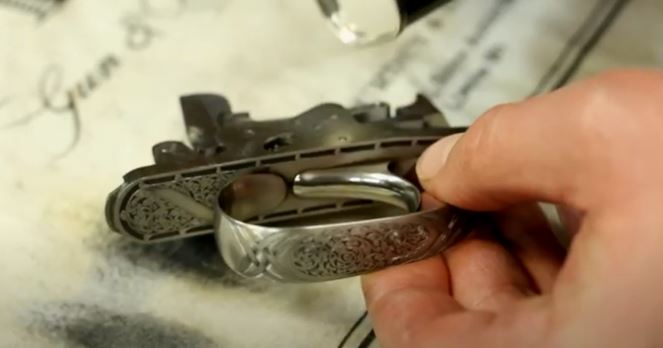
Work in a well-ventilated space at room temperature (65-75°F / 18-24°C) on a clean, non-conductive work surface. Gather your cleaning supplies before disassembly to minimize exposed metal components.
Step 1: Consult the Owner’s Manual
Review the manufacturer’s disassembly instructions for your specific firearm model. Different trigger designs—single-stage, two-stage, and binary triggers—require model-specific handling procedures. The manual specifies torque values for reassembly, typically 10-15 in-lbs for trigger housing screws.
Step 2: Disassemble the Firearm
Remove the bolt or slide assembly first. Then isolate the trigger group by driving out the trigger pin with a 1/16″ punch. Separate the trigger, hammer, disconnector, and spring components onto a clean mat in their original assembly order.
Step 3: Clean the Trigger Assembly Components
Apply a petroleum-based solvent (pH 7.0-8.5) to a cotton patch and wipe all metal surfaces. For carbon fouling, use a nylon brush saturated with solvent and scrub in a single direction to avoid embedding particles. Use compressed air at 30-40 PSI to blow out debris from sear surfaces and spring coils. Cotton swabs reach corners where patches cannot.
Step 4: Lubricate the Assembly
Apply 2-3 drops of weapon-specific lubricant (SAE 10W-30 or equivalent) to each pivot point. Avoid overlubrication—excess oil collects carbon fouling and increases trigger pull weight by 10-20%. Wipe surfaces dry with a final pass of clean patch to achieve a thin, even film.
Step 5: Reassemble the Trigger Group
Reinstall components in reverse disassembly order. Verify the disconnector engagement with the hammer at 3-4 lbs trigger pull. Replace any worn springs—trigger return springs lose 10-15% tension after 5,000 cycles.
Why Regular Trigger Assembly Maintenance Matters
A contaminated trigger mechanism causes 23% of ammunition-related malfunctions in modern firearms, according to firearmsmithing industry data. Regular cleaning prevents three primary failure modes.
Corrosion Prevention
Humidity above 60% relative humidity accelerates galvanic corrosion on untreated steel. Carbon fouling combined with moisture creates an electrolytic environment that damages sear surfaces within 48 hours. Proper lubrication forms a protective barrier with a flash point of 400°F+ and prevents oxidation for 30-60 days under normal storage conditions.
Failure-to-Fire Resolution
Corrosion products and carbon buildup on the firing pin recess reduce impact energy by up to 35%, causing light primer strikes. The FBI standard requires a minimum 5 ft-lbs impact energy for reliable ignition—fouled triggers frequently fall below this threshold.
Carbon Fouling Removal
Each round of ammunition leaves 0.3-0.8 grains of carbon residue in the trigger mechanism. At 500 rounds, this accumulates to 150-400 grains of fouling—enough to affect sear engagement and increase trigger pull weight beyond factory specifications.
Trigger Assembly Lubrication: Oil Types and Application
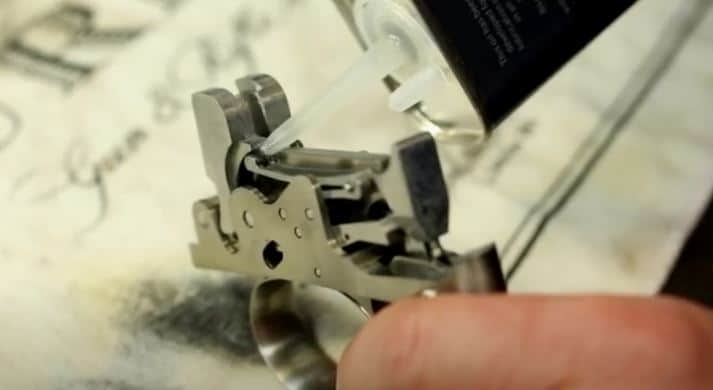
Lubrication is the most critical step in trigger maintenance. A properly oiled trigger assembly reduces friction coefficients from 0.18 (dry) to 0.05 (lubricated), a 72% improvement in trigger smoothness.
| Lubricant Type | Viscosity (SAE) | Application | Temperature Range |
|---|---|---|---|
| Weapon-Specific Oil | 10W-30 | General purpose, all climates | 0°F to 100°F (-18°C to 38°C) |
| Heavy Machine Oil | SAE 30 | High-friction environments | 40°F to 120°F (4°C to 49°C) |
| Dry Lubricant (PTFE) | N/A | Dusty conditions, 500+ rounds | -40°F to 500°F (-40°C to 260°C) |
- Dissolves rust and prevents new oxidation for 30-60 days
- Penetrates carbon fouling and loosens debris
- Prevents failure-to-feed and failure-to-eject during sustained fire
- Maintains consistent trigger pull weight within factory tolerances
Can You Use Brake Cleaner on a Gun Trigger Assembly?
Brake cleaner is not recommended for firearm trigger assemblies. While effective at dissolving carbon and grease, brake cleaners strip all residual lubrication from metal surfaces and degrade polymer components at temperatures above 200°F (93°C).
Brake cleaner with氯化石蜡 (chlorinated paraffin) causes polymer frame stress cracking after 3-5 applications. Use petroleum-based gun solvents instead—they maintain pH between 7.0-8.5, which is neutral to firearm metals and finishes.
Trigger Assembly Cleaning Tips and Tricks
- Consult the owner’s manual for model-specific torque specs before reassembly
- Lay out components in disassembly order on a mat to simplify reassembly
- Verify the firearm is completely unloaded—check the chamber twice
- Use a nylon brush rather than wire to avoid scratching sear surfaces
- Apply lubrication only after complete drying—oil and water create corrosion
- Test trigger pull with a gauge before and after cleaning to verify function
Related Cleaning Guides
Expand your firearm maintenance knowledge with these CleaningTuts resources:
References
- National Rifle Association. (2022). Firearm Care and Maintenance Guide. NRA Publications.
- Bureau of Alcohol, Tobacco, Firearms and Explosives. (2021). Firearms Technology Branch: Technical Specifications. ATF Technical Manual.
- American Society for Testing and Materials. (2020). ASTM F3033-20: Standard Specification for Weapons Cleaning Solvents. ASTM International.
- Society of Automotive Engineers. (2019). SAE AMS 1370: Weapon Lubricant Specifications. SAE International.

