
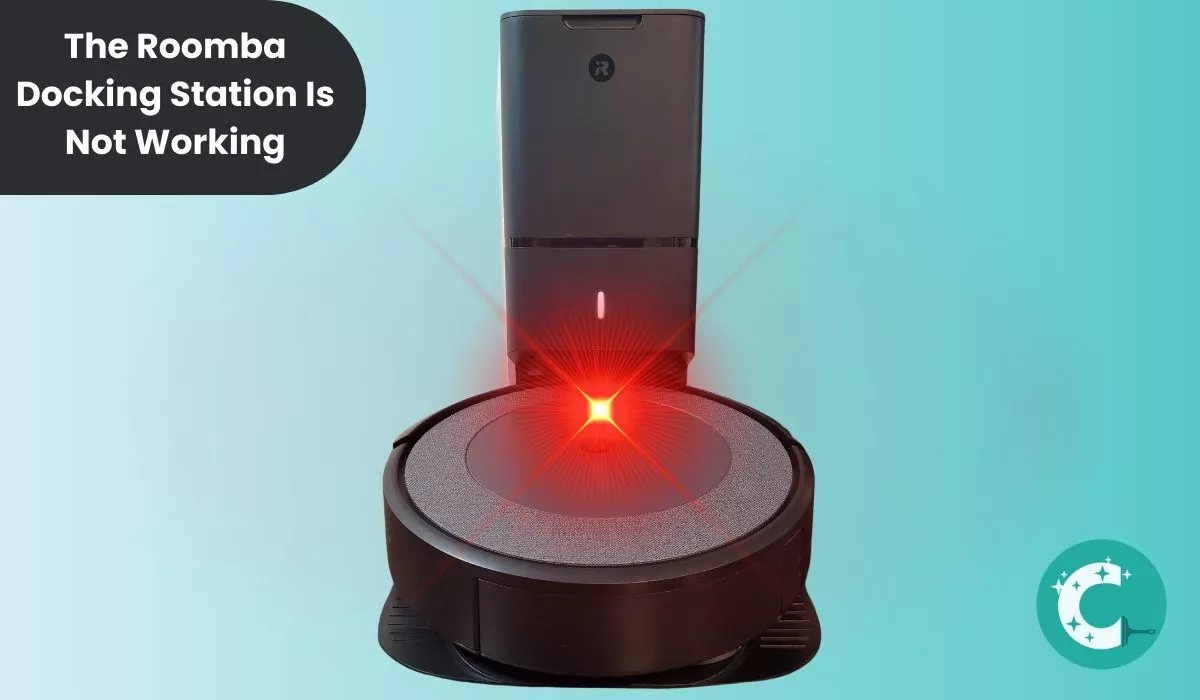
The Roomba Docking Station Is Not Working

A malfunctioning Roomba docking station prevents the robot vacuum from charging, leaving your device stranded mid-cycle. The root cause is usually dirty charging contacts, insufficient power delivery from the wall socket, or a depleted battery that has exceeded its 400–500 charge cycle lifespan. This guide walks through eight diagnostic steps to restore charging functionality.
1. Check the Power Cord
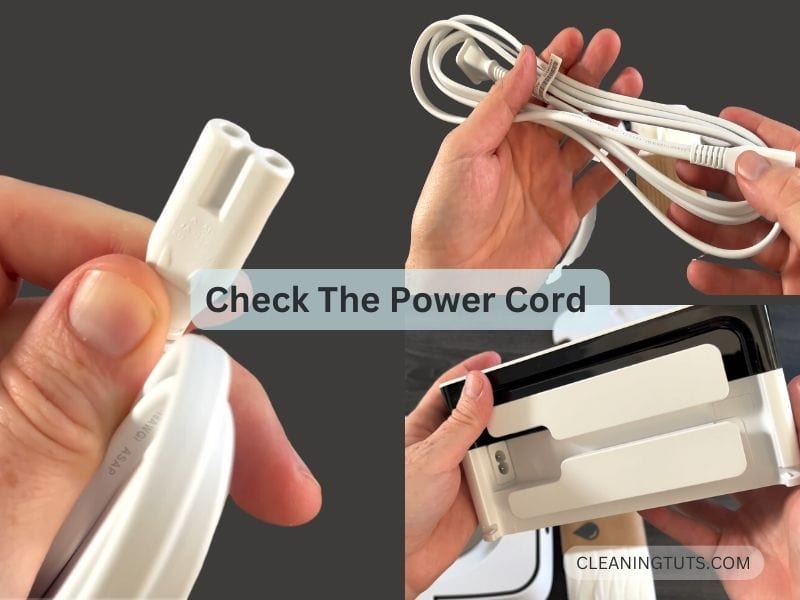
Inspect the power cord connection at both the wall outlet and the rear of the docking station. A loose or partially unplugged power cord is the most common reason a Roomba fails to charge on its dock. Confirm the connector clicks firmly into the dock’s power port and the plug seats fully in the wall socket with no gap.
2. Check the Wall Socket
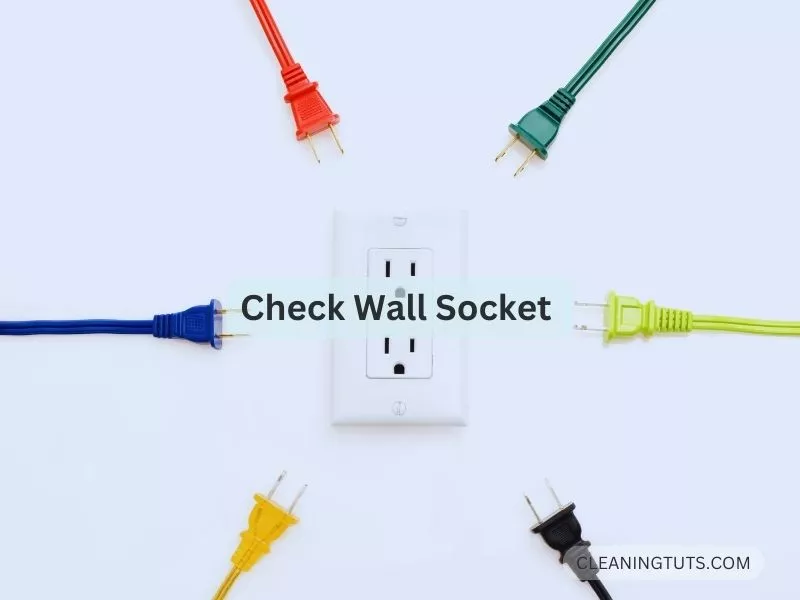
Test the wall socket by plugging in a different device—such as a lamp or phone charger—to verify it delivers at least 120V AC (US) or 220–240V AC (EU). The docking station requires a dedicated circuit or a socket that is not controlled by a wall switch or dimmer. If the socket is controlled by a switch, flip the switch to the ON position. A breaker-tripped or overloaded circuit will starve the dock of the 25–33W it needs to deliver a charge.
When you plug in the docking station, the power light on the dock should illuminate immediately. If the light remains off after confirming the cord is secure, the wall socket itself is faulty—move the dock to a different socket.
3. Check the Circuit Breaker
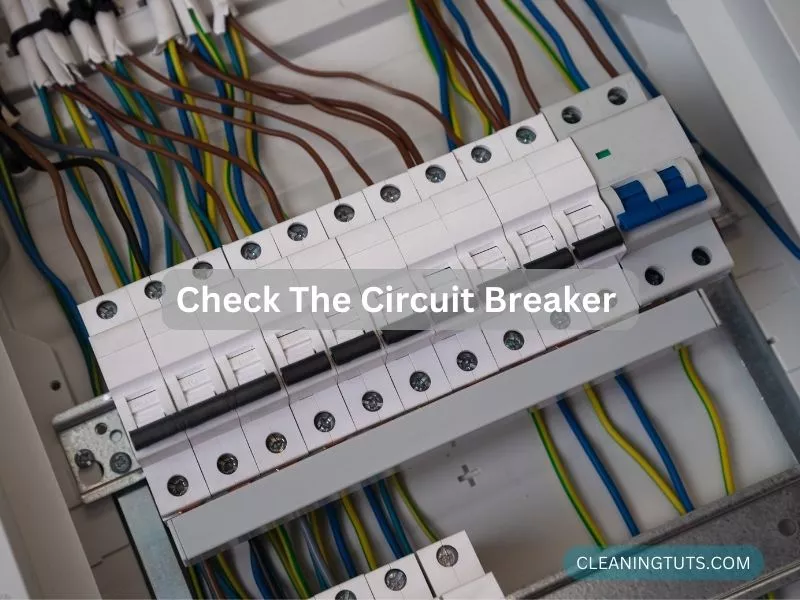
If the docking station remains unresponsive after checking both the cord and the wall socket, locate your home’s main electrical panel. A tripped breaker supplying that circuit cuts power to the wall socket entirely. Reset the breaker by pushing it fully to the OFF position first, then back to ON. If the breaker trips again after resetting, an electrician must inspect the circuit for a wiring fault before using the docking station.
Roomba Is Not Charging on the Dock: Eight-Step Troubleshooting Guide
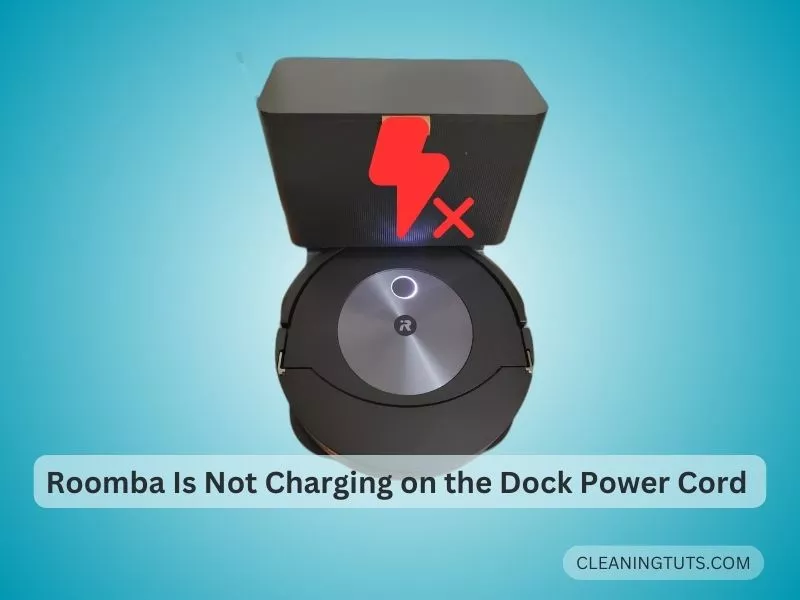
A Roomba that refuses to charge on its dock typically fails on one of four fronts: dirty charging contacts, improper positioning, a depleted battery, or a firmware glitch. The battery icon on the Roomba’s top panel indicates its status—a solid amber light signals active charging, while a flashing amber light indicates a charging error. Work through the steps below in order for the fastest resolution.
1. Verify the Dock Station Is Powered
The docking station must itself be receiving power before it can charge the Roomba. Confirm this by listening for the dock’s faint hum when connected, or by checking whether the dock’s power indicator LED is lit. If the dock is unpowered, the Roomba will sit on it without any charging taking place. Inspect the dock’s power port for bent pins or debris blockage—compressed air blown gently into the port clears obstructions.
For more general vacuum troubleshooting, refer to the Vacuum Troubleshooting Master Hub and the Roomba Hub.
2. Clean the Charging Contacts on Both the Dock and the Roomba
The Roomba and its dock each have four gold-plated charging contacts—two on the bottom of the vacuum and two on the vertical face of the docking station. These contacts must make flush physical contact to transfer power. Oxidized, dirty, or corroded contacts dramatically reduce charging efficiency or halt it entirely.
Clean the contacts on both the vacuum and the dock using a microfiber cloth dampened with at least 70% isopropyl alcohol. For stubborn corrosion, an iRobot-approved magic eraser works without scratching the plating. Avoid using water alone, as mineral deposits from tap water leave residue on the contacts. After cleaning, allow the contacts to air-dry for 30 seconds before reconnecting power.
Also inspect the infrared (IR) navigation window on the front of the dock—this small rectangular window around the border of the charging face transmits the signal the Roomba uses to locate and align with the dock. Wipe it with a dry cloth; smeared or dirty IR glass causes the Roomba to approach the dock incorrectly and miss the charging contacts.
3. Reposition the Roomba to Align All Four Charging Contacts
The Roomba’s front caster wheel and side brushes must not obstruct the dock’s contact points. Gently lift the Roomba, place it centered on the dock with its front edge against the dock’s backstop, and press down to compress the dock’s spring-loaded contact pins. The Roomba’s two bottom contacts should align directly over the dock’s two vertical contacts. A misaligned robot charges intermittently or not at all.
4. Inspect and Clean the Caster Wheel
The caster wheel Assembly—a swiveling front wheel located beneath the Roomba near the bumper—collects hair, thread, and debris in its well, which can lift the robot enough to prevent the charging contacts from meeting. Every 2–4 weeks, flip the Roomba upside down, grip the caster wheel stem, and pull straight up to remove it. Clear all tangled hair and debris from the well and the wheel’s rotation mechanism, then snap the wheel back into place.
5. Reseat the Battery
Roomba batteries can shift out of their compartment from vibration during long cleaning cycles. Using a Phillips #2 screwdriver, remove the five screws on the bottom rear panel, lift off the battery cover, and push the battery pack down until it clicks against the contact terminals. Reassemble and test charging. This resolves intermittent charging failures where the battery icon shows but charging never completes.
6. Replace the Battery If It Is More Than Two Years Old
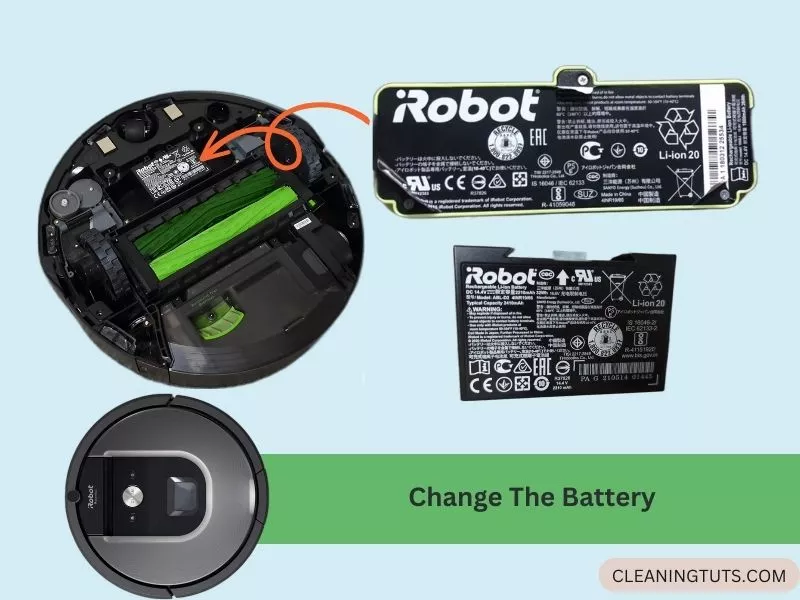
Roomba uses a lithium-ion battery rated for 400–500 full charge cycles—approximately 18–24 months of weekly cleaning sessions. After this point, capacity degrades significantly; the battery may appear to charge but deliver only 30–60 minutes of runtime instead of the rated 90–120 minutes. Replace with an iRobot-branded replacement battery or an iRobot-compatible (UL-certified) equivalent to avoid performance and safety issues.
7. Perform a Factory Reset
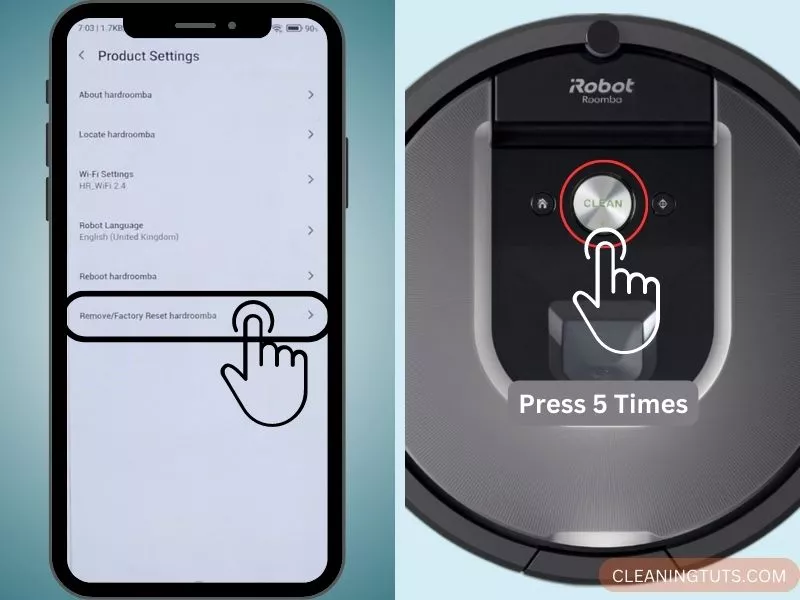
A firmware glitch can disrupt the charging routine even when hardware is healthy. For i-Series and newer Roomba models (i3, i4, i5, i6, i7, i8, s9), press and hold the CLEAN button for exactly 20 seconds until a blue “Restoring Defaults” message appears on the app or the status light turns off and reboots. For 600 and 800 series Roombas, press and hold the CLEAN button for 10 seconds, then release when the tone plays. After resetting, allow 1–2 hours of charging before attempting a cleaning cycle.
8. Contact iRobot Customer Support
If the Roomba still does not charge after completing all seven steps above, a hardware fault in the charging circuit, the power management board, or the dock’s internal transformer requires professional service. Register your device at store.irobot.com to access warranty coverage, or call iRobot support at 1-800-727-8222 for out-of-warranty repair options.
Quick-Reference: Charging Troubleshooting Checklist
| Step | Action | Key Detail |
|---|---|---|
| 1 | Check power cord | Confirm secure connection at wall and dock |
| 2 | Test wall socket | Socket must deliver 120V AC (US) / 220–240V AC (EU) |
| 3 | Reset circuit breaker | Push fully OFF then ON; if it trips again, call an electrician |
| 4 | Clean charging contacts | Use 70%+ isopropyl alcohol on a microfiber cloth |
| 5 | Align Roomba on dock | Press down to compress spring-loaded dock contacts |
| 6 | Clean caster wheel | Remove stem, clear hair/debris; clean every 2–4 weeks |
| 7 | Reseat battery | Remove 5 screws, push battery down to terminals |
| 8 | Replace battery | Battery lifespan: 400–500 cycles / ~2 years |
| 9 | Factory reset | Hold CLEAN 20s (newer) or 10s (older models) |
| 10 | Contact support | Hardware fault requires iRobot service |
How to Charge a Roomba Without Its Docking Station
If the docking station fails and you need an immediate charge, plug the Roomba directly into a wall outlet using its AC power adapter—the same cord used by the dock. Insert the round connector into the Roomba’s power port on the side panel (not the bottom). This bypasses the dock’s charging contacts entirely and delivers a direct charge at the same 25–33W rate.
References
- iRobot Corporation. (2024). Roomba i3/i4/i5/6/7/8/s9 User Guide — Factory Reset Procedure. iRobot Store.
- iRobot Corporation. (2023). Roomba 600 & 800 Series User Guide — Charging and Battery Care. iRobot Store.
- U.S. Department of Energy. (2022). Lithium-Ion Battery Best Practices. energy.gov.
- UL Standards & Engagement. (2021). UL 2734 — Safety Standard for Residential Cord-Connected Charging Appliances. ul.org.


